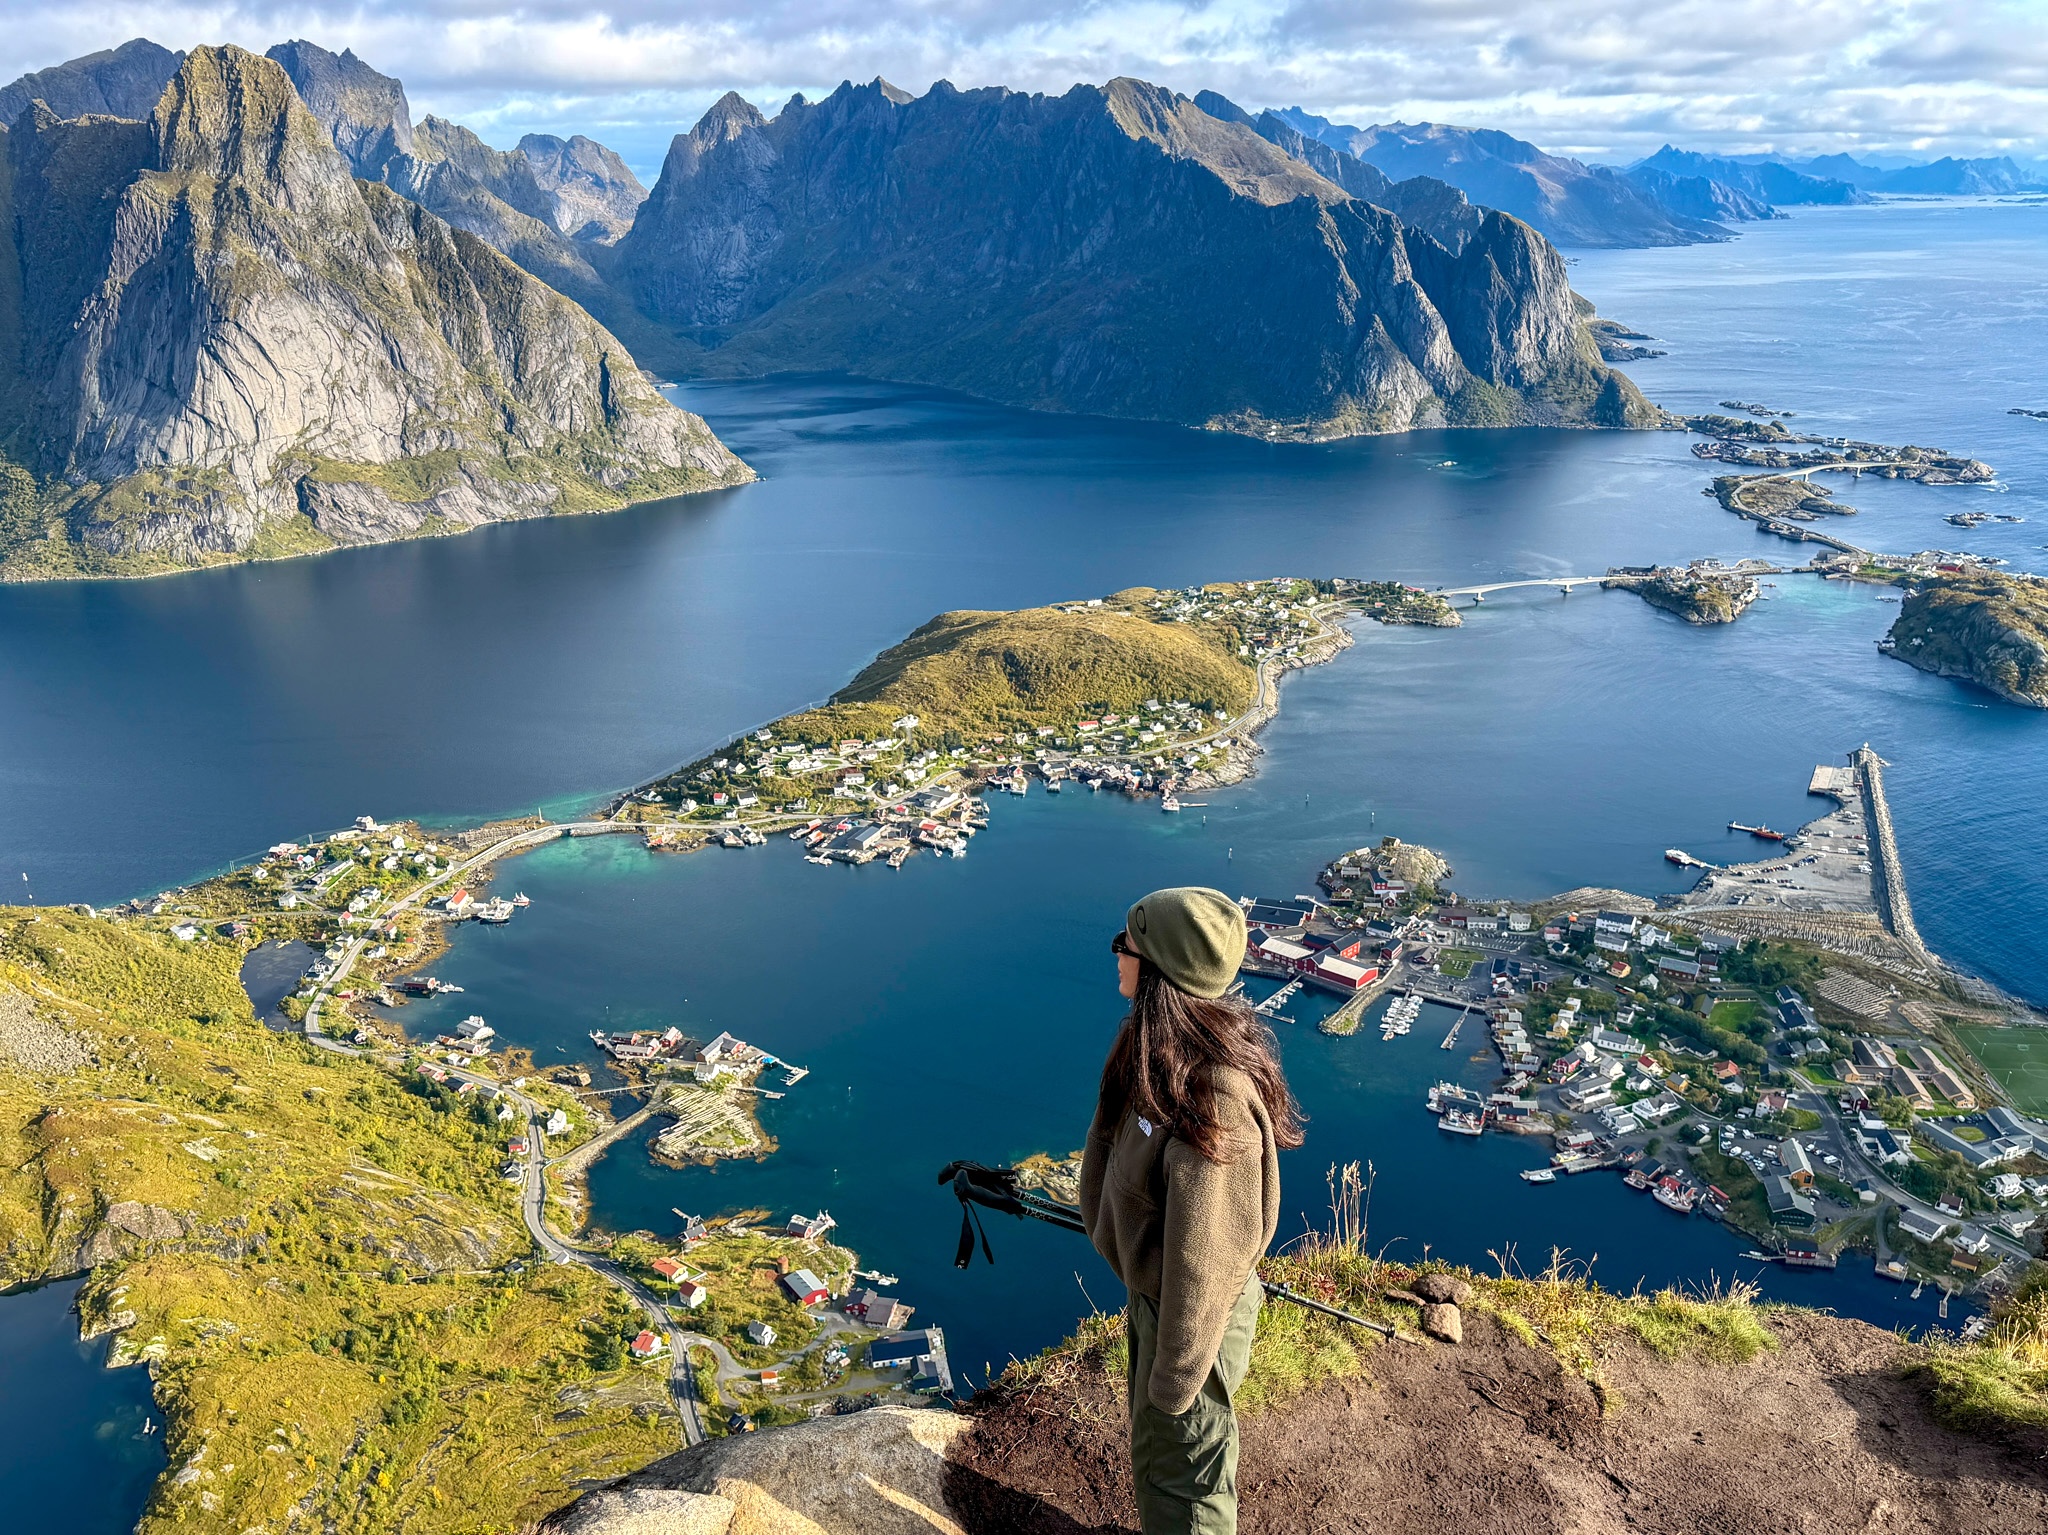
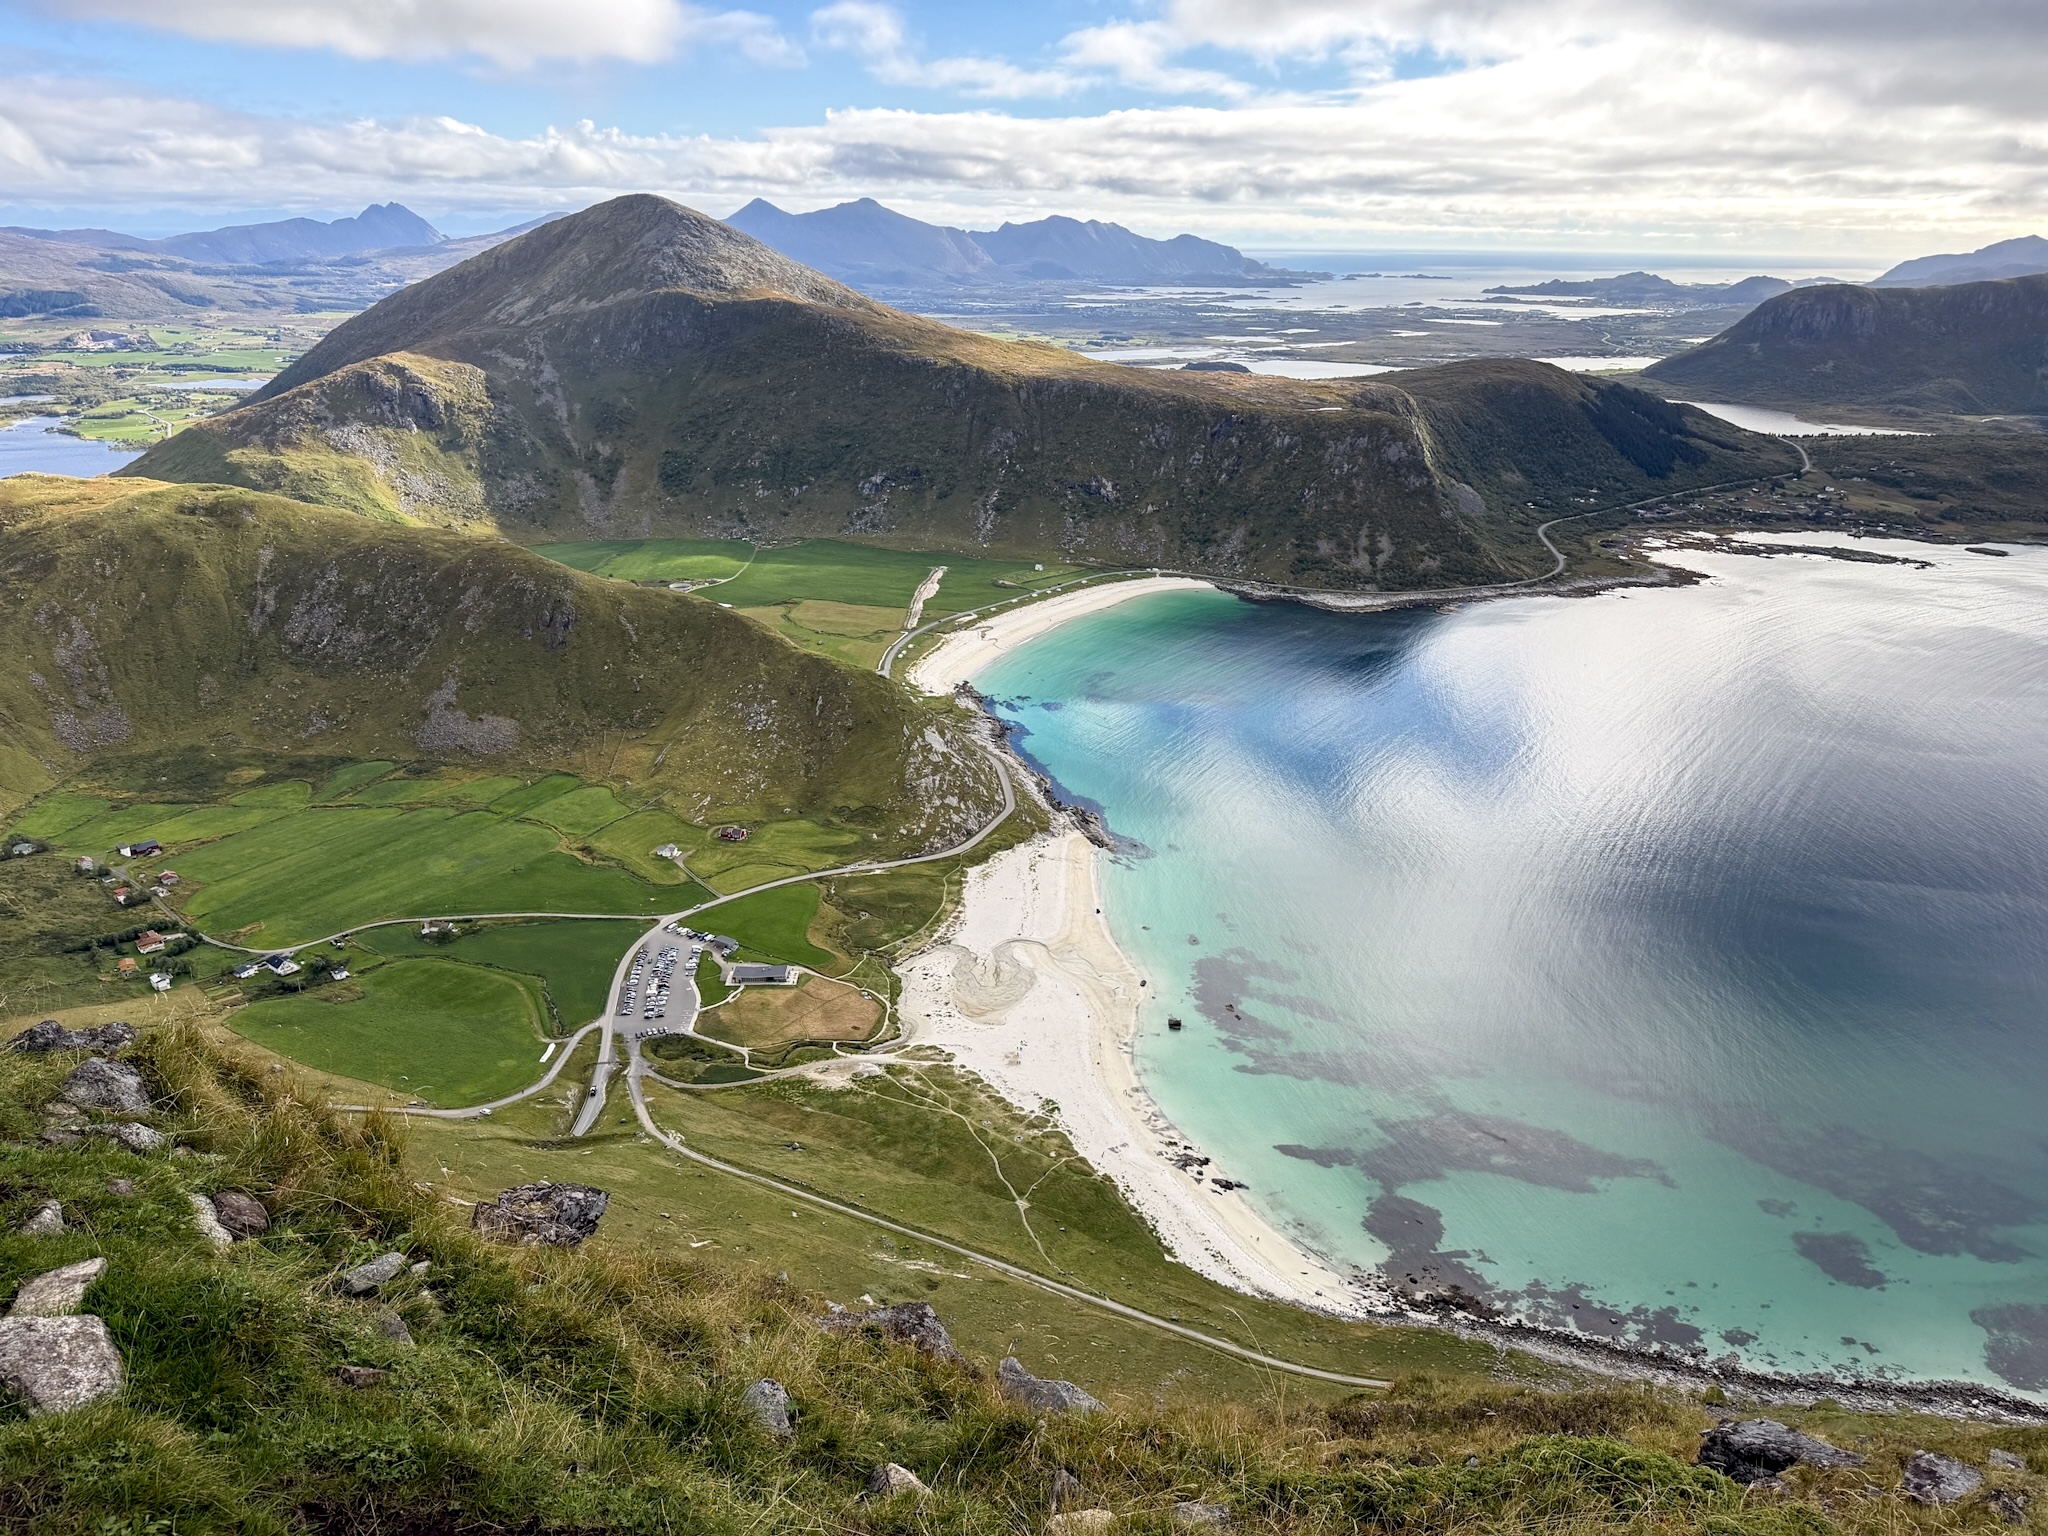
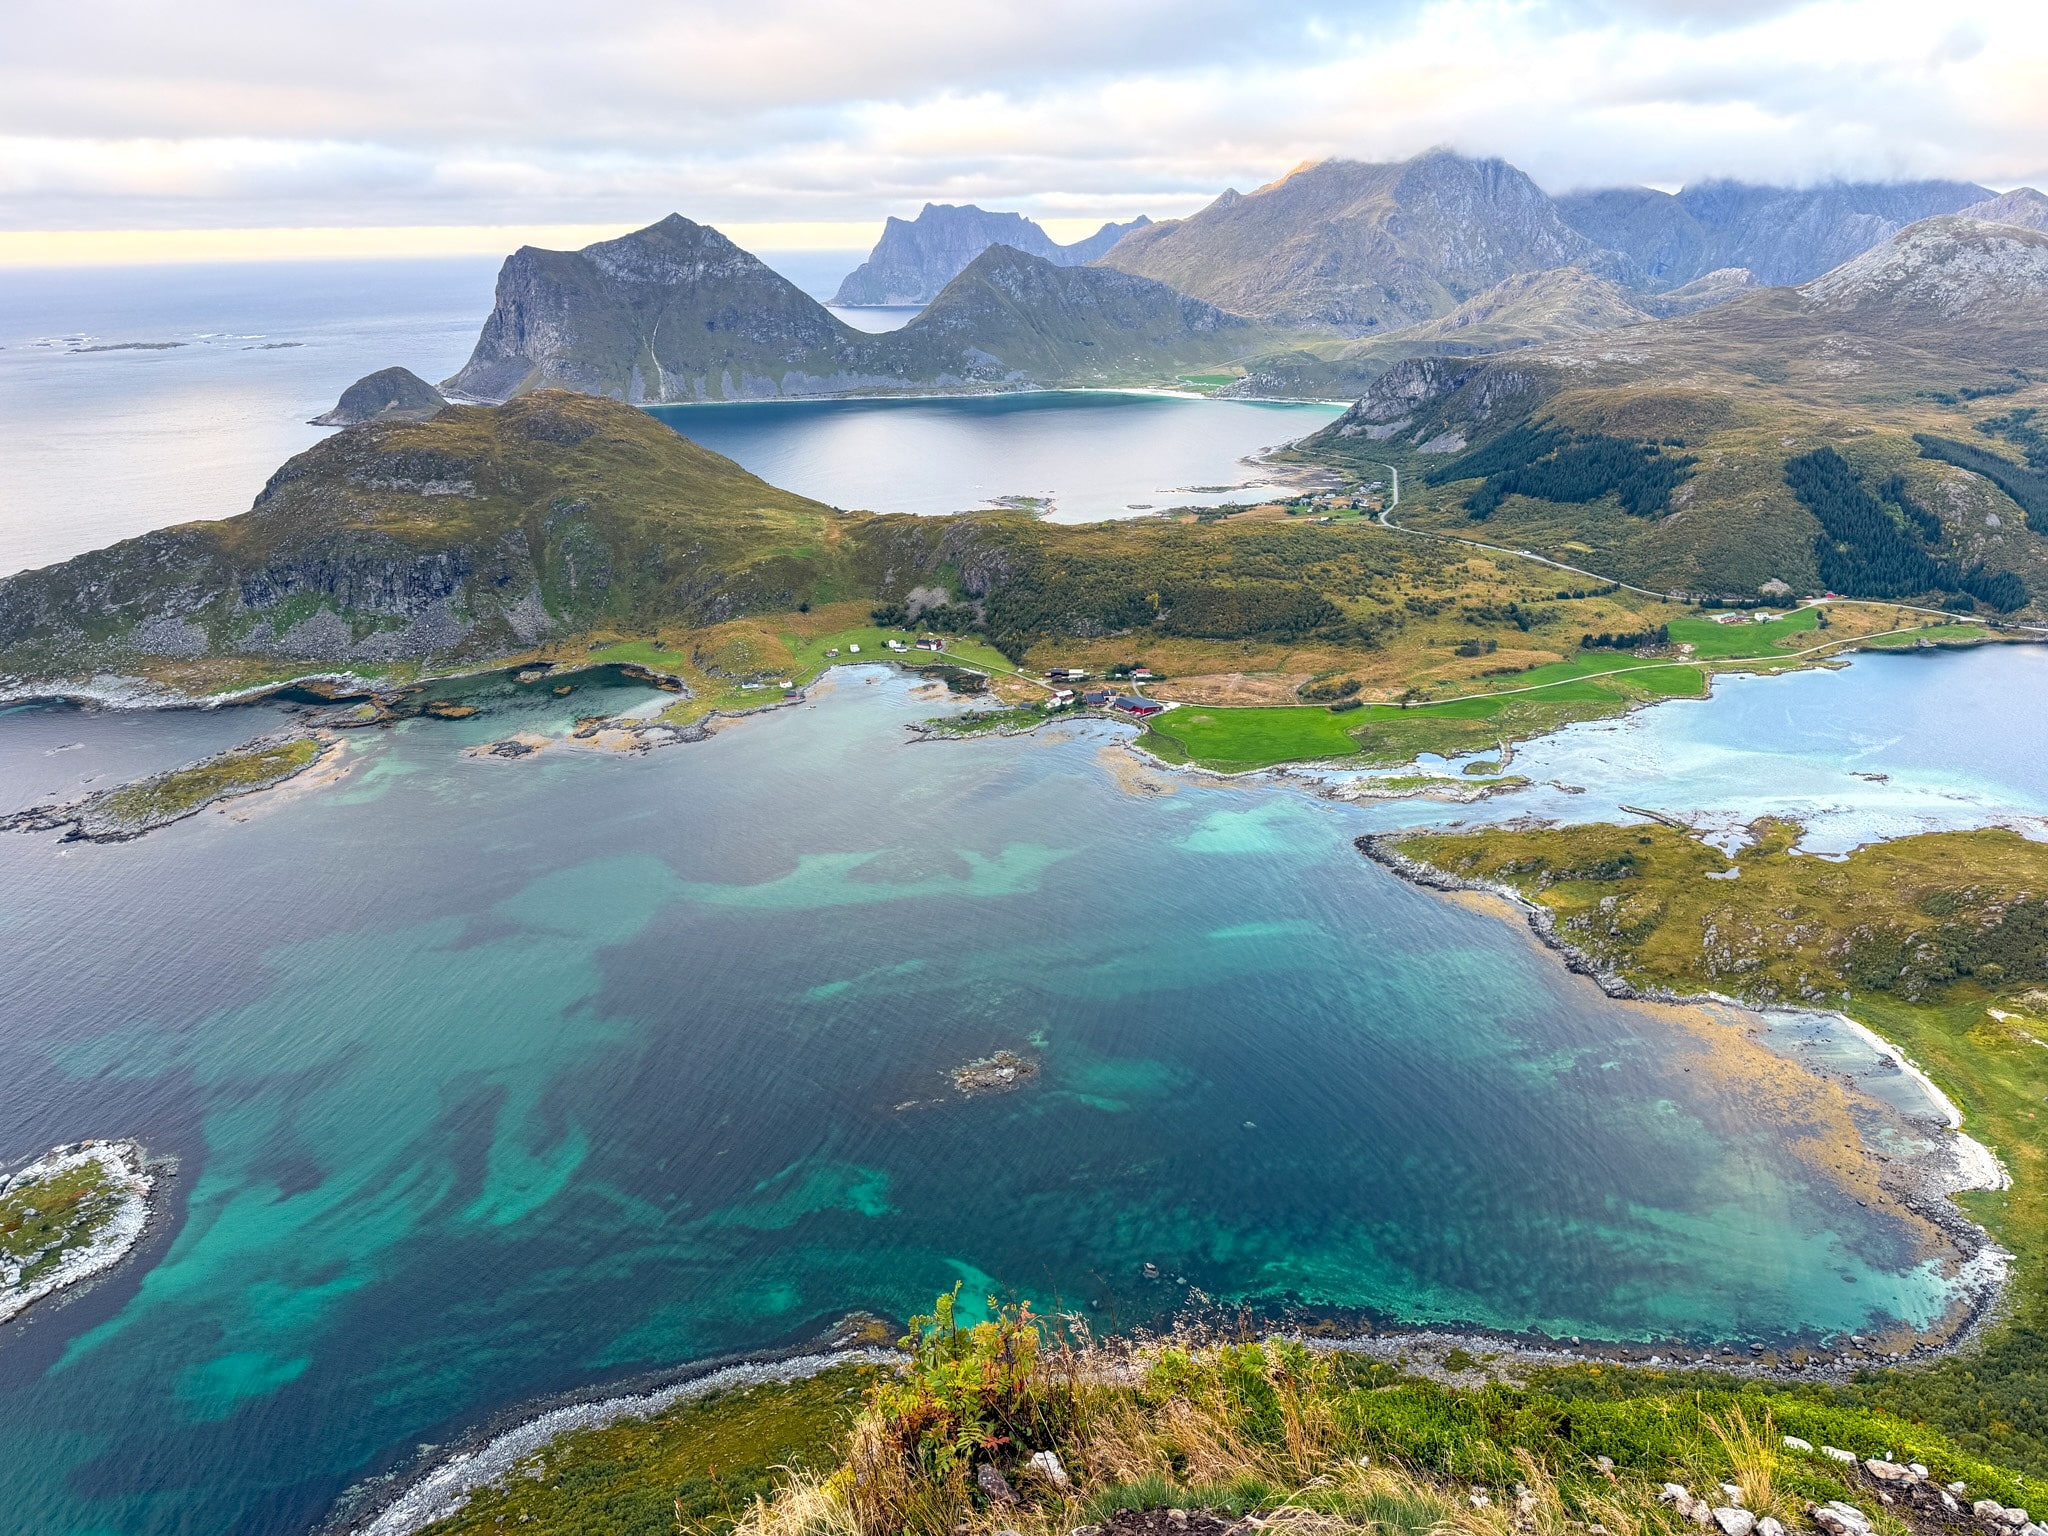
The Festvågtind hike is short and steep, with boulders and loose gravel up to a narrow summit above Henningsvær. Here’s where I parked, what each trail section looked like, and how hard it really is.
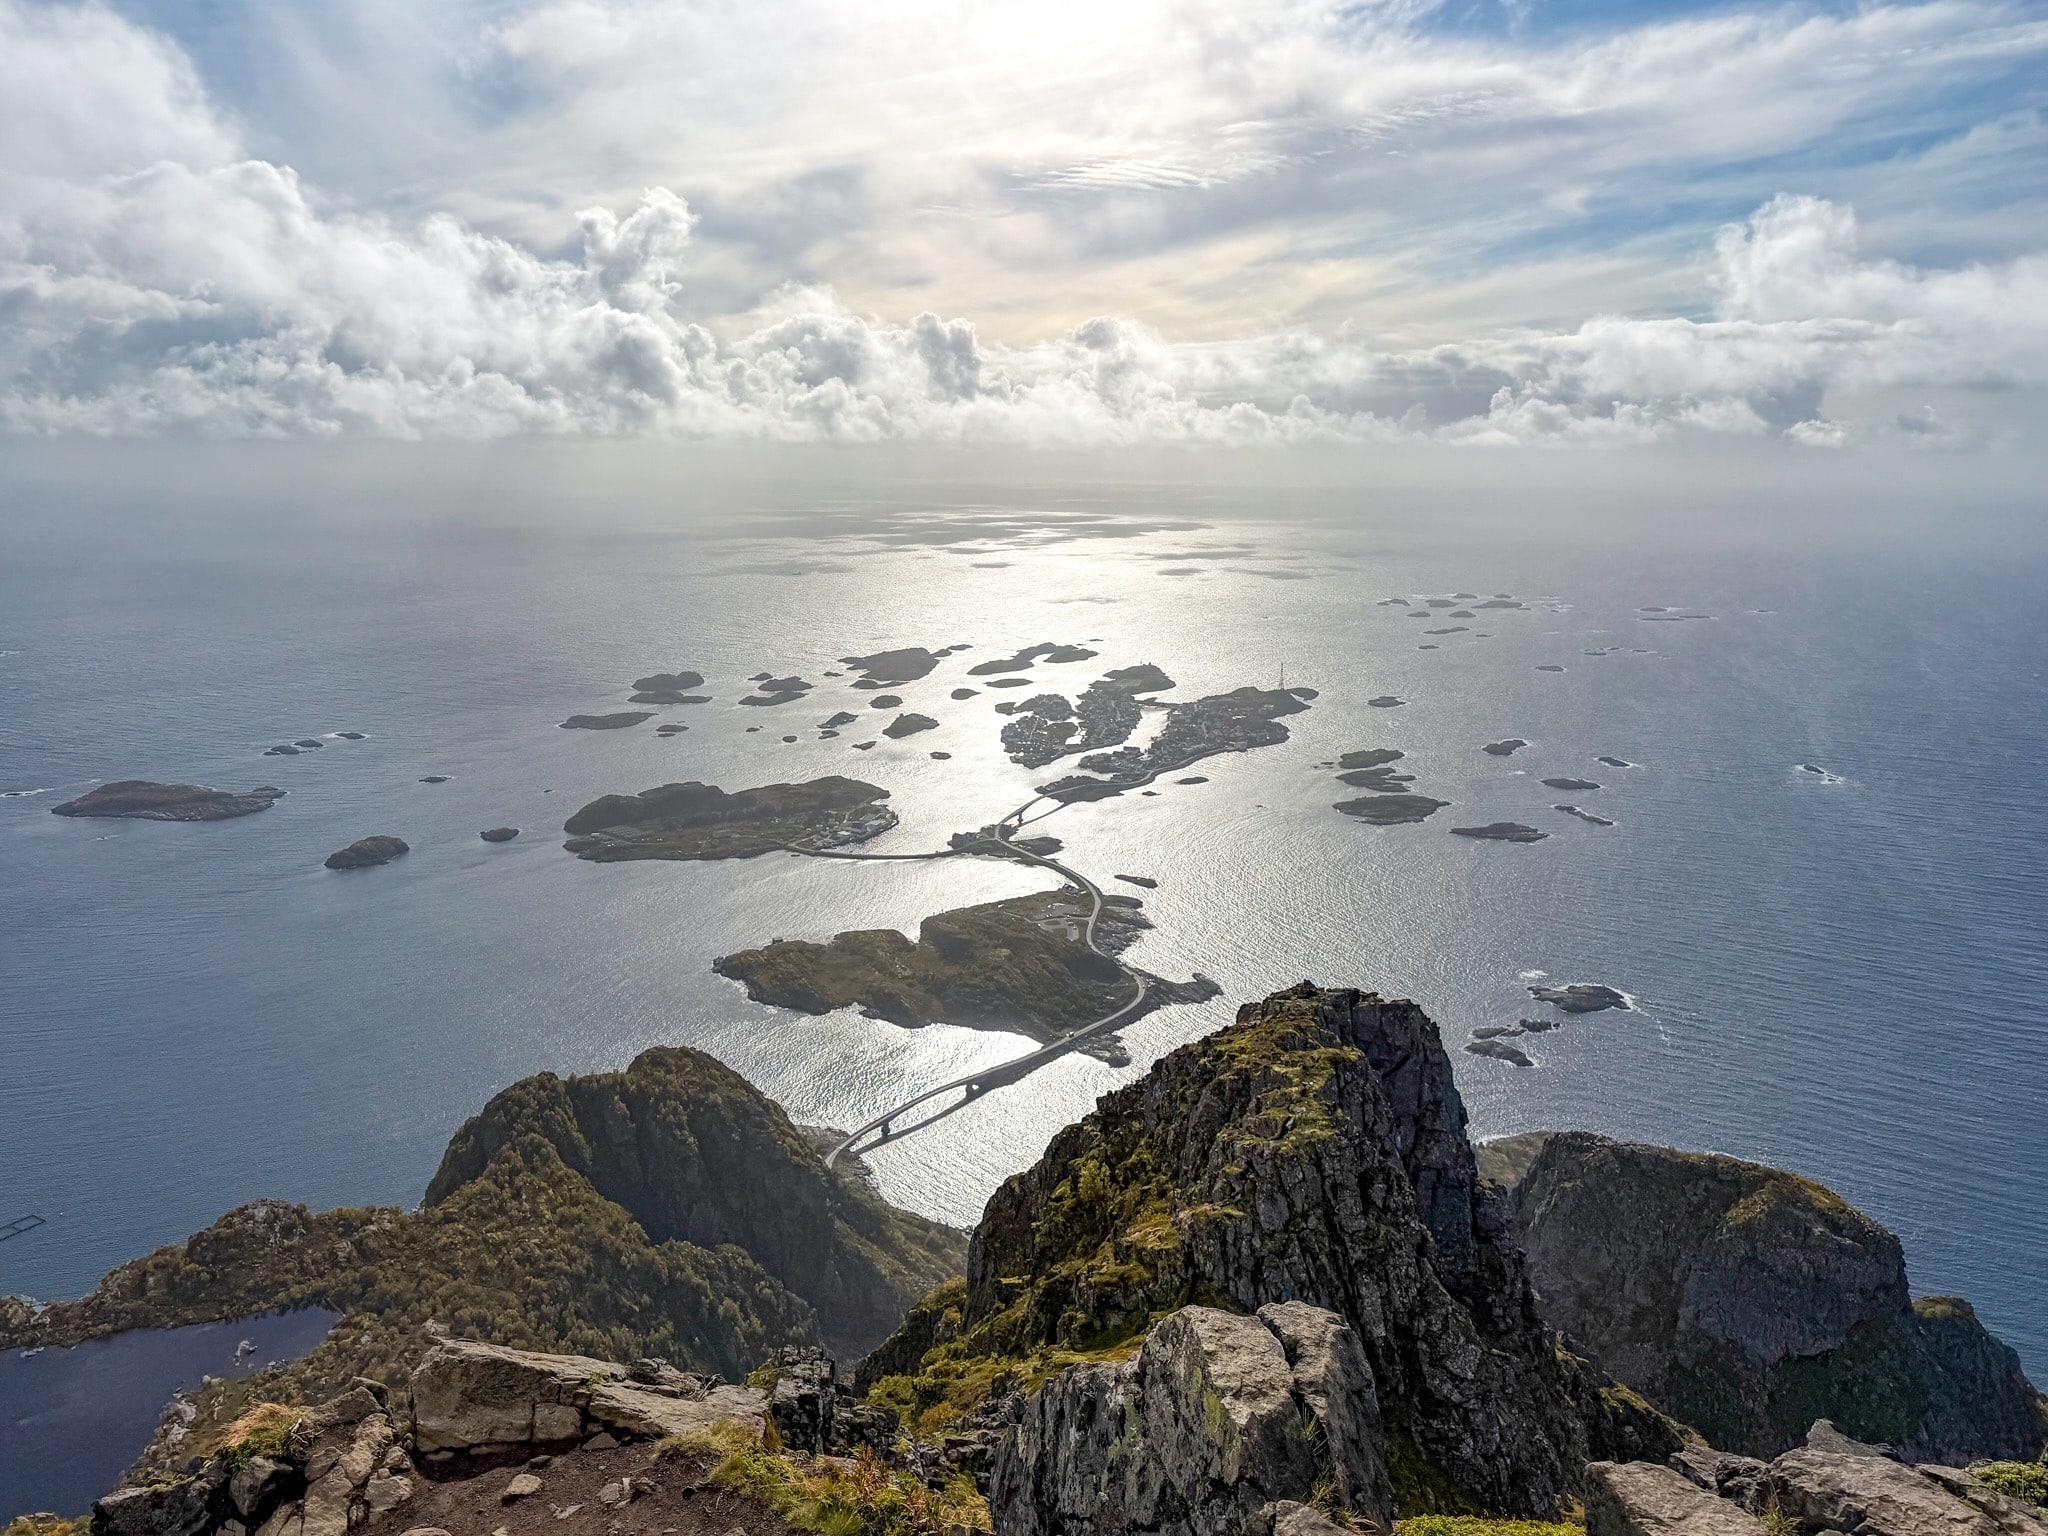
Festvågtind is the mountain right above Henningsvær, a fishing village in Lofoten built across a cluster of small islands connected by bridges. From the top, you see the whole village spread out on the water, which is why so many people climb it.
I hiked it on a cloudy day in early September, the morning after a full day of rain. On paper, the Festvågtind hike looks short and straightforward. In practice, it is not only very steep, but the most technical of the hikes I did in Lofoten, with huge boulders right at the start, a few spots where I strapped my poles to my backpack and pulled myself up with my hands, and a descent on slippery gravel that needed a lot of attention.
I never thought about turning back, though, and the view was worth every slippery step.
Below I share all the details from the start: how the closest paid parking area works, where the trailhead is, what each section of the trail looks like with my photos in order, a map of the route, and an honest take on how hard it is and who I’d recommend it to.
Where to Stay Near Henningsvær for This Hike
The trailhead sits on the road into Henningsvær, so anywhere on this side of the islands works as a base. These are the three places I’d pick:
- Lofoten Apartments: where I stayed for three nights, in Hopen just outside Kabelvåg, with a sea view, a full kitchen and private parking. There’s also a barrel sauna on the water you can book, which I used on the rainy day before this hike.
- Henningsvær Bryggehotell ⭐⭐⭐⭐⭐: right on the harbor in Henningsvær, a short drive from the trailhead.
- Thon Hotel Svolvær ⭐⭐⭐⭐⭐: a bigger hotel in Svolvær with breakfast included, good if you want restaurants and the ferry terminal close by.
I compared these and other cabins, rorbuer and hotels area by area in my guide to where to stay in Lofoten, and if you’re still planning the trip, here’s how to get to the Lofoten Islands.
Festvågtind Hike Numbers and Trail Map
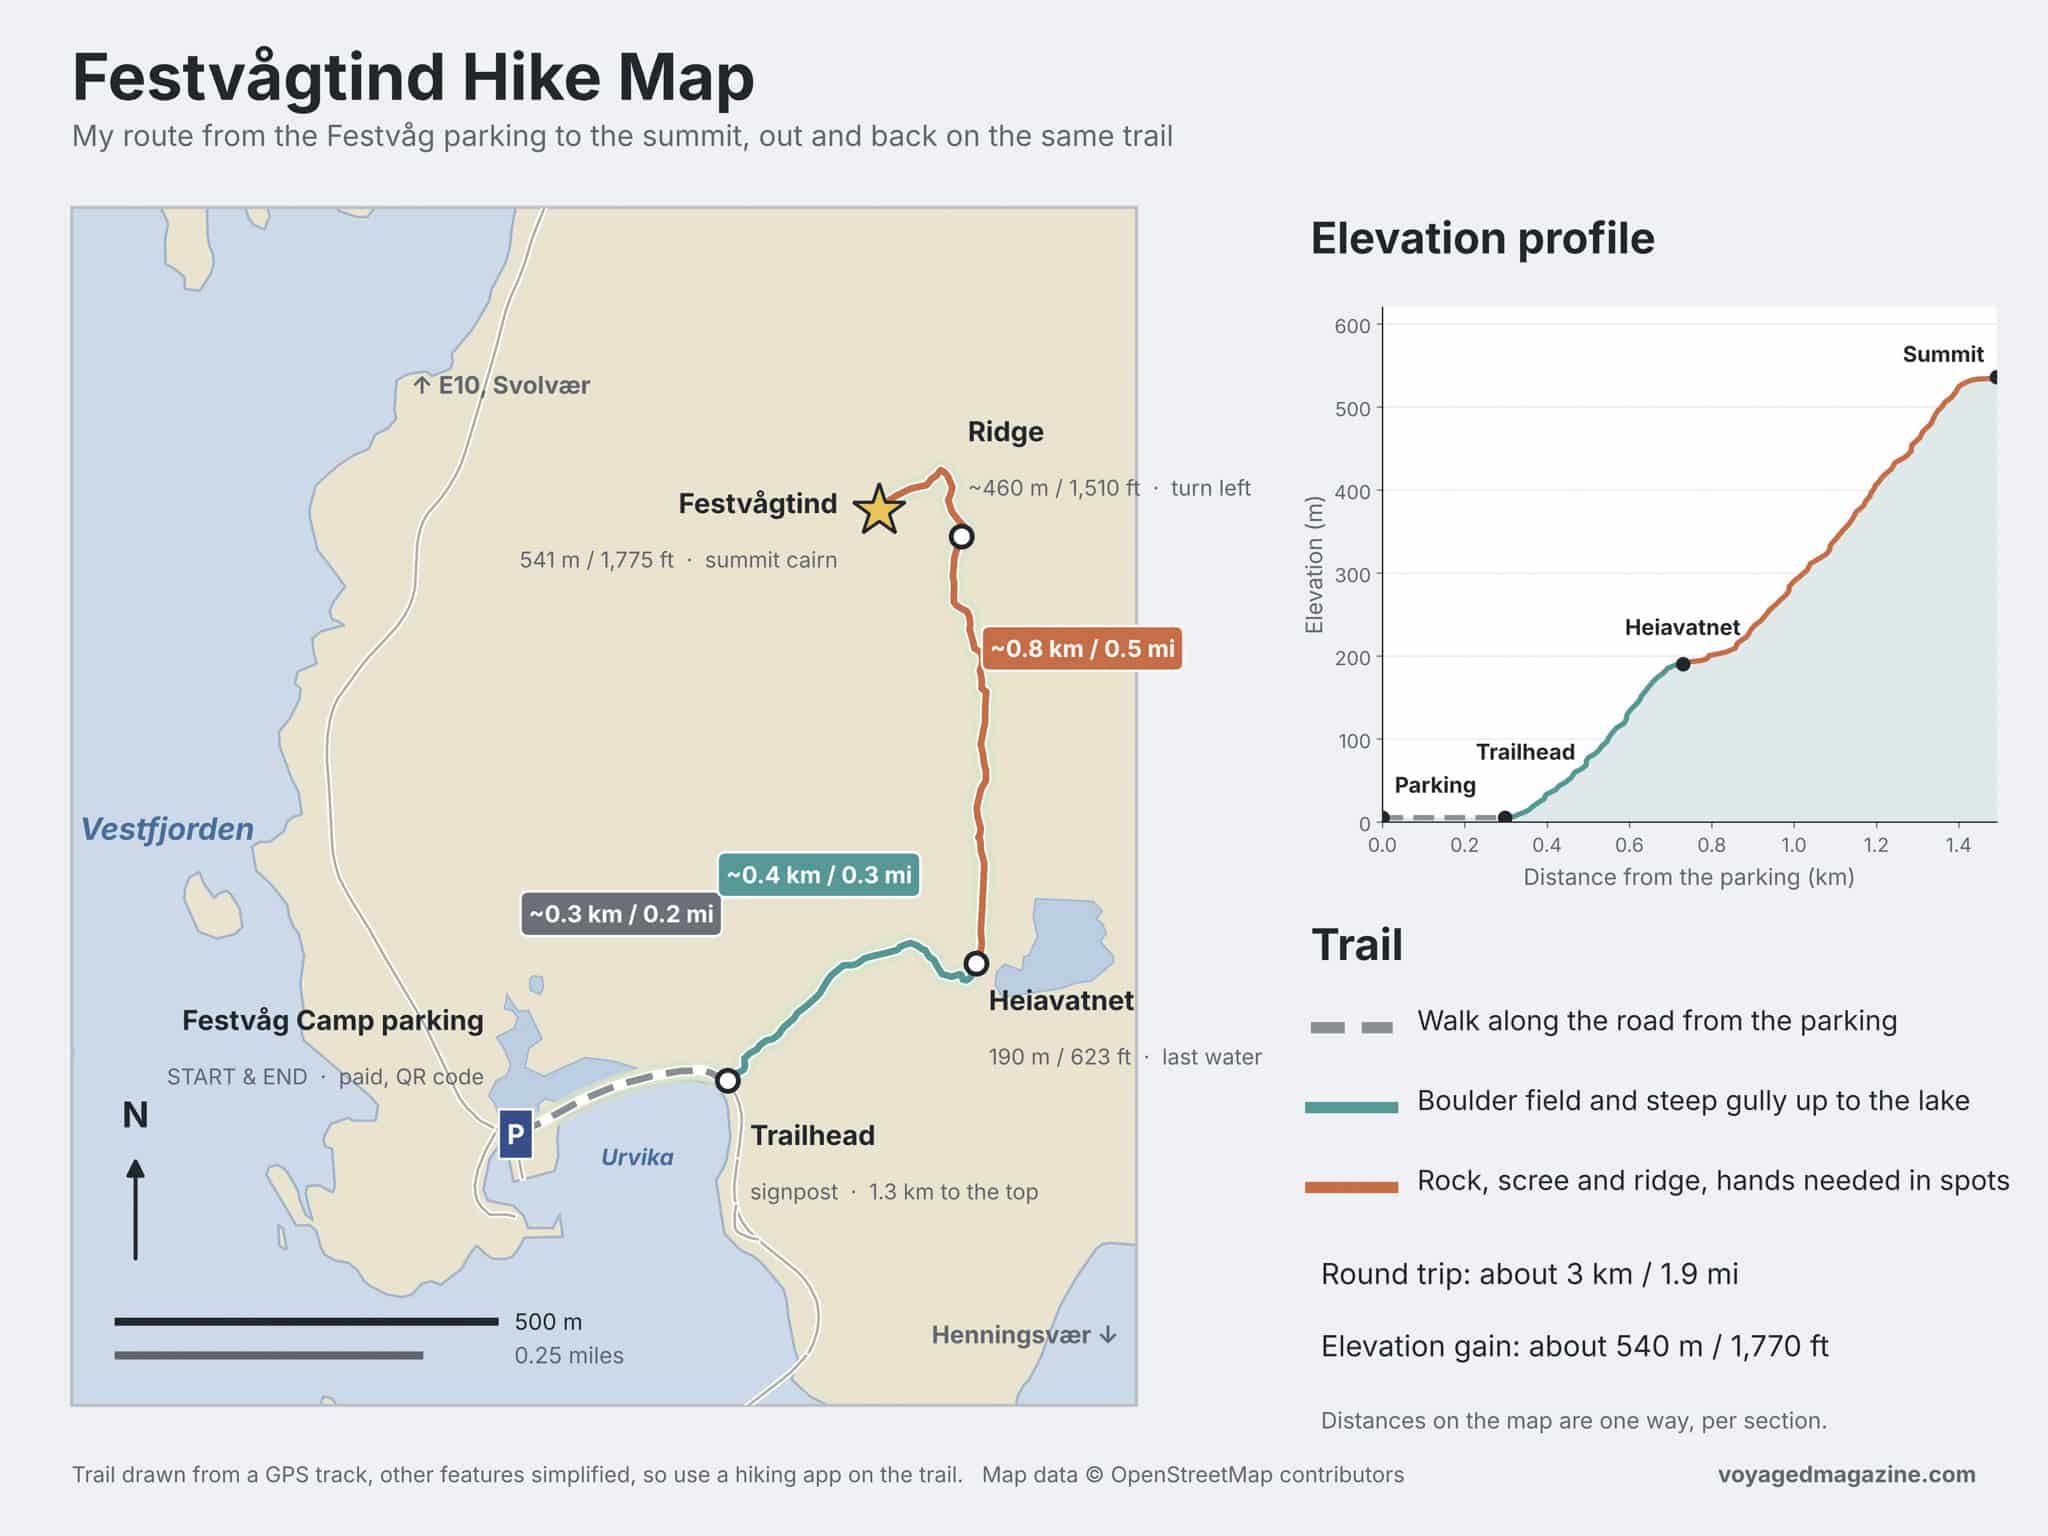
Most of the numbers below come from the official trailhead sign put up by the local municipality, plus my own track and times from the day.
- Trailhead: Festvåg, on the road into Henningsvær, 400 m (0.25 mi) before the first bridge to the village
- Distance: about 3 km (1.9 mi) round trip from the parking lot
- Elevation gain: about 540 m (1,770 ft), with the summit at 541 m (1,775 ft)
- Average grade: 42%, which is about as steep as it sounds
- Time: 2 to 4 hours according to the sign. It took me 3 hours and 30 minutes.
- Difficulty: hard. The sign rates it “demanding,” and I agree
- Best season: June to September. April, May and October depend on snow and ice
- Parking: Festvåg Camp, 175 NOK (about $17) for 8 hours, paid by QR code
- Facilities: none. No toilets at the parking lot or on the trail
- Rules to know: dogs are allowed, but on a leash from April 1 to August 20
Where to Park for the Festvågtind Hike
There are two places to park for the Festvågtind hike. One is a big paid lot, which works for everyone but isn’t cheap. The other is a tiny free area by the road, with room for only a few cars.
The paid lot is on the road to Henningsvær, a few minutes on foot from the trailhead. You’ll find it on Google Maps as “Festvagtind Parking,” and you’ll recognize it by the old white building with a red roof at the back. The lot belongs to a private campsite, and it’s set up mostly for camper vans and tents. That explains the pricing, which surprised me a little the first time I scanned the code:
- Cars: 175 NOK (about $17) for 8 hours or 225 NOK for 24 hours. Eight hours is the shortest option, even if the hike only takes you three or four
- Camper vans: separate rates, shown when you pay
- How to pay: scan the QR code on the signs around the lot, which opens the payment page at info.festvag.com. This was one of the few parking lots in Lofoten where the EasyPark app didn’t work
- Facilities: none. No toilets, no water, no trash bins
When I arrived around 11:30 a.m. on a weekday in early September there was plenty of space. In July and August, I’d expect it to fill up much earlier.
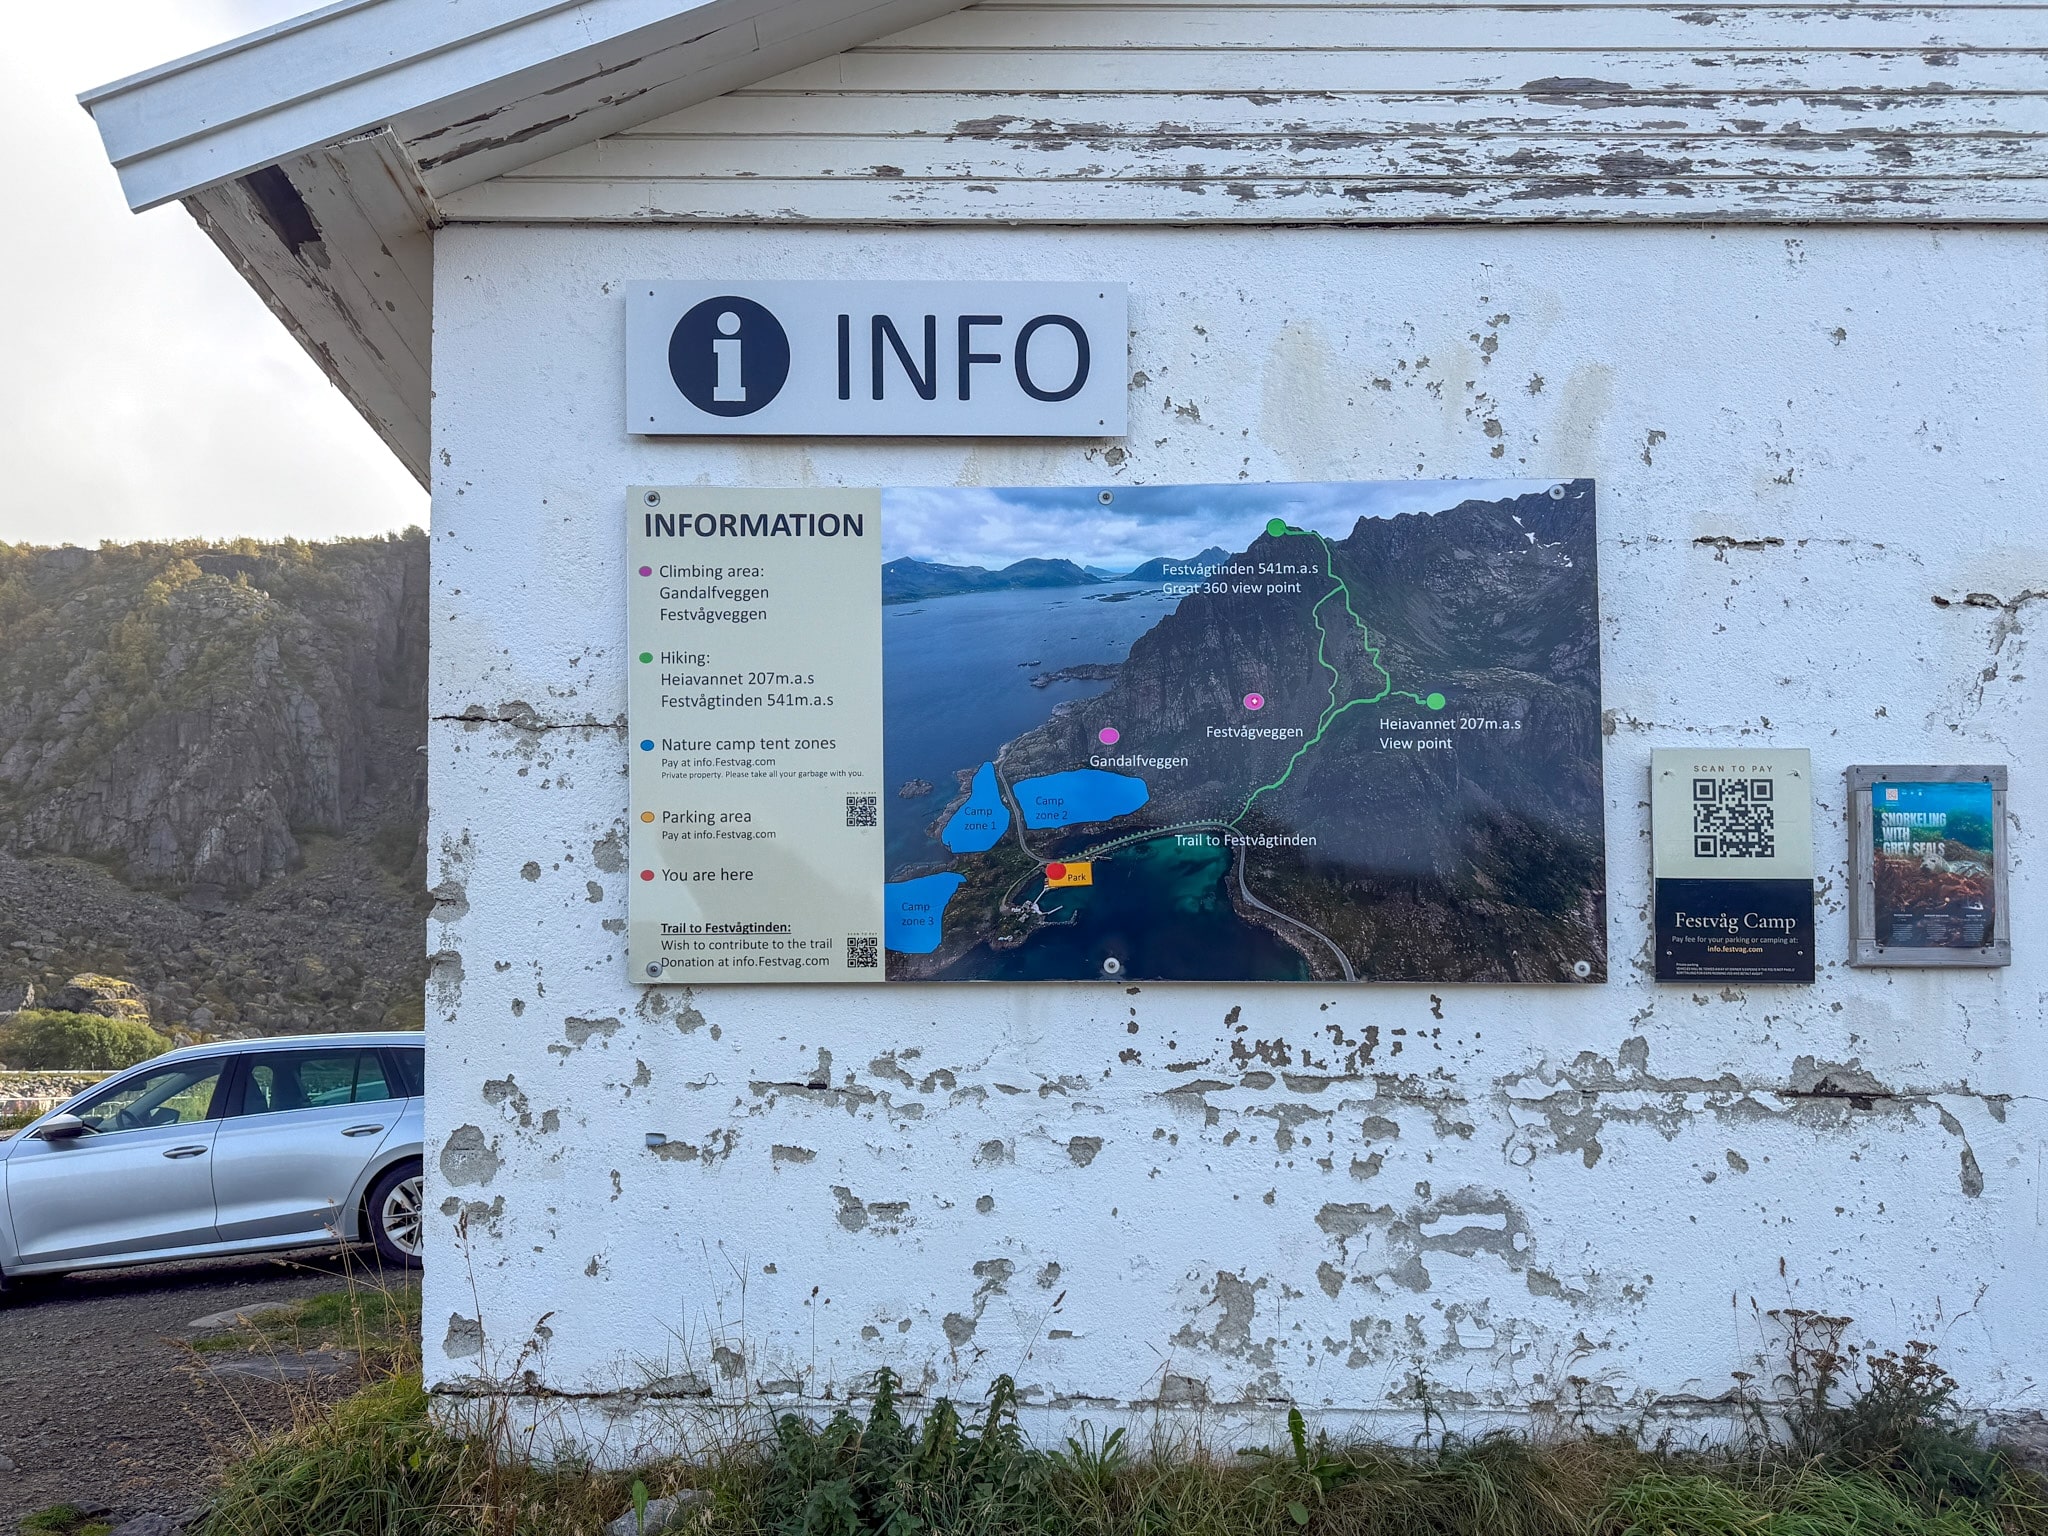
Festvåg Camp info board and parking QR code
The info board on the camp building, with the QR code you scan to pay for parking
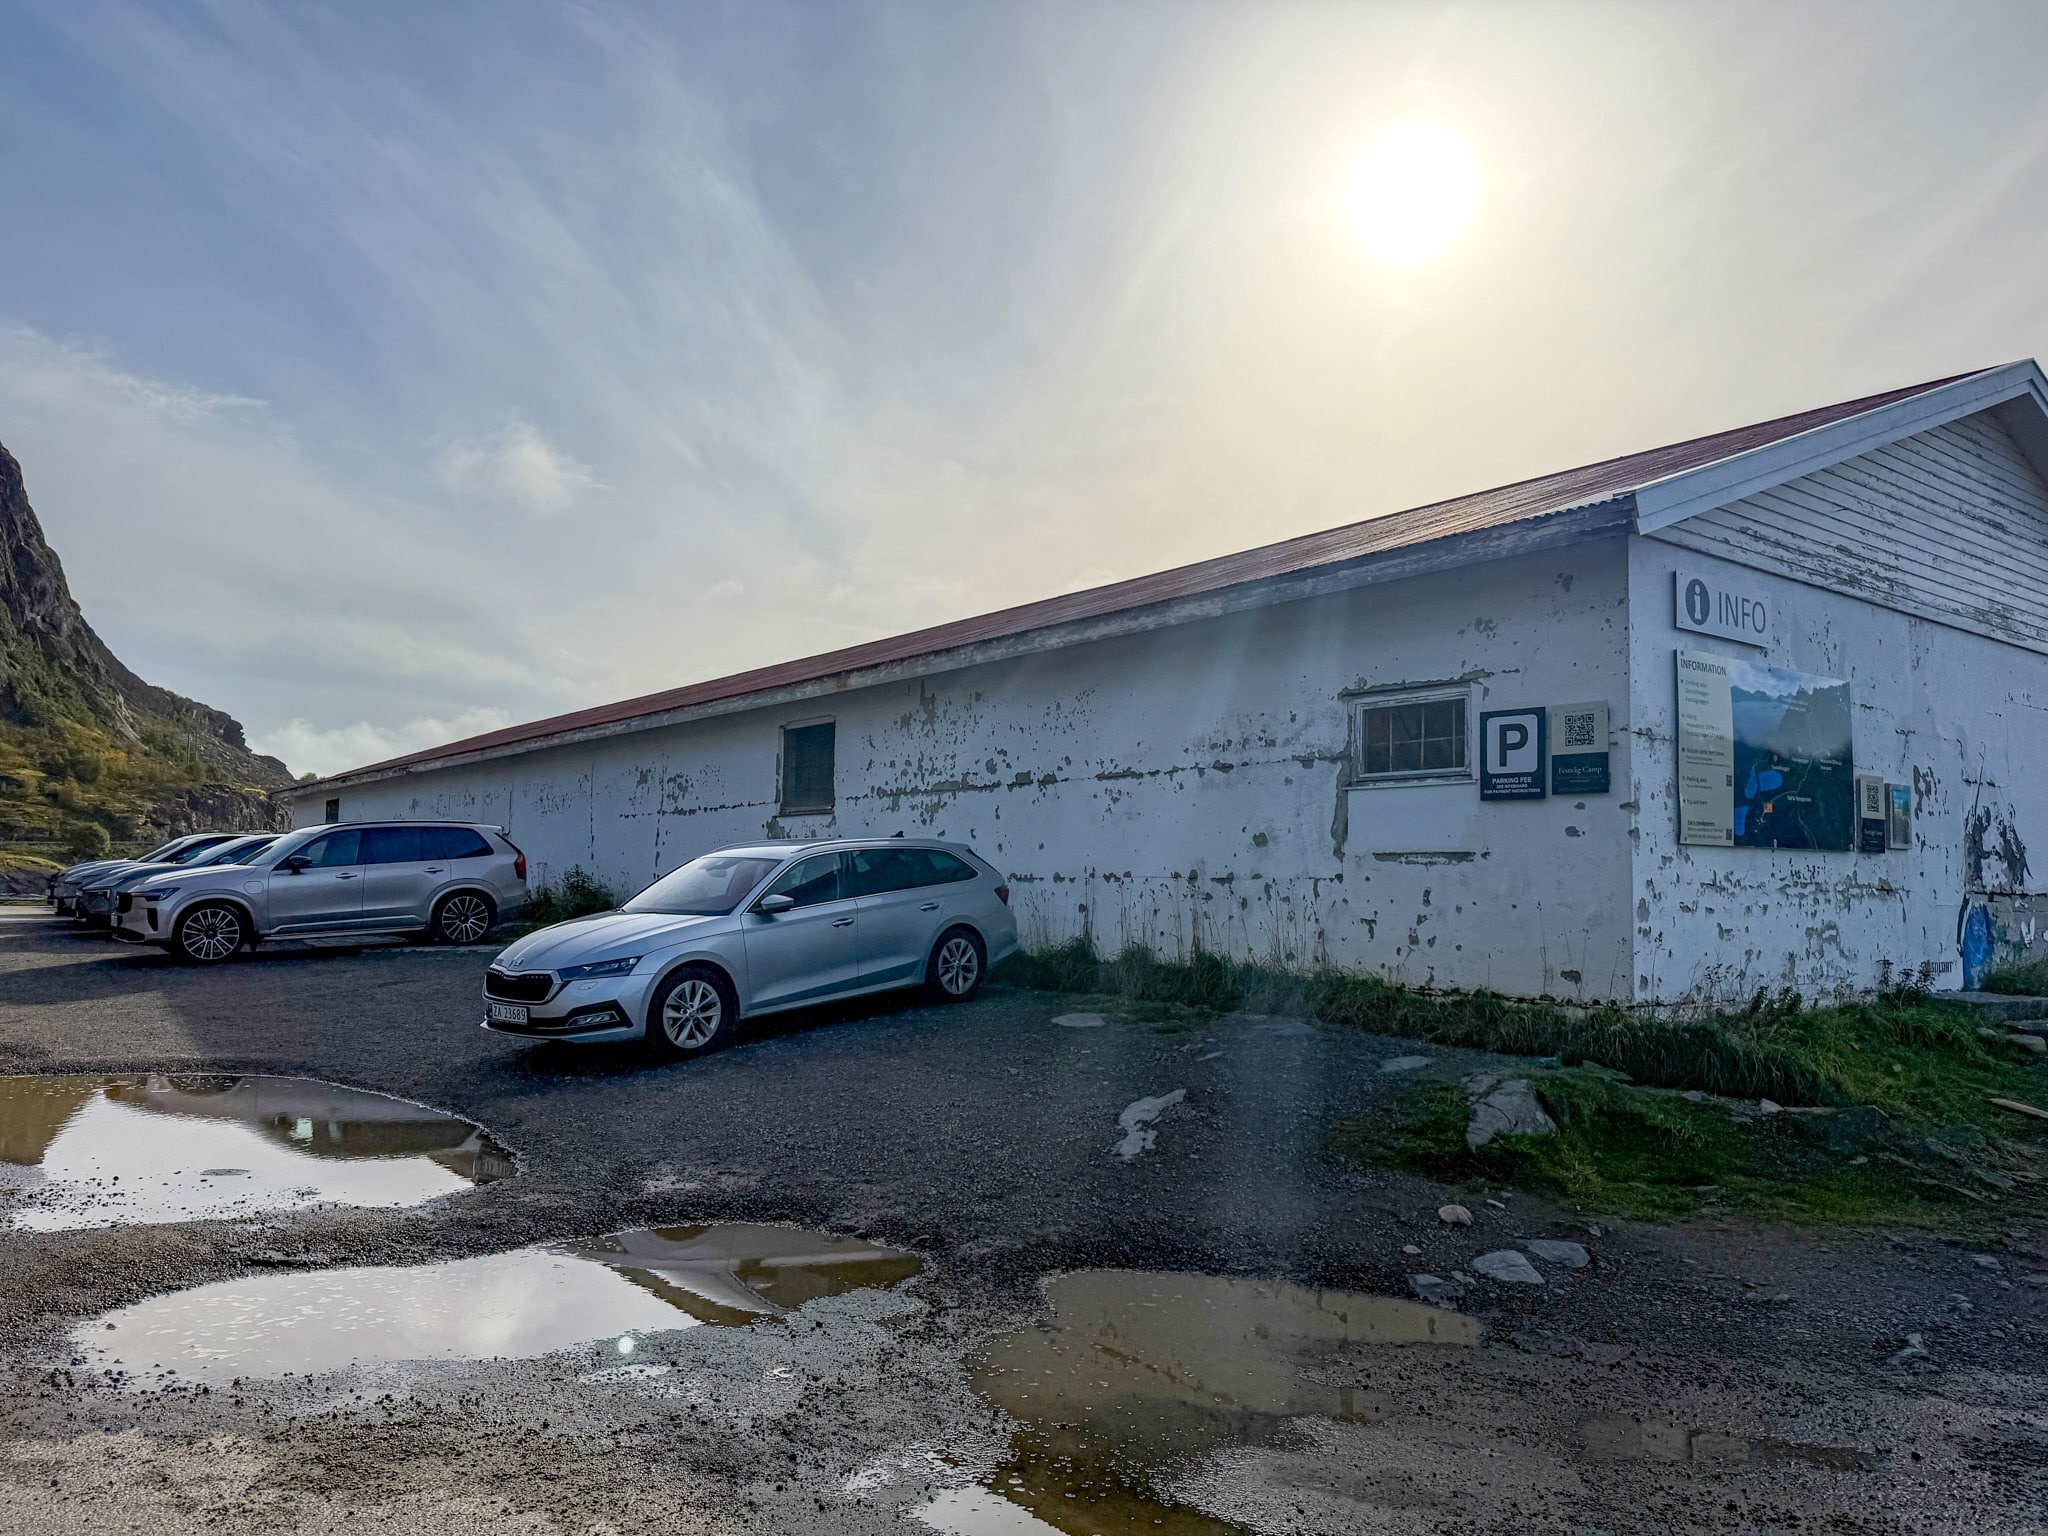
Festvåg Camp parking for Festvågtind
The Festvåg Camp lot, where I parked for the hike, the morning after a full day of rain
There's also a tiny, free roadside parking area, located farther along the road toward Henningsvær, but it's usually taken. If you try your luck there, park only in marked spots and never in the passing places with an “M” sign, which are there to let cars pass each other on narrow roads. I explain how parking fines work around the islands in my guide to renting a car in Lofoten.
Festvågtind Hike Route, Explained Section by Section
Below is the route the way I walked it, with my photos in order from the bottom to the top. The official map on the trailhead board shows the same line: up through the boulders, past the lake Heiavatnet, then along the back of the mountain to the summit.
Walking From the Parking Lot to the Trailhead
From the parking lot, walk a few minutes along the road toward Henningsvær, keeping to the side, until you reach a green signpost that says “Festvågtind 1,3 km.” That’s the distance to the summit from here.
Right behind it there’s a large board from the municipality with a map of the route, the hiking facts and a color wheel showing which months are safe for this hike. It also gives the first useful tip: walk up the stairs to the old water tank and keep to the right over the big rocks. The path on the left leads to Festvågveggen, a rock wall used by climbers, and you’d have to turn back.
The water tank has its own small sign. It was built in 1884, holds 250 cubic meters, and it was Henningsvær’s only water supply until 1932.
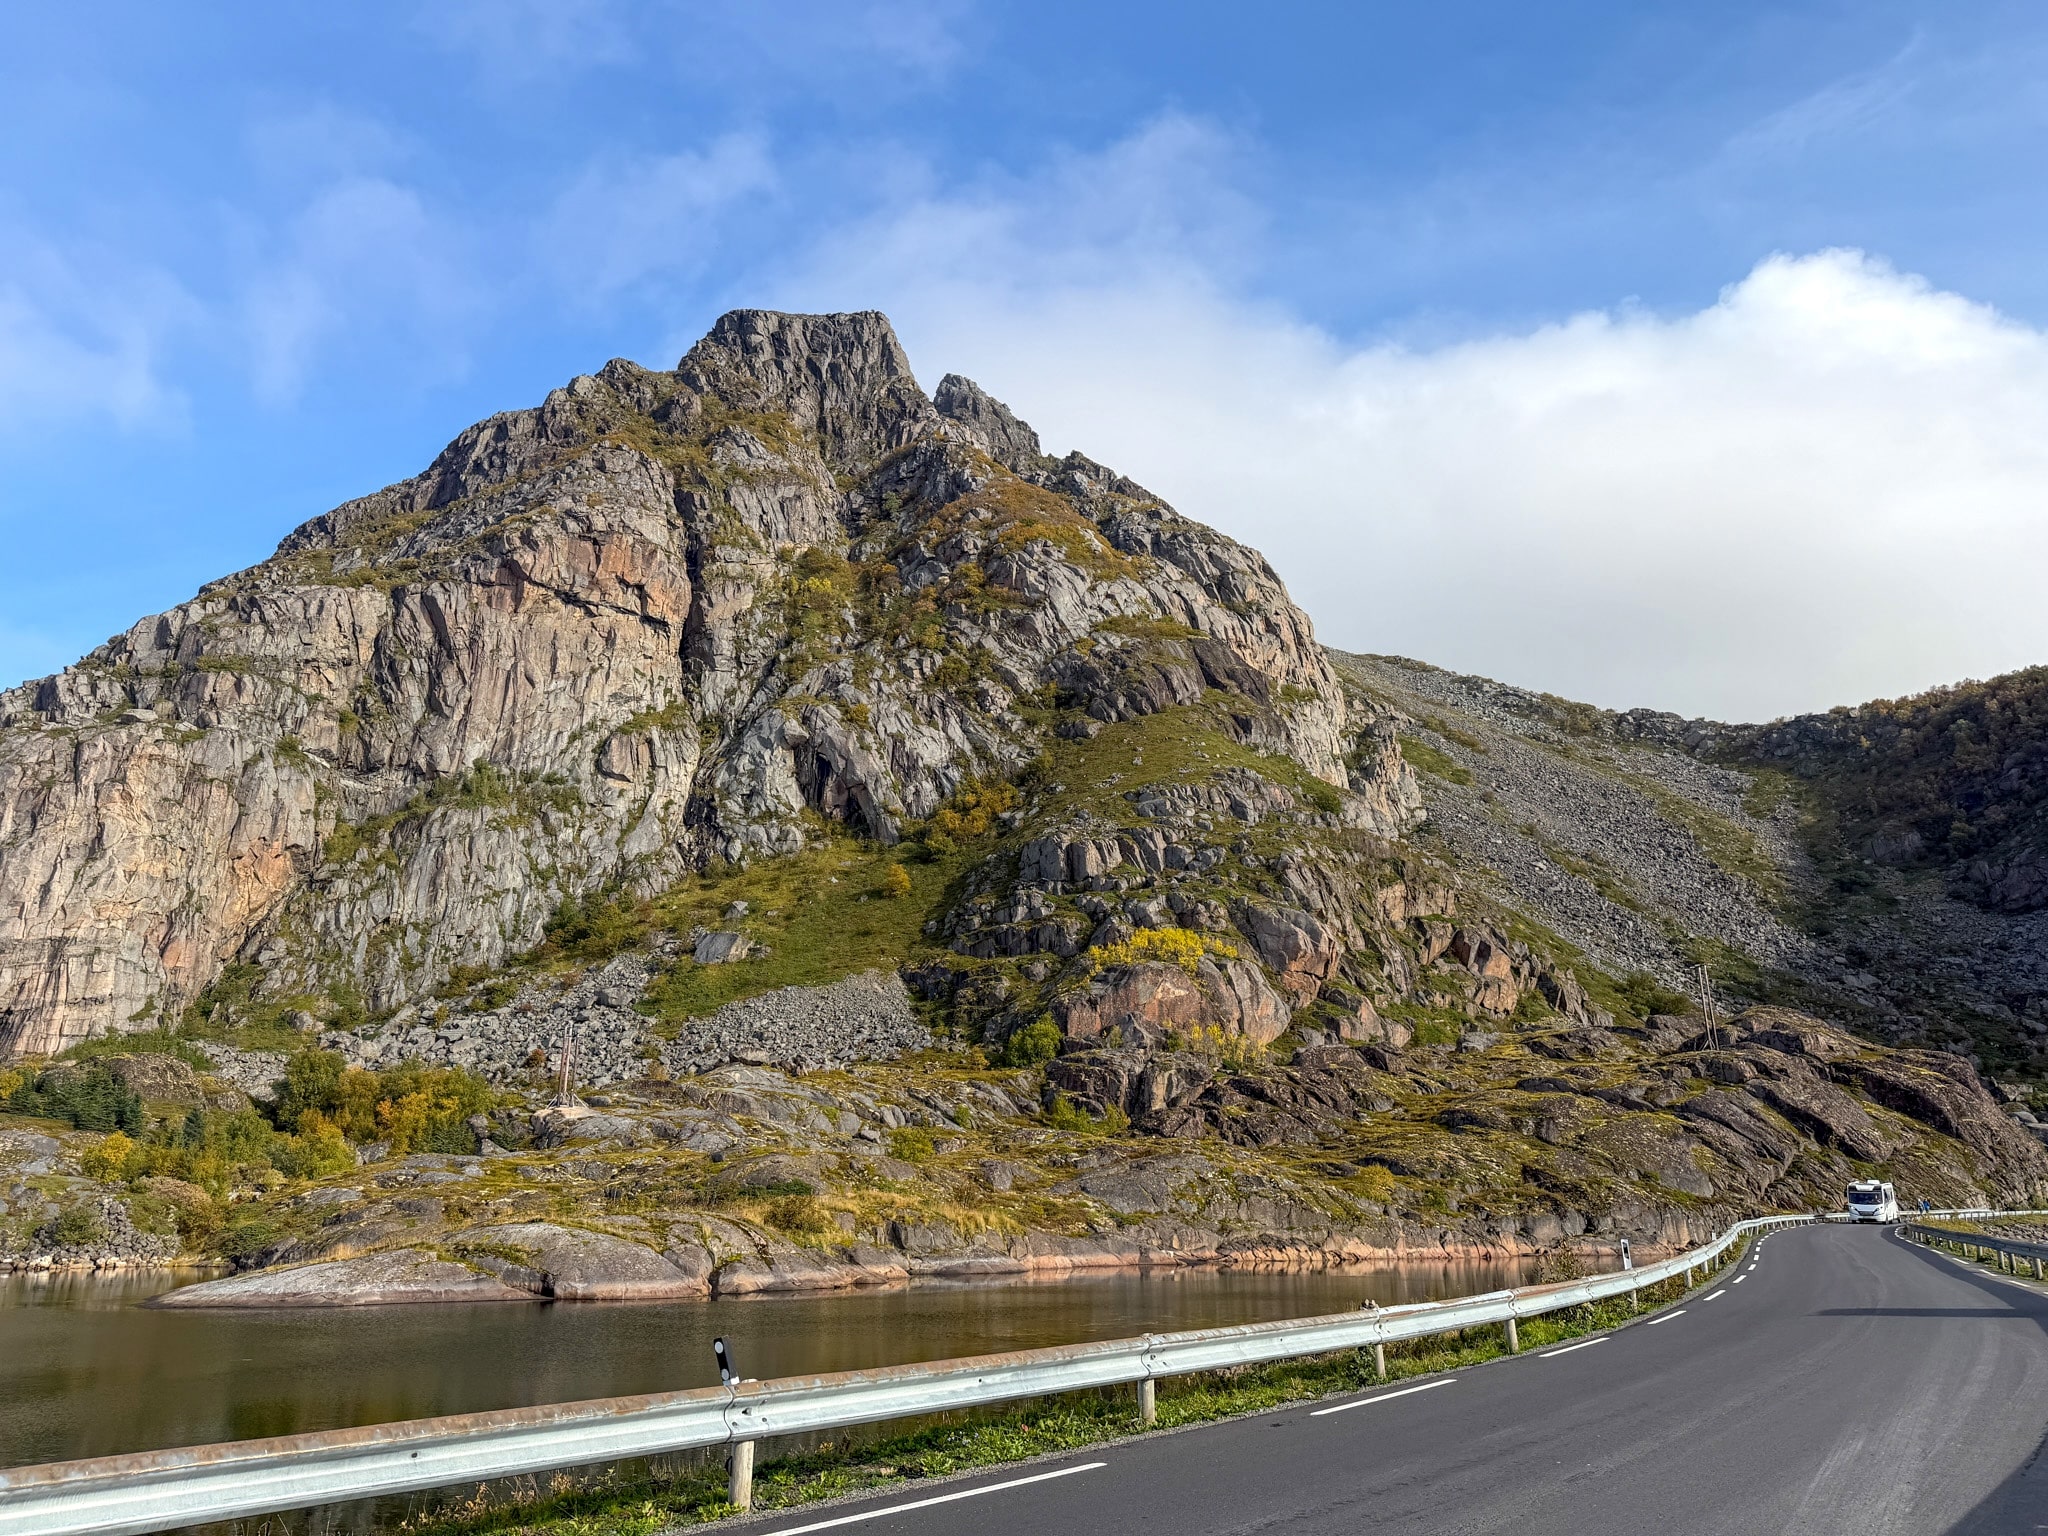
Walking from the parking lot to the Festvågtind trailhead
Walking along the road from the parking lot, with Festvågtind straight ahead
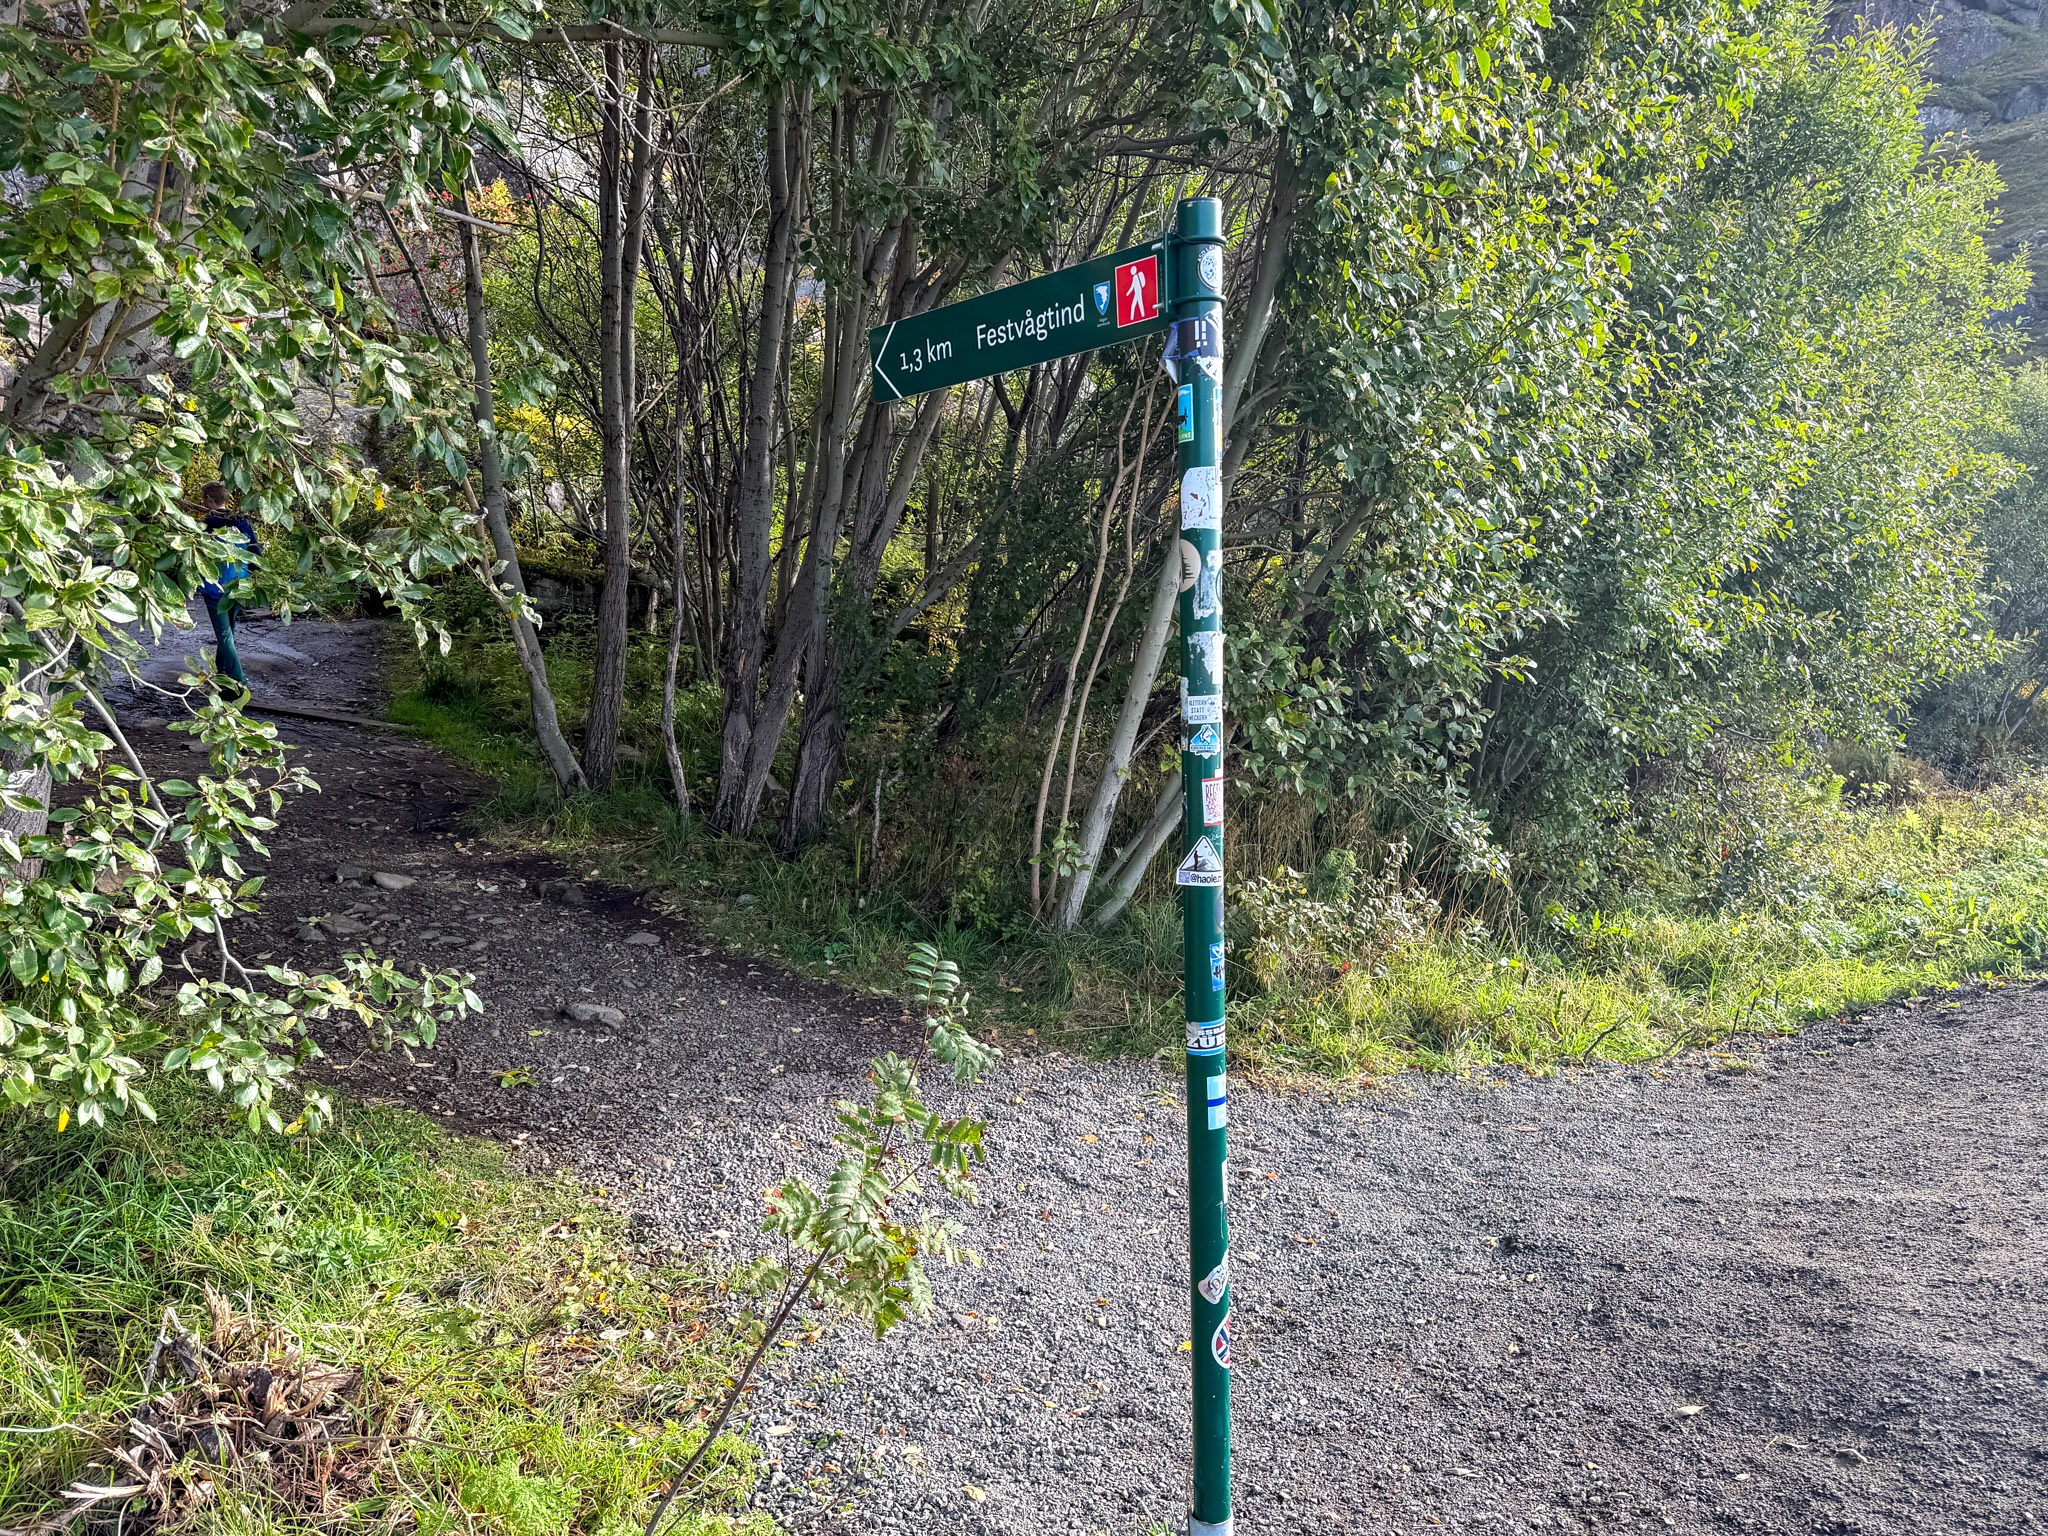
Festvågtind trailhead signpost
The signpost at the trailhead: 1.3 km to the top, almost all of it uphill
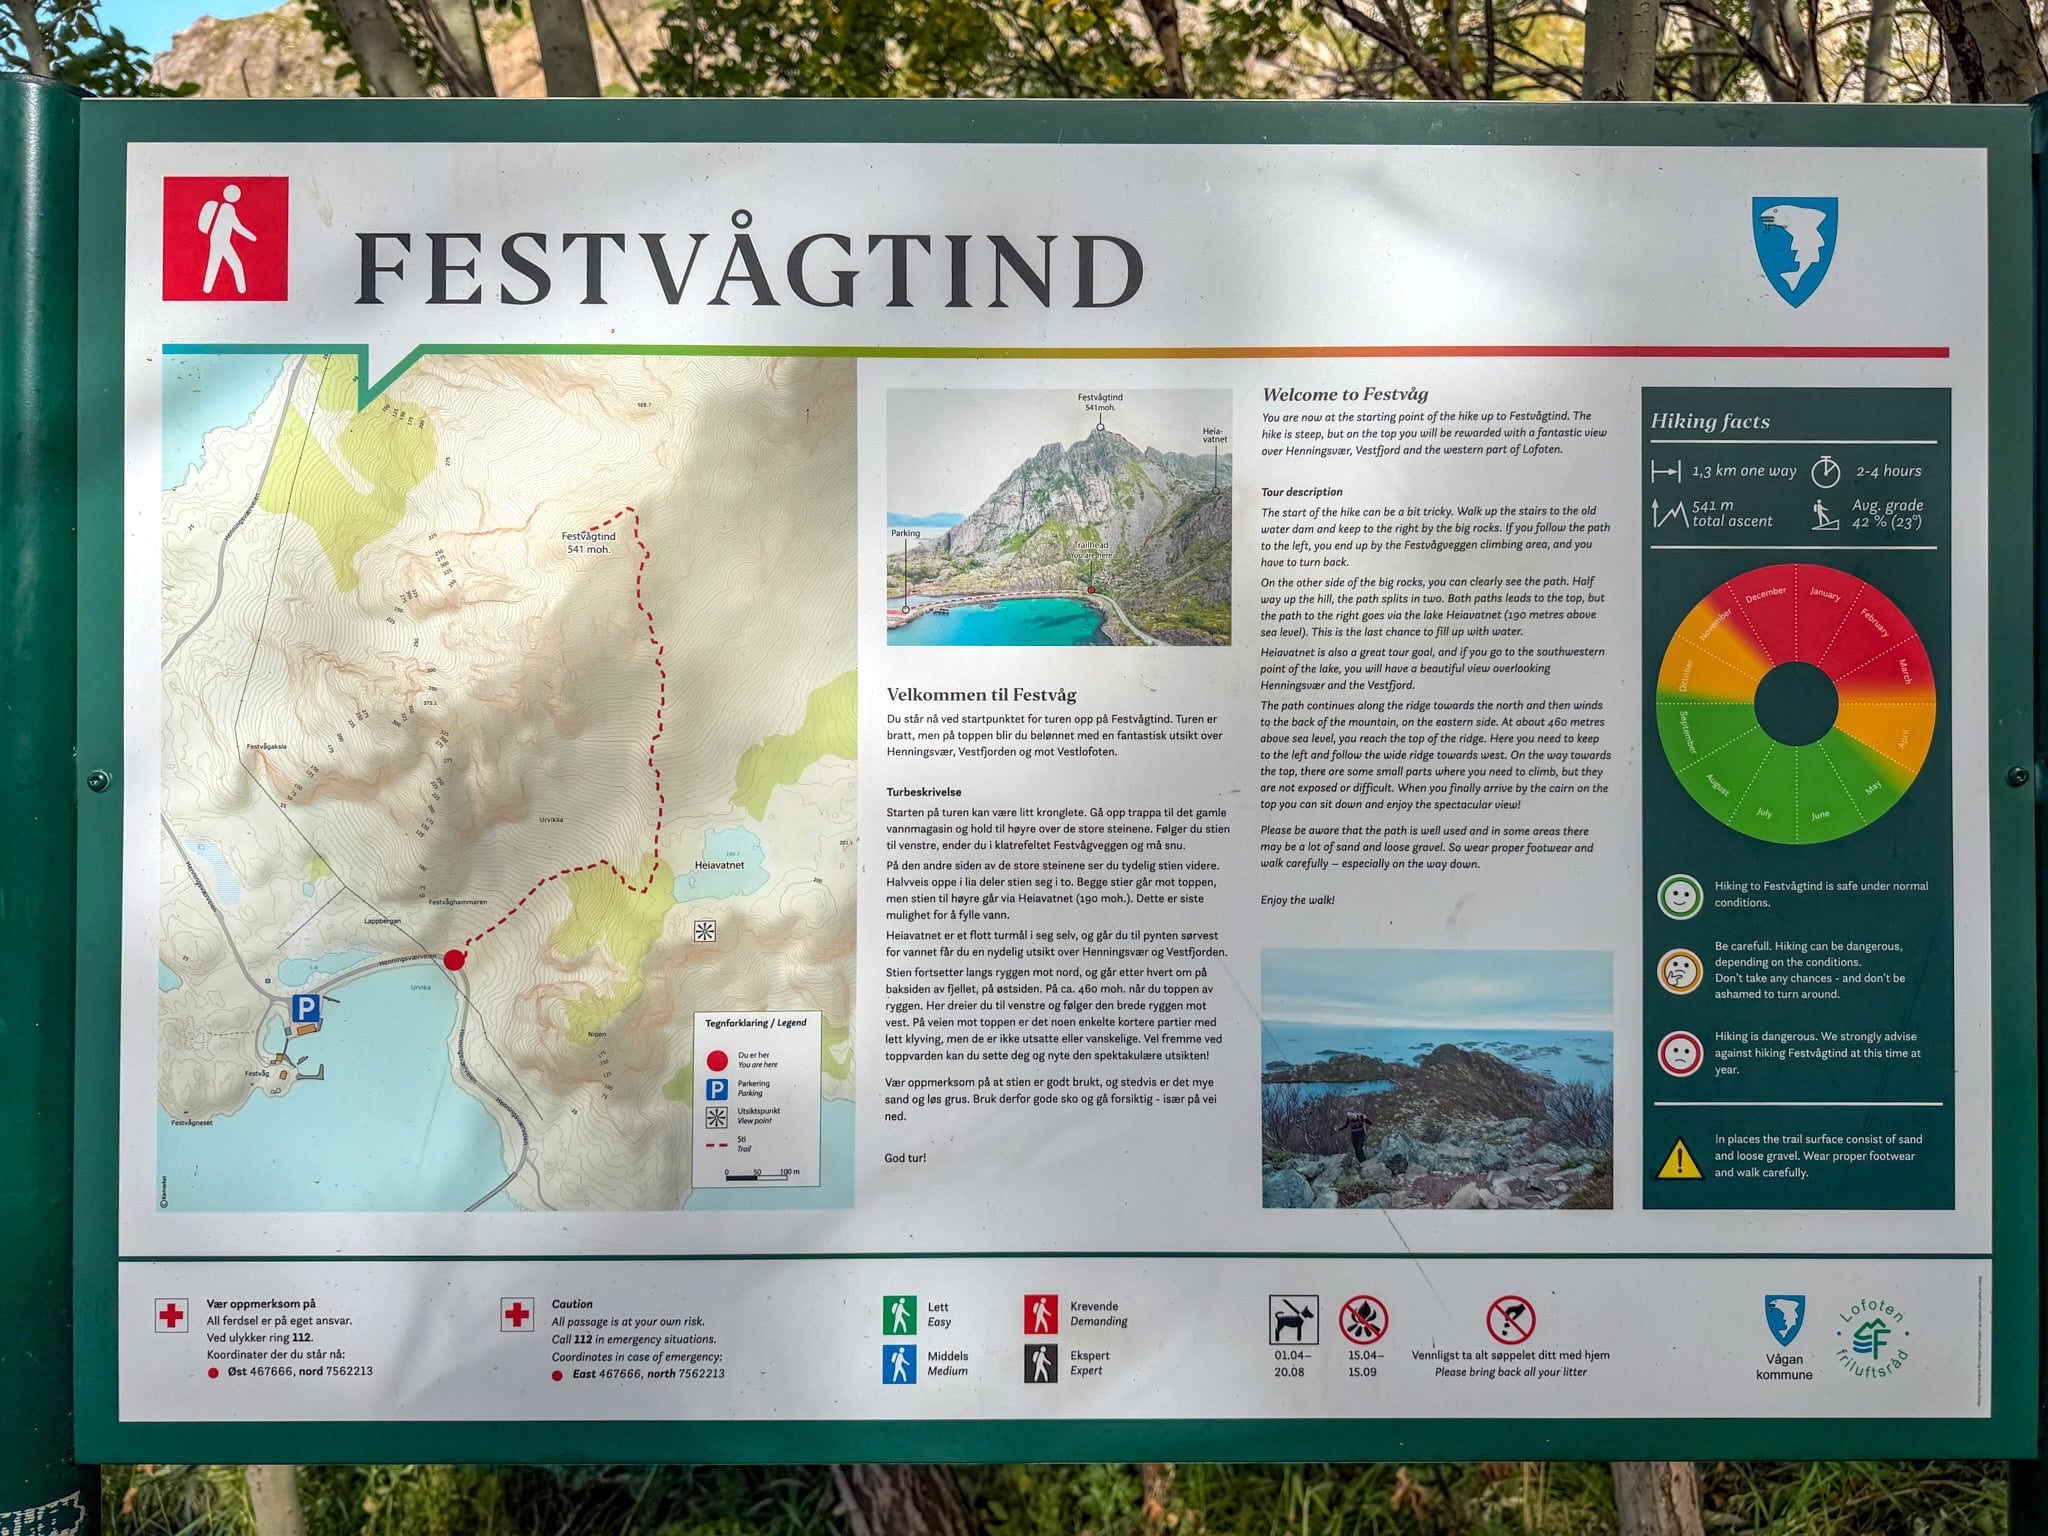
Festvågtind official trailhead sign
The official board at the trailhead. Worth a quick read before you start
The Boulder Field
The tricky part starts almost immediately. After a narrow passage between a rock wall and a few stone steps, the trail disappears into a field of huge boulders, most of them taller than me. There’s no single obvious line here. Faint painted marks on the rocks help a bit, but mostly you look ahead, pick the way that seems safest, and climb over. The best advice is to slow down and test each step, especially if the rocks are wet like they were for me.
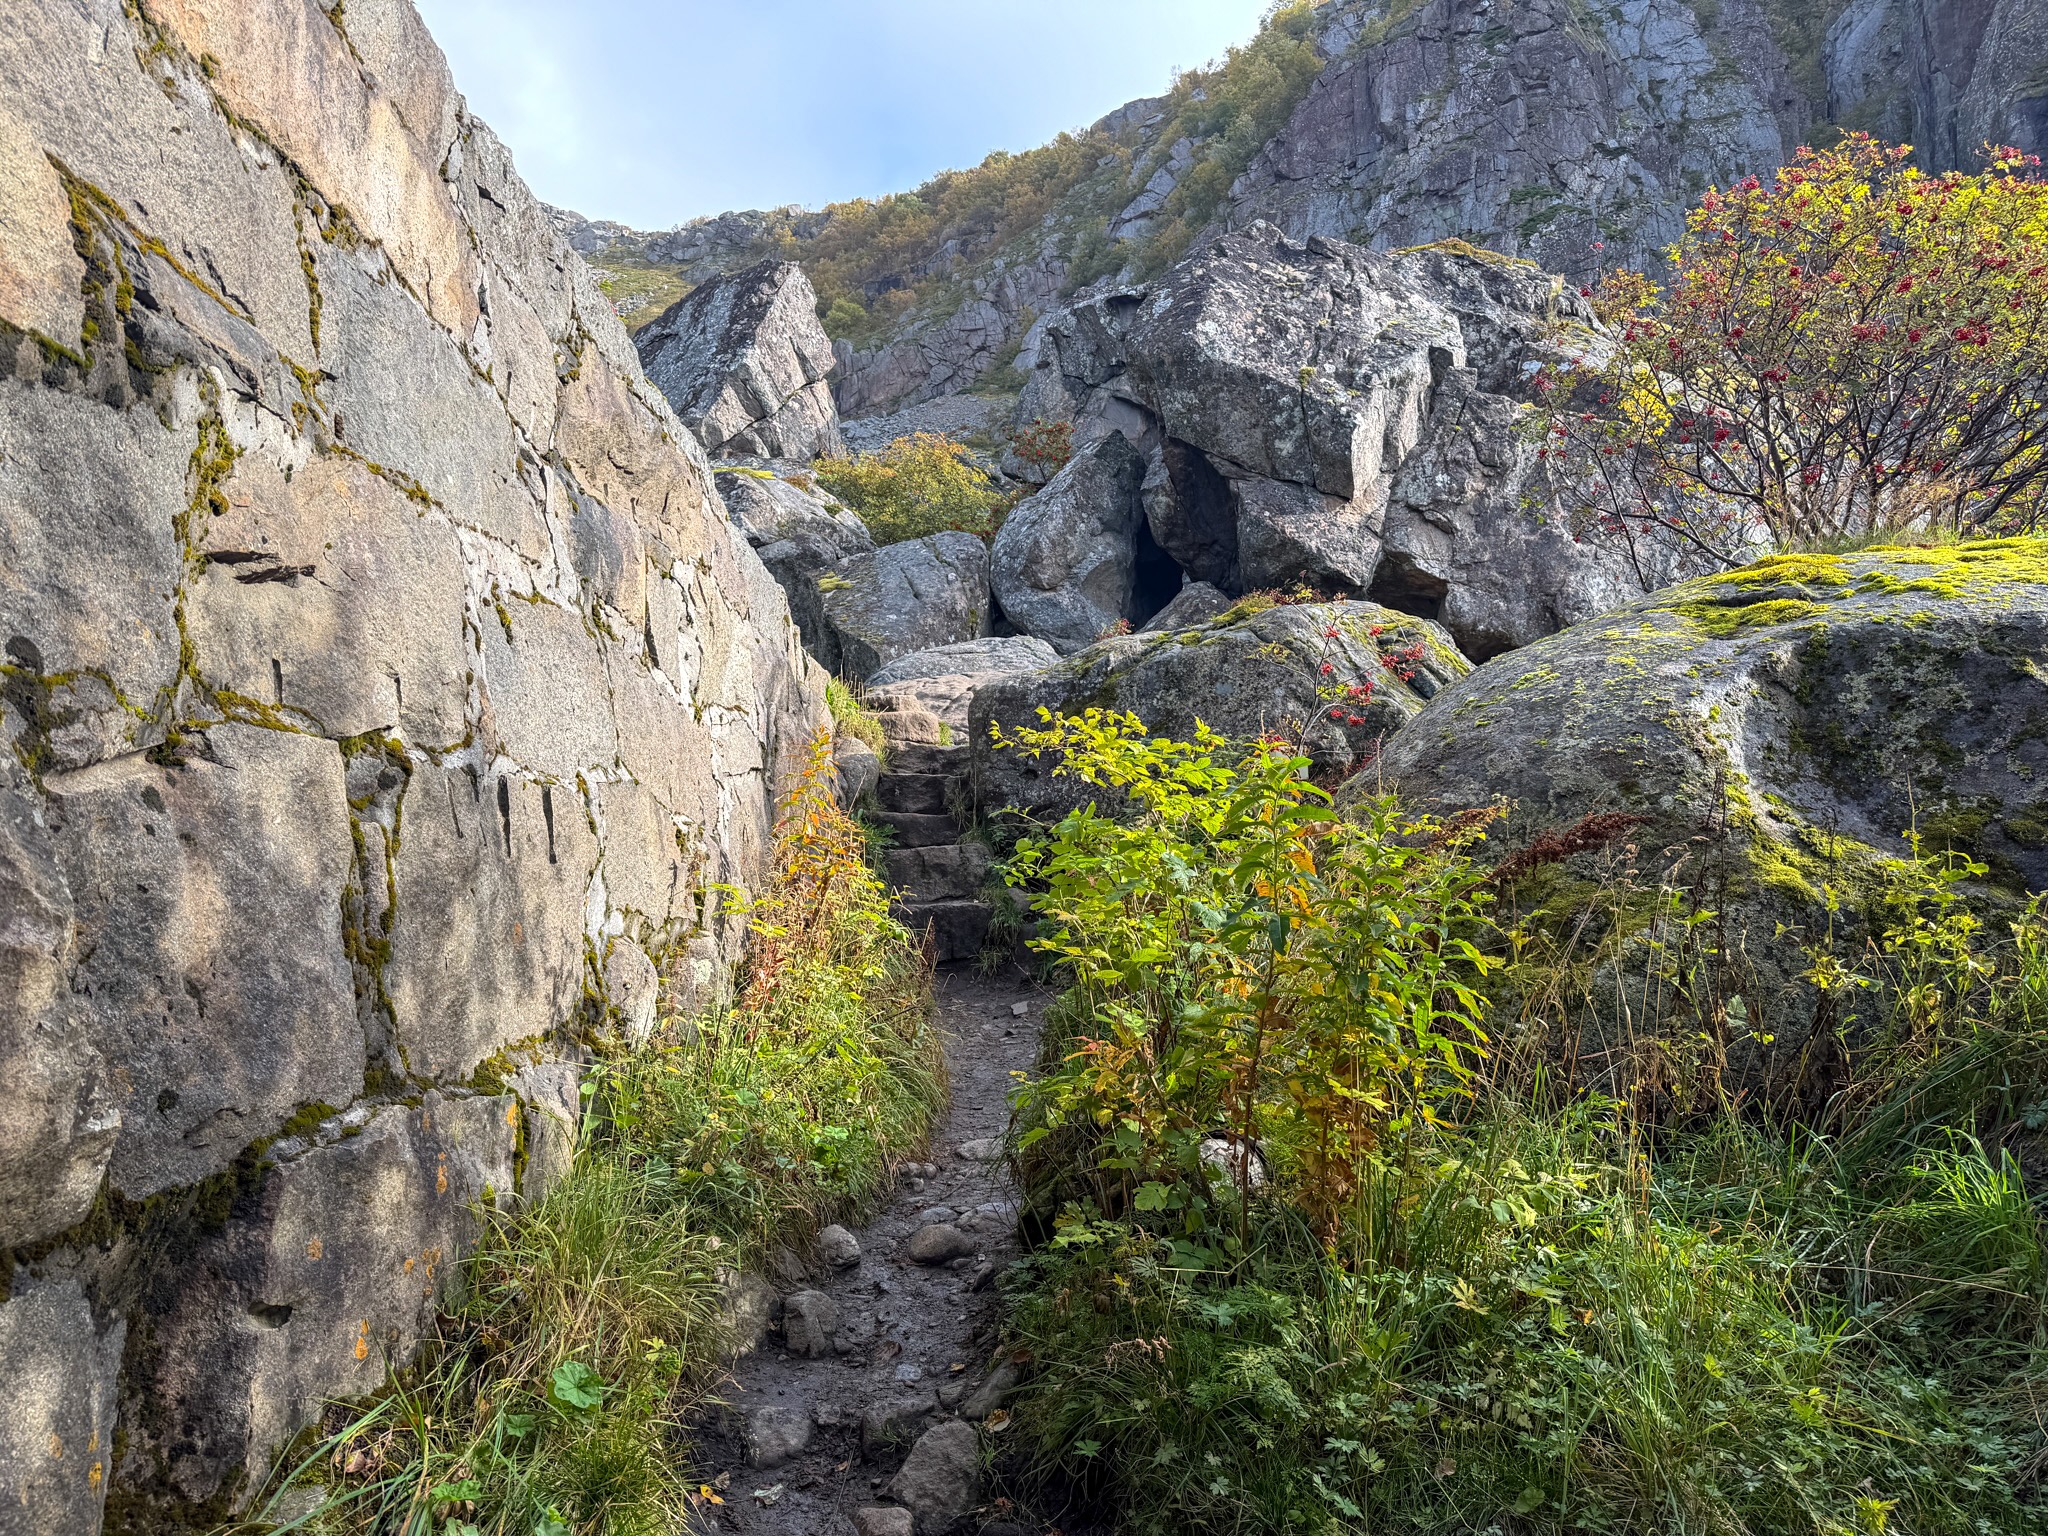
Start of the Festvågtind trail
The first stretch, squeezed between the rock wall and the boulders
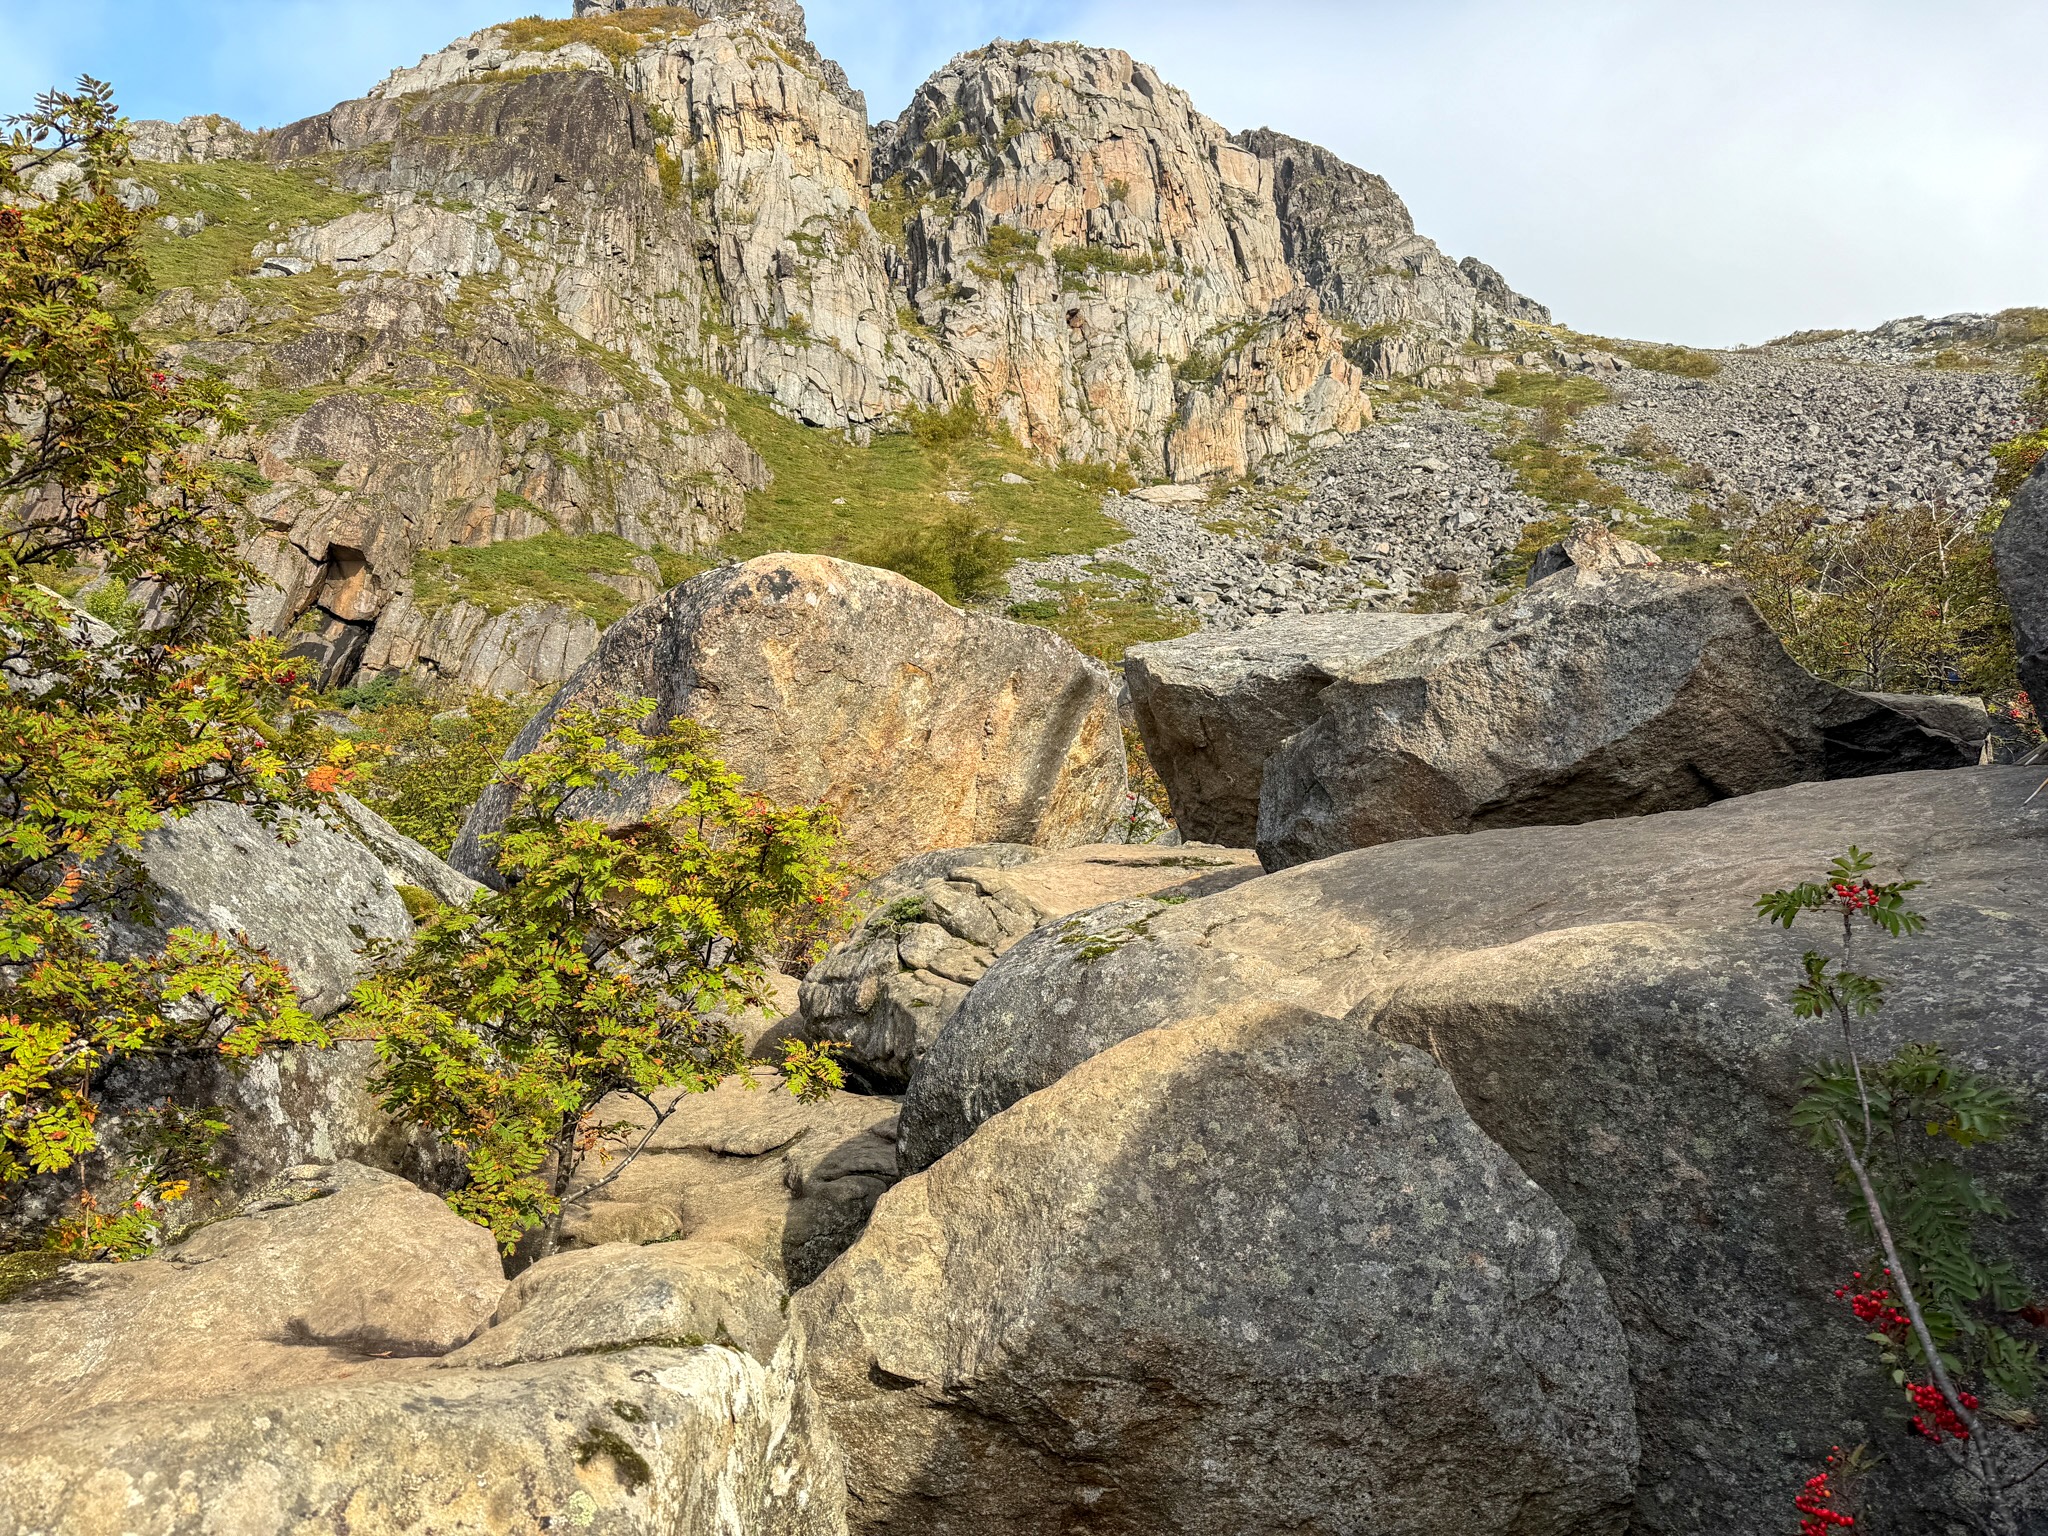
Festvågtind boulder field
The boulder field. You climb over these, and there’s no marked path through them
Up the Gully
Once you’re past the big rocks, an actual trail appears: packed dirt mixed with small stones, climbing straight up a gully between two rocky ridges. This is where you start to feel the 42% average grade. It’s steady, steep work, with rowan trees full of red berries along the sides and a long slope of loose rock on your left.
Turn around every now and then. The view back over the turquoise bay of Urvika and the road you drove in on gets better with every few meters you climb.
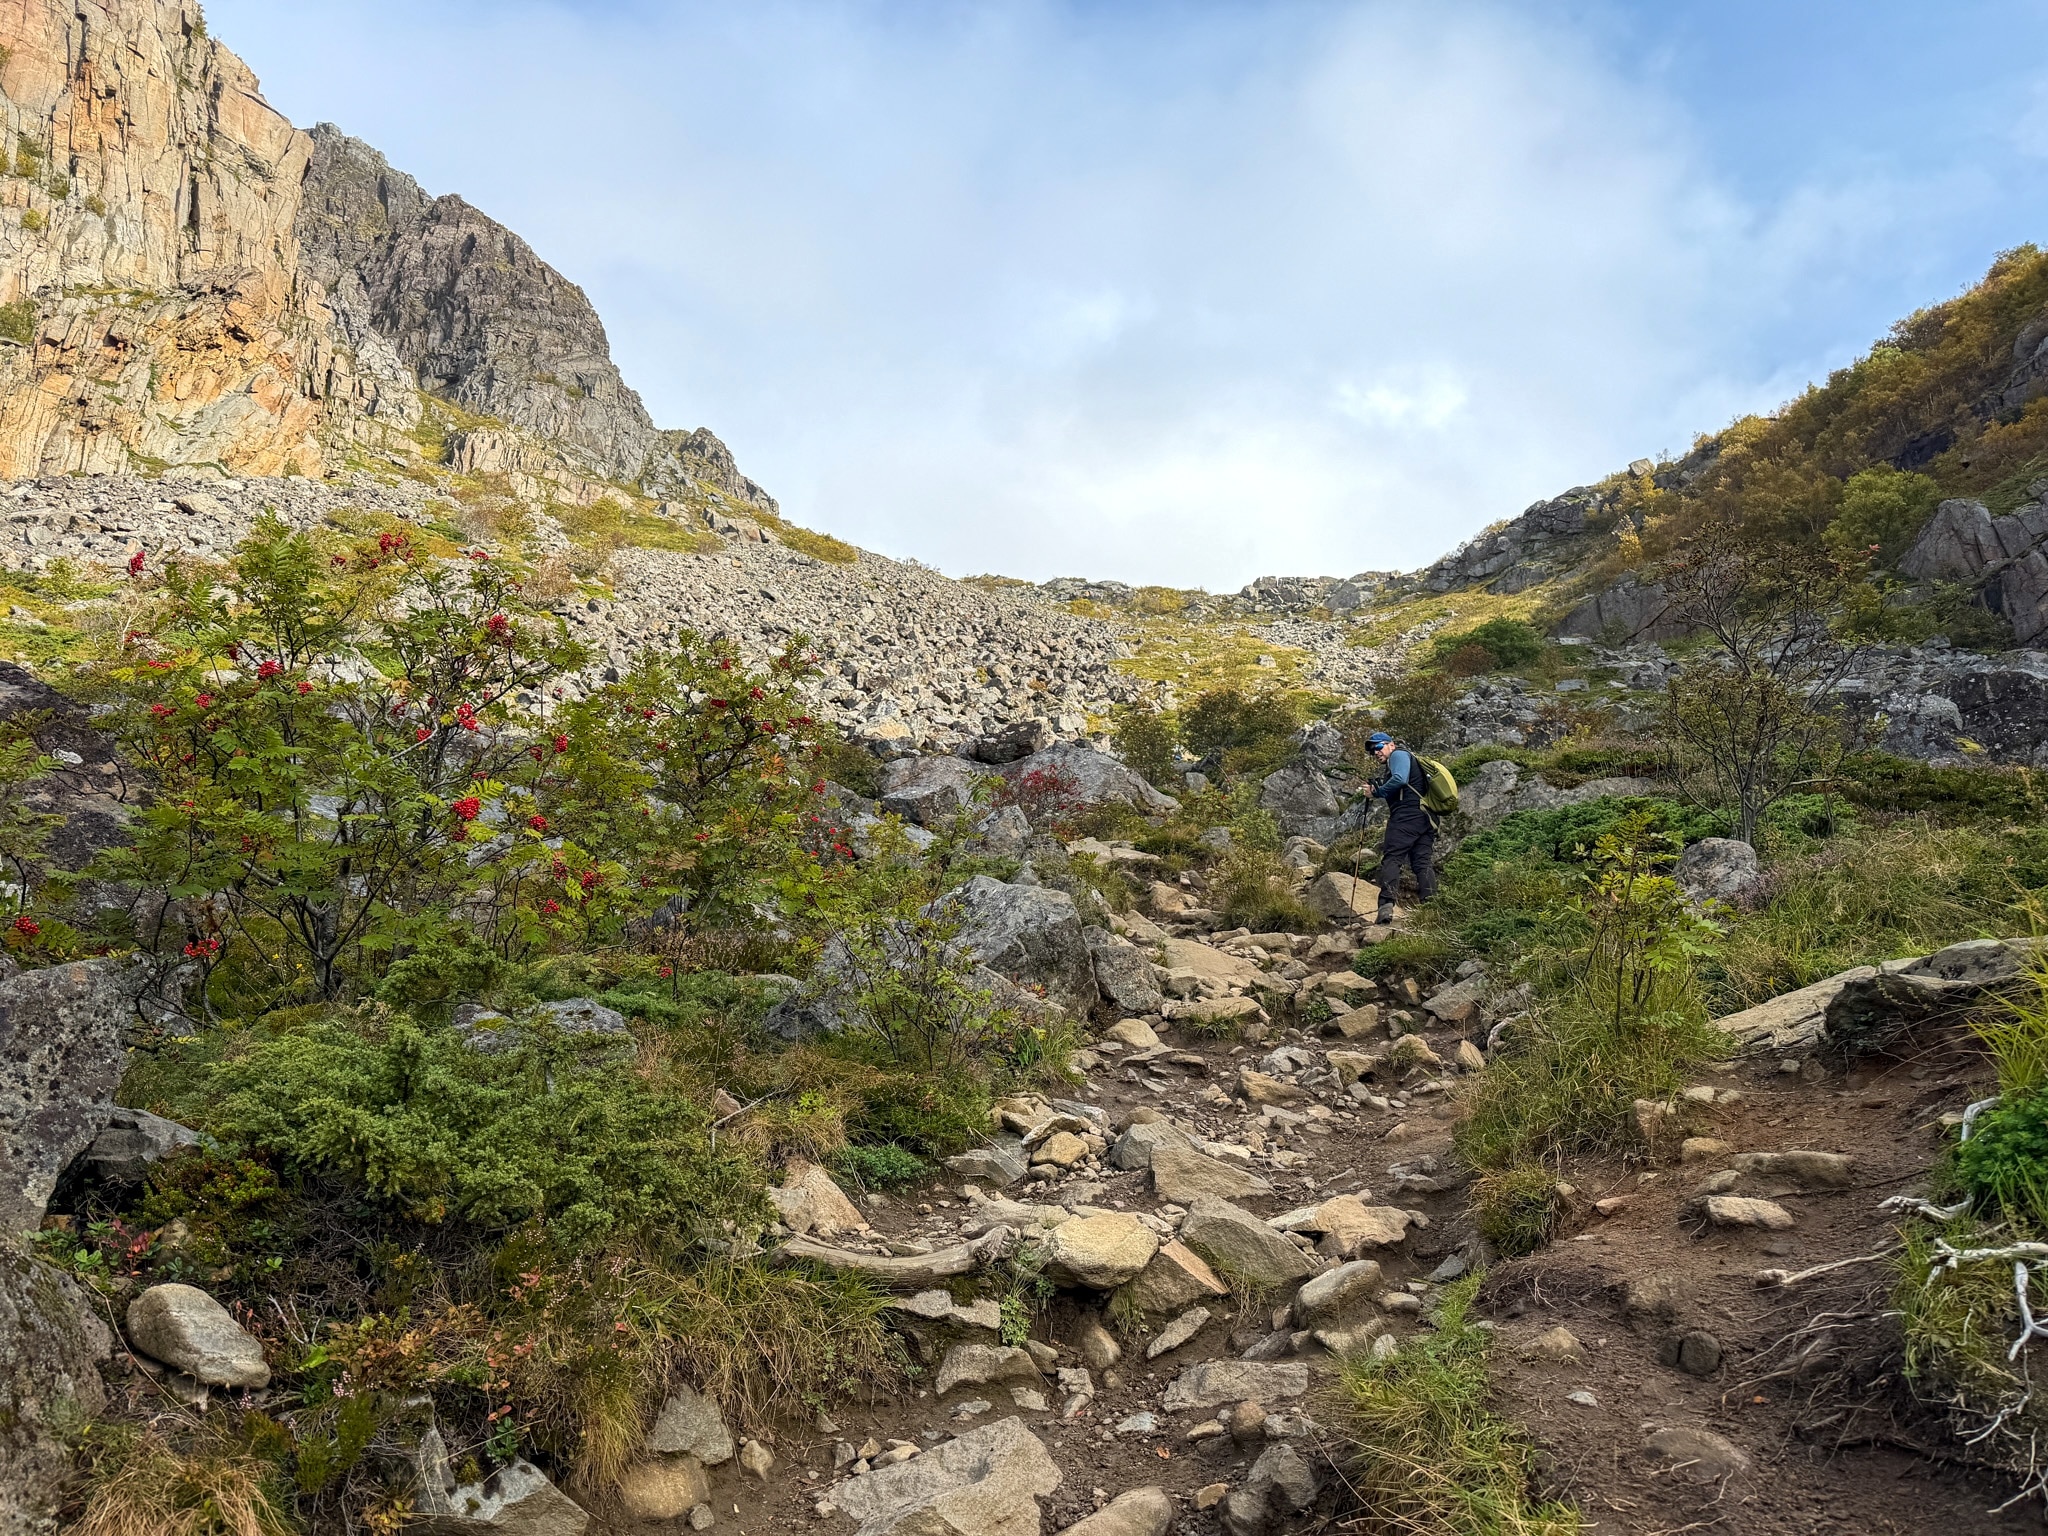
Climbing the gully on the Festvågtind hike
The gully above the boulders, steep from the very first step
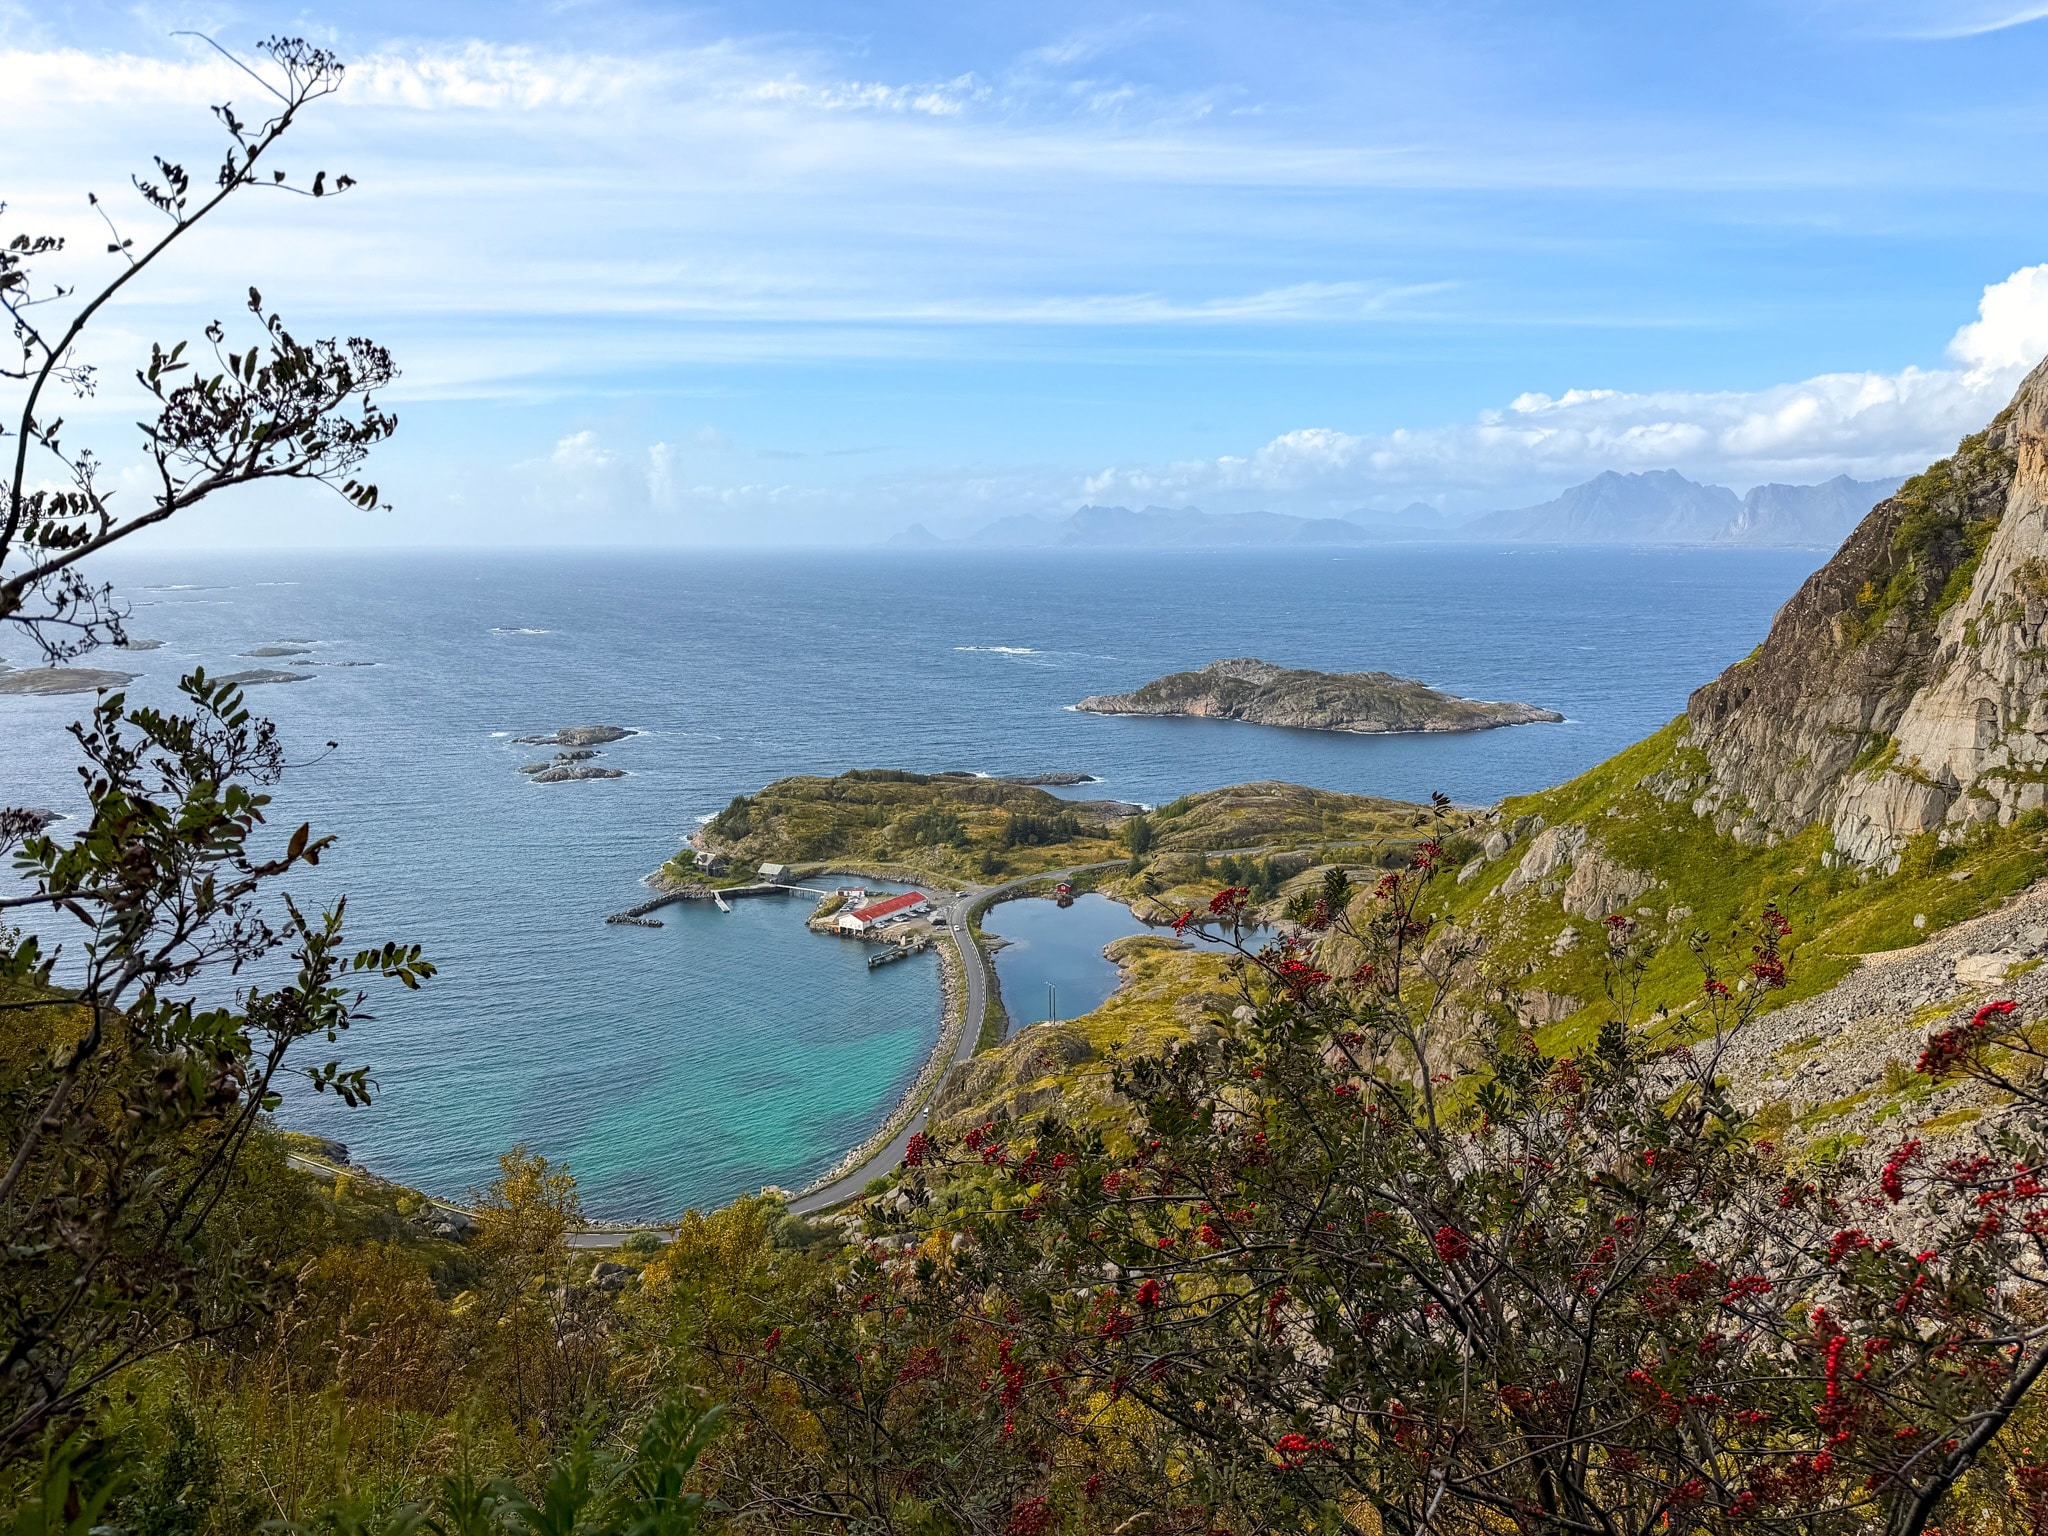
View over Urvika bay from the Festvågtind trail
Looking back down over Urvika bay and the Festvåg parking lot on the way up
Heiavatnet Lake and the Fork
About halfway up, the trail splits in two. Both paths lead to the summit, but the one on the right passes by Heiavatnet, a small mountain lake at 190 m (623 ft). That’s the way I went, and it’s the route on the official map.
In September the lake was surrounded by birch trees already turning yellow, and it’s the obvious place to stop and catch your breath. From the southwest tip of the lake you get a view over Henningsvær and the sea.
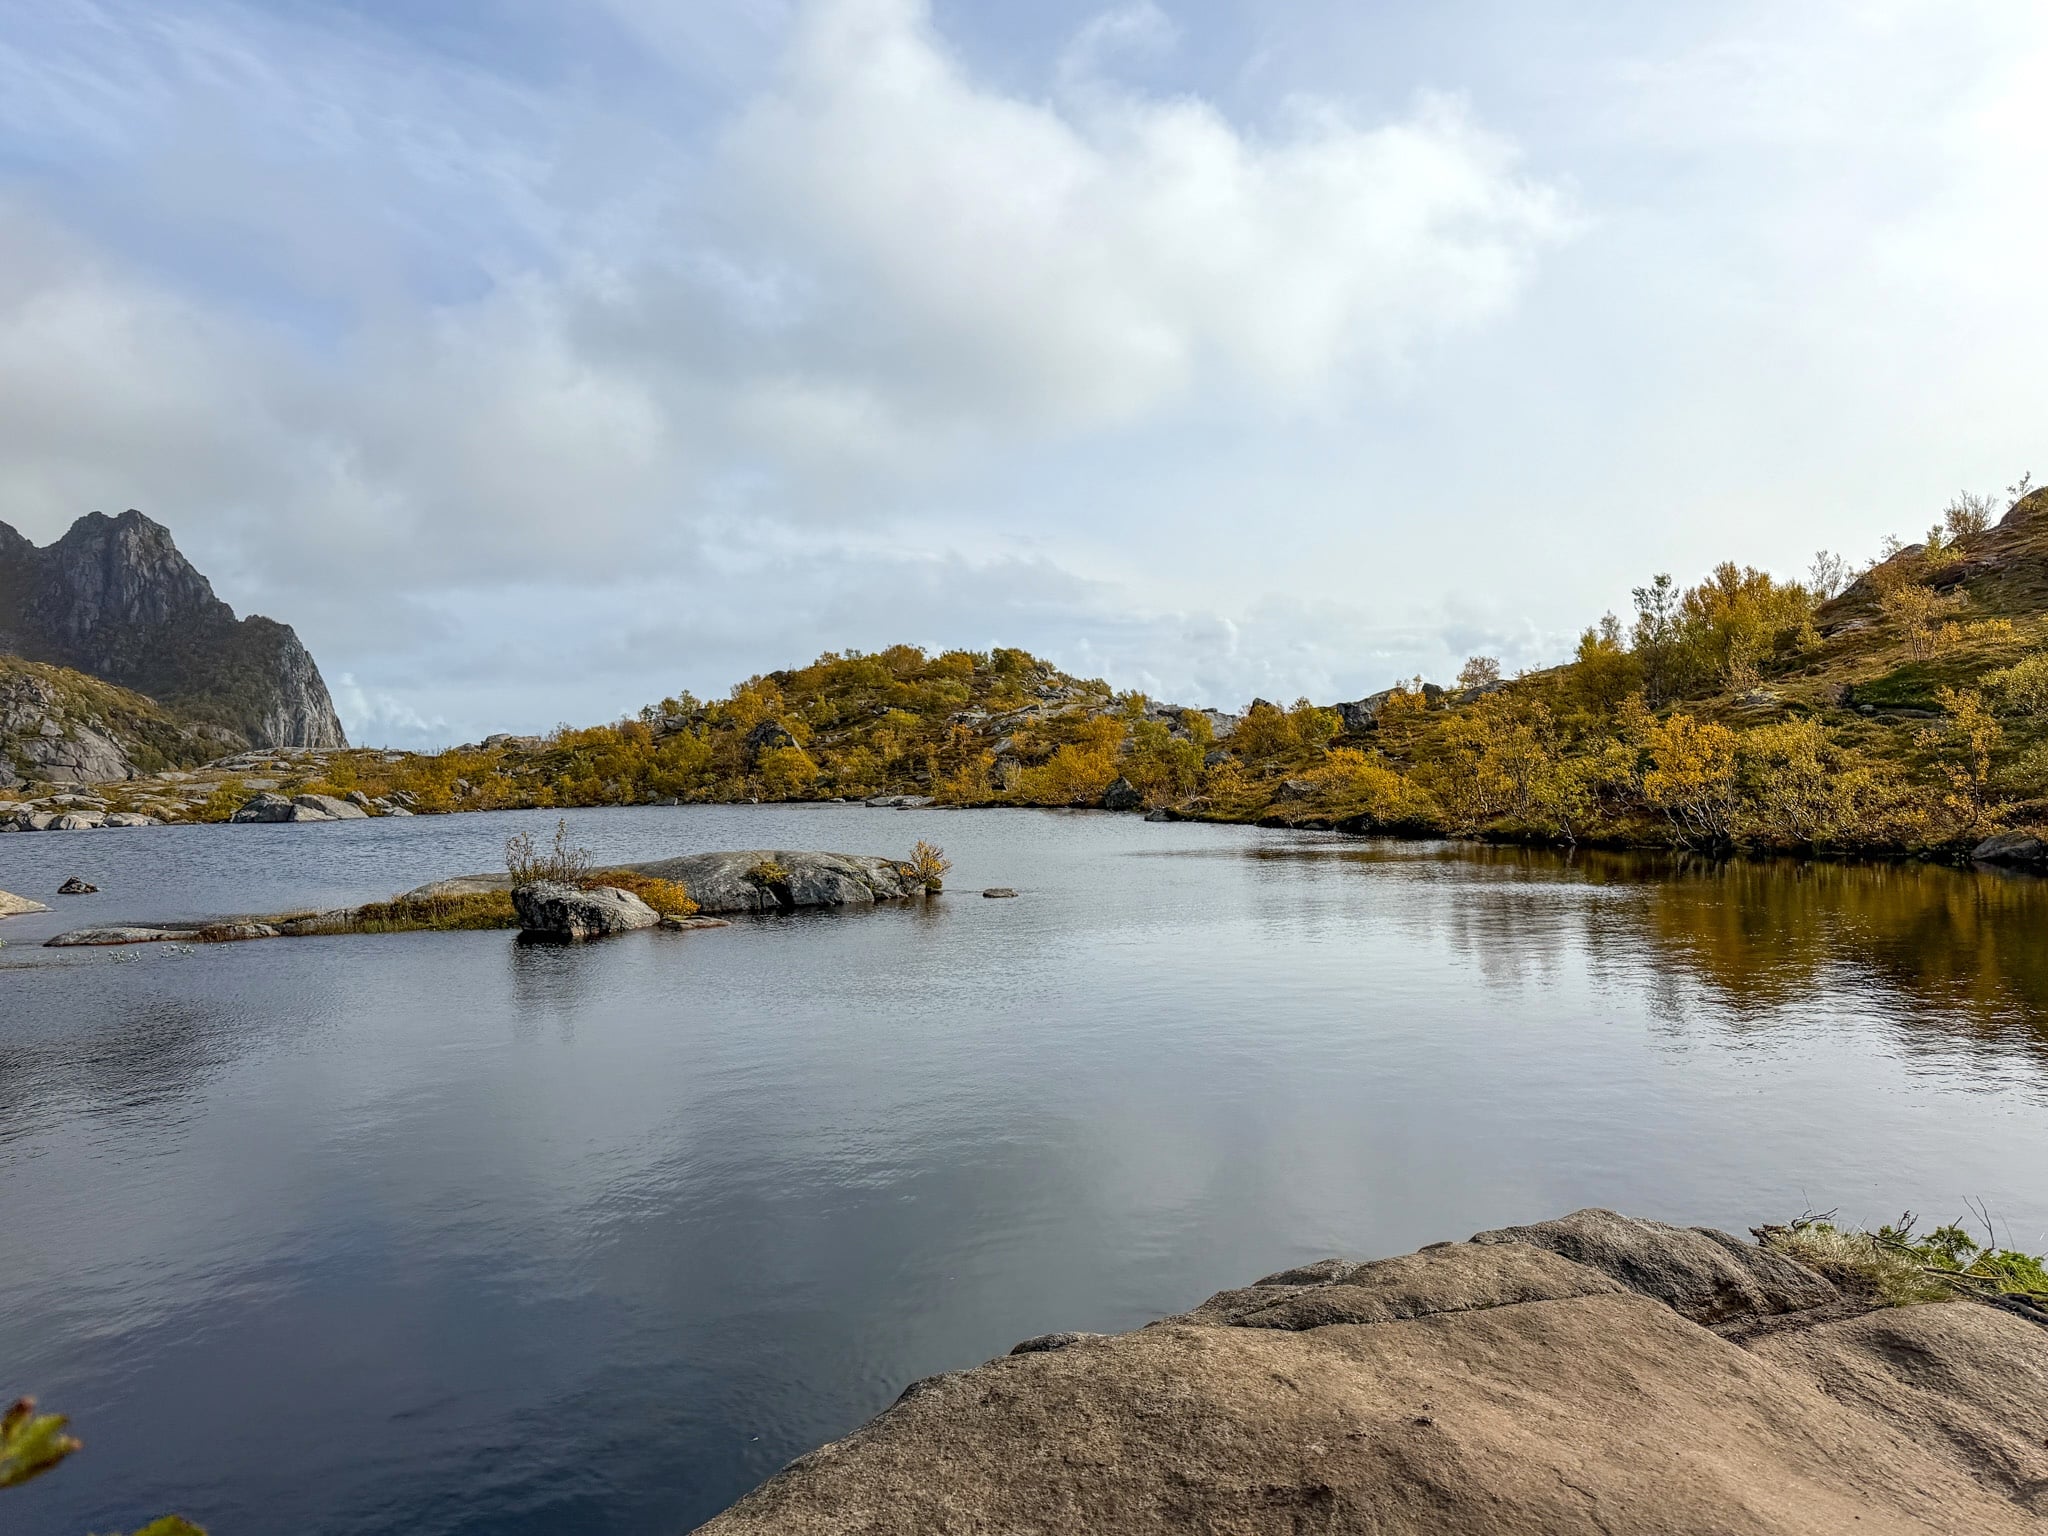
The Ridge
After the lake, the trail heads up the back of the mountain on steeper ground, a mix of grass, rock and loose scree. At around 460 m (1,510 ft) you reach the top of the ridge and can see the sea on the other side. From there you turn left and follow the ridge toward the summit.
This was the part where I had to pay the most attention on the way up. The path gets narrow in places, with drops on one side, and a few rock steps need your hands. I strapped my poles to my backpack for those bits and pulled myself up. Nothing I’d call real climbing, but definitely not a walk either.
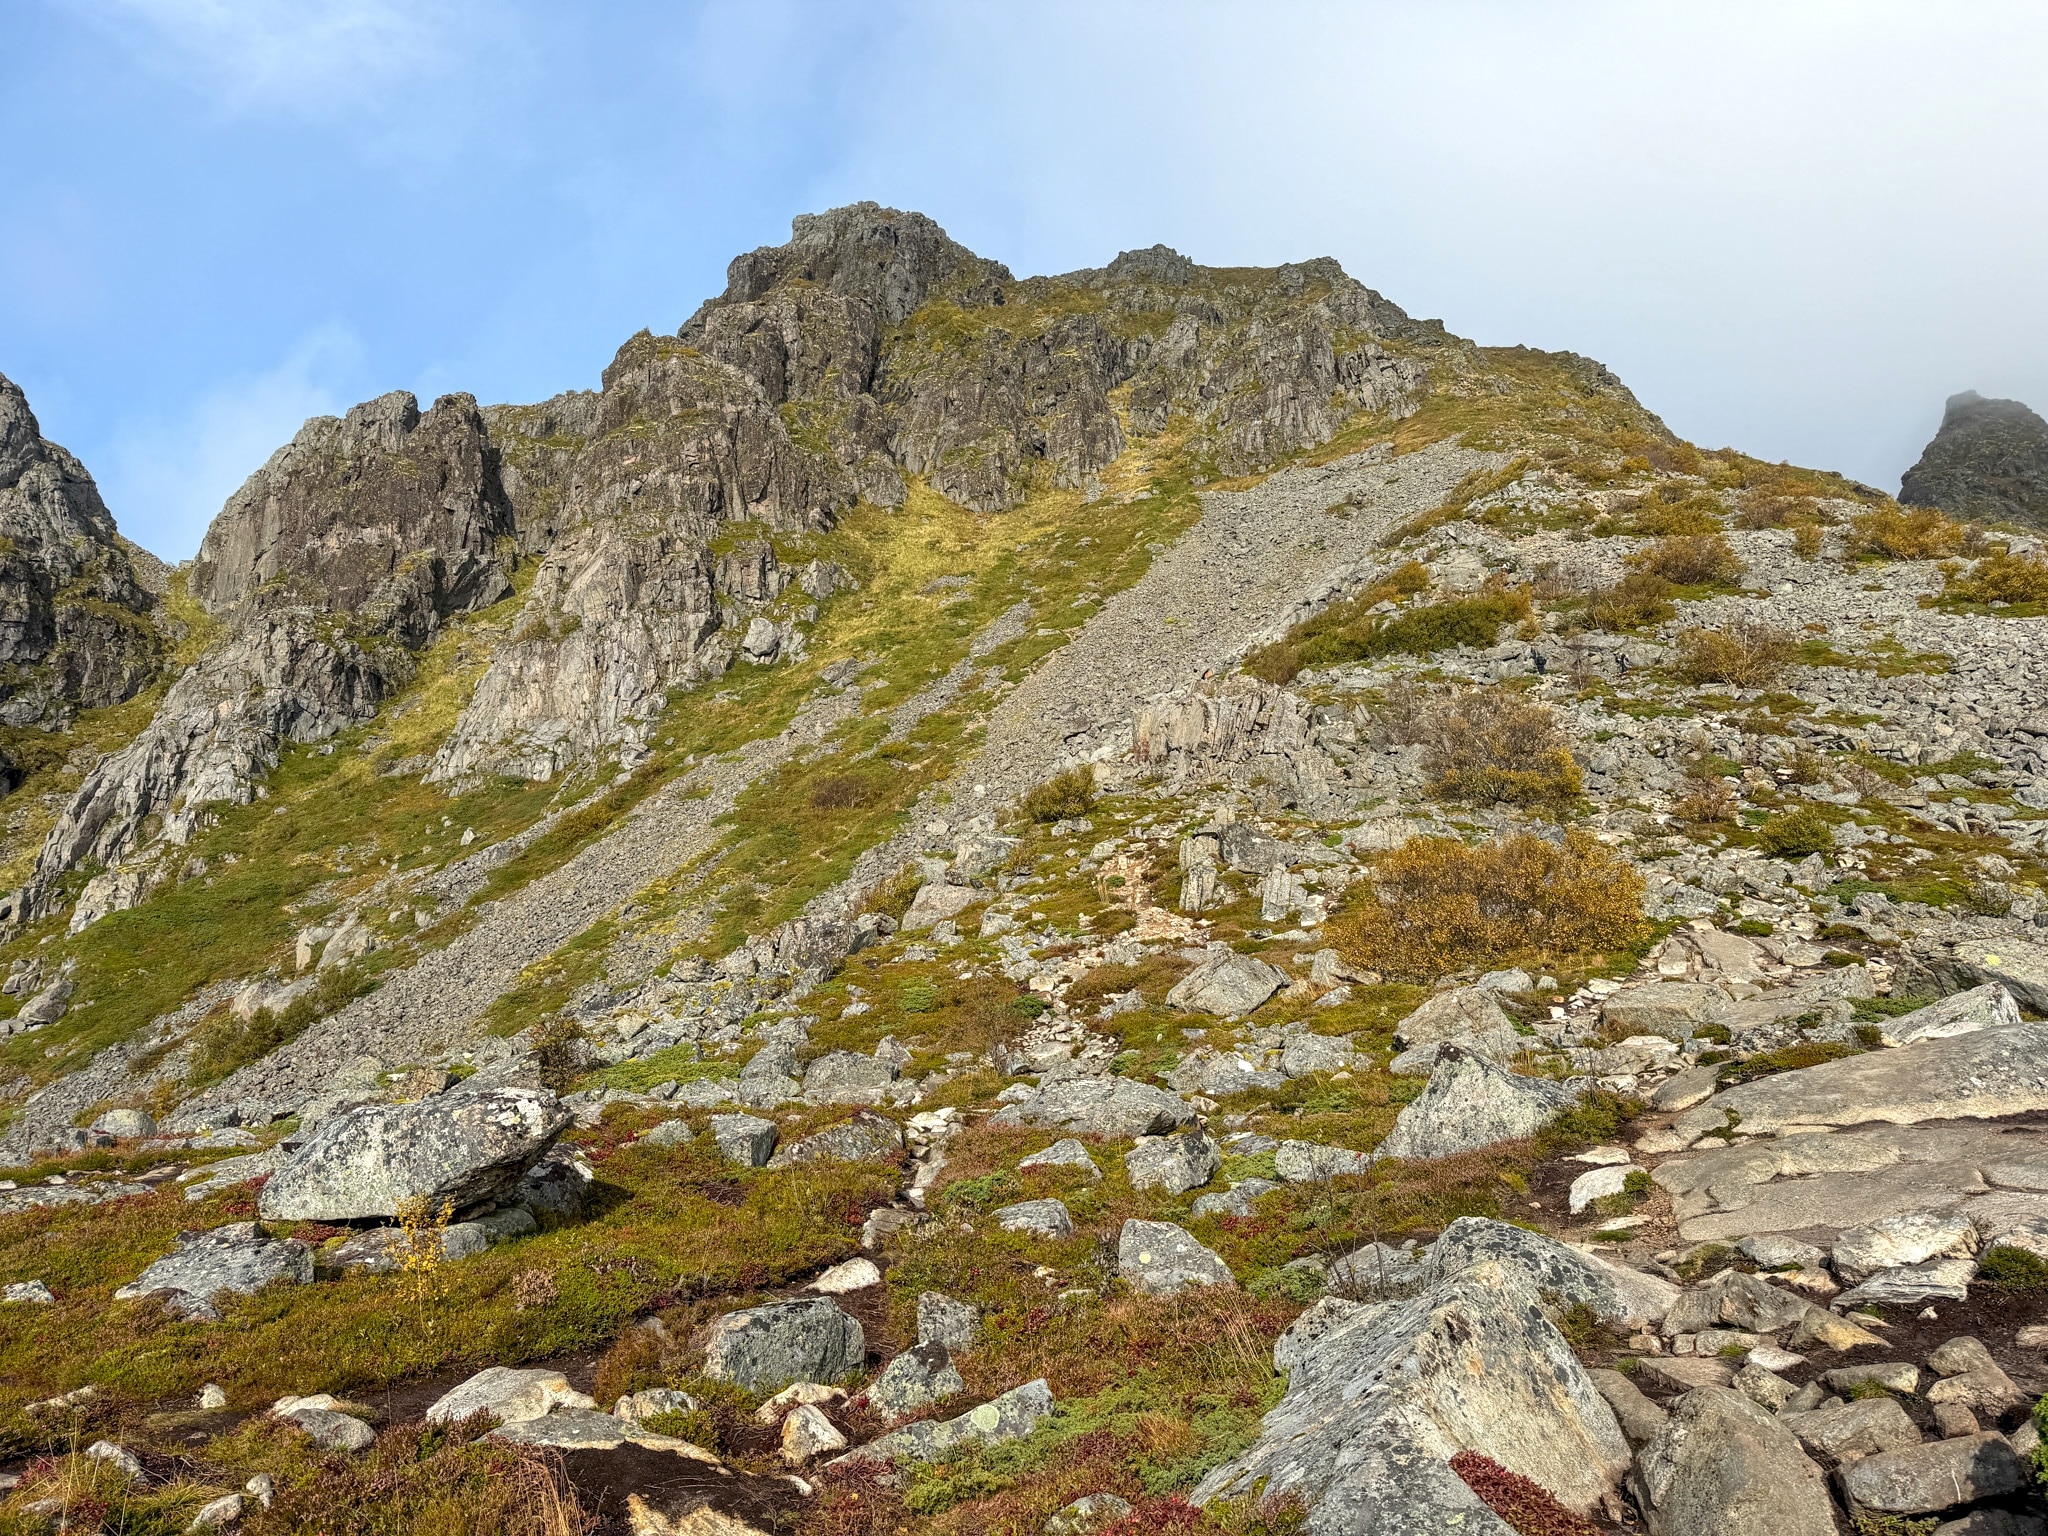
Steep slope below the Festvågtind ridge
The slope above the lake, where the climb gets steeper again
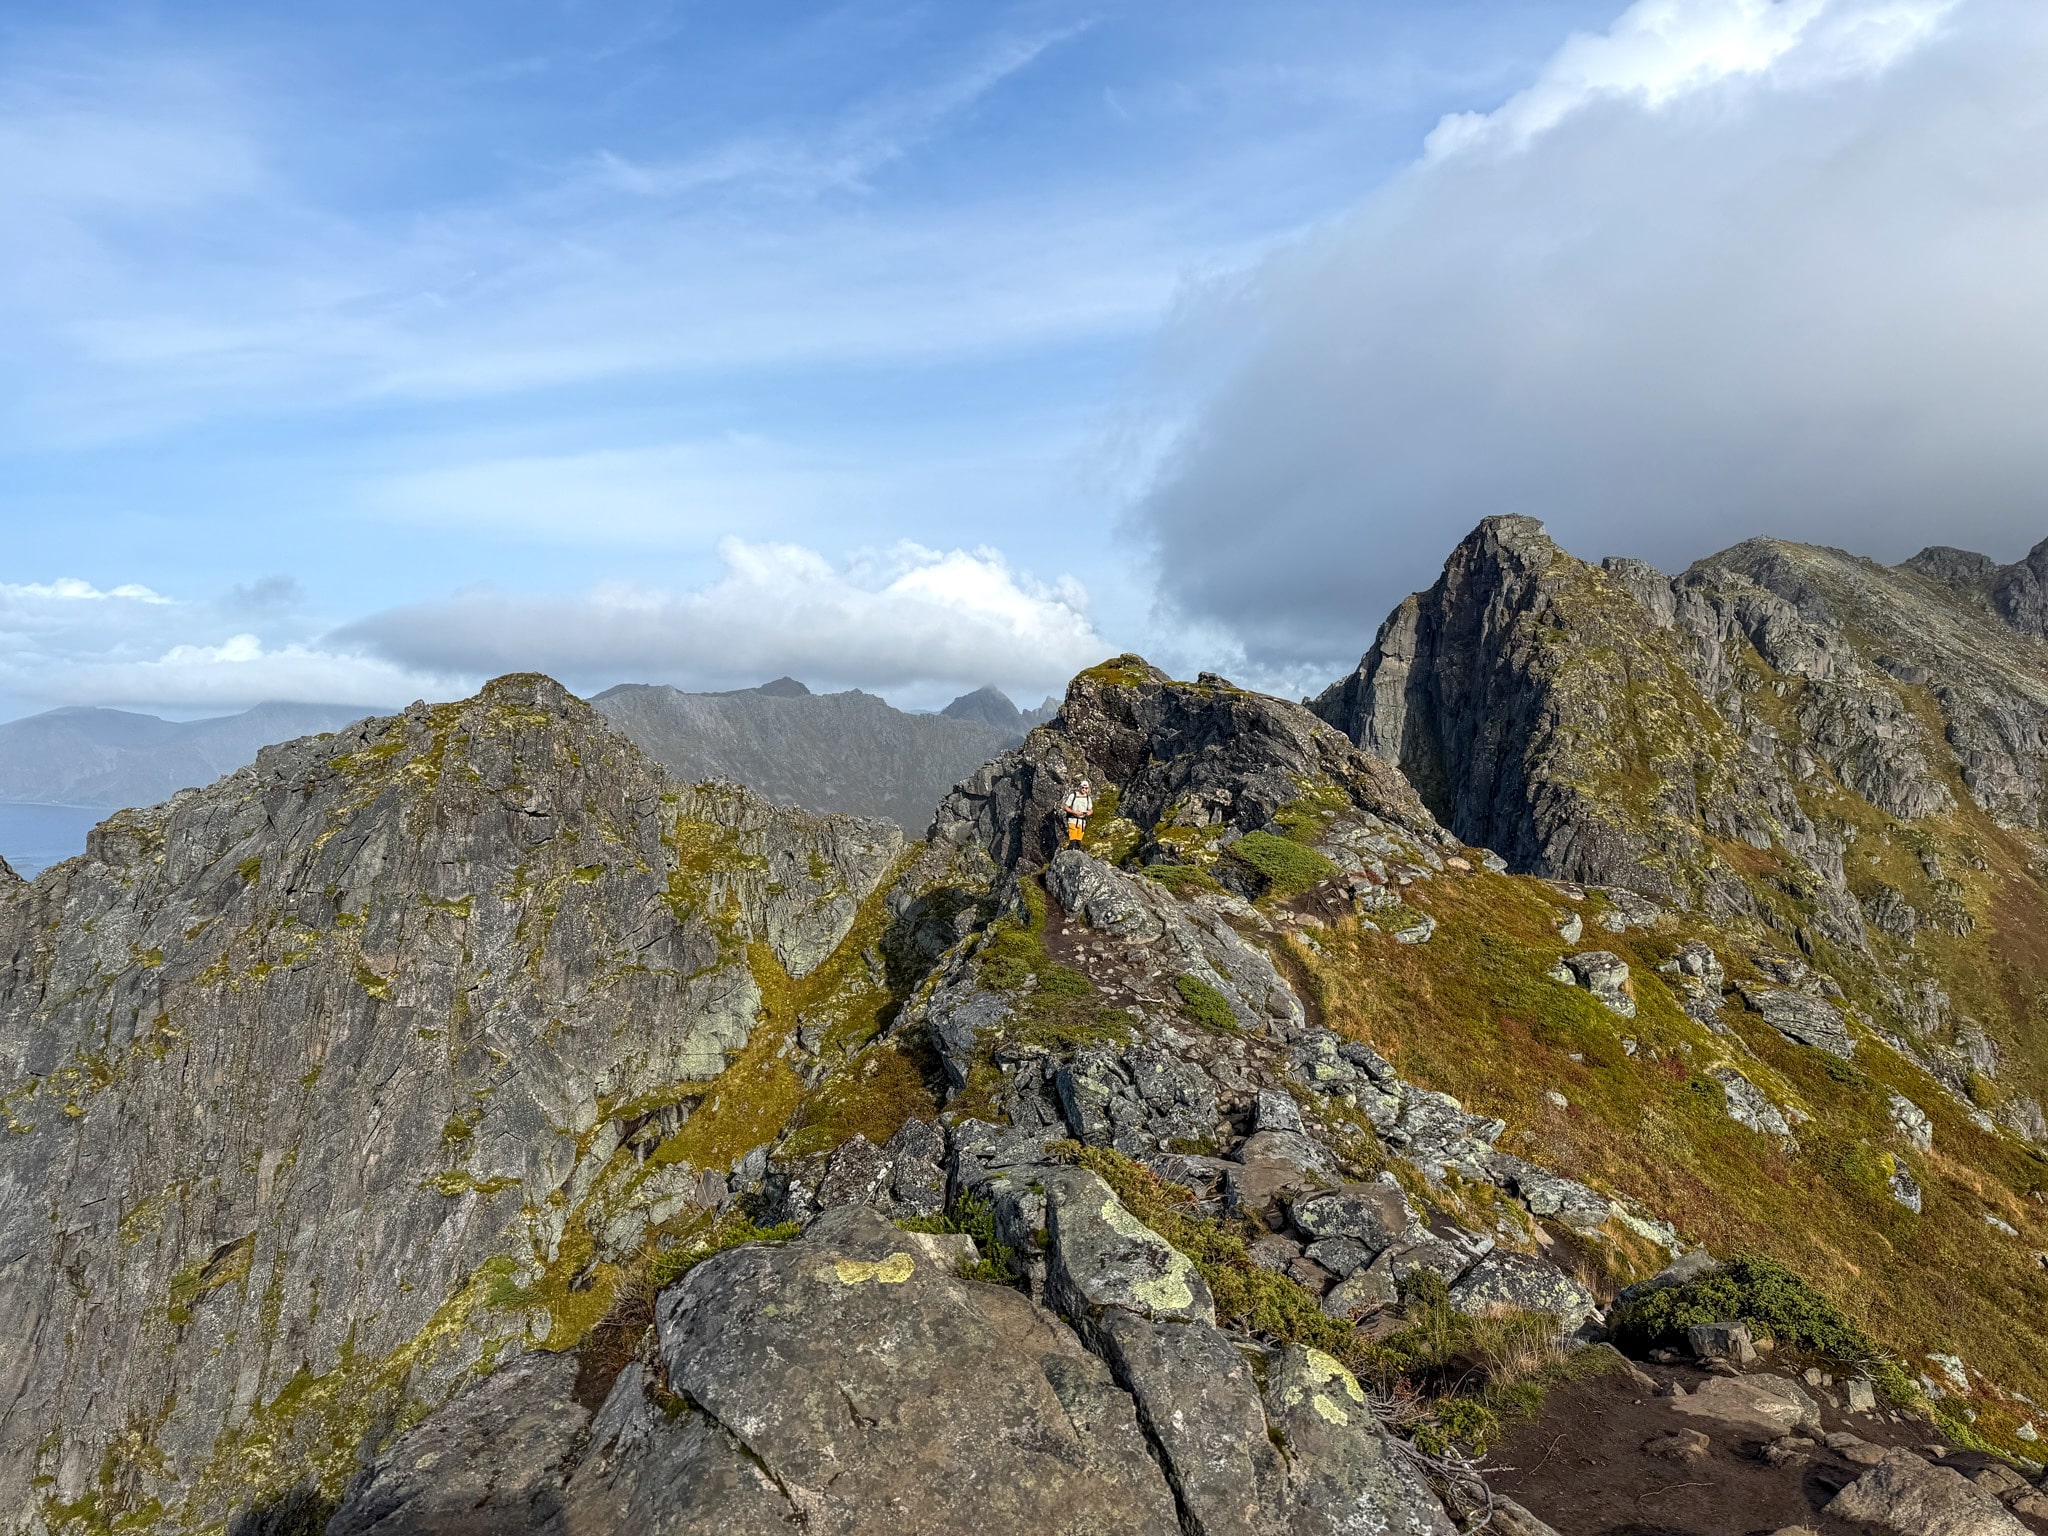
The ridge on the Festvågtind hike
The narrow ridge before the summit, where I needed my hands a few times
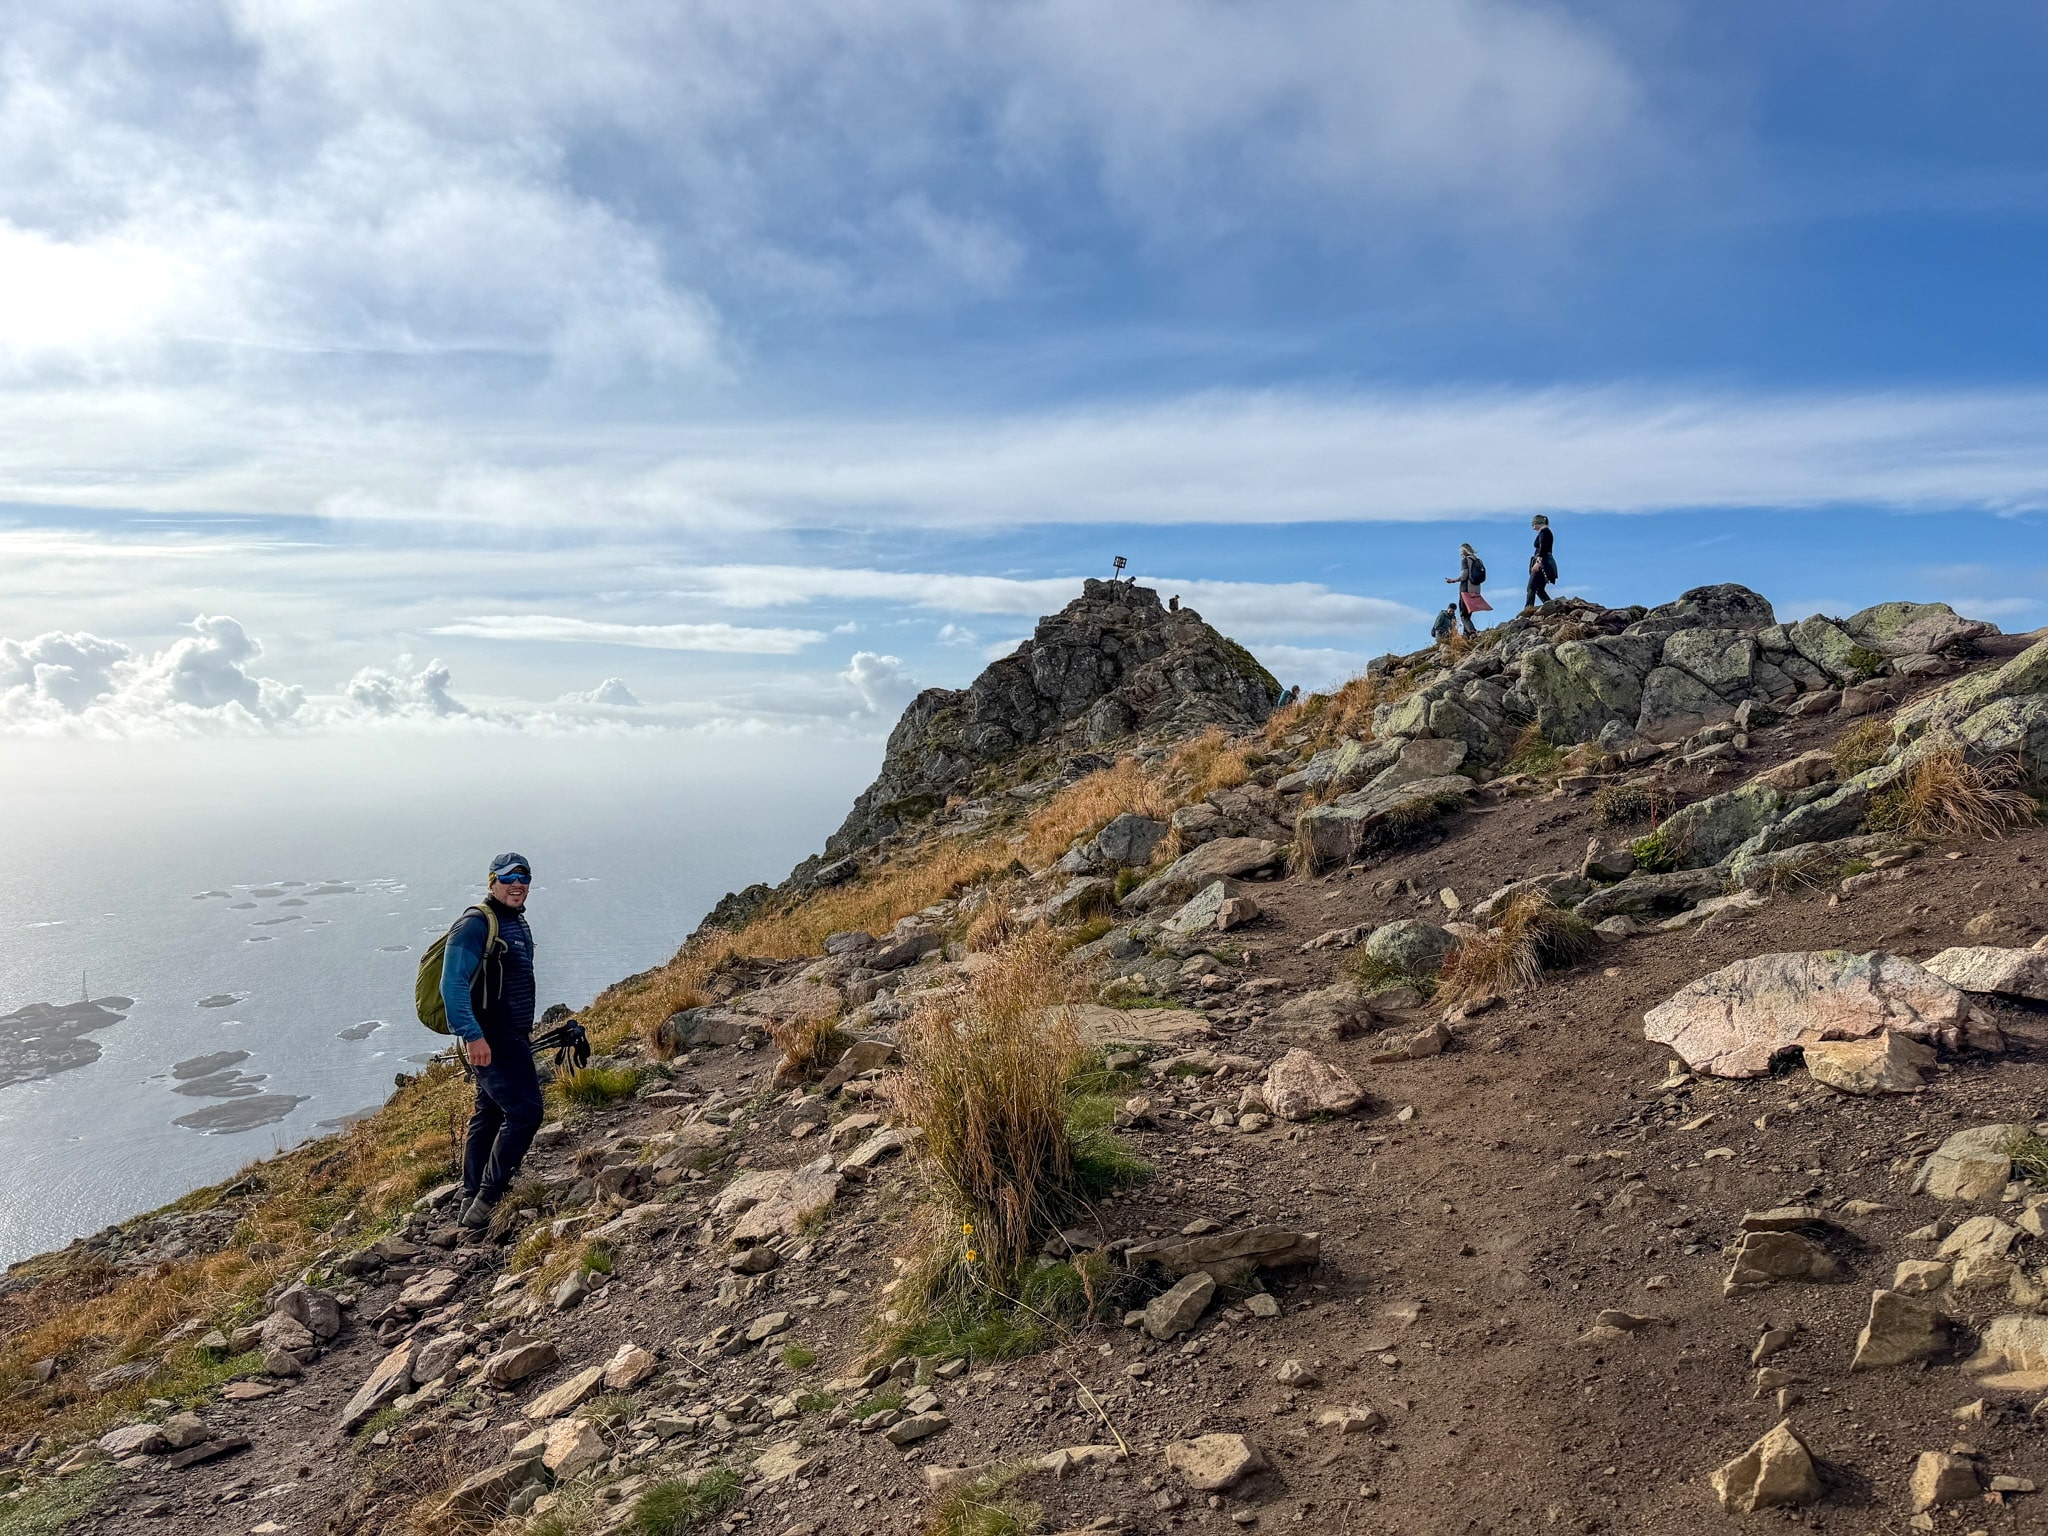
Last stretch to the Festvågtind summit
The last loose stretch to the summit cairn, with a few people already at the top
The Summit
The top of Festvågtind is a small, rocky area marked by a cairn, a pile of stones with a sign on it. It’s narrower than I expected, so on a busy day it’s worth watching where you step when you move around for photos. There were a few other hikers up there with me.
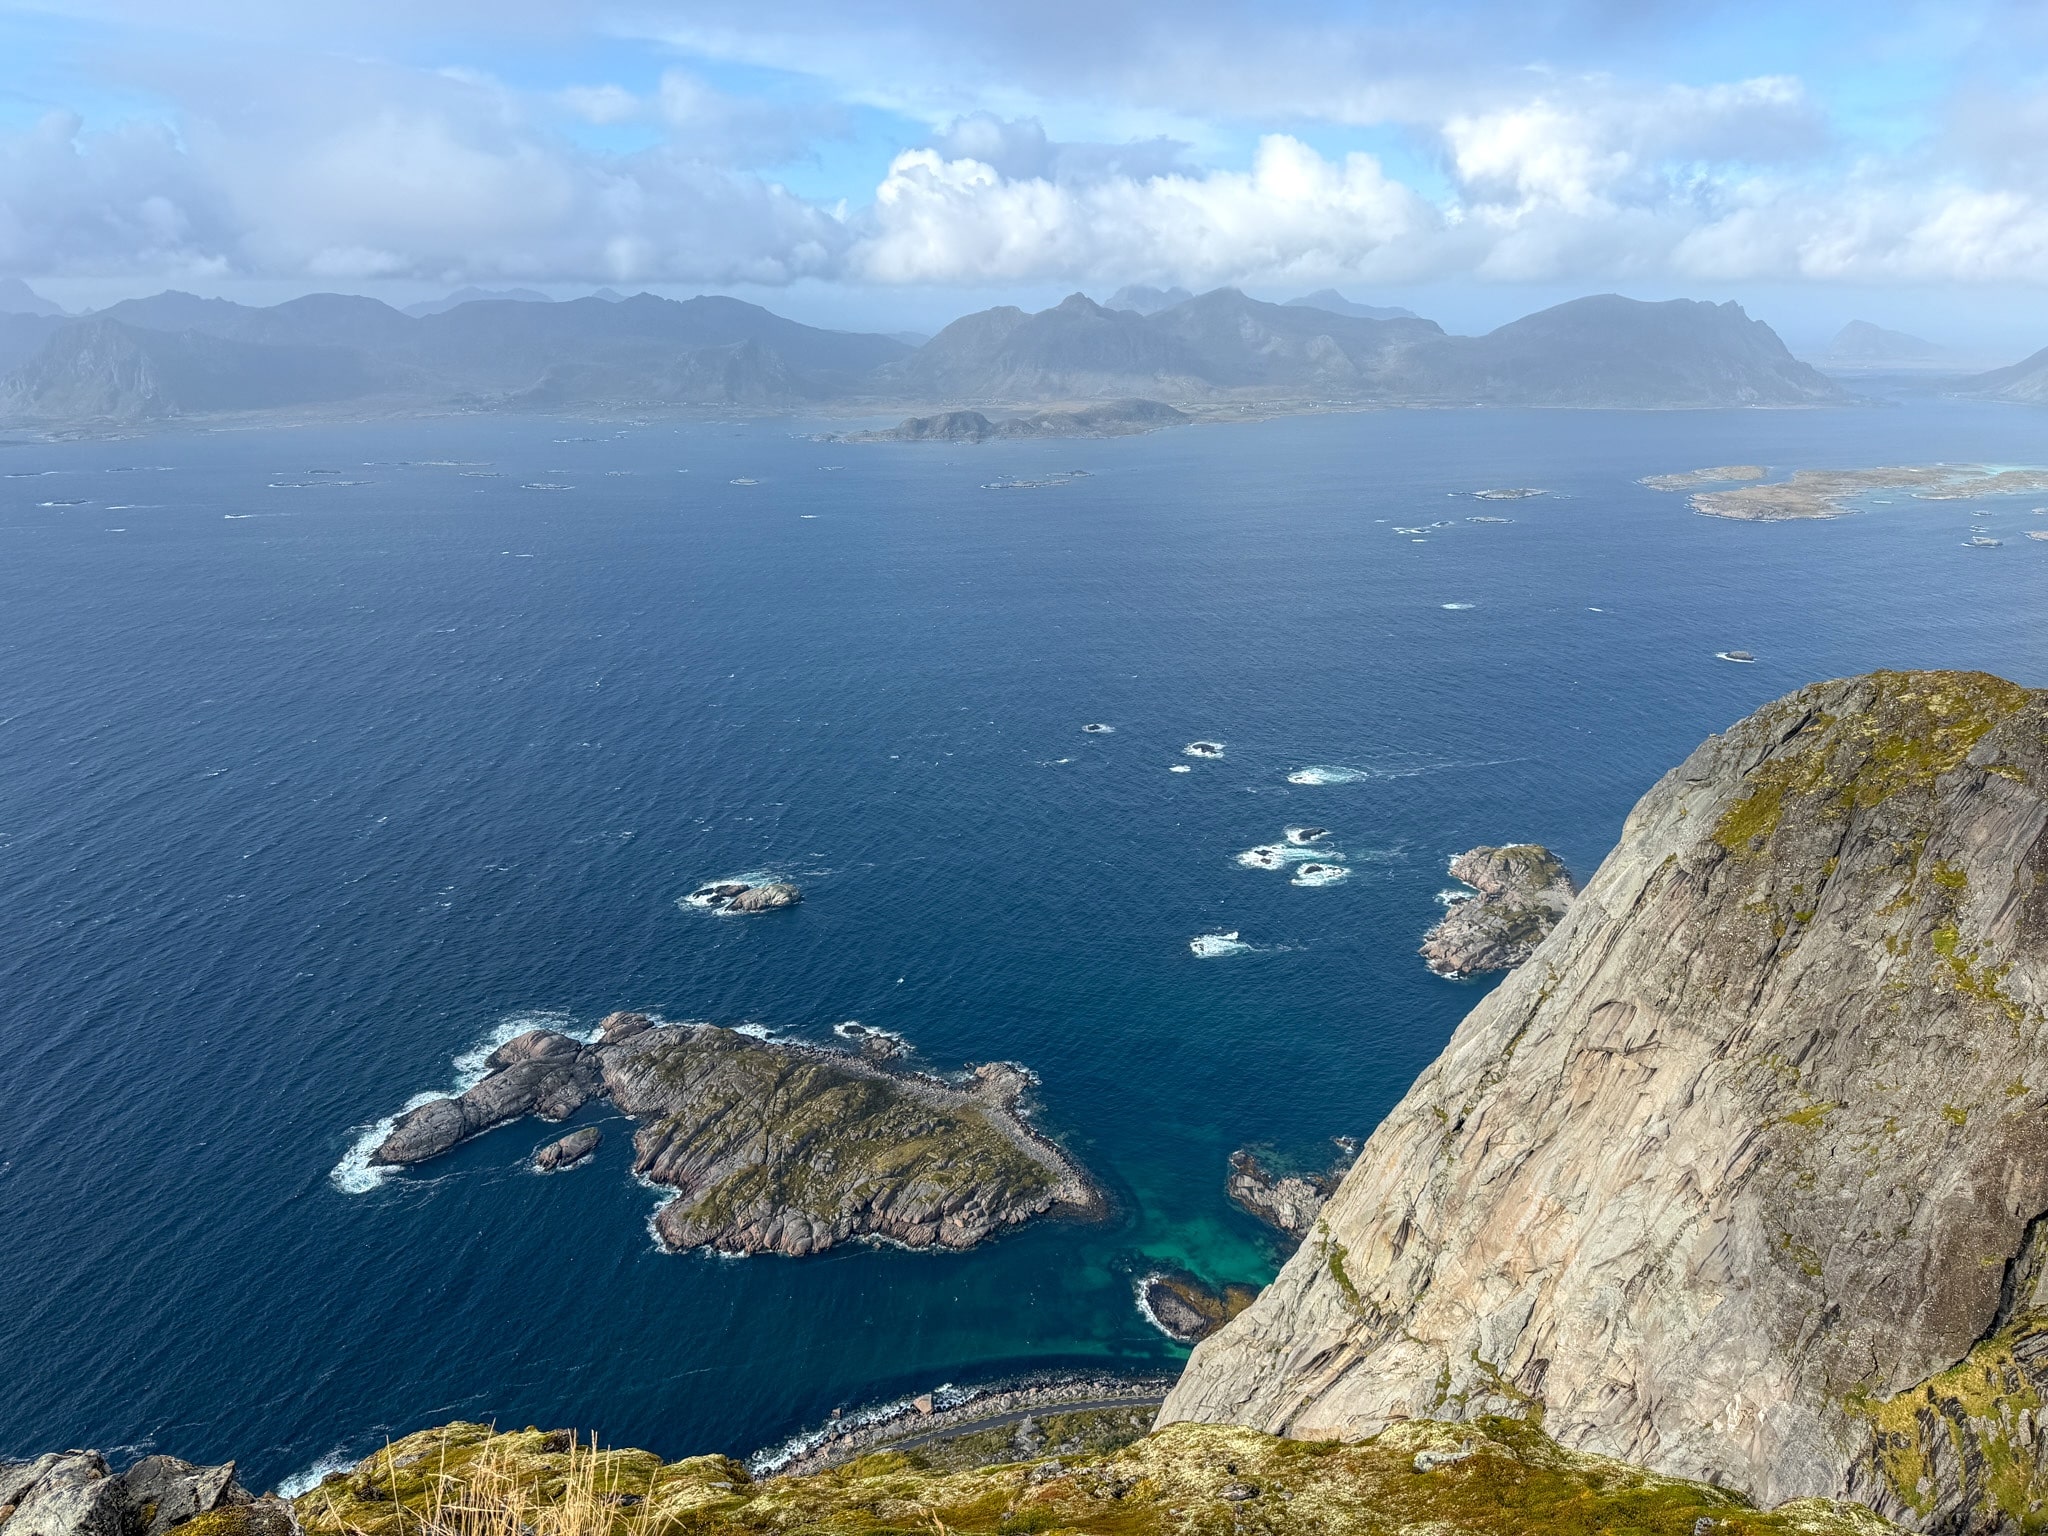
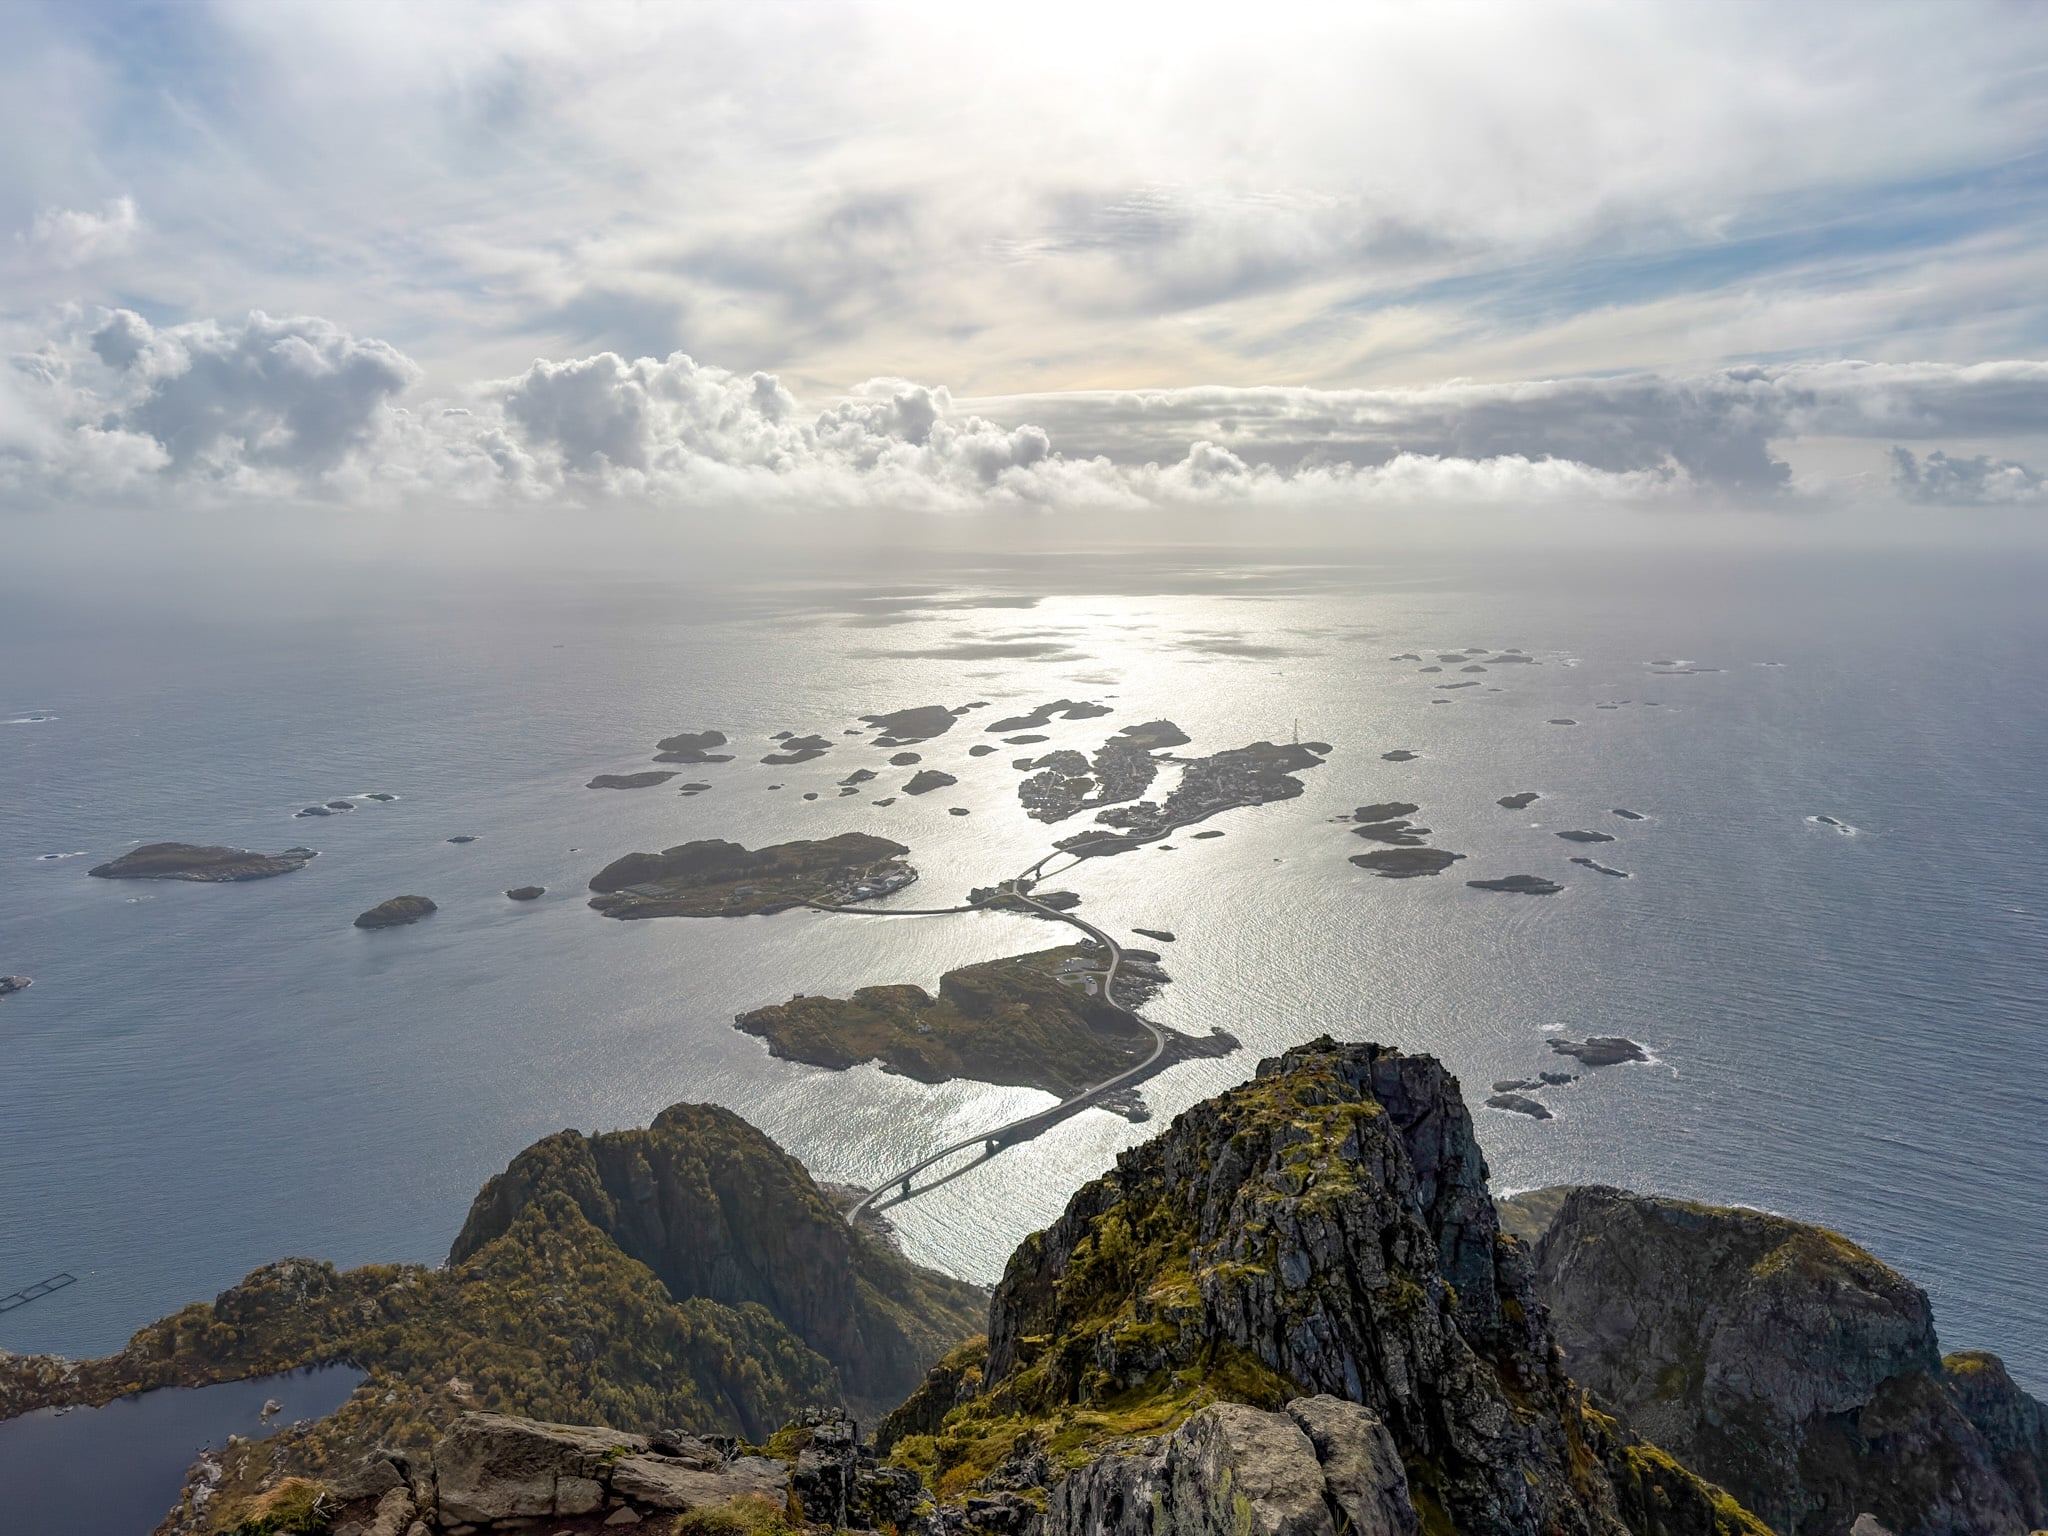
The view is the reason everyone comes. Straight below you, Henningsvær spreads across its islands. Turn west and you see the mountains of Vestvågøy, the next big island, lined up across the water. My day was mostly cloudy with a few openings, which gave the sea that silver look you see in my photos.
One thing to know before you go: you won’t see the famous Henningsvær football pitch from here. The photos of the soccer field on the rocks that you find everywhere online are drone shots taken from a completely different angle. From the summit the village looks great, just not like that.
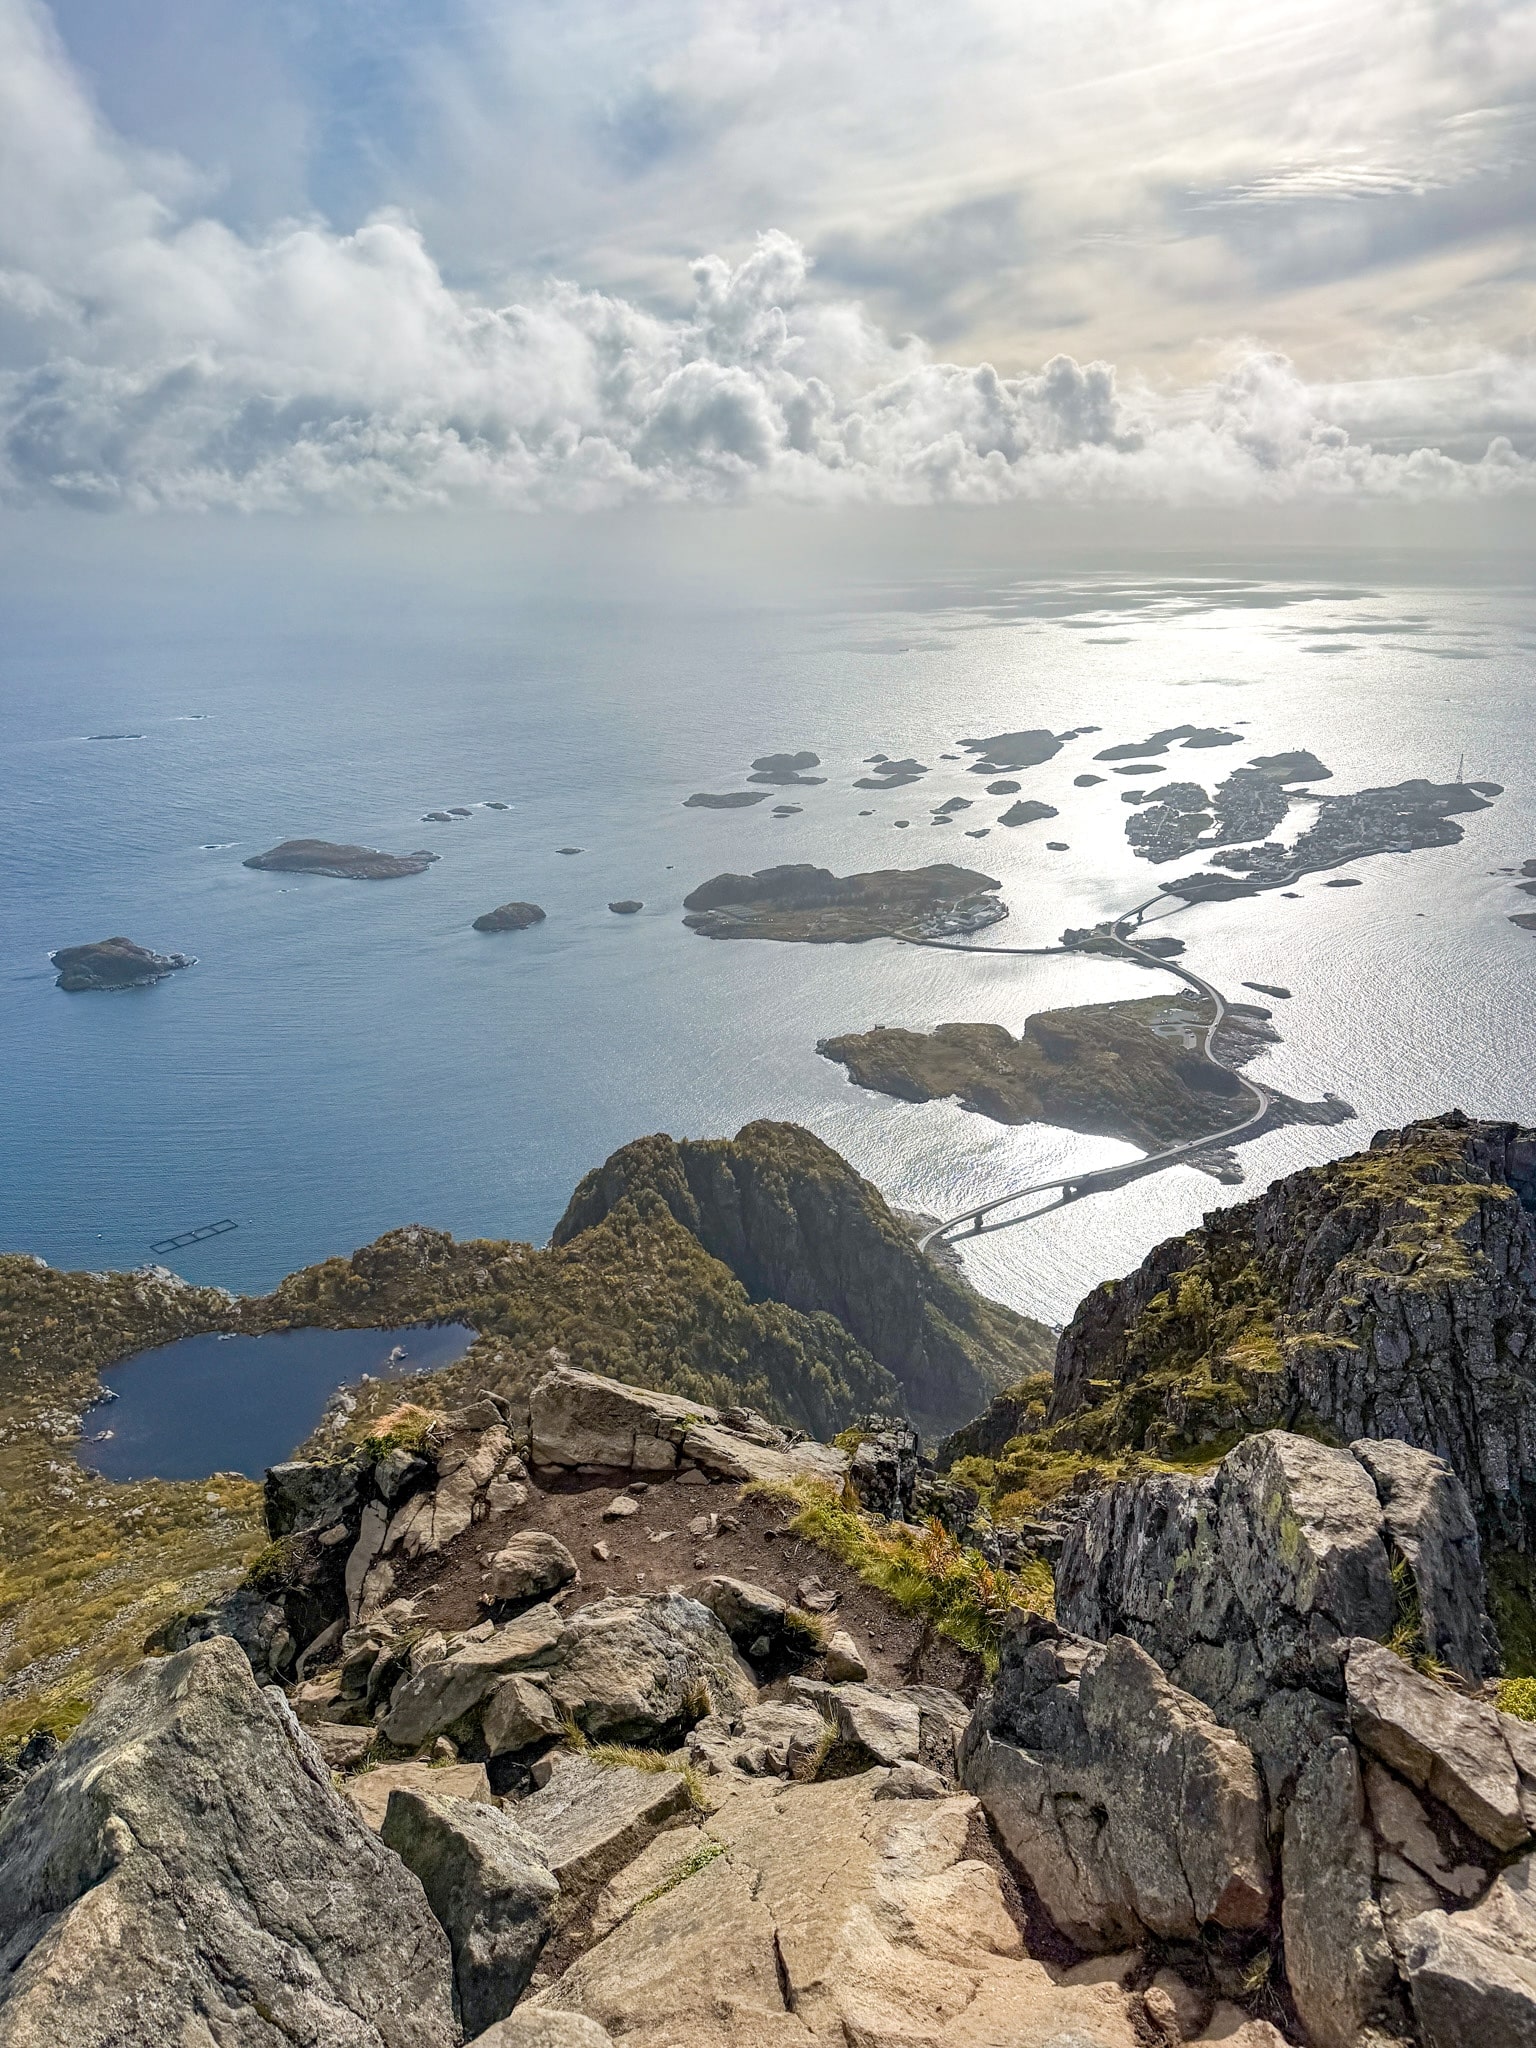
Henningsvær from the Festvågtind summit
Henningsvær and its bridges from the summit, with Heiavatnet lake on the left
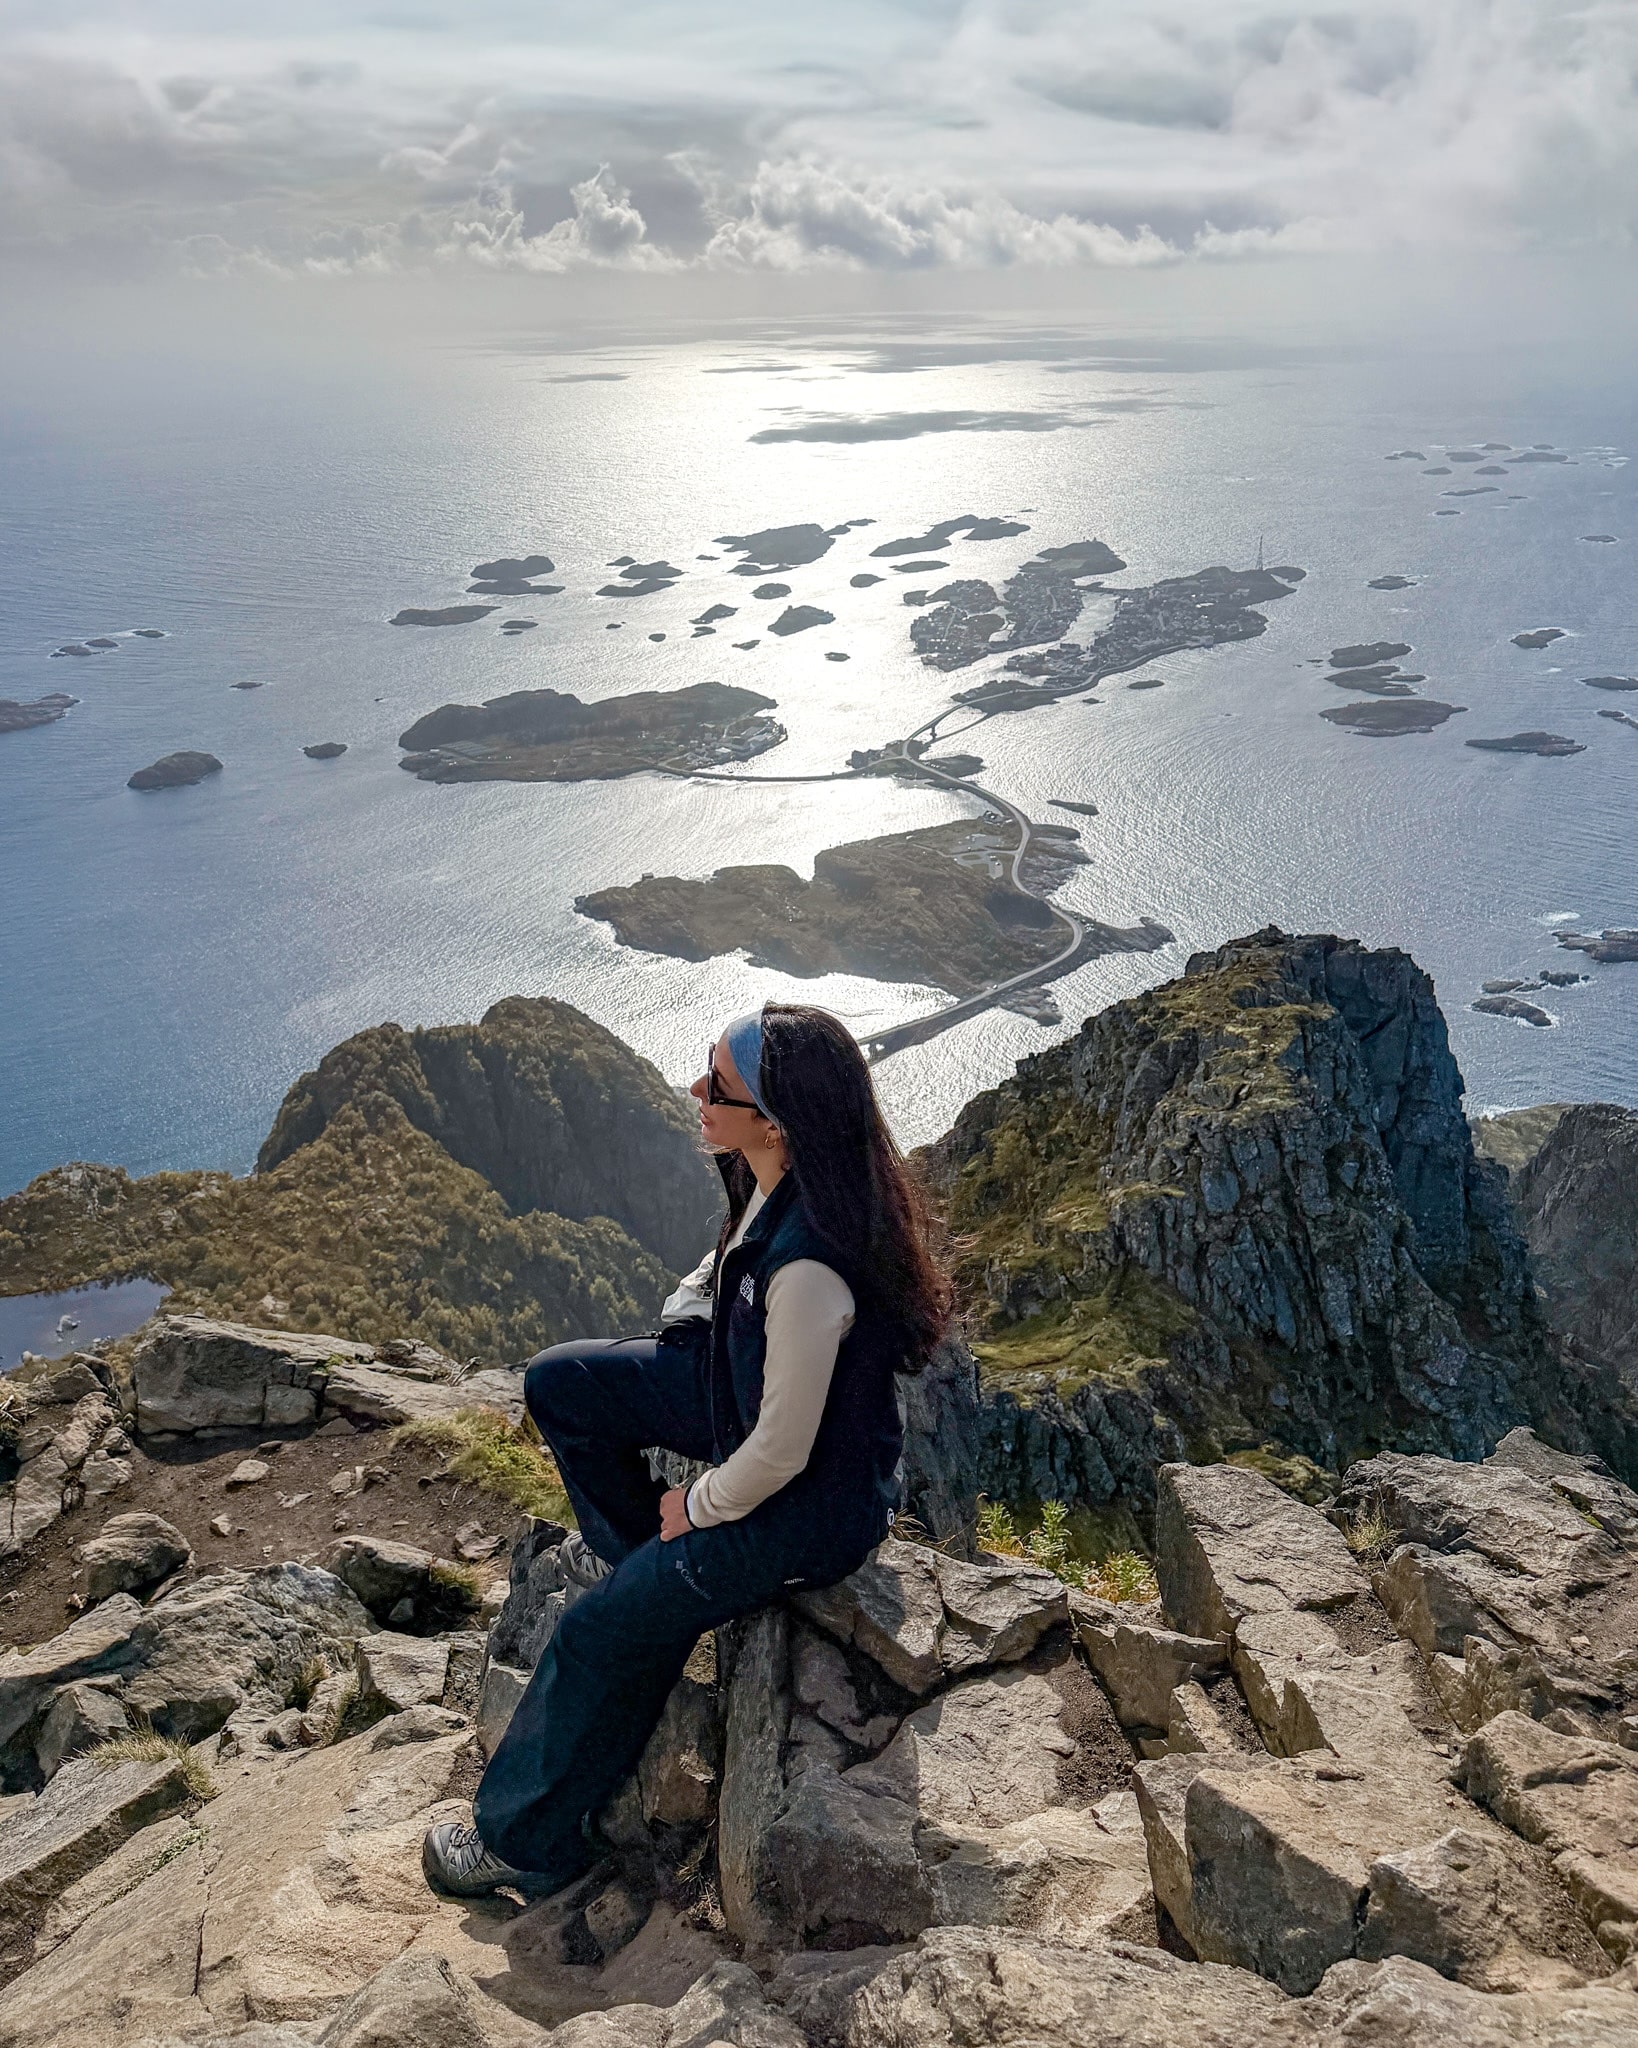
Me at the Festvågtind summit
Taking a break at the top, with the view I came for
View west from Festvågtind
The view west from the top, toward the mountains of Vestvågøy
Going Back Down
You return the same way, and for me the descent was the hardest part of the whole hike. It took about an hour and a half. On the way up my legs were doing the work. On the way down it was all about not slipping, on the loose gravel over the rock and on the many stretches of muddy earth left by the rain.
My poles were really useful here, apart from the few rock steps where I needed both hands again. Take it slowly.
Festvågtind Hike Difficulty and Time
On paper, Festvågtind looks like an easy morning: barely more than a kilometer to the top. In reality, I’d rate the hike as hard. The reasons are all packed into a short distance:
- The boulder field at the start, where there’s no clear path and you climb over rocks taller than you
- A steep, steady grade, 42% on average according to the official sign, with very few flat stretches to recover
- A few rock steps near the ridge where you need your hands, with drops on one side
- Loose gravel and mud on the descent, which is what slowed me down the most
For comparison, the Kvalvika Beach and Ryten loop was much longer and had more elevation gain, but the trail was much easier and less technical. I shared the details in my guide to the Kvalvika Beach and Ryten hike. Offersøykammen, on the other hand, was a short and steep climb with no exposed sections at all, and if you want a gentler hike with a similar effort-to-view ratio, here are my notes on the Offersøykammen hike.
Who I’d recommend Festvågtind to: anyone who is fit, comfortable on steep rocky ground and looking for something challenging. Who should probably skip it: first-time hikers, anyone who struggles with heights, and families with small kids.
How long it takes
This is how my day went, starting from the trailhead sign:
- 11:30 a.m.: started walking
- 1:30 p.m.: reached the summit, after about 2 hours of climbing with a few stops
- About 1 hour and 30 minutes: the descent back to the road
That’s around 3 hours and 30 minutes of walking, plus the time I spent at the top taking photos. The sign at the trailhead says 2 to 4 hours, which matches what I saw: fast, experienced hikers can do it in two, while wet rocks, crowds on the narrow sections and photo breaks easily push you toward four.
Festvågtind Hike FAQ
When is the best time to hike Festvågtind?
The official board at the trailhead marks June to September as the safe season, April, May and October as months that depend on the conditions, and November to March as a time when the hike is strongly discouraged. From late May to mid-July you also get the midnight sun, so you can start in the evening and still hike in daylight. July and August are the busiest months. I went in early September and found a steady flow of hikers, but no lines anywhere.
What should I wear and bring?
Proper hiking boots with good grip, because the boulders and the loose gravel are hard on trail runners or sneakers. Poles helped me a lot on the descent. I’d also bring a windproof layer for the summit, snacks and water.
Can you hike Festvågtind in winter?
I wouldn’t. With snow and ice, a trail this steep becomes dangerous, and the municipality advises against it from November to March. If you’re visiting Lofoten in the colder months, the northern lights are a much better reason to be outside at night, and I shared the apps and spots I used in my guide to the Lofoten northern lights.
Is it OK to hike Festvågtind after rain?
It’s doable if the rain has stopped, as I did, but expect slippery rocks in the boulder field and mud on the descent. If it’s still raining, or the summit is hidden in clouds, I’d wait for another day. The weather in Lofoten changes fast, so check the forecast on Yr, the Norwegian weather app, right before you leave.
Do you need a permit or a ticket?
No. The trail is free, and the only cost is parking at Festvåg Camp. On the info board next to the parking lot there’s also a QR code to leave a donation for the upkeep of the trail, if you want to.
Can you camp near Festvågtind?
Yes. Festvåg Camp has tent zones around the parking lot, paid through the same website as the parking. The trailhead board also shows a fire ban from April 15 to September 15, so plan on a stove that’s allowed or cold dinners.
Check Out My Other Lofoten Guides
- Where to Stay in Lofoten: Best Areas, Hotels & My Experience
- How to Get to the Lofoten Islands: 4 Easy Routes + My Pick
- Renting a Car in Lofoten: Agencies, Parking & My Driving Tips
- Lofoten Northern Lights: Best Time, Places & Forecasts I Used
- Kvalvika Beach & Ryten Hike: Routes, Parking, Map & My Tips
- Offersøykammen Hike, Lofoten: Parking, Trail Map & My Stats
- Mannen Hike From Haukland: Out-and-Back or Loop, Map & Parking
Keep reading: