Fresh notes from my fall 2026 climb of the Reinebringen hike in Lofoten: parking options and updated prices, the way to the trailhead, the Sherpa steps, the summit, plus seasonal closures.
I hiked Reinebringen on a sunny morning in early September 2026, and it ended up being one of my favorite hikes in Lofoten. The mountain rises straight above the fishing village of Reine. Almost the whole way up is a stone staircase built by Sherpas from Nepal. Nearly 2,000 steps of it.
I started climbing at 8:30 and had long stretches of stairs to myself. When I came back down around 10, people were queuing on the same steps, stopping every time someone in front needed a breather.
If you hike regularly, the Reinebringen hike gives you one of the best views in Norway for a fairly low effort. If you don’t hike much but still have good stamina, then expect a challenging workout anyways. The stairs climb close to 500 meters (1,640 feet) in barely over a kilometer, and that’s a lot harder than it reads on paper. On my way up, I passed plenty of people who had clearly underestimated it.
A lot of the parking advice online now is a few years old, so I’ve added what I actually paid and found in Reine this fall, along with seasonal closures info, and everything else I’d want to know before going.
Where to Sleep Near Reinebringen: My Picks
The Reinebringen trailhead sits just outside Reine, so staying in the village means you can walk to the stairs and skip the parking question entirely. If you’re driving anyway, the cabins a few kilometers west toward Hamnøy work just as well. My favourite picks:
- Reine Rorbuer: red fishermen’s cabins in Reine itself, about 1.5 to 2 km (1 to 1.2 mi) on foot from the start of the stairs. The easiest base if you want to do the hike without driving.
- Anitas Waterfront Cabins: where I stayed, between Hamnøy and Reine. A short 5-minute drive to the trailhead parking, with private parking and a kitchen.
- Sakrisøy Rorbuer: the yellow cabins on Sakrisøy, run by the same family for generations, a few minutes’ drive from Reine.
If you’re still choosing a base, I compared both sides of the islands in my guide to where to stay in Lofoten.
Reinebringen Trail Stats and Trail Map
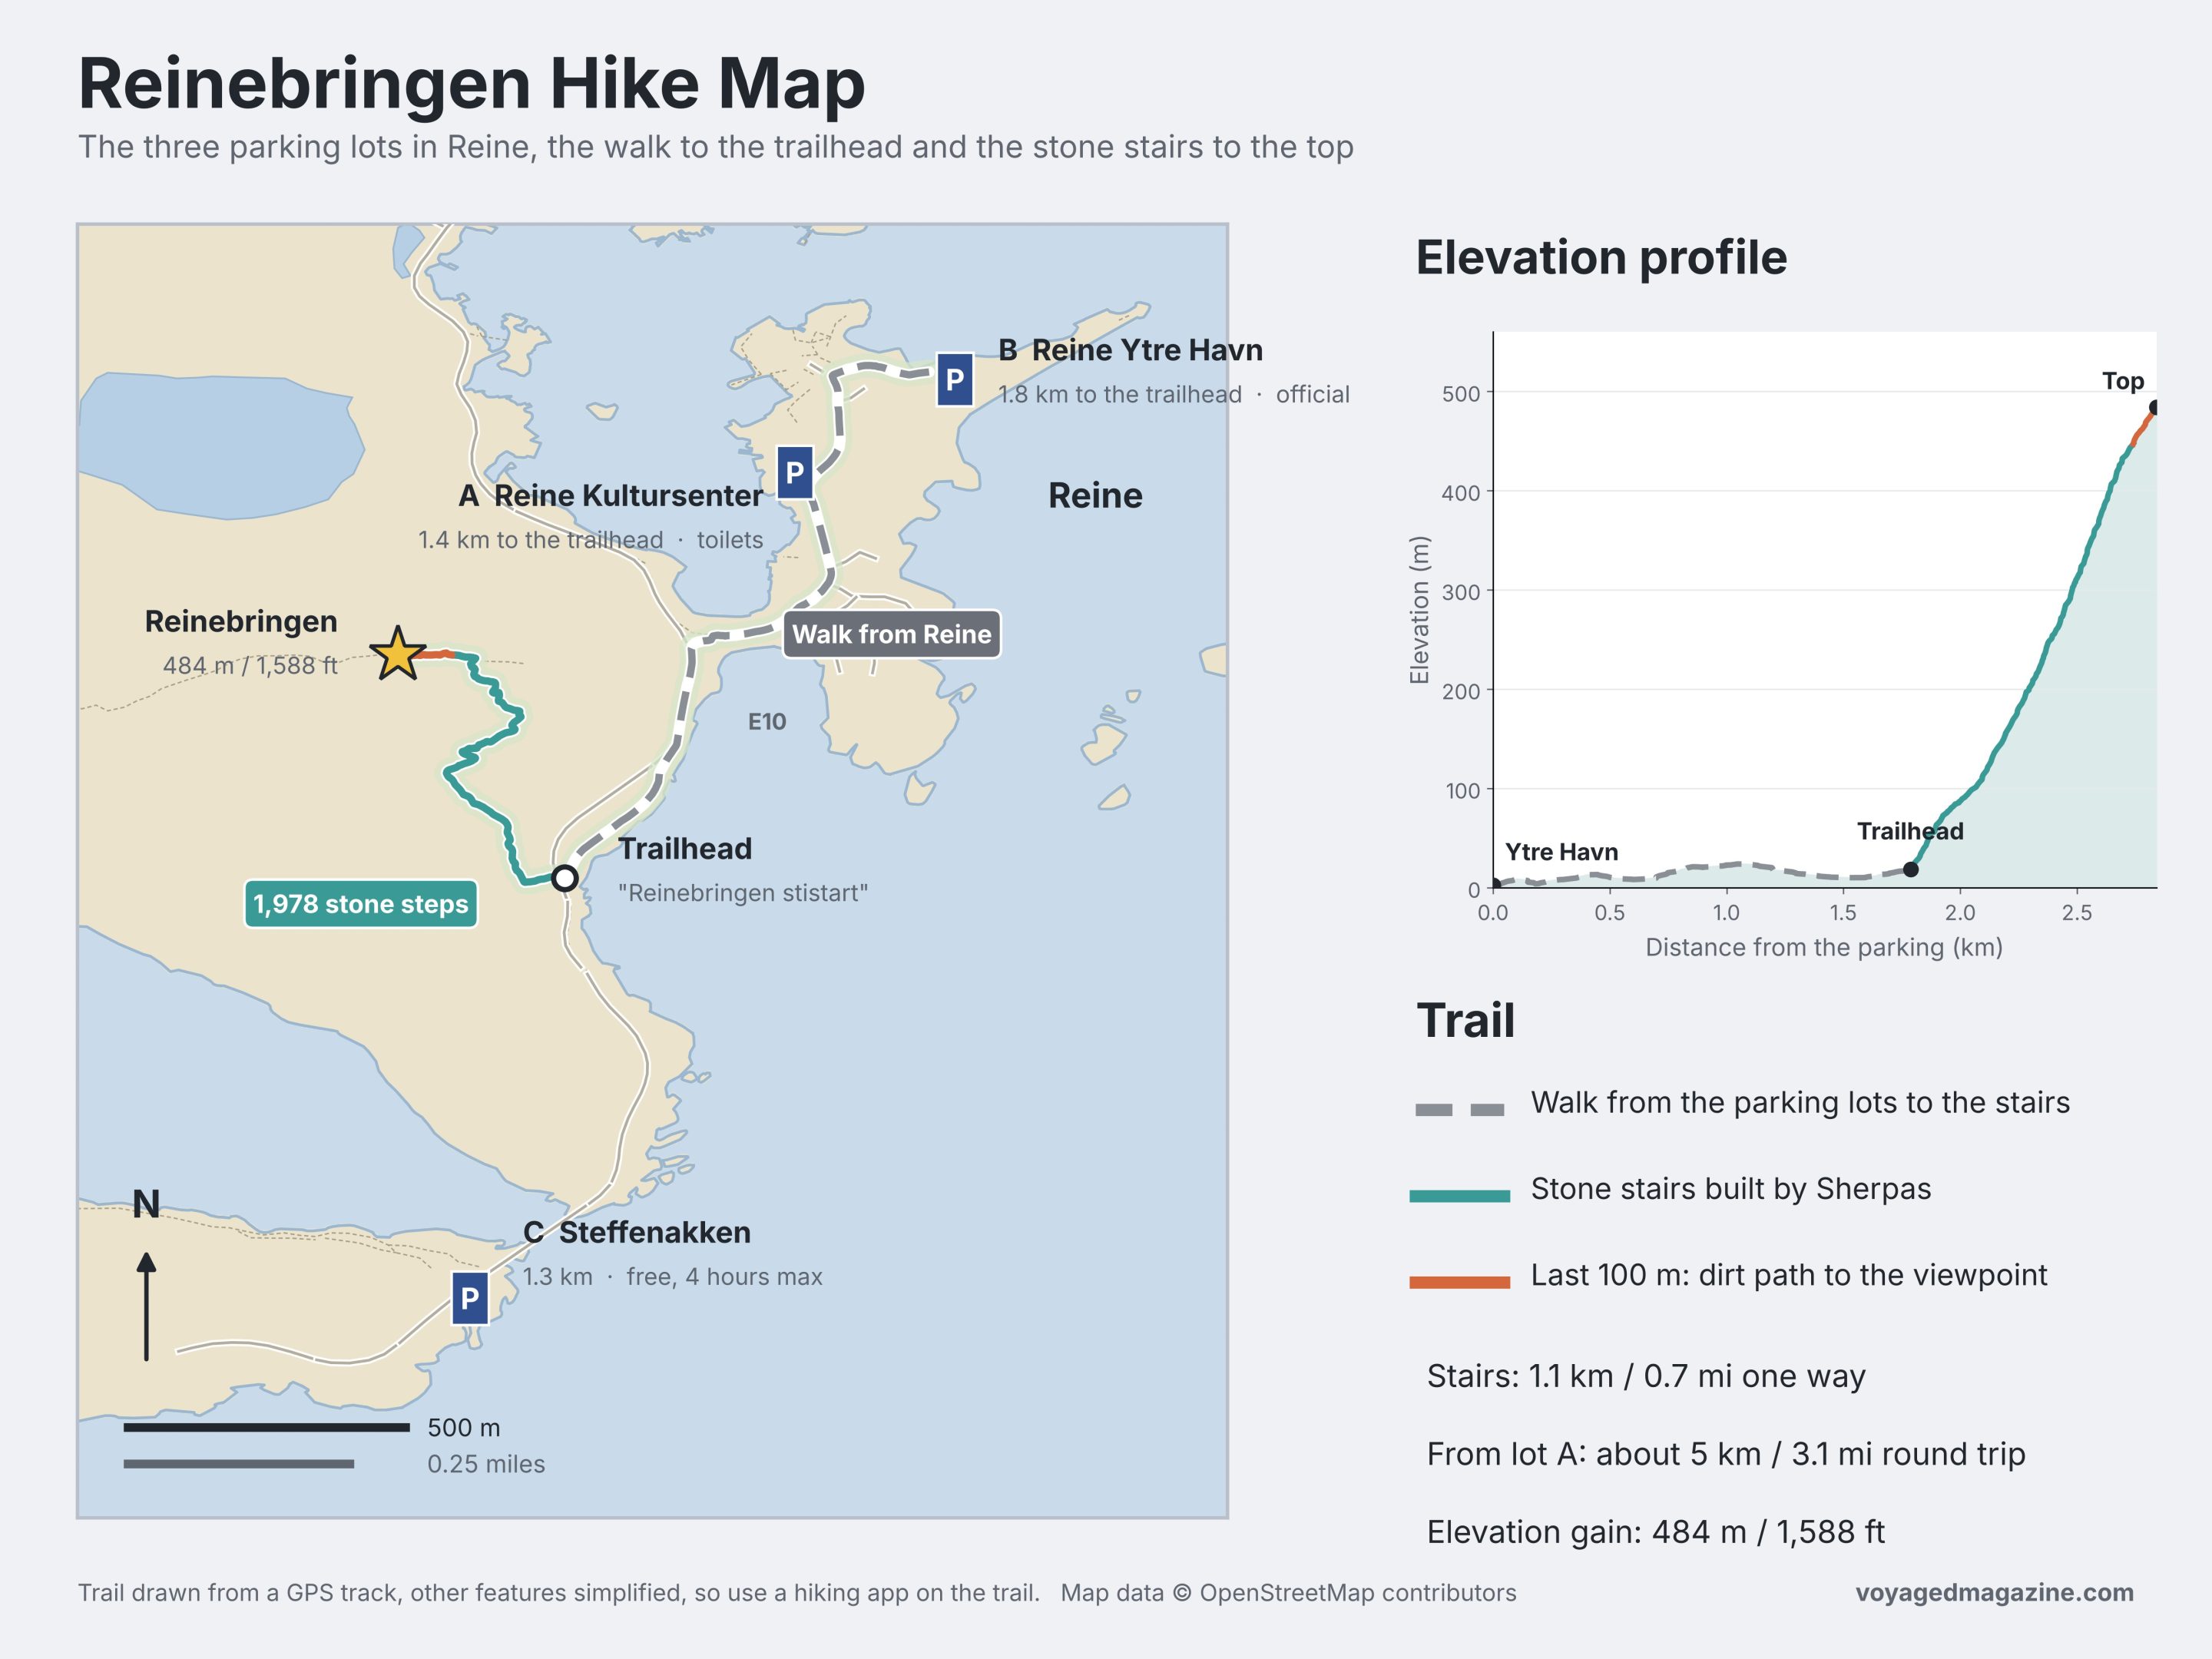
These are the numbers from the official sign at the trailhead, plus my own from the GPS track on my phone. Below you can find a Reinebringen hike trail map, which makes the number and directions clearer:
- Start: the bottom of the stone stairs, on the old road just outside Reine. On Google Maps it’s “Reinebringen stistart”.
- Distance: 2.2 km (1.4 mi) round trip starting from the stairs. Starting from the nearest parking lot in Reine, I covered about 5 km (3.1 mi) round trip.
- Elevation gain: 484 m (1,588 ft) from the bottom of the stairs to the top, about 500 m (1,640 ft) in total from the village.
- Steps: 1,978 stone steps. The last 100 m (330 ft) before the top are a dirt path.
- Time: the sign says 2 to 4 hours round trip. I was back at the car in just under 3 hours, and 40 minutes of that was taking photos at the top.
- Difficulty: easy to moderate. There’s no technical part; it’s just steep and steady all the way.
- Season: June to September in normal conditions. More on closures below.
- Kids and dogs: not suitable for small children or dogs (according to the official sign, and I agree)
- Toilets: none at the trailhead or on the trail, so use the one at the parking lot
- Not allowed: drones and camping.
Is the Reinebringen Hike Open? Seasons, Winter Chain & Closures
When I hiked Reinebringen on September 9, the trail was open, and a trail supervisor was standing near the bottom of the stairs. That’s normal for the summer season. The rest of the year is more complicated, and a lot of what you’ll read online, including the “closed” label on AllTrails, comes from the winter rules.
The official sign at the trailhead has a color wheel with the safe months:
- June to September (green): safe in normal conditions.
- May and October (orange): depends on the conditions that day, so check before you go.
- November to April (red): not recommended. The sign lists avalanches, rockslides and icy steps.
The Winter "Closure" Chain on Reinebringen
Since November 2023, the Moskenes municipality hangs a chain across the bottom of the stairs every winter, and it stays up until the end of April. The stone steps freeze without warning, and from the bottom you can’t tell which ones are covered in ice. The official Reinebringen site adds that ice can form on the steps early in the fall too.
The chain is a warning, and legally that’s all it is. Under Norway’s right to roam, the municipality can’t stop anyone from going up, and hiking there is always at your own risk. People still go. Between January 1 and March 12, 2024, the counter on the trail recorded more than 1,600 hikers past the chain, and helicopter rescues happen most winters.
Personally, I wouldn’t go up between November and April. The stairs that make the hike easy in summer are exactly what makes it too dangerous in winter.
Rockslides Closures and Other Summer Tips
Rockfall is a real risk on this mountain. In February 2025, slides from Reinebringen closed the road at Reinehalsen, just below it, several times, and a protective barrier was built afterward. The trail can also close for short periods after a slide or an accident. If you’re going in May or October, check the municipality’s news page or Visit Lofoten’s Reinebringen guide before you leave.
In summer, the bigger issue is weather. After rain, the dirt path at the top gets very slippery. In fog, you climb almost 500 m (1,640 ft) for a view of nothing.
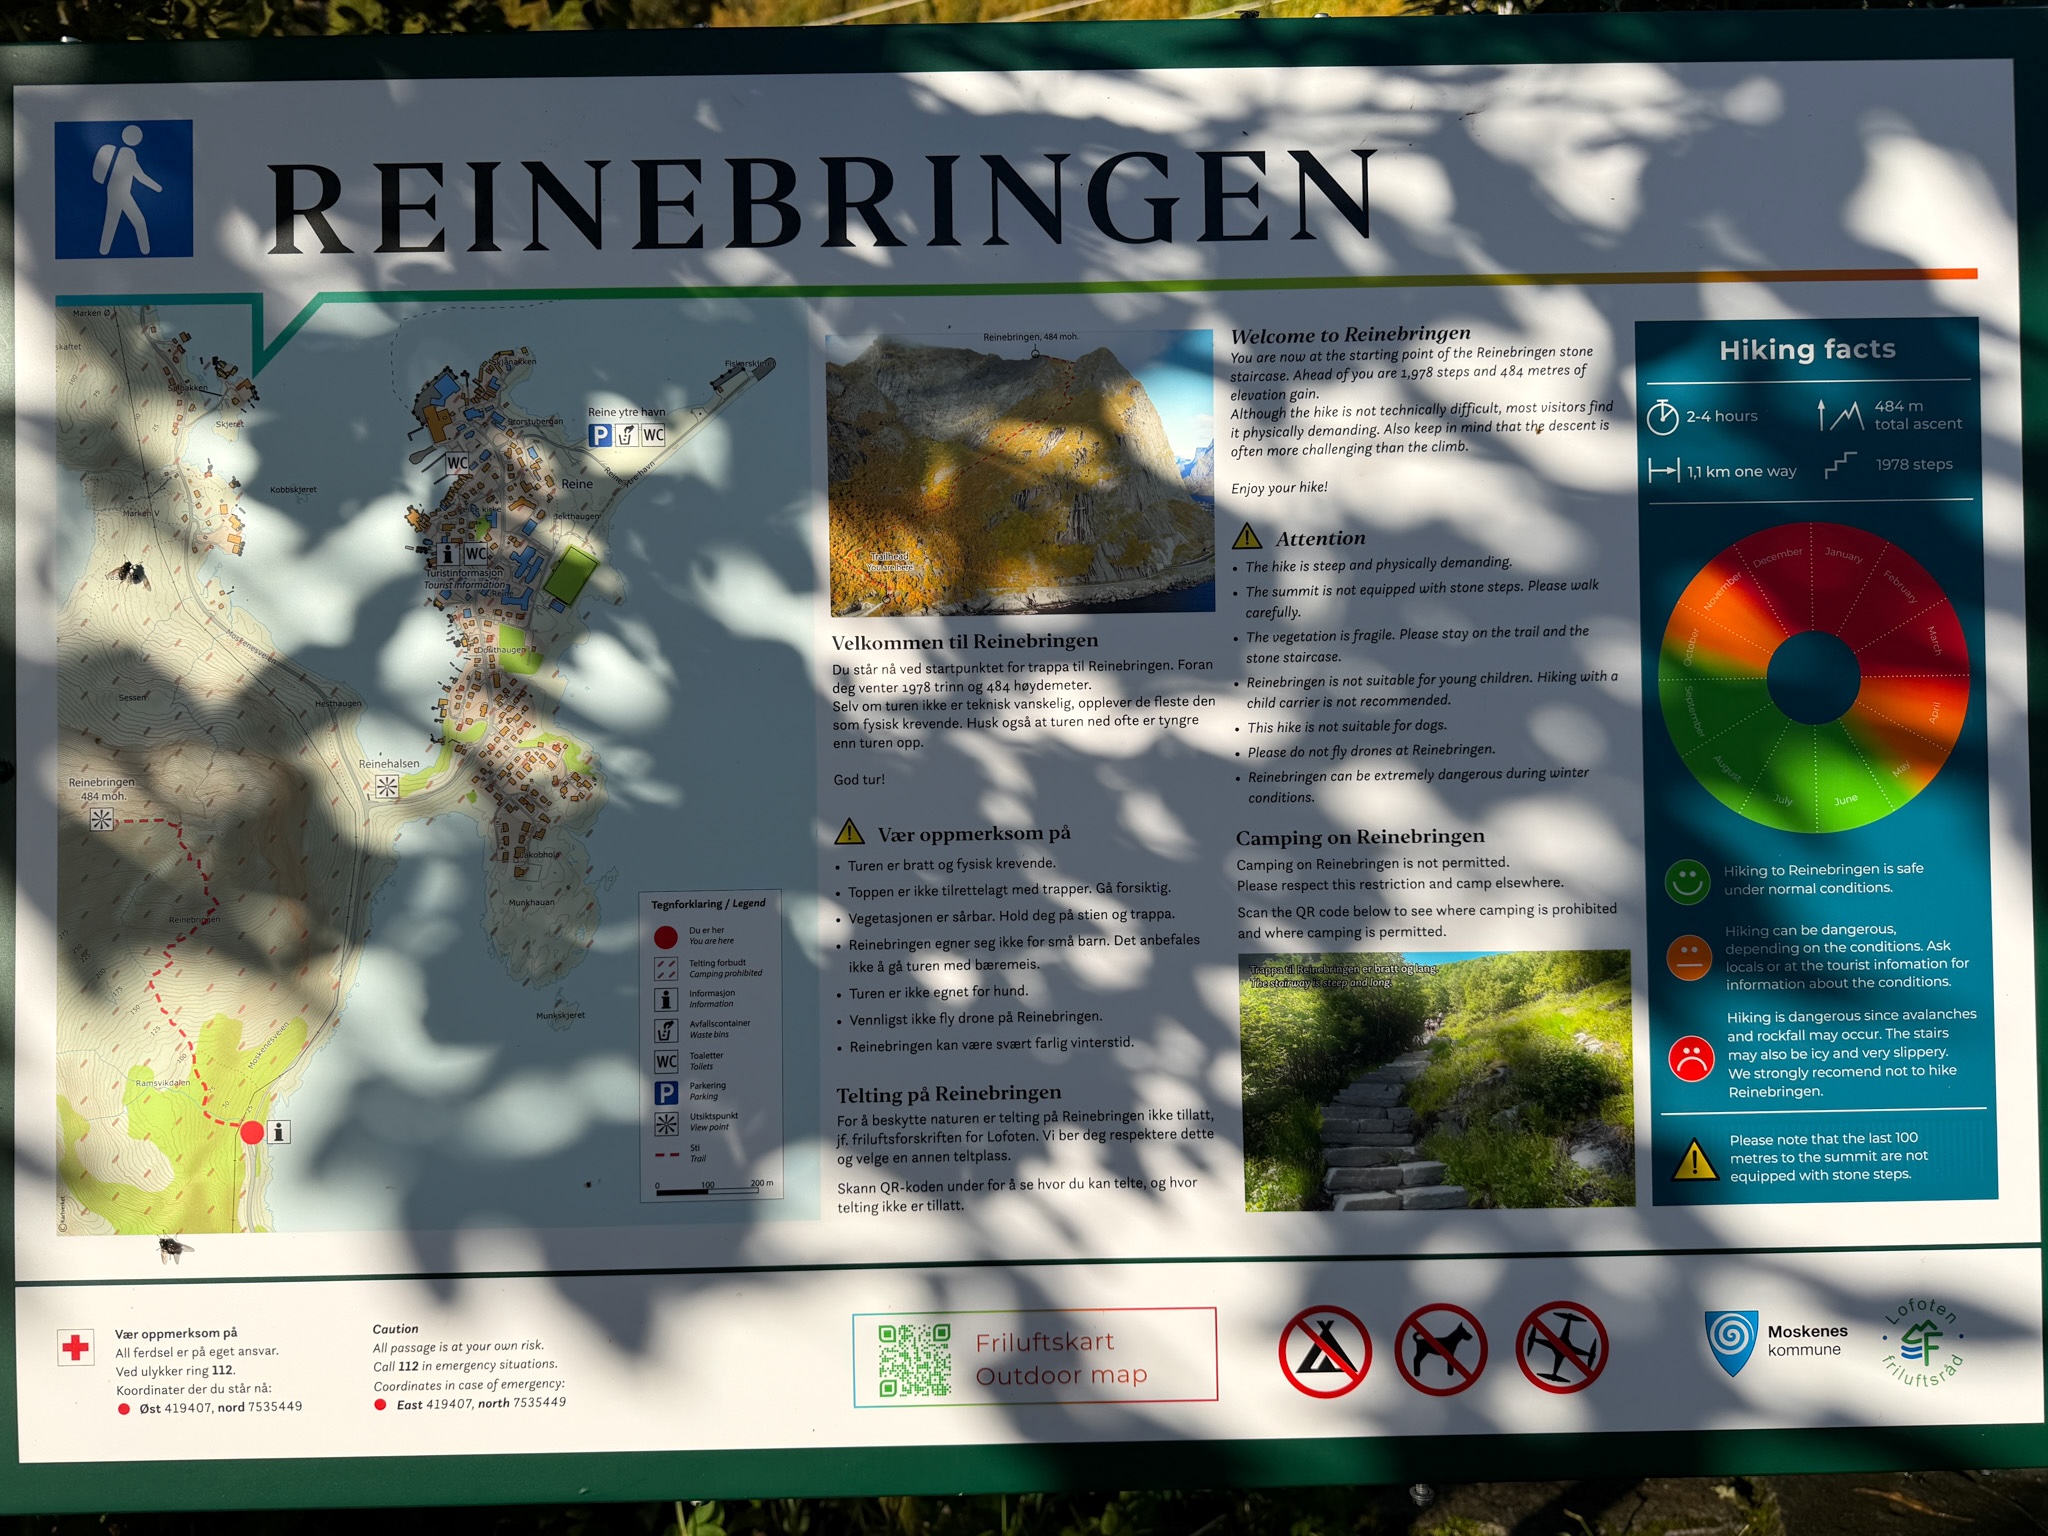
Reinebringen Trailhead Sign With Season Wheel
The official sign at the bottom of the stairs, with the season wheel and the trail stats
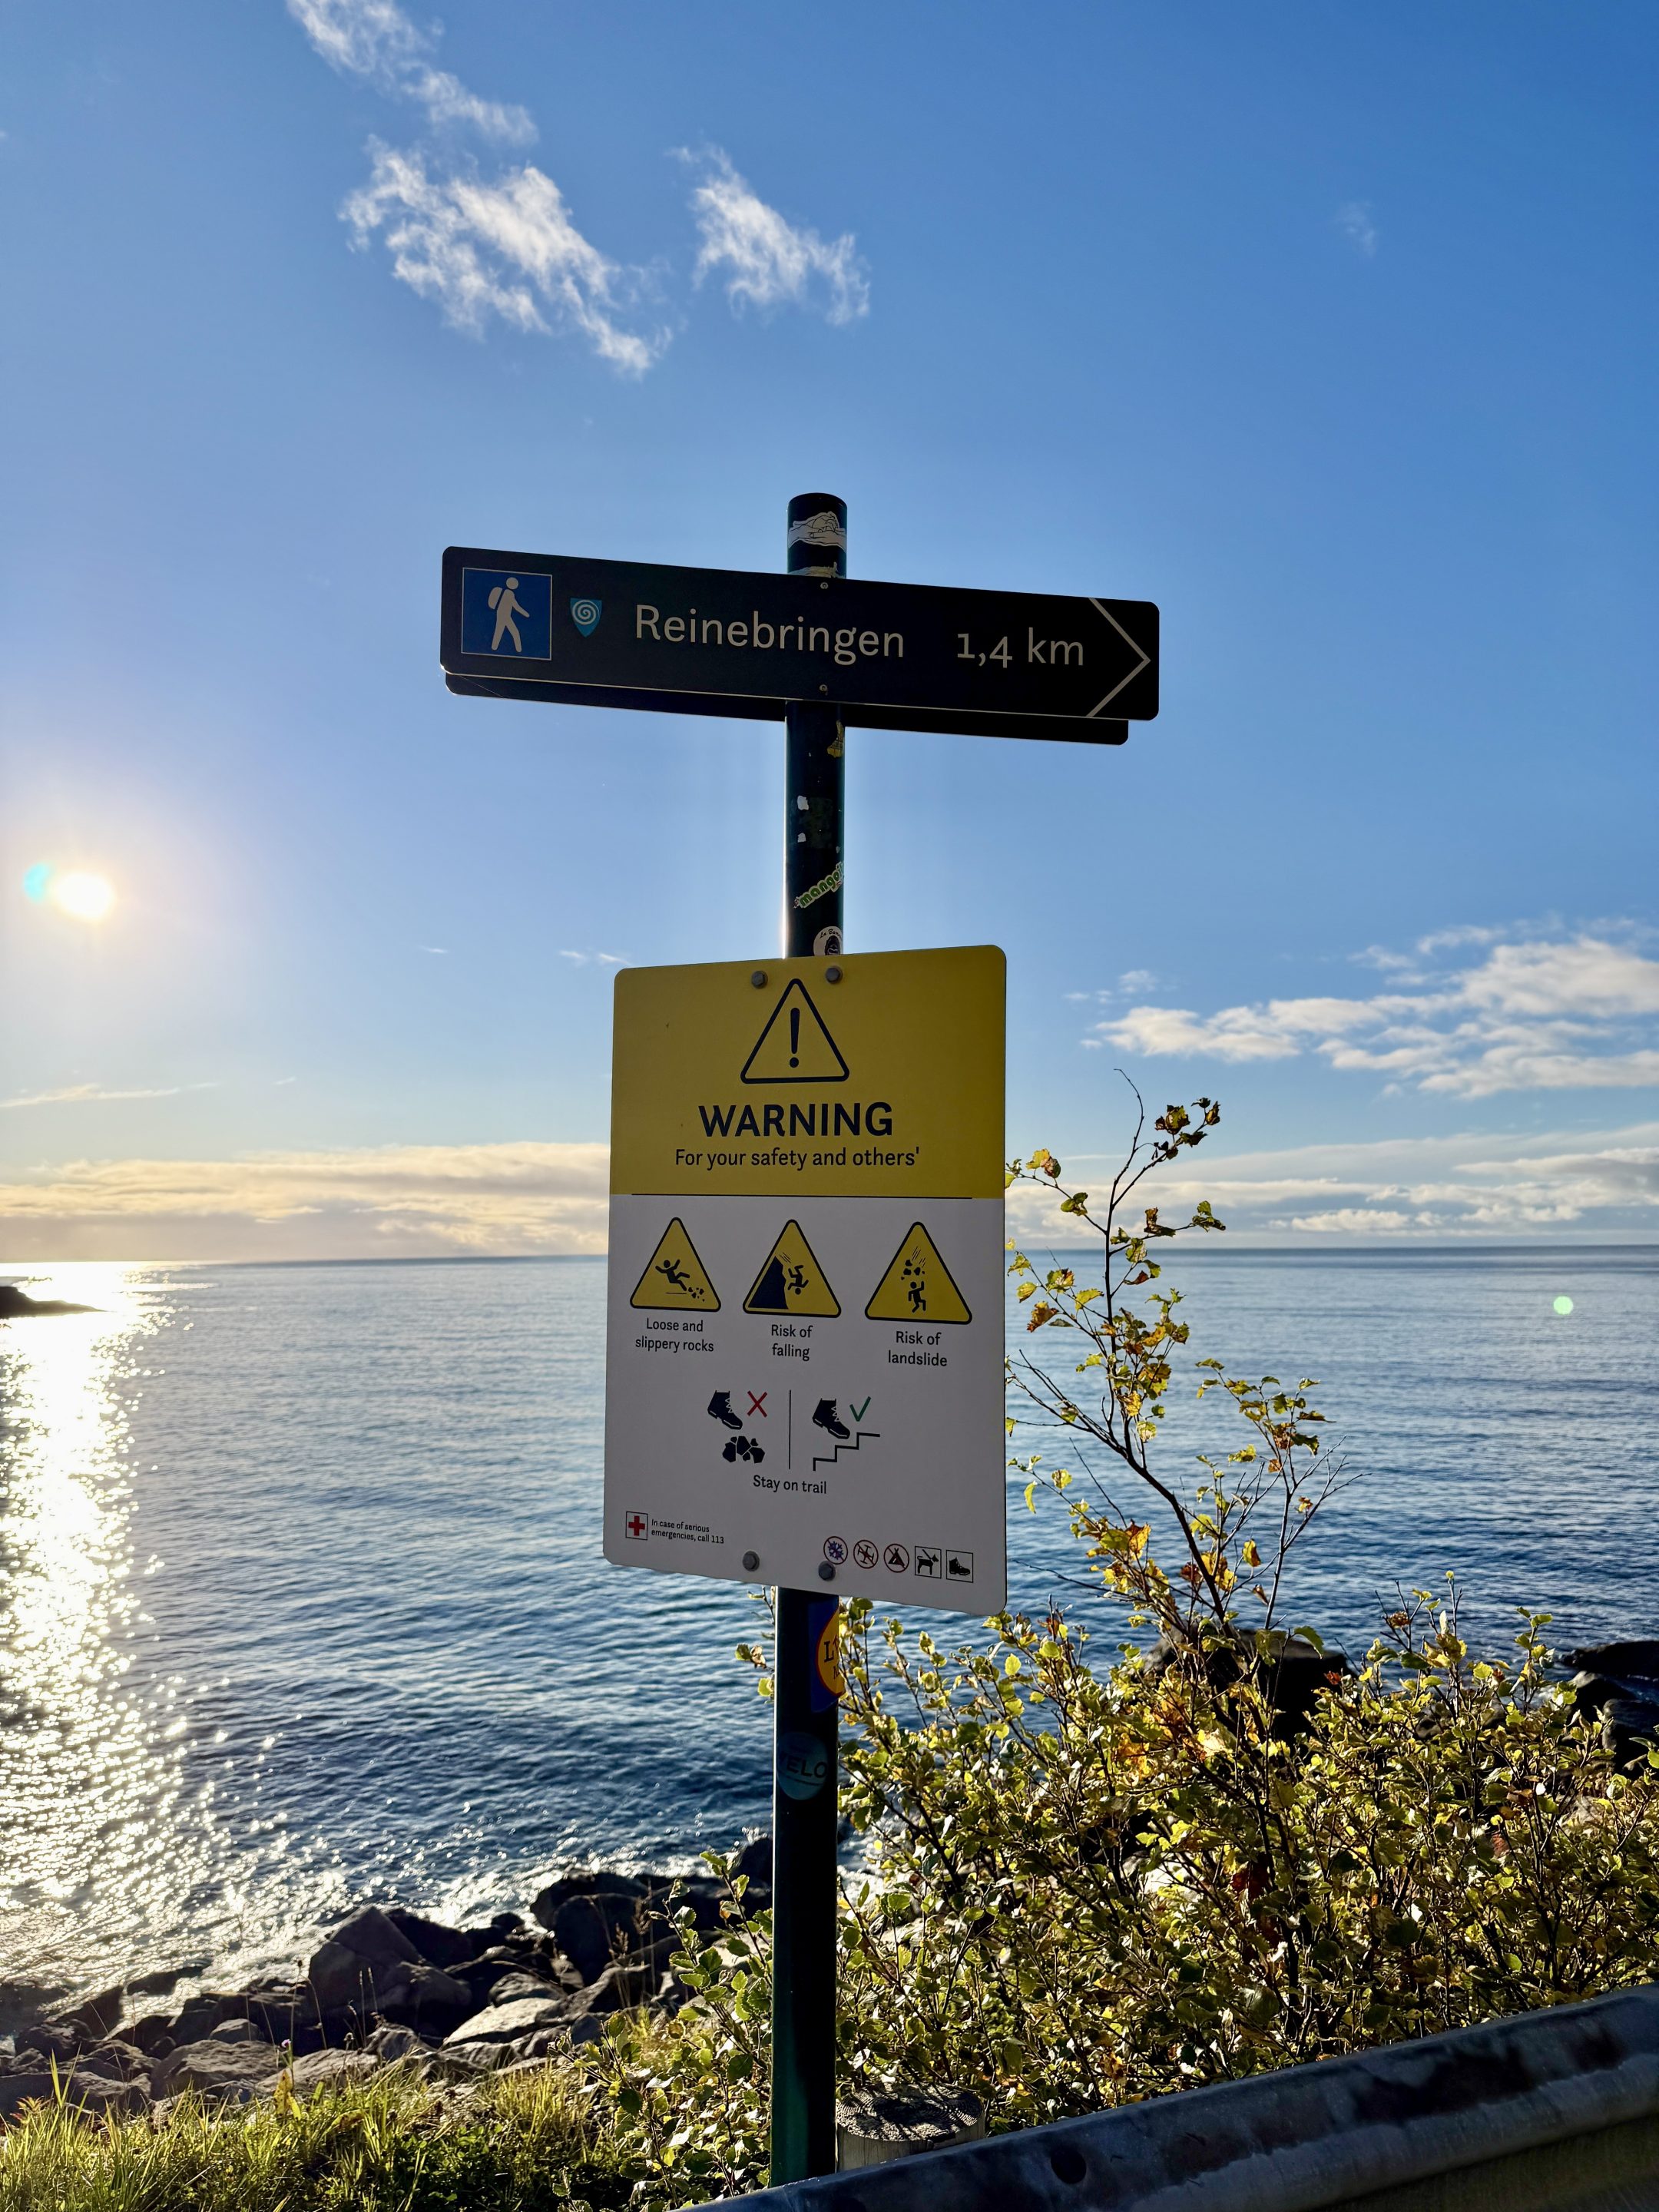
Reinebringen Rockfall Warning Sign
The warning sign on the way to the trailhead: loose rocks and a risk of slides
Reinebringen Parking: Where to Park and 2026 Prices
Reine has three parking options for Reinebringen. Everywhere else is off-limits: the official Reinebringen site says parking on the main road, in nature, in passing places or in private driveways is strictly prohibited and enforced by the municipality by high fines. Most prices you’ll find on blogs online are a few years old, so people tend to be unprepared, like I was. Treat lower numbers than these as outdated.
- Option A, Reine Kultursenter: 1.4 km (0.9 mi) from the trailhead, 75 NOK per hour + 15% Easypark commission, toilets available. The closest one to the trailhead. This is where I parked, and paid with EasyPark.
- Option B, Moskenes Municipality Parking Lot (a.k.a Reine Ytre Havn): about 1.85 km (1.15 mi) from the trailhead, 45 NOK per hour + 15% Easypark commission. The biggest lot, but no payment form worked for me here, including Easypark, so I had to leave.
- Option C, Steffenakken: 1.3 km (0.8 mi) from the trailhead, free, 4-hour limit, no toilets. Only if you arrive very early and hike fast.
Option A: Reine Kultursenter Parking Lot
The lot in front of the old orange school in Reine, now the tourist information center, with a shop and the Eva Harr gallery.
- Price: 75 NOK per started hour, plus 15% EasyPark service fee; up to 450 NOK for 24 hours.
- Payment: cameras read your plate, and you pay at the exit with EasyPark, Autopay, or at the machine.
- What I paid: 258 NOK from 8:03 to 10:54. That’s 3 started hours plus the 15% EasyPark fee of 33 NOK. Truly the most expensive lot I saw in Lofoten.
- Toilets: inside the building, during opening hours.
If you’ve used EasyPark elsewhere in Norway, it works differently here. The cameras log your arrival and exit, so you don’t set a duration and the app shows no price estimate. You only see the total at the end. It’s insanely expensive, but it was close, and paying was automatic.
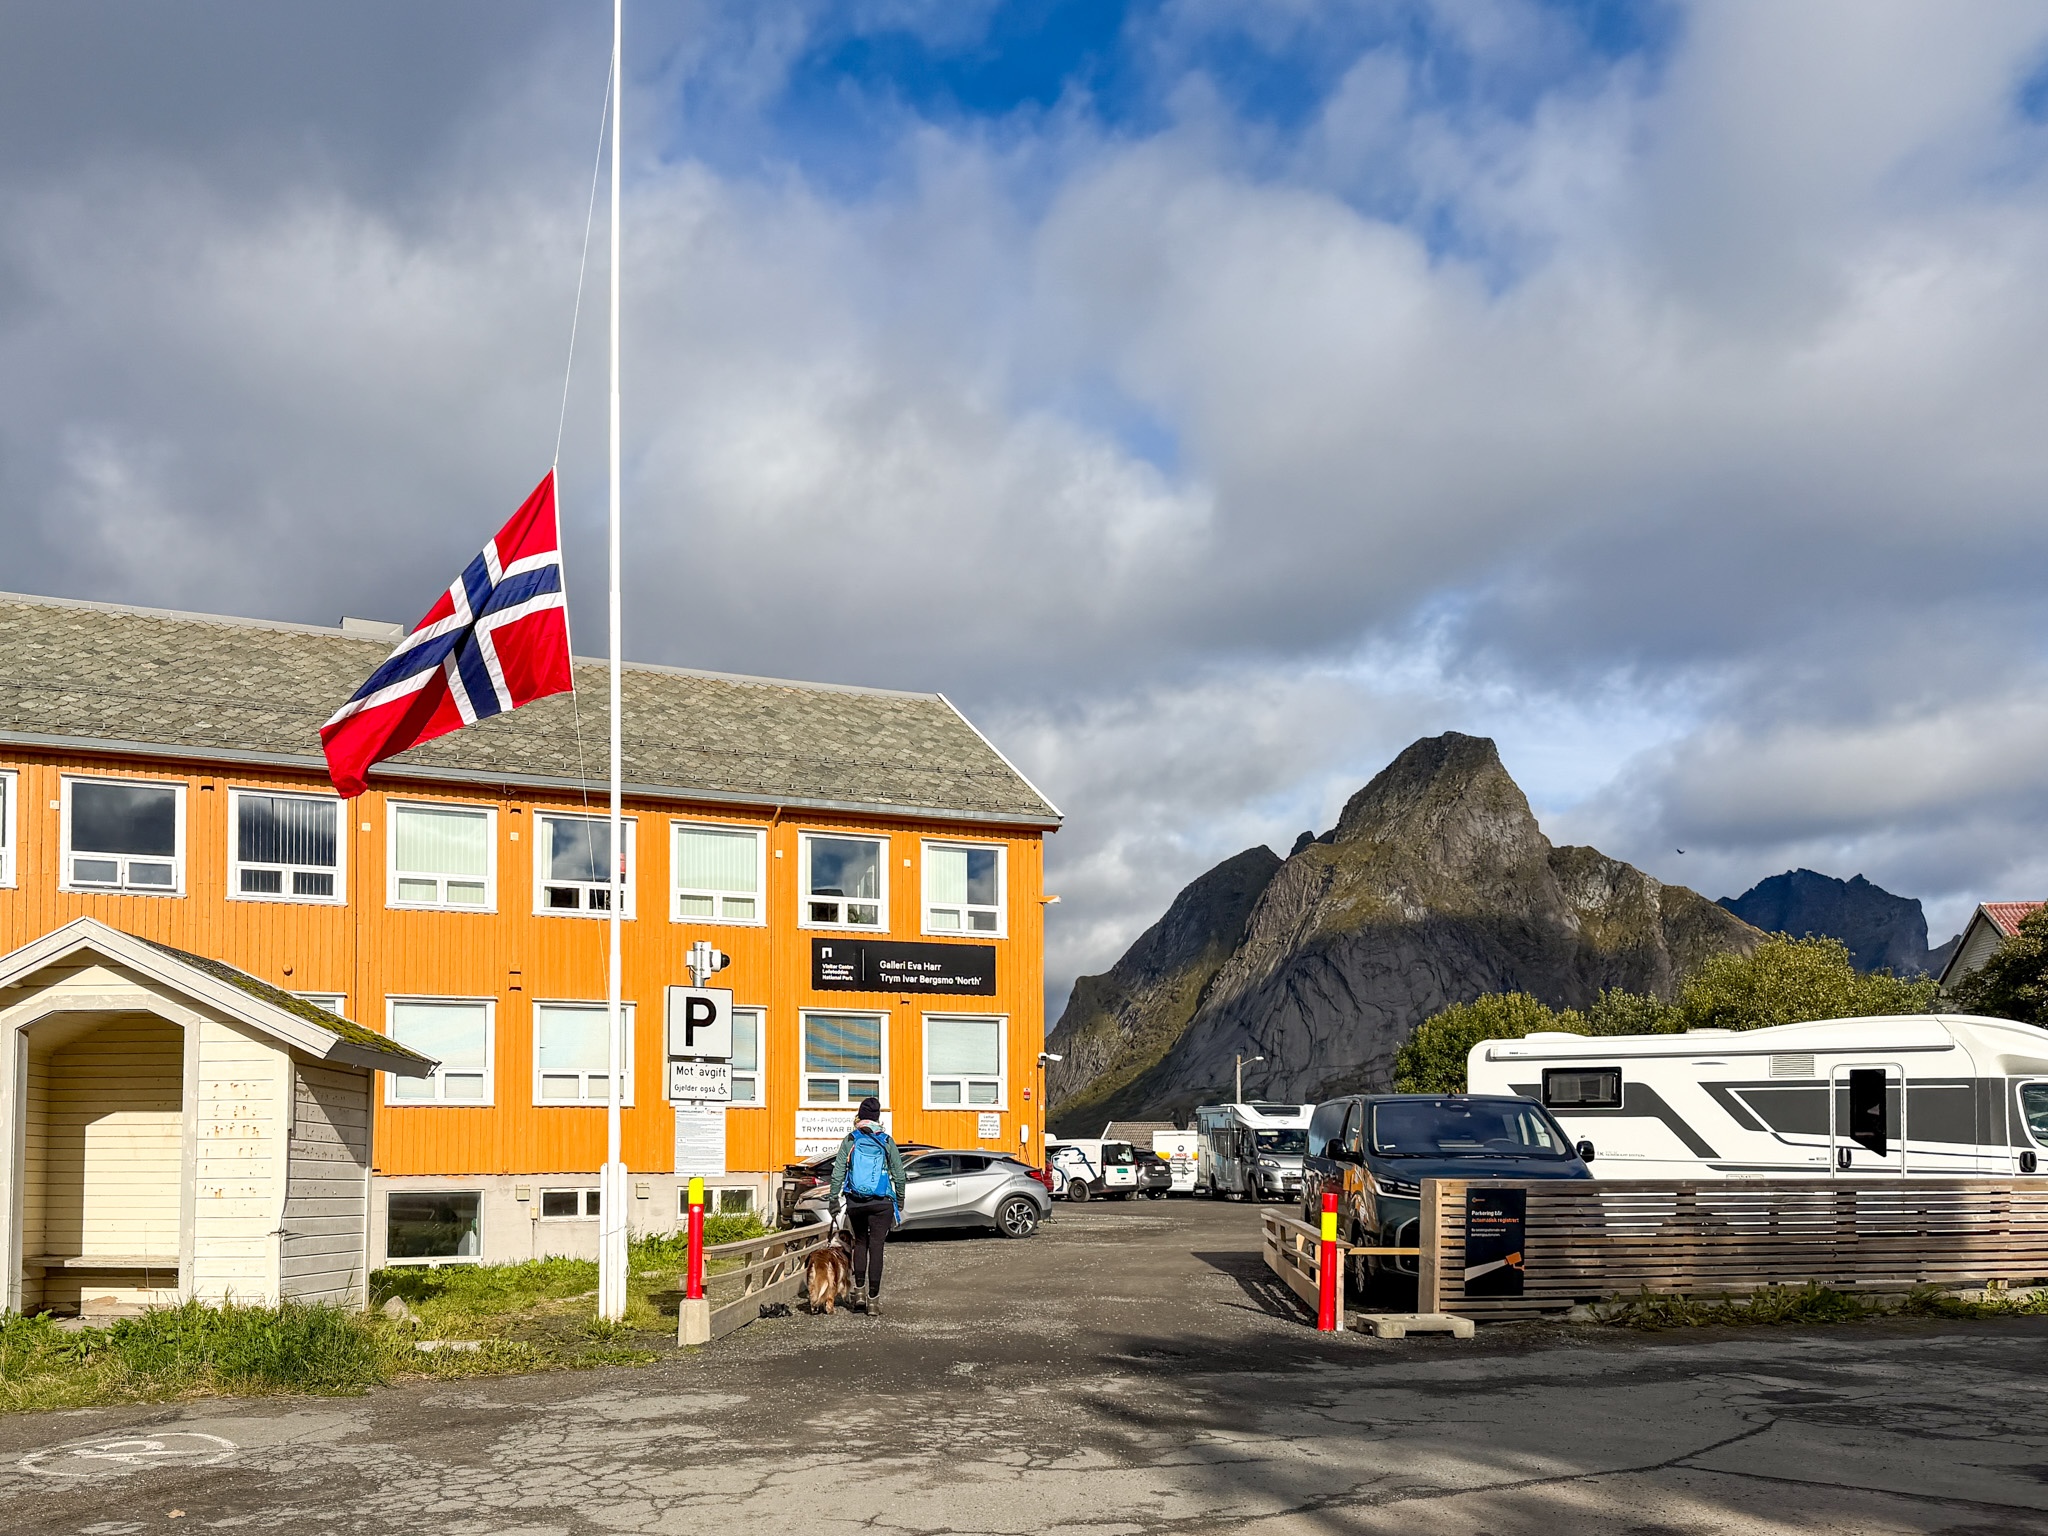
Reine Kultursenter Parking Lot for Reinebringen
The Kultursenter parking lot with cameras for automatic plate reading
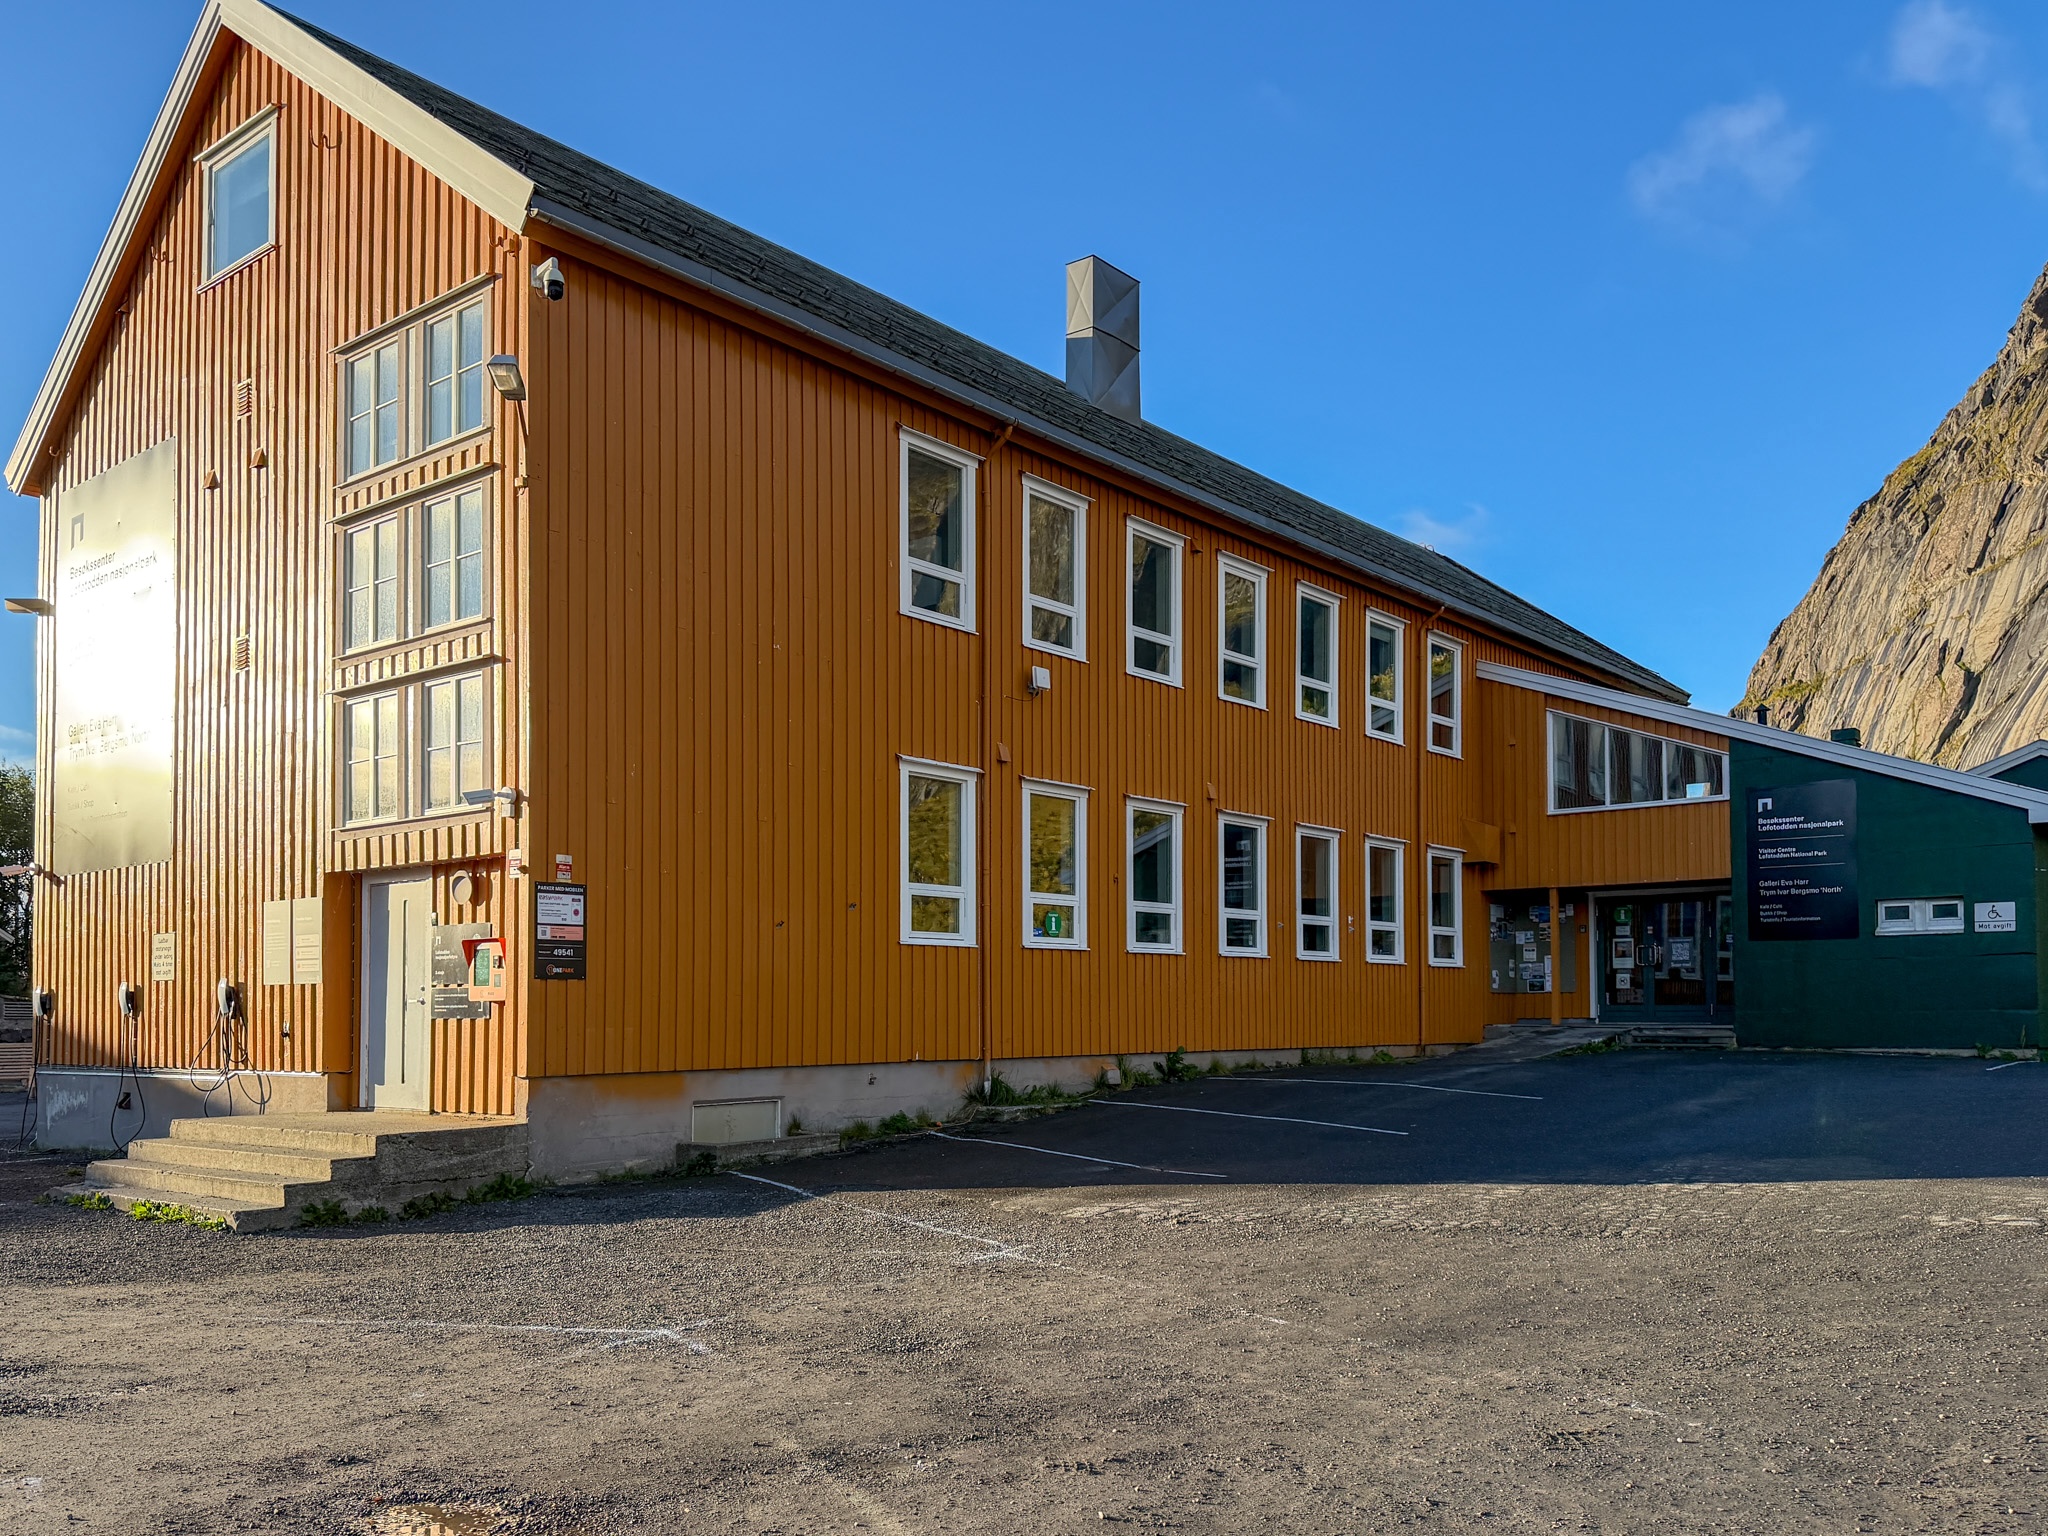
Old School Building at Reine Kultursenter Parking
The old orange school with the tourist information, right by the parking lot
Option B: Moskenes Municipality Parking Lot (a.k.a Reine Ytre Havn)
The biggest lot, at the outer harbor of Reine, and the one the official site sends hikers to. Drive into Reine and turn right at the Circle K. The full hike from here is about 5.8 km (3.6 mi) round trip. You have two payment options based on the exact entry area:
- Municipal lot: 36 NOK per hour before VAT on the municipality’s 2026 price list, so about 45 NOK per hour with Norway’s 25% VAT, plus EasyPark 15% fee. from 7 a.m. to 11 p.m. The first 30 minutes are free. For a 3-hour hike that comes to roughly 155 NOK, about half what I paid at the Kultursenter. Like there, almost nothing is posted on site and the app shows no estimate, so these are the clearest numbers I could find.
- Private lot further in (Fellesdrift): flat daily rate, cash or app.
I tried to park here first, but EasyPark wouldn’t start a session here, and the machine wasn't working either, so I drove to the Kultursenter. Later I found reviews describing the same problem. If you park here, make sure the payment went through before you walk off.
Option C: Steffenakken (Free Parking, 4 Hours Max)
A small free lot by the Djupfjord bridge, south of the trailhead, with room for 15 to 20 cars. It’s popular with campervans and has no toilets. You walk 1.3 km (0.8 mi) along the E10 to the stairs.
Since May 2026 there’s a 4-hour limit, and you need a parking disc. That’s enough if you’re fit: I was back in just under three hours, with no stops on the stairs, a quick descent on poles and 40 minutes of photos at the top. And get there very early, because it fills fast. If you want to go slowly, pay for Option A or B instead.
Getting to Reinebringen Without a Car
The nearest bus stop is Reine kryss, on the E10 at the turnoff into the village. Check times on the Reis app, since they change by season.
If you’re still deciding on a car, here’s how parking, fines and EasyPark work across Lofoten.
How to Find the Reinebringen Trailhead
The Reinebringen trailhead is on the old road just outside Reine, by the western entrance of the Ramsvik tunnel on the E10. You can’t see the stairs from the road or from the parking lots, and signs are few. My tip: put “Reinebringen stistart” into Google Maps and follow it on foot. That’s what I did.
Walking from Reine (Parking options A or B):
About 20-30 minutes at an easy pace. I left at 8:10 and reached the stairs around 8:30.
- Walk through the village streets toward the E10, turning left.
- Follow the path beside the E10, with the sea on your left side and the rock face on the other.
- Near the tunnel, turn onto the old road. The first Reinebringen signs appear here, including a warning about loose rocks and slides.
- A few minutes later you reach the bottom of the stone stairs and the official sign with the trail stats.
Walking from Steffenakken (Parking option C)
Walk north along the E10 toward Reine and you reach the same old road from the other side.
Before you start:
- Toilets: there are none at the trailhead or on the trail. The closest are inside the Kultursenter, at the Circle K in Reine and at the harbor.
- Trail host / supervisor : in summer, until September 30, someone is posted at the bottom of the stairs. Ask them if you’re unsure about the weather or the trail.
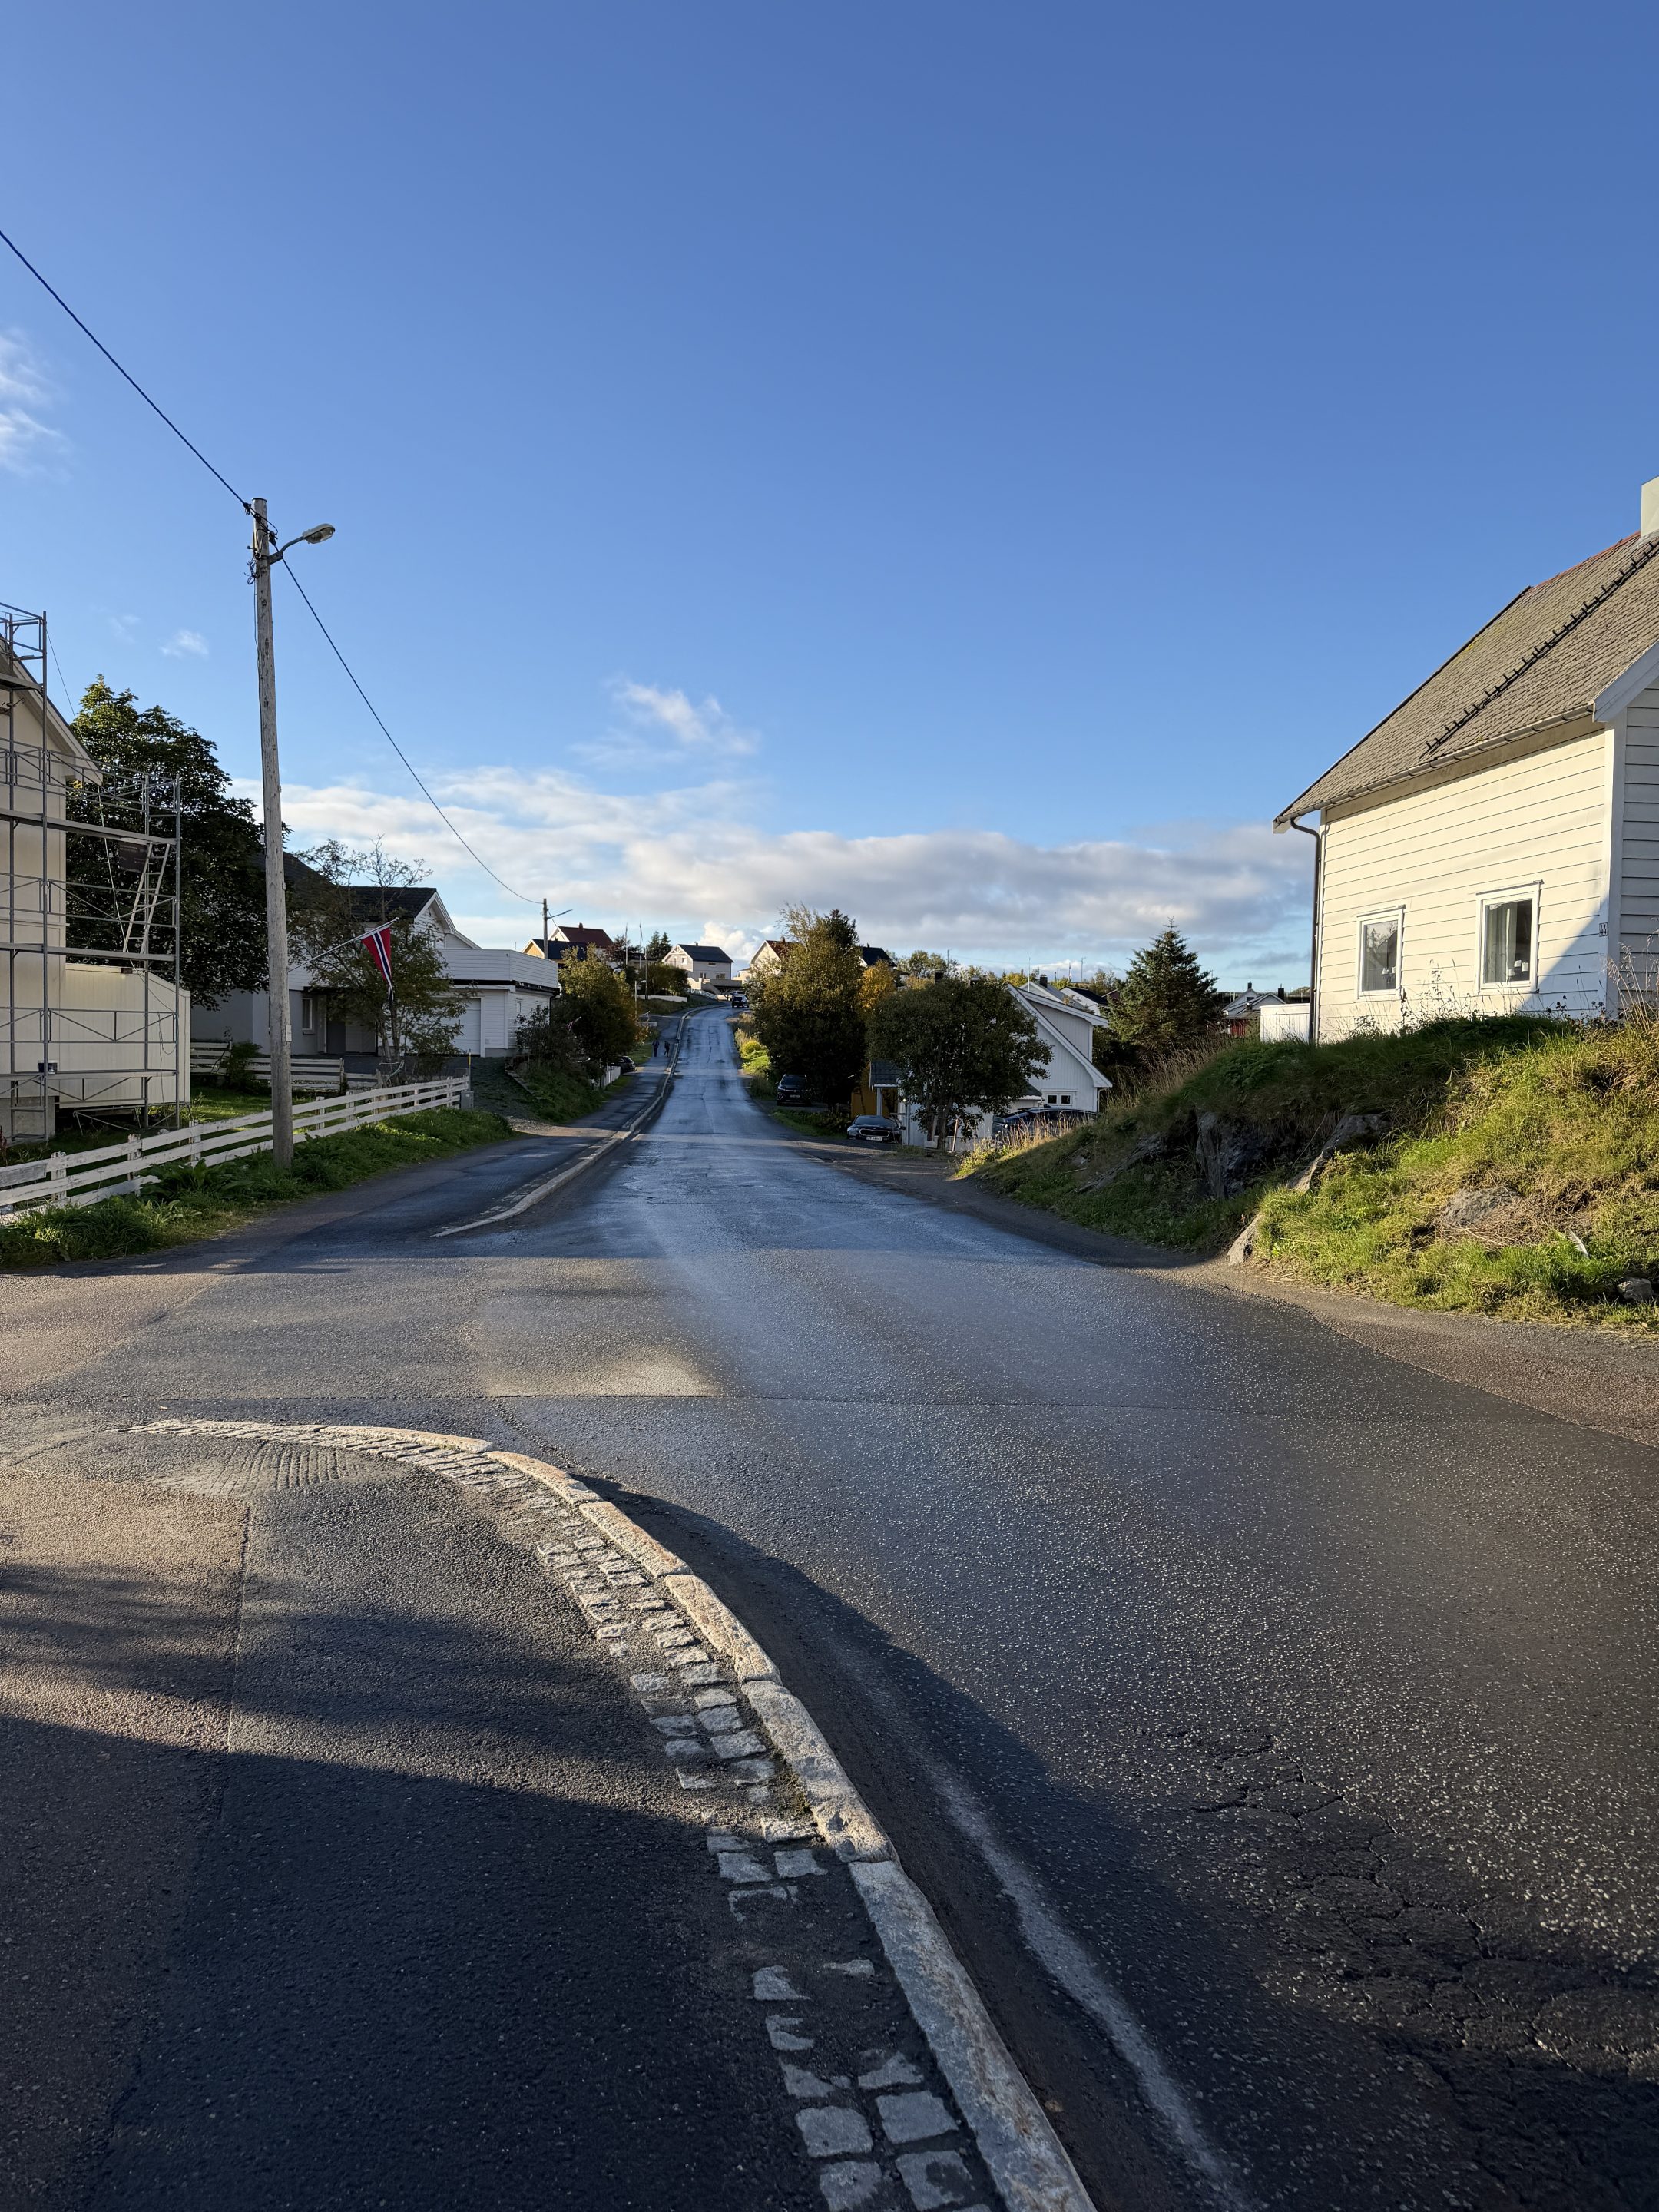
Walking Through Reine to the Reinebringen Trailhead
The first part of the walk, through the streets of Reine
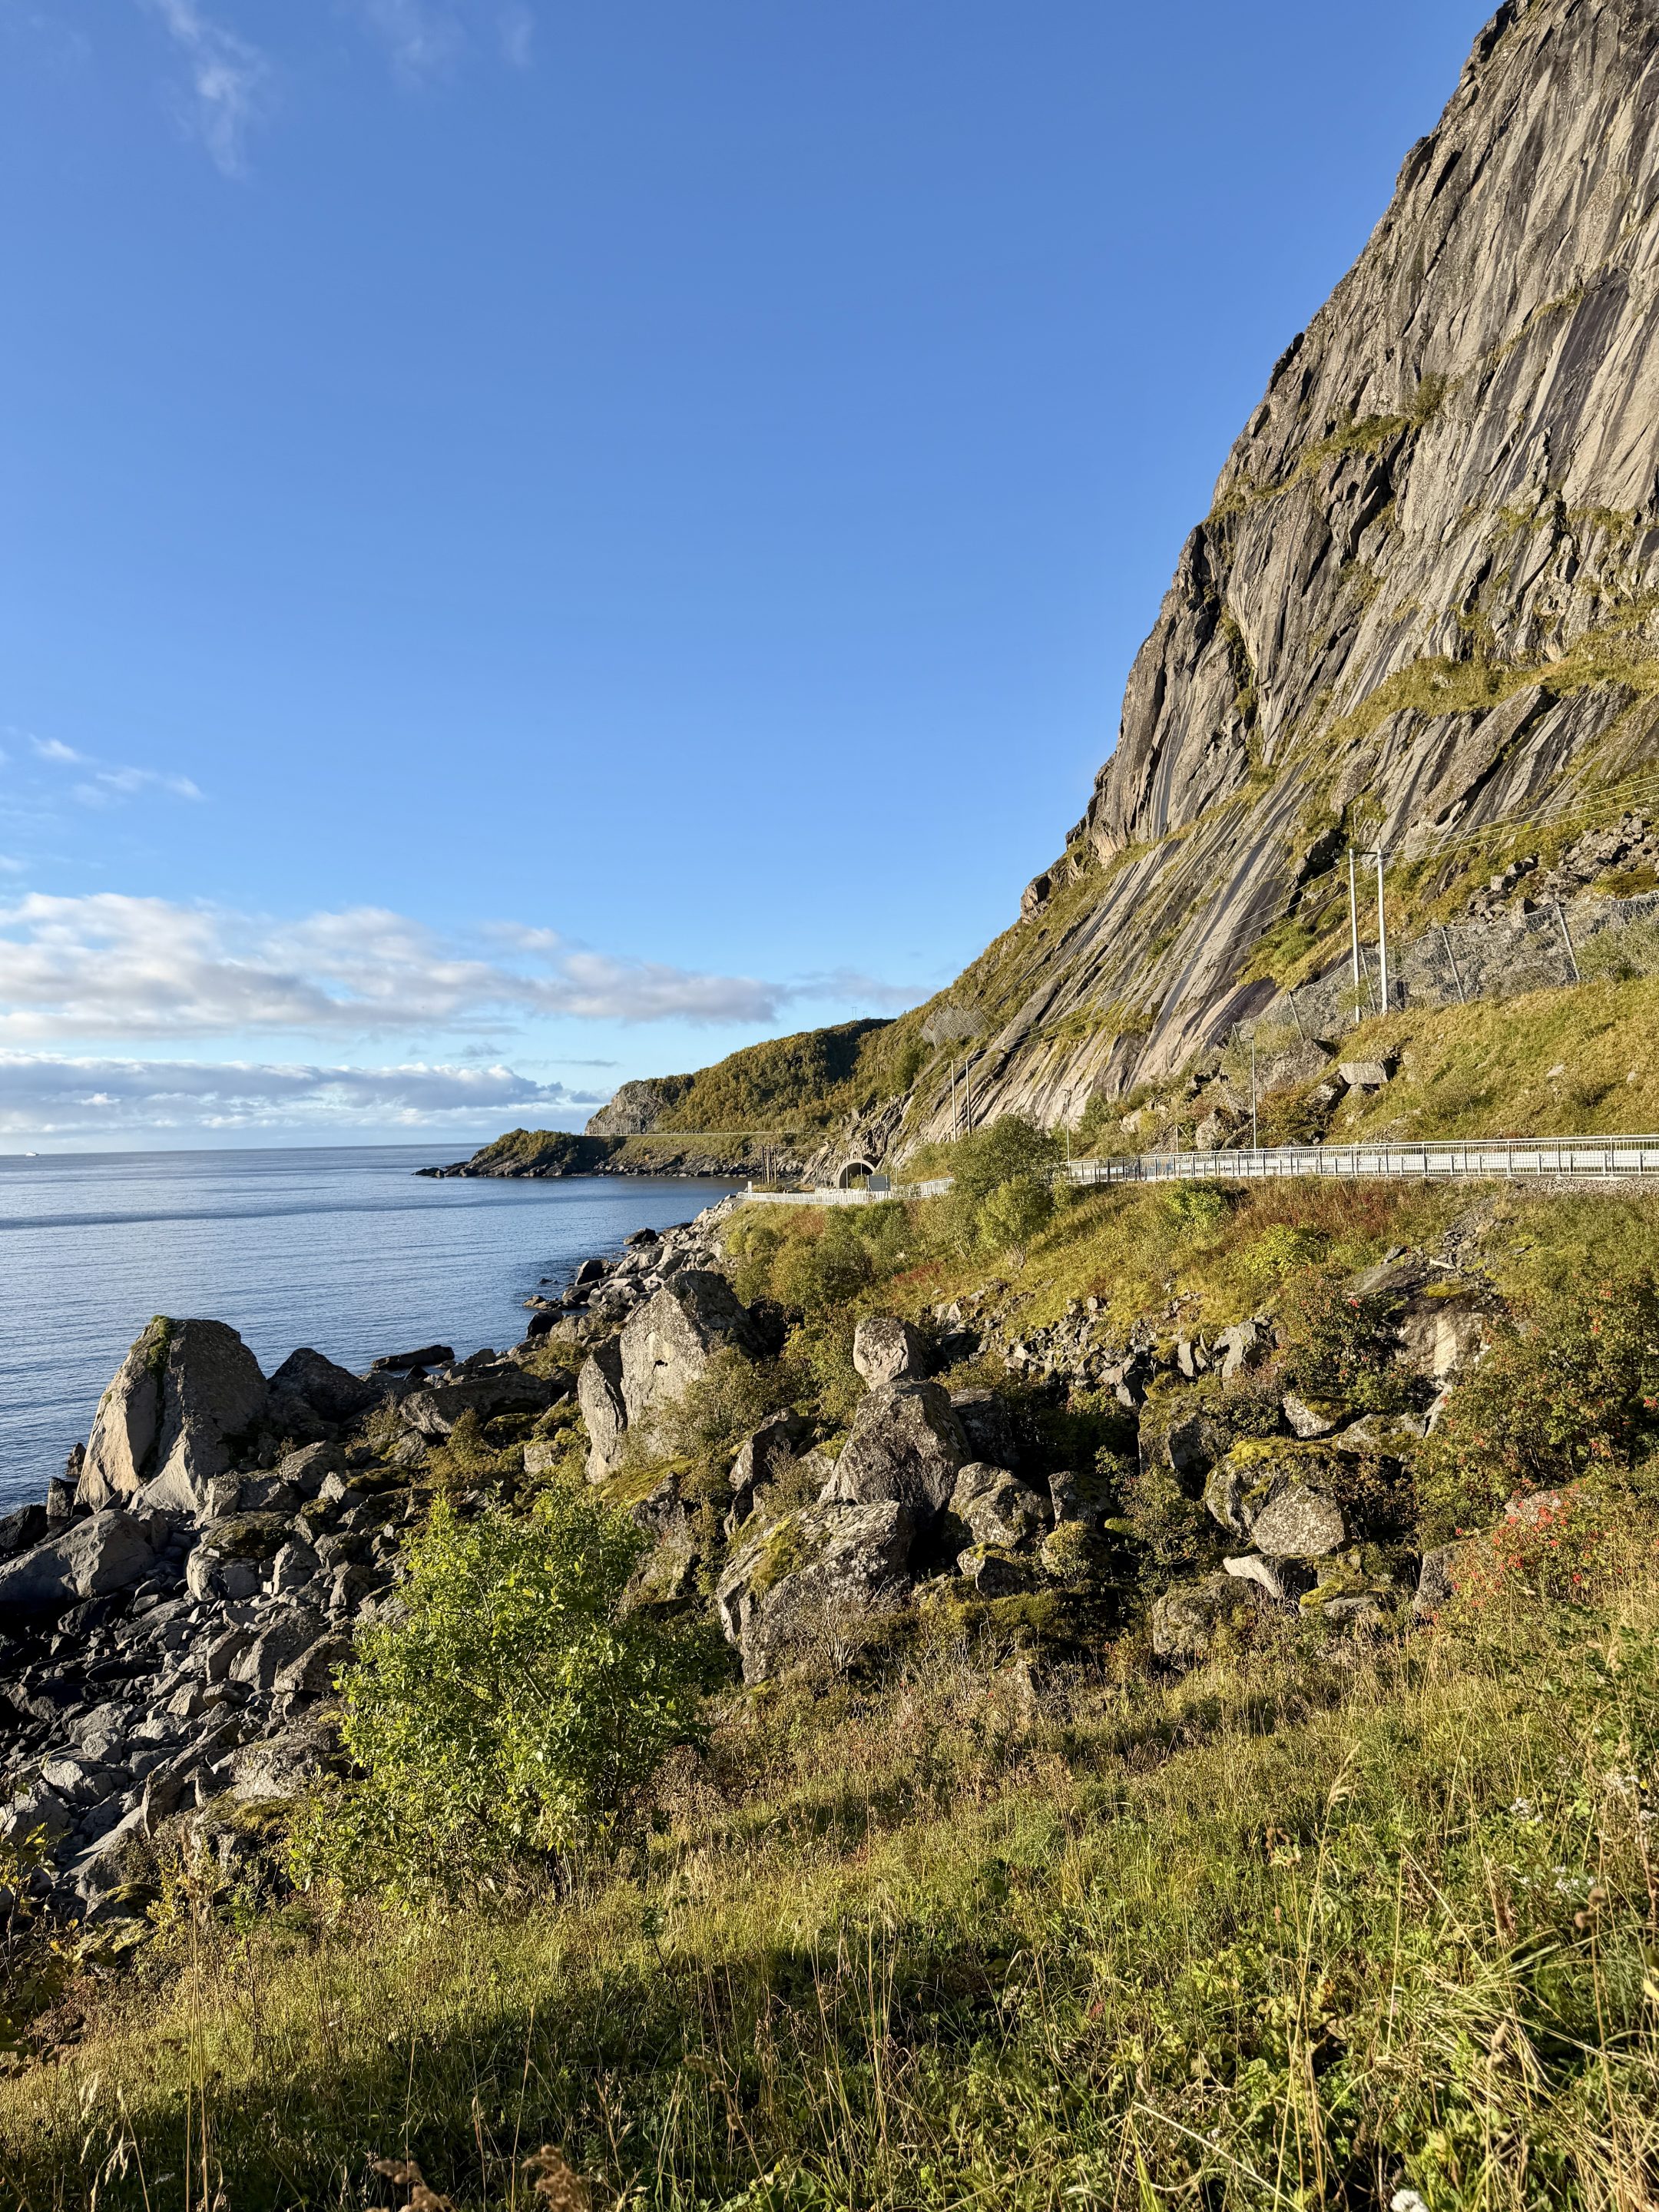
Path Along the E10 to the Reinebringen Trailhead
The path along the E10, with the tunnel ahead
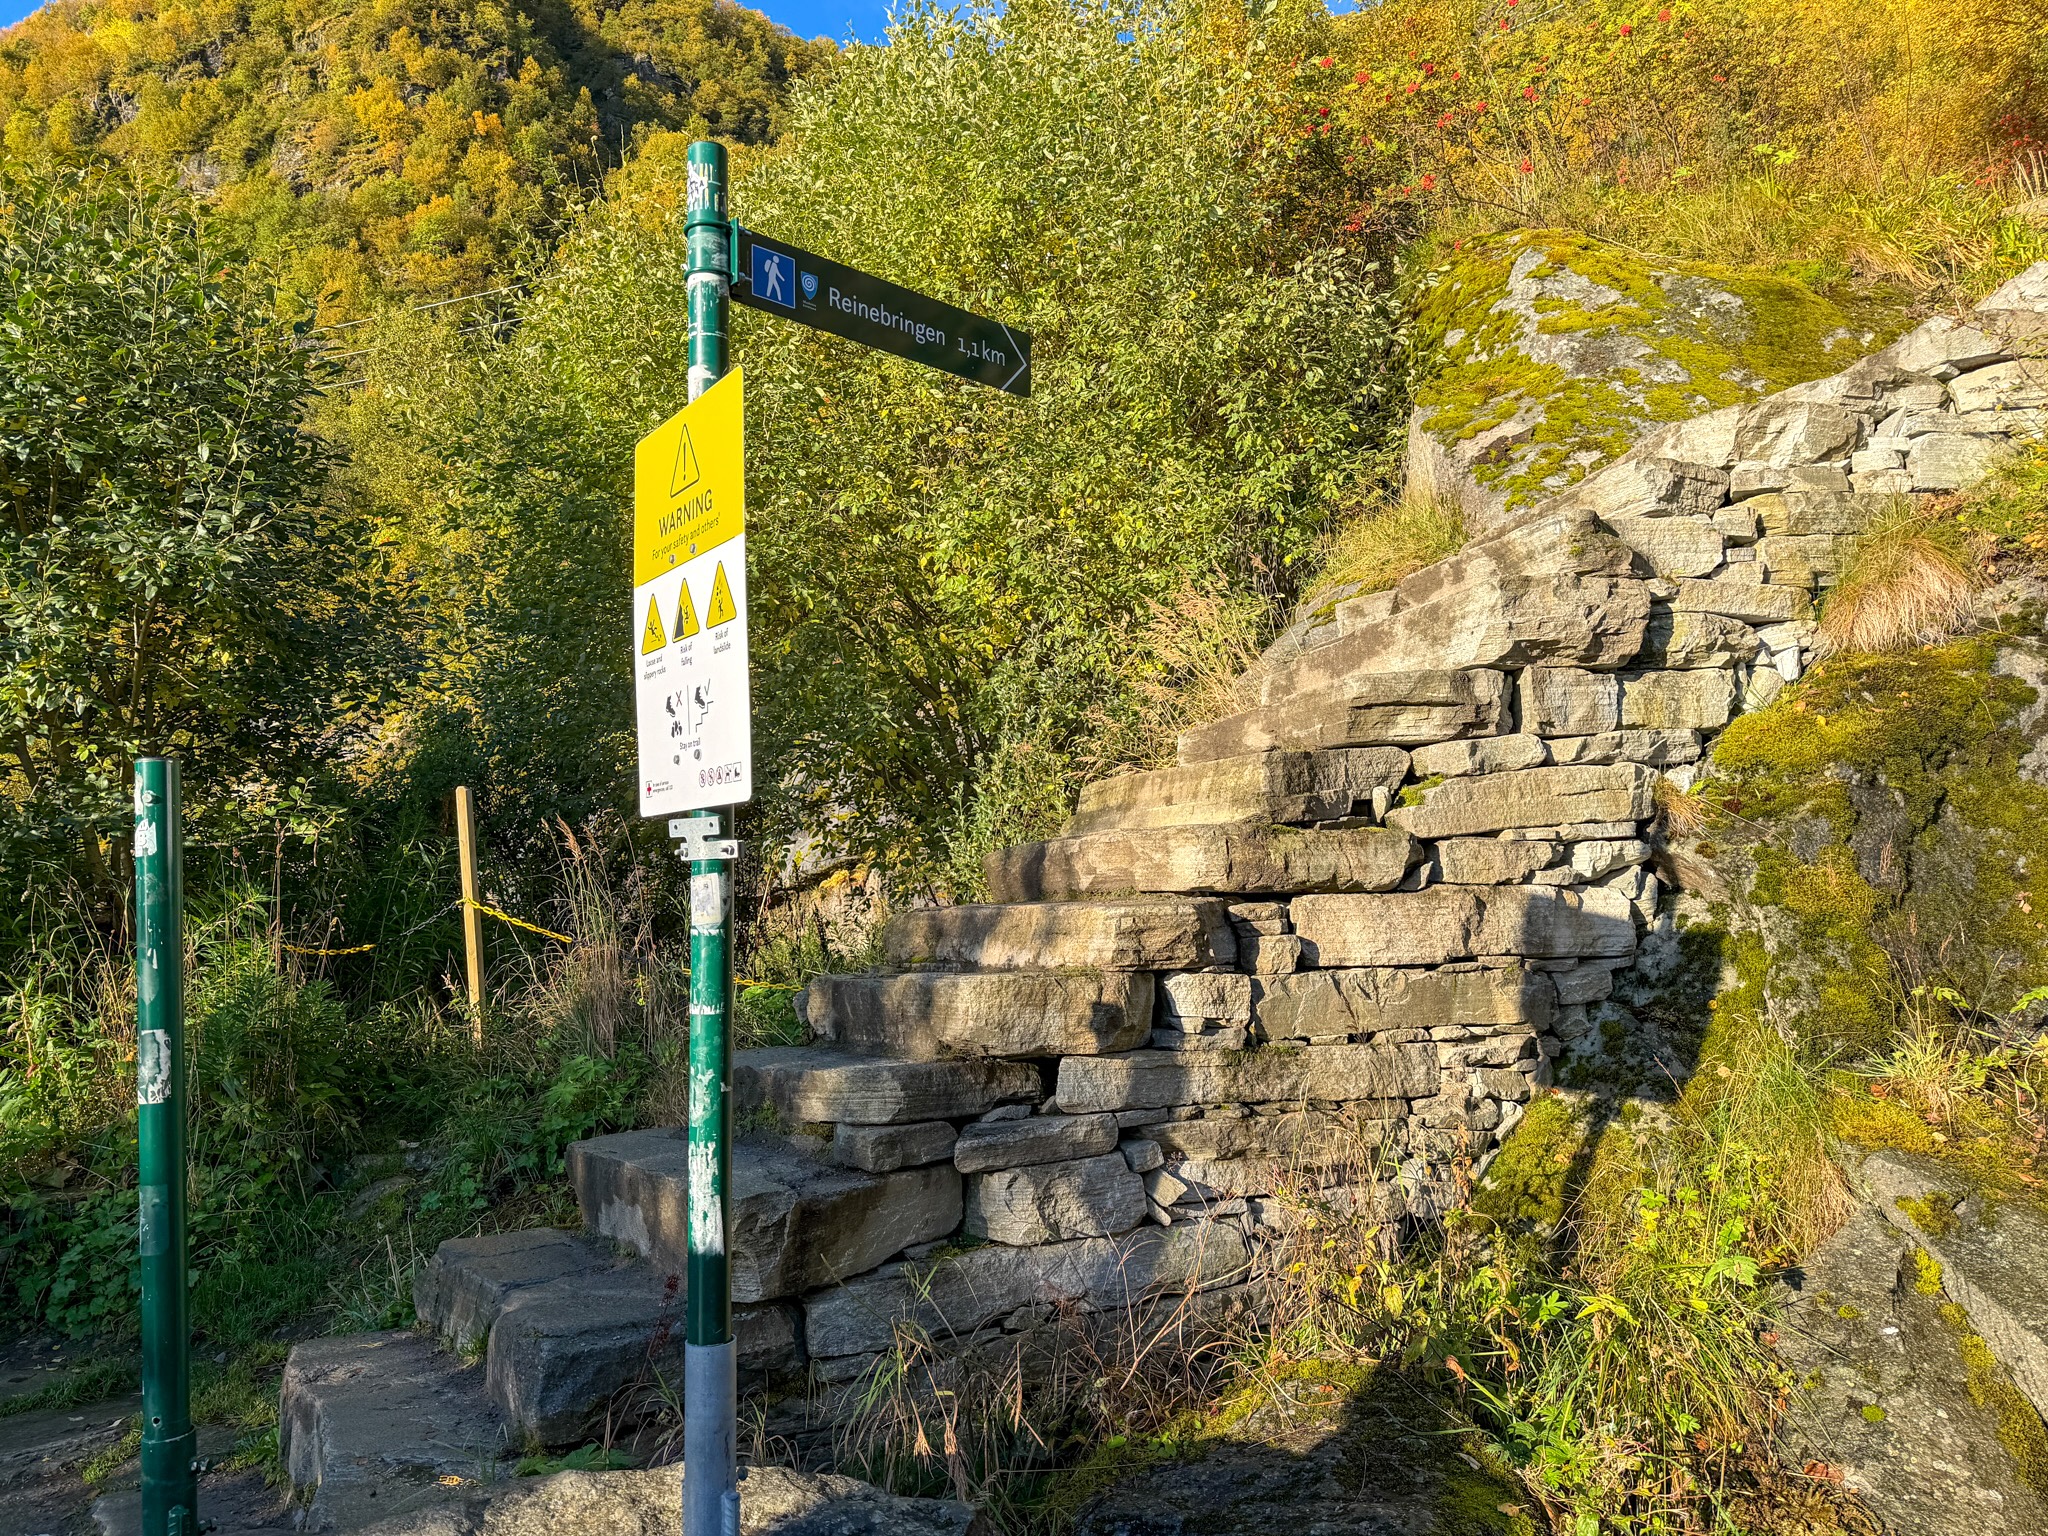
Start of the Reinebringen Stone Stairs
The Reinebringen trailhead at bottom of the stairs, where the hike really starts
Hiking Reinebringen: My Experience on the 1,978 Steps
The Sherpa Stairs
Almost the entire Reinebringen hike is a stone staircase. Sherpas from Nepal built it between 2016 and 2019, and the last section was finished in summer 2021. Before that, the trail was a steep, eroded path, and people regularly knocked rocks loose onto hikers below. What the stairs are like now:
- Width: two people can pass, carefully.
- Steps: a normal height, but irregular. Every slab has a different shape and thickness, with moss on the edges, and they can be damp in the morning.
- Rest spots: a wider landing roughly every 400 steps. You rest standing up, and I counted maybe three stone benches on the whole way.
- Markers: some steps are numbered. I found 1,000 and 1,700.
The lower part goes through birch trees, and past a small waterfall.
Starting at 8:30, I had long stretches of stairs to myself. I climbed without stopping and reached the top at 9:20, 50 minutes after the first step.
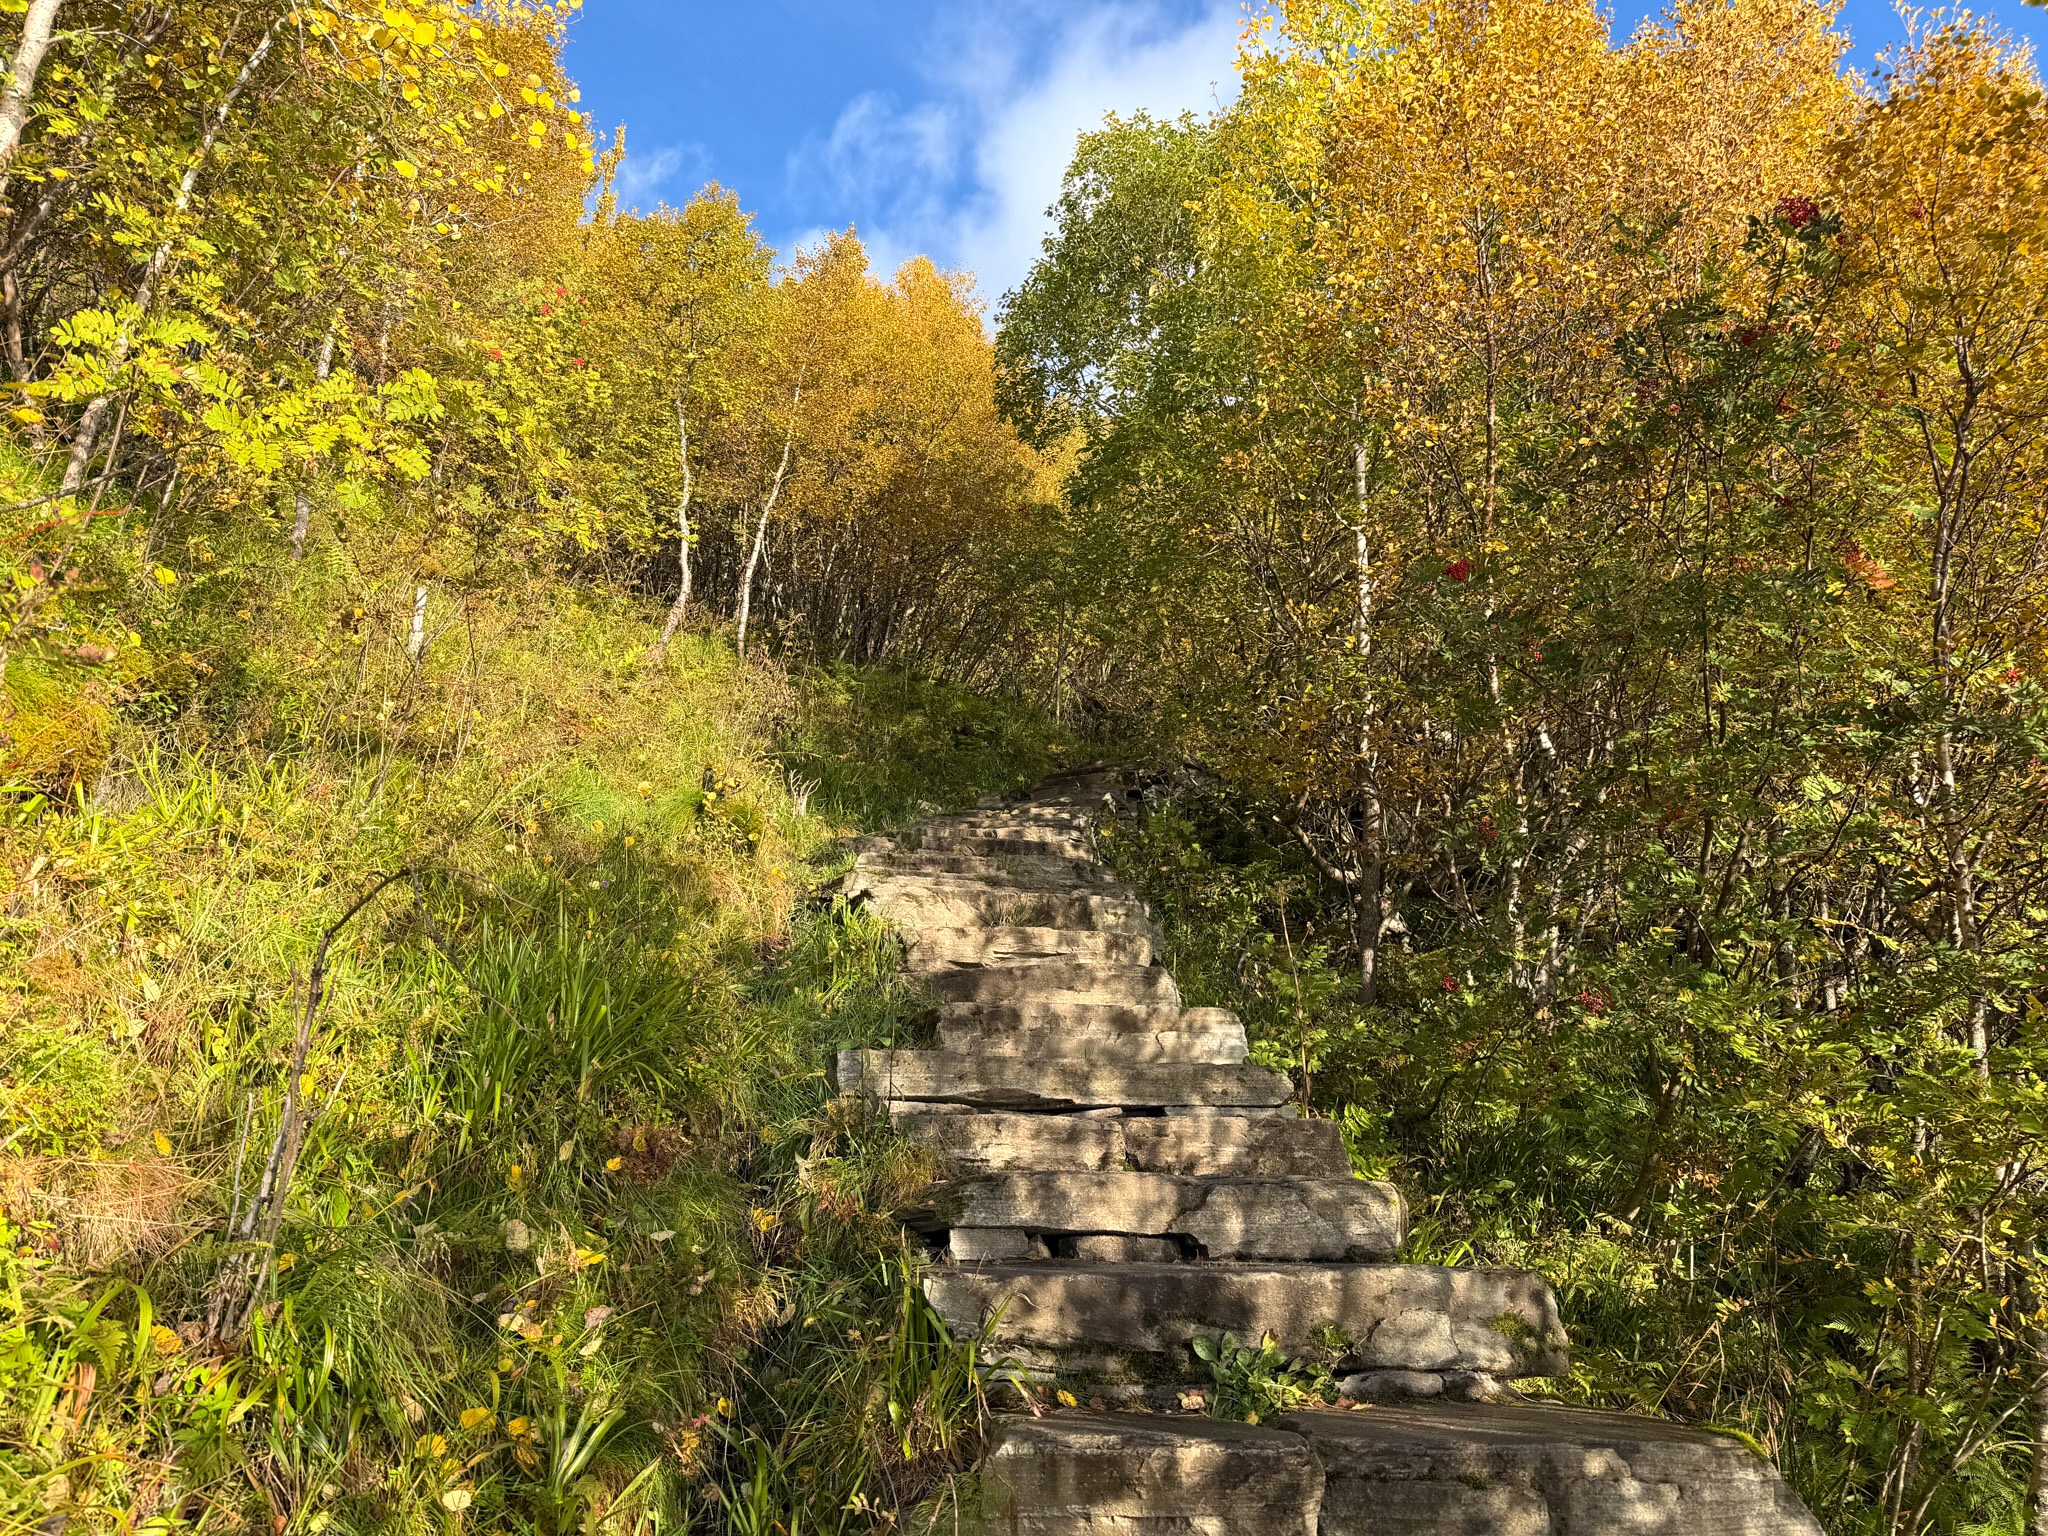
Reinebringen Stairs Through Birch Trees
The lower stairs, through birch trees turning yellow in September
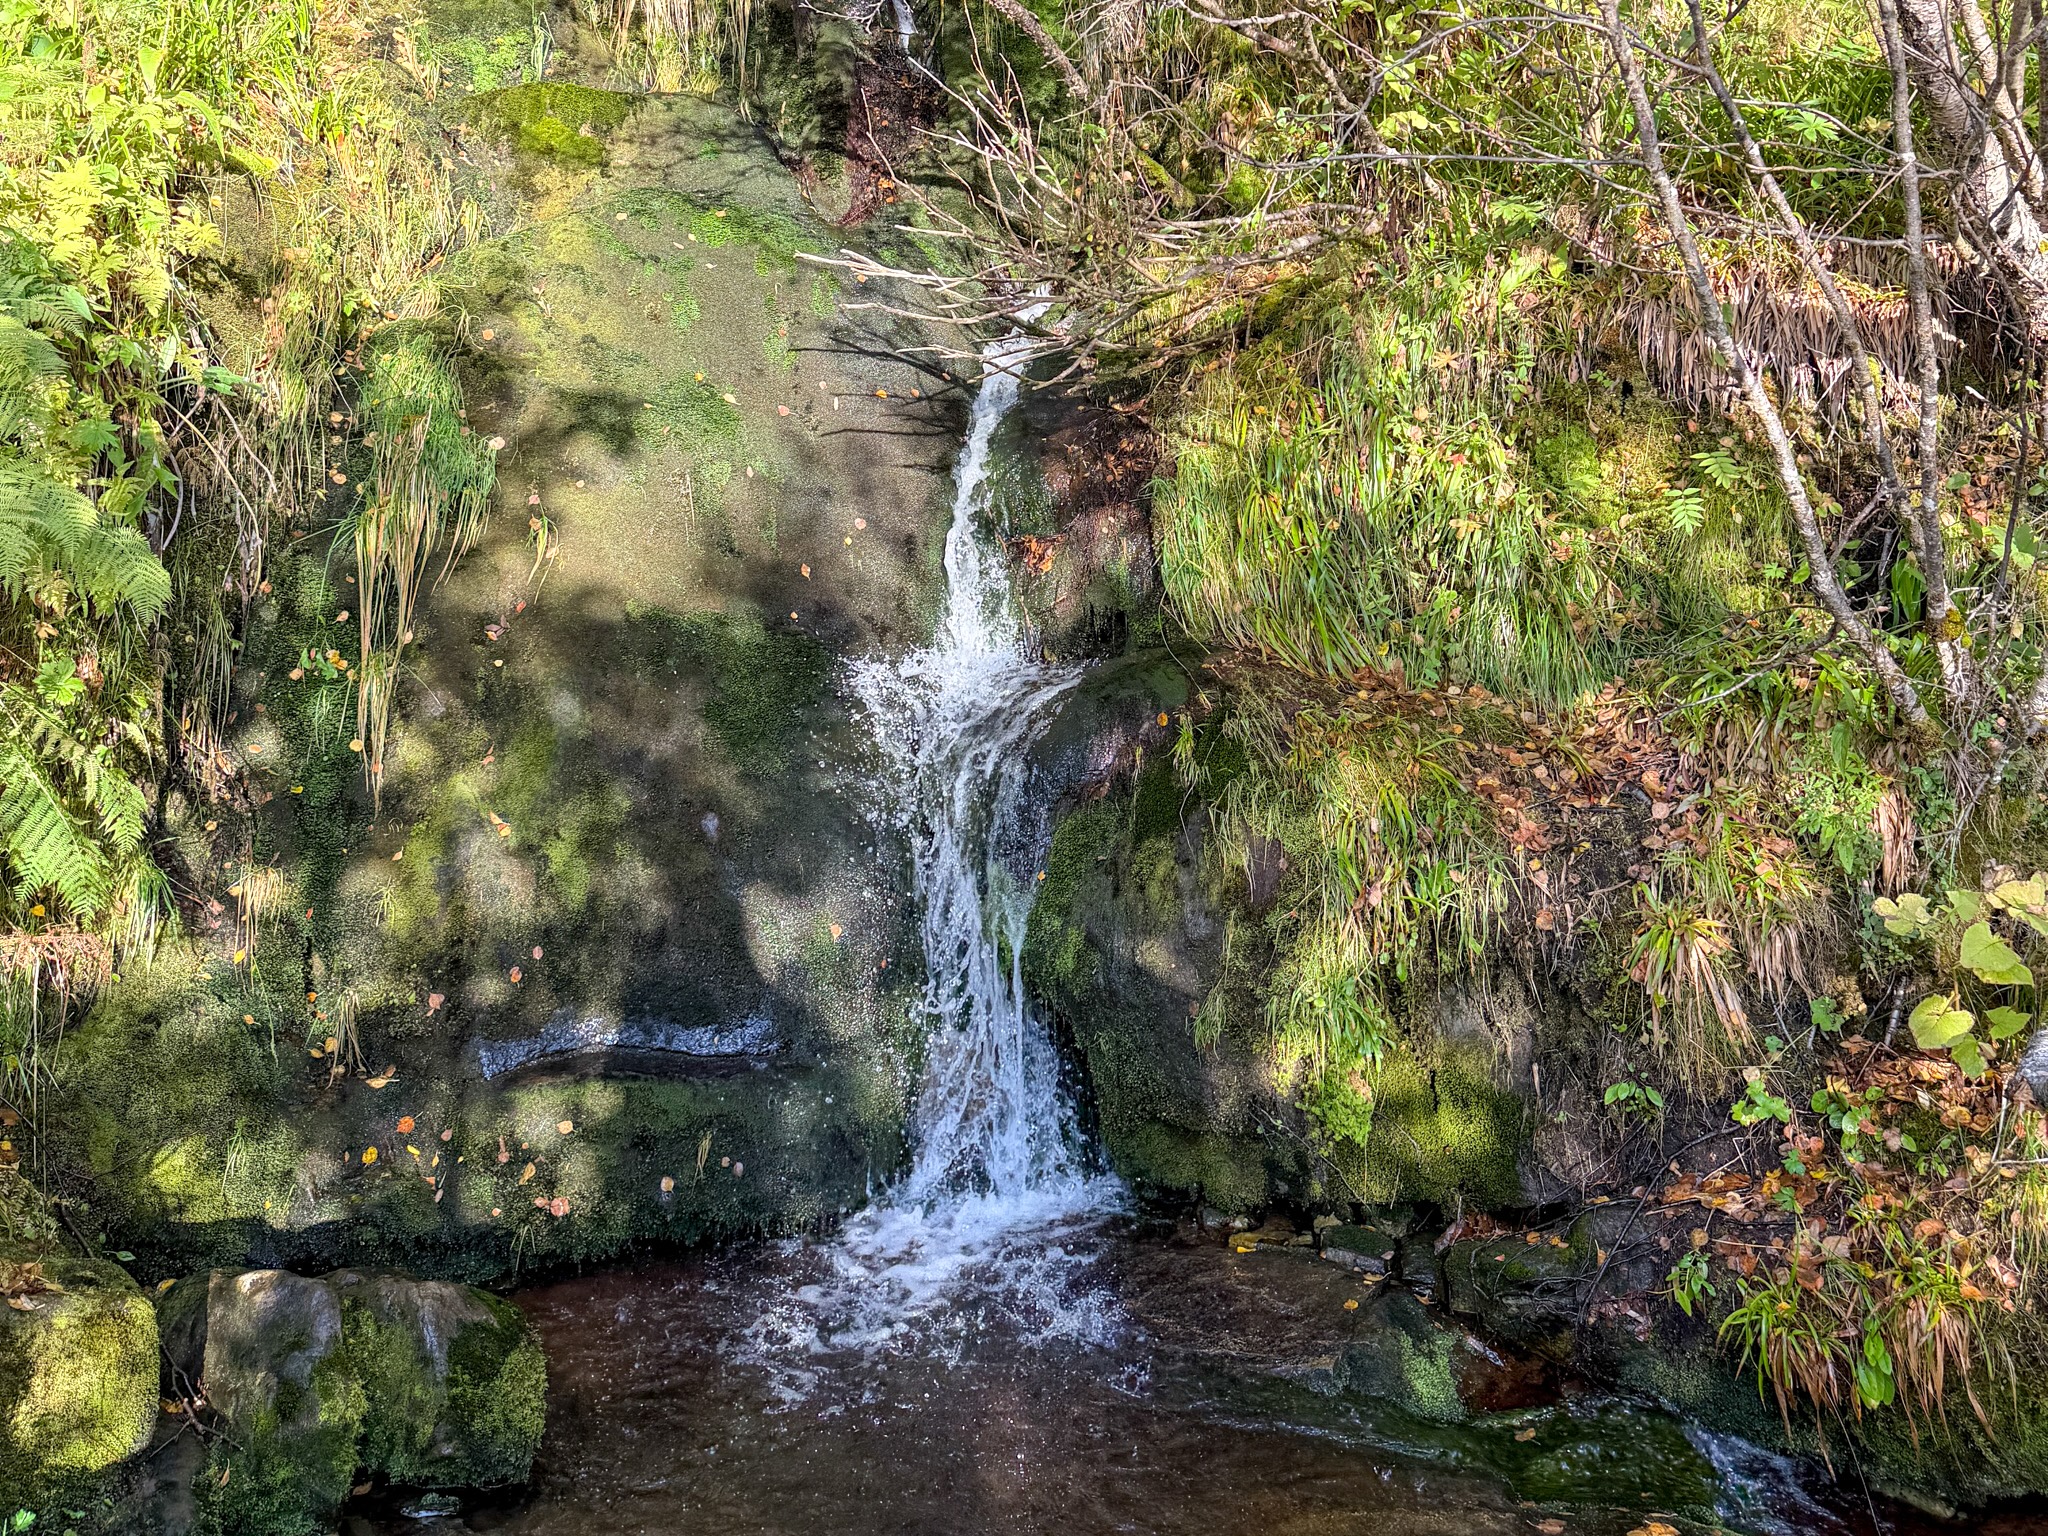
Small Waterfall Beside the Reinebringen
Small Waterfall Beside the Reinebringen Stairs
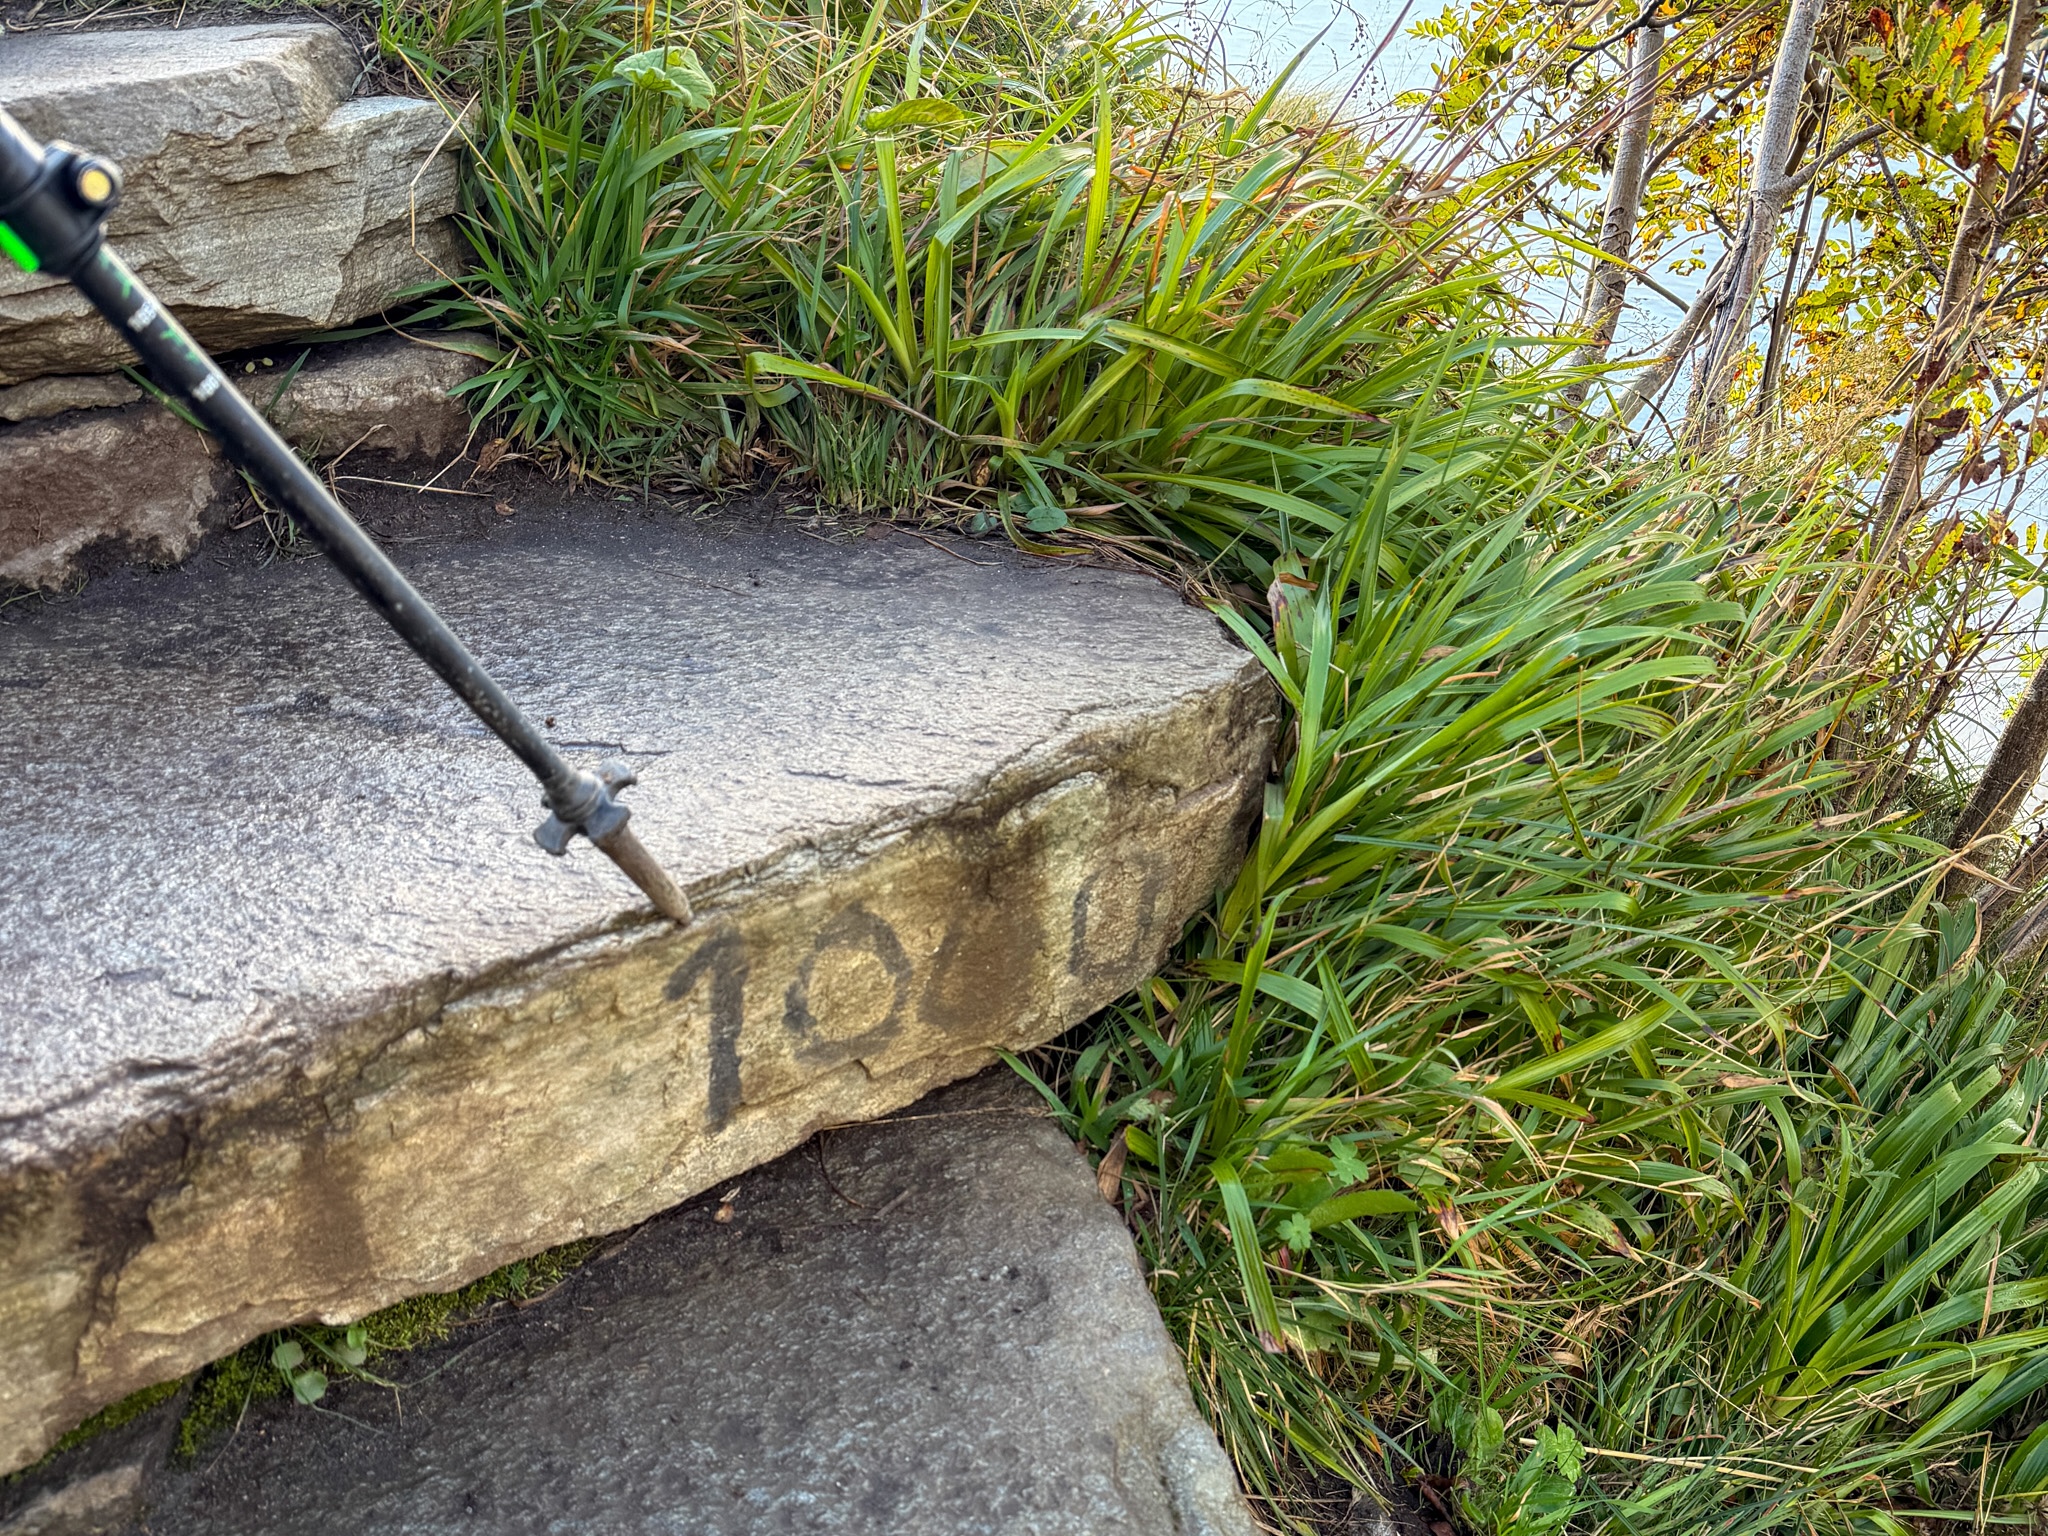
Step 1000 on the Reinebringen Hike
Step 1,000, roughly halfway up
The Last Stretch to the Top
Higher up, the trees thin out and you start seeing the ocean behind you. Then, the stairs end about 100 m (330 ft) below the top. From there it’s a dirt path, a bit muddy even on a dry day. This short part is the most exposed of the hike. The slope drops away steeply on the side, and after rain the dirt gets very slippery.
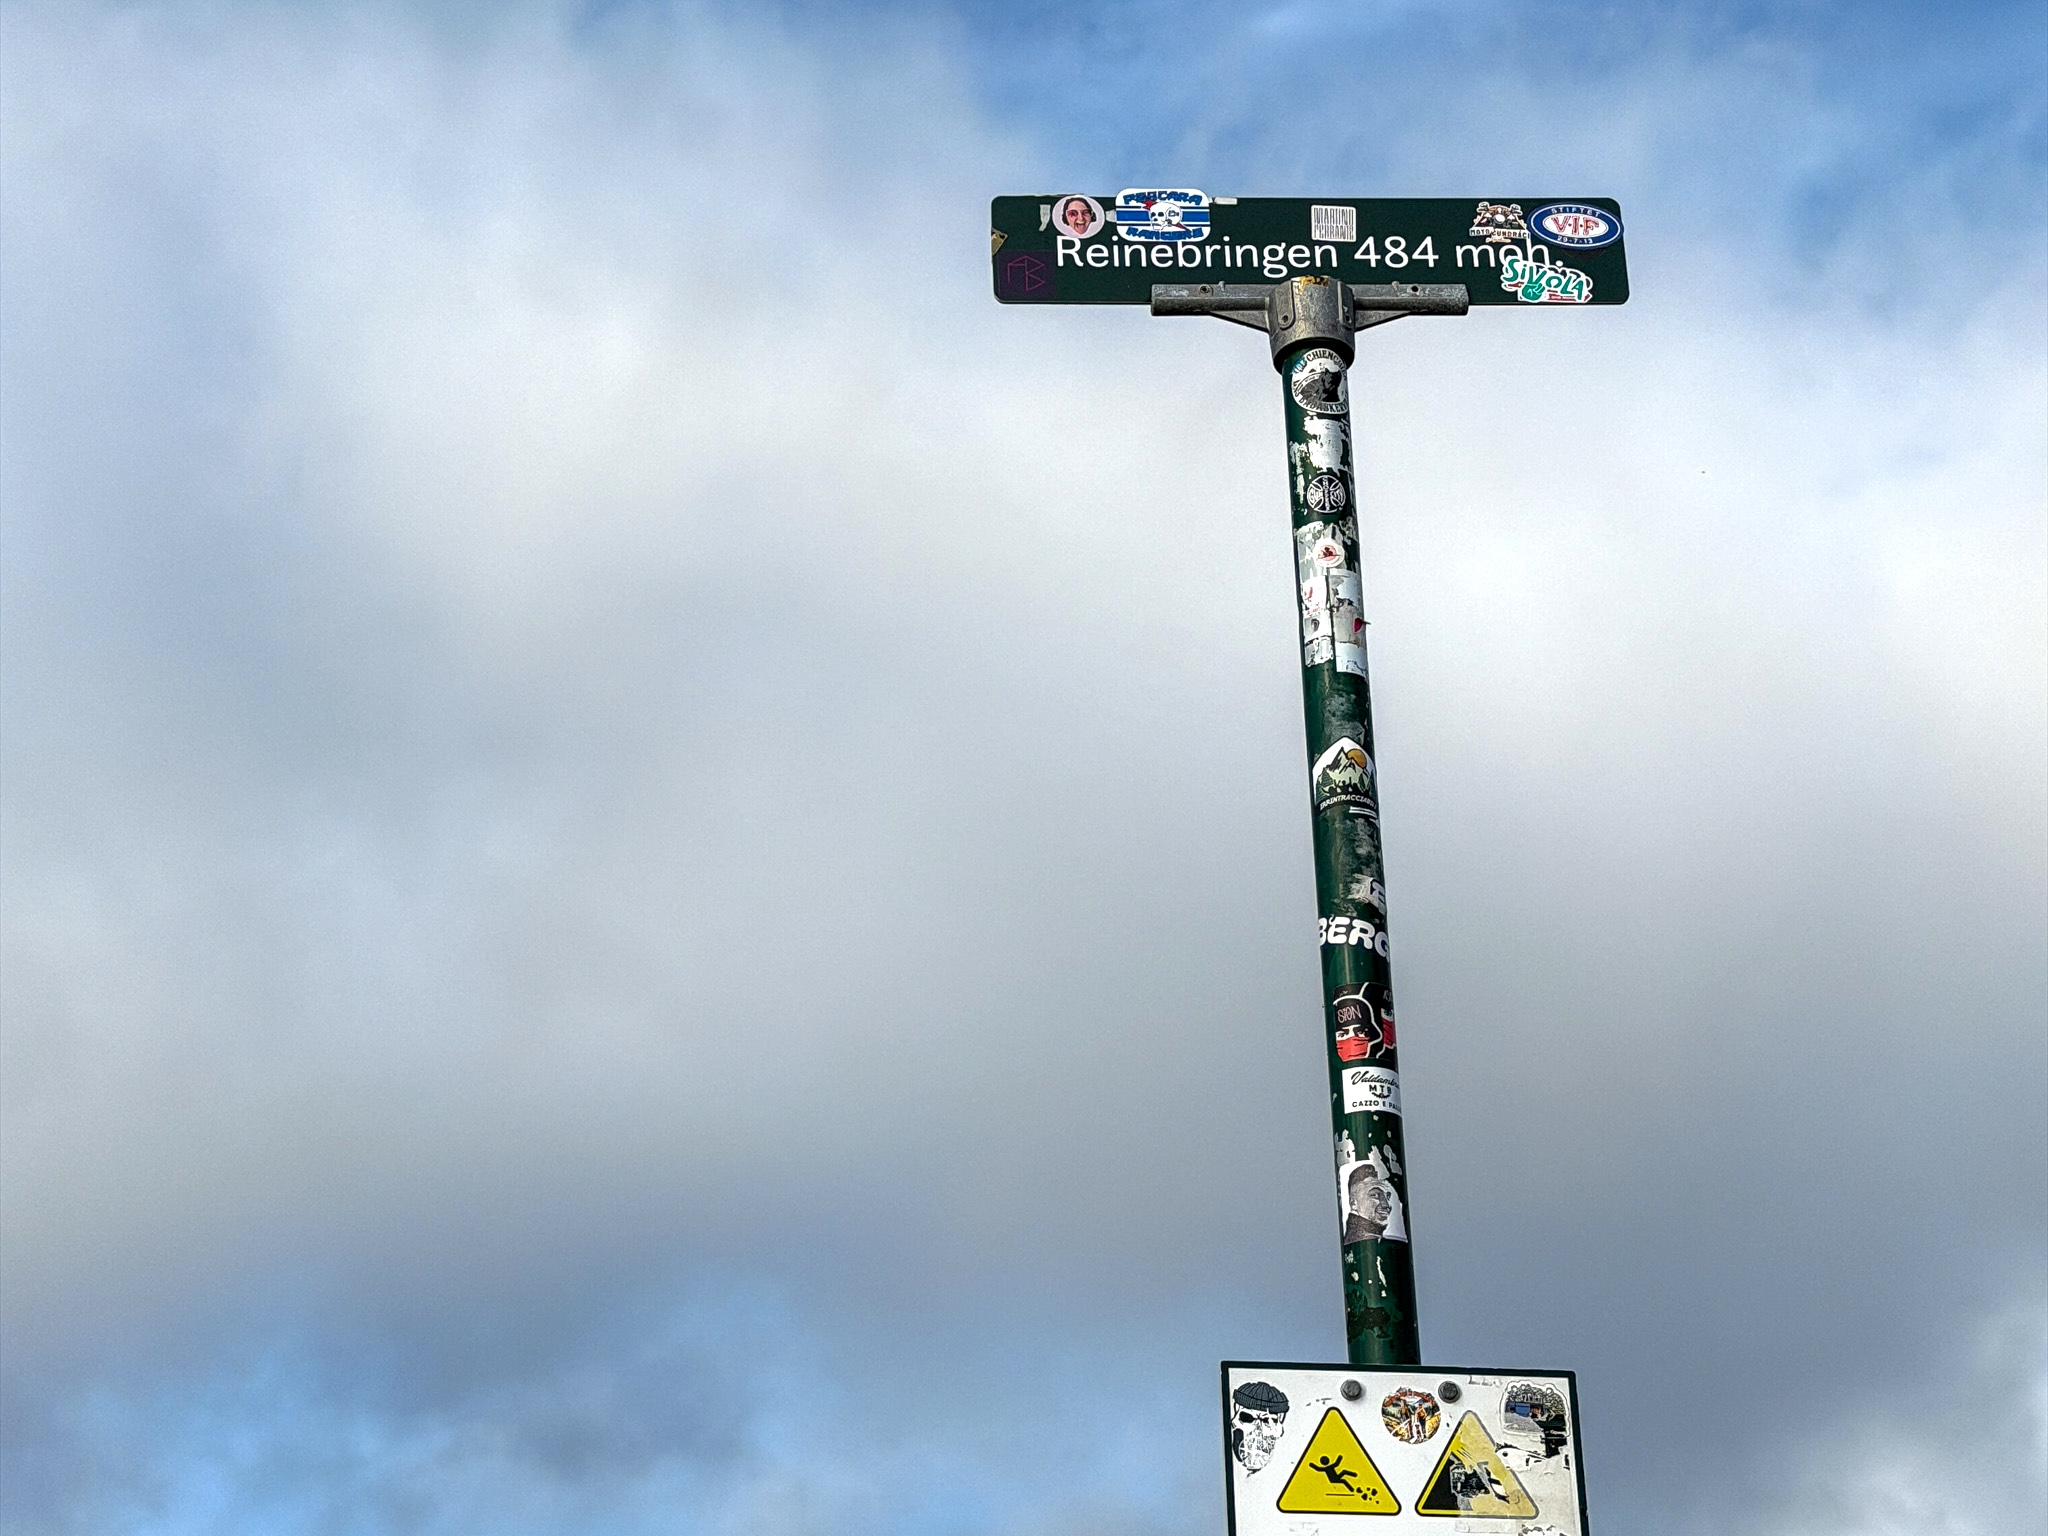
The top is marked by a post that says “Reinebringen 484 moh”, covered in stickers. “Moh” is the Norwegian abbreviation for meters above sea level. Some guides list Reinebringen at 448 m, however, the official sign at the trailhead also says 484 m (1,588 ft).
The ridge continues past the viewpoint. It isn’t part of the marked trail, and I didn’t go further.
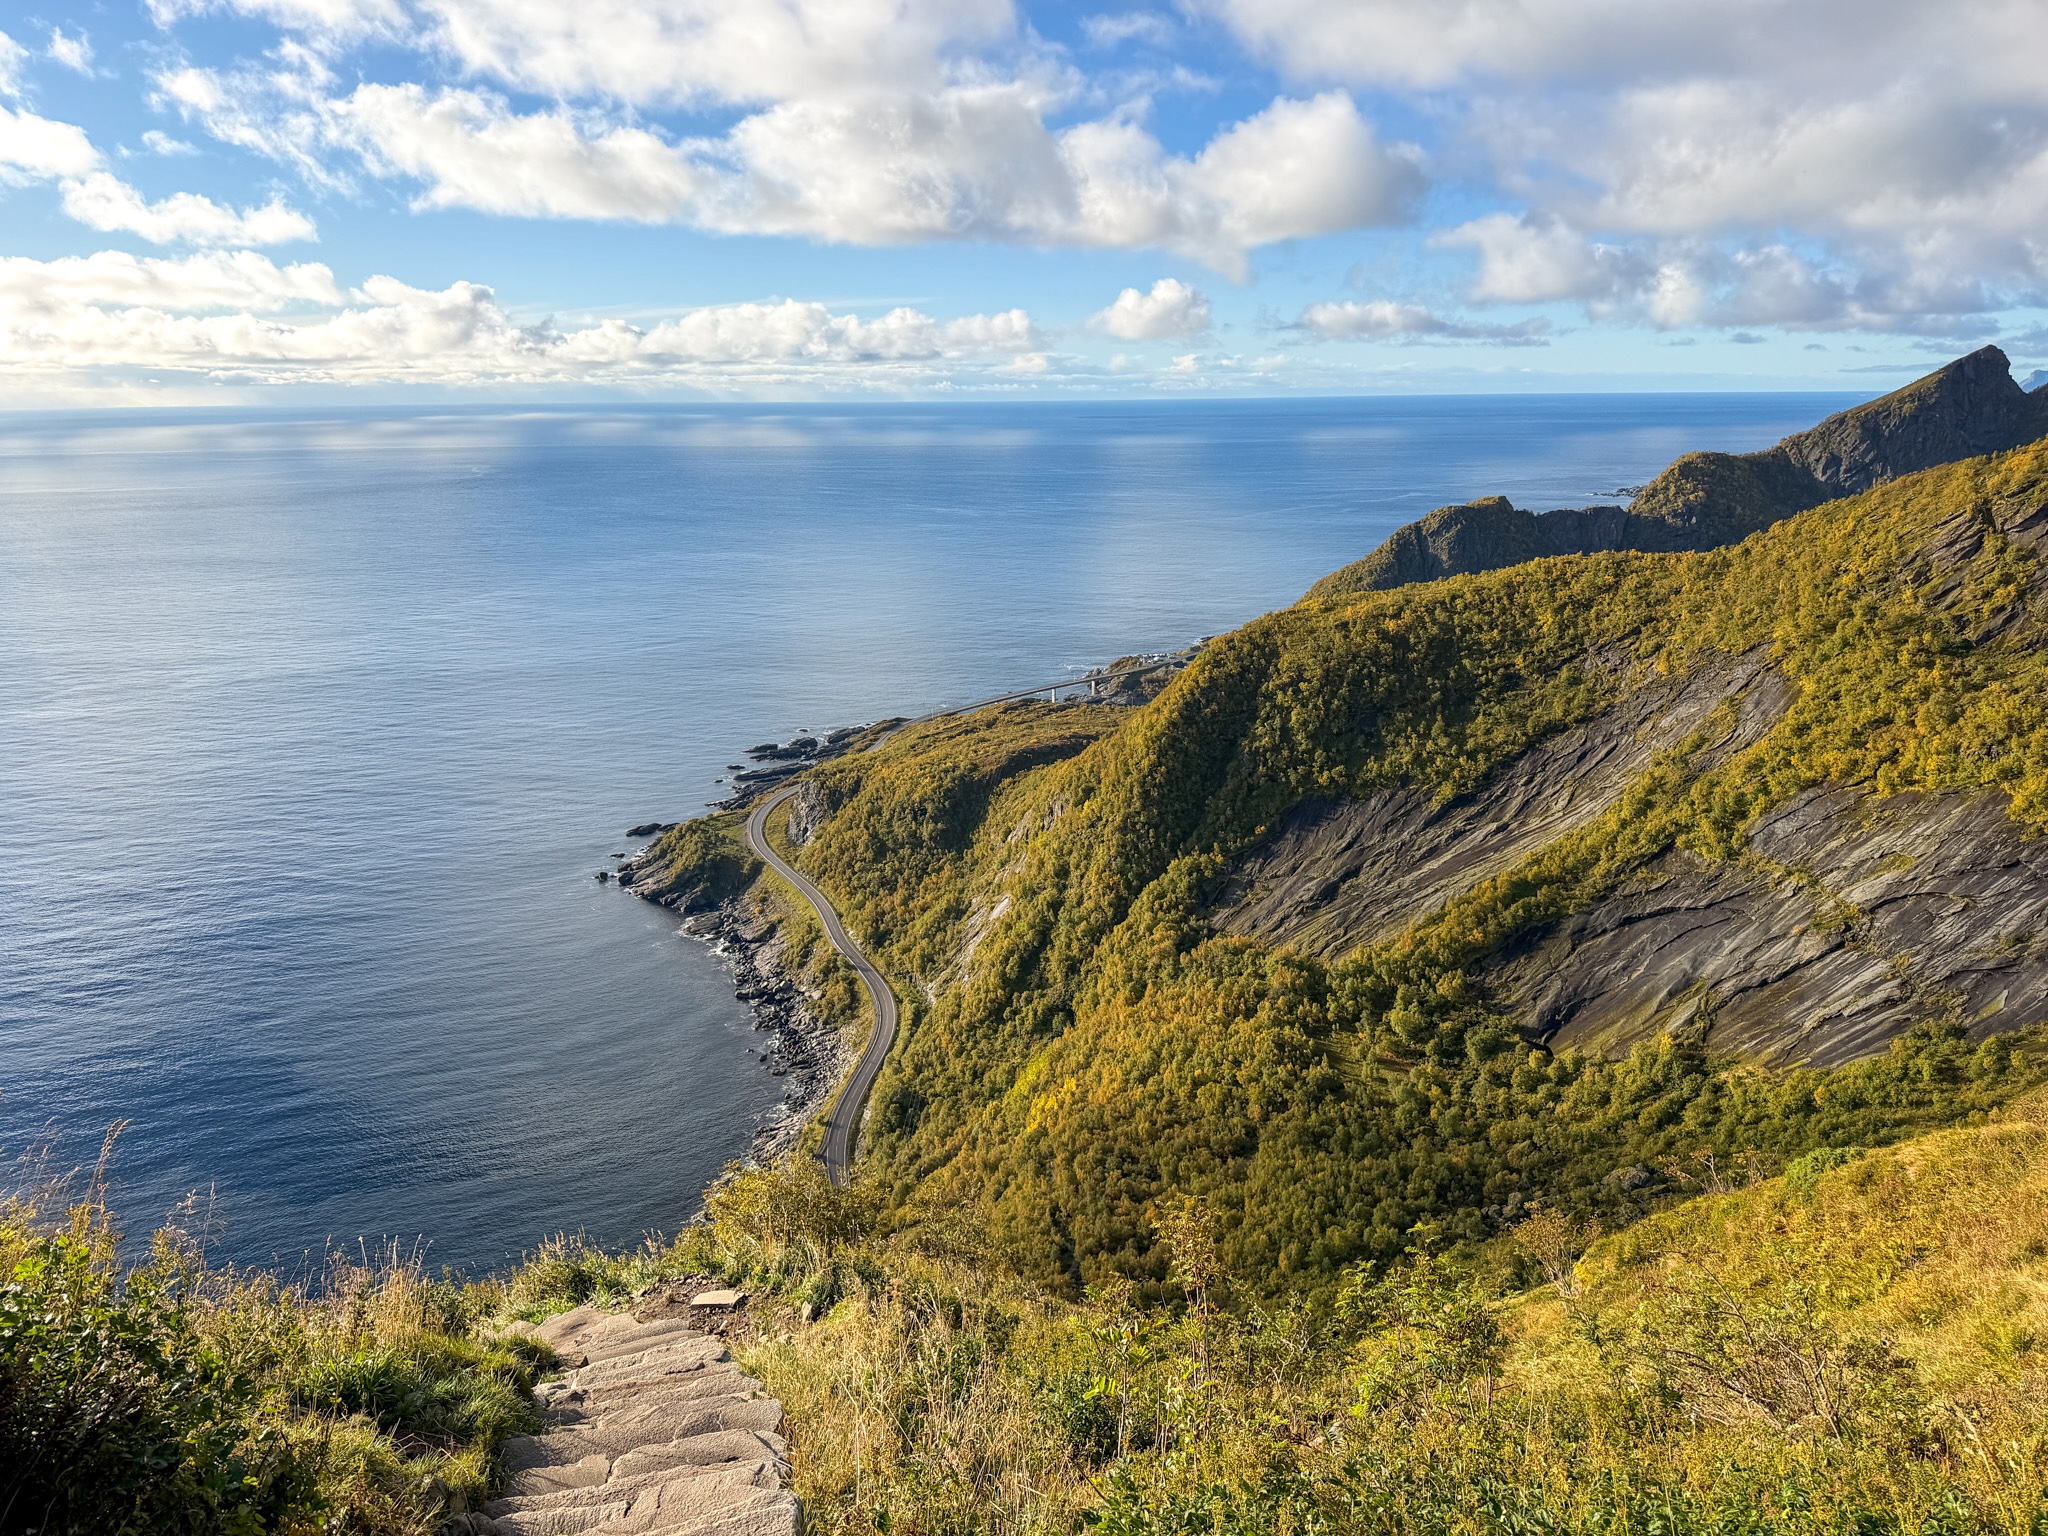
Ocean View From the Reinebringen Stairs
Looking back at the ocean side on the way up
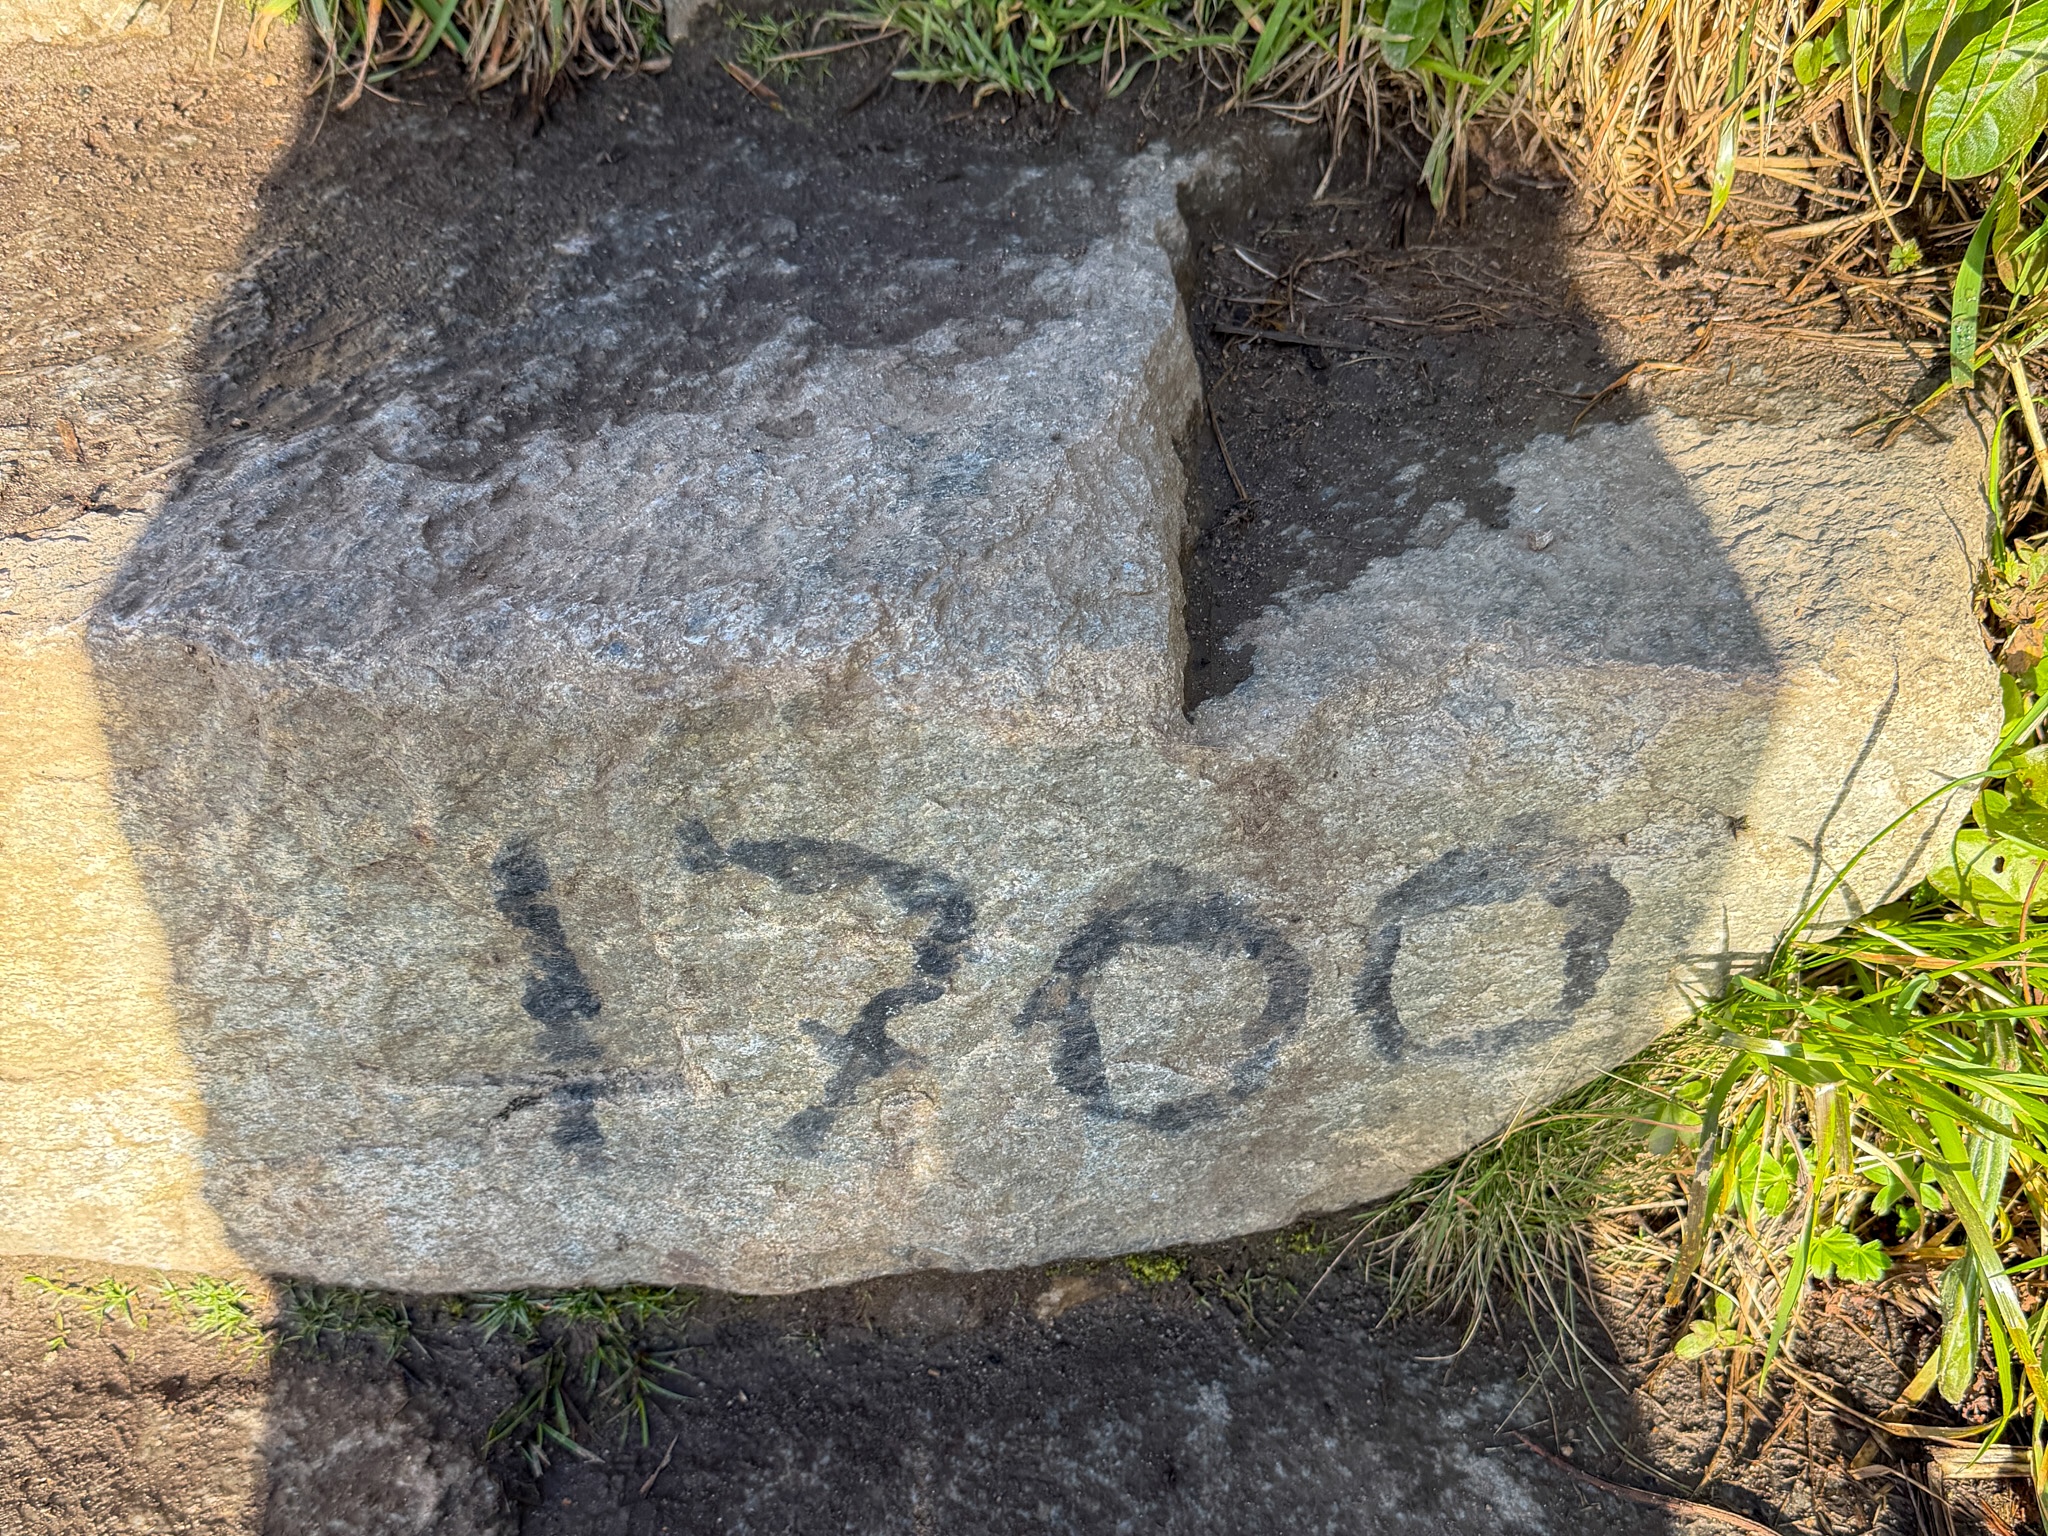
Step 1700 on the Reinebringen Hike
Step 1,700, almost at the end of the stairs
The View From Reinebringen
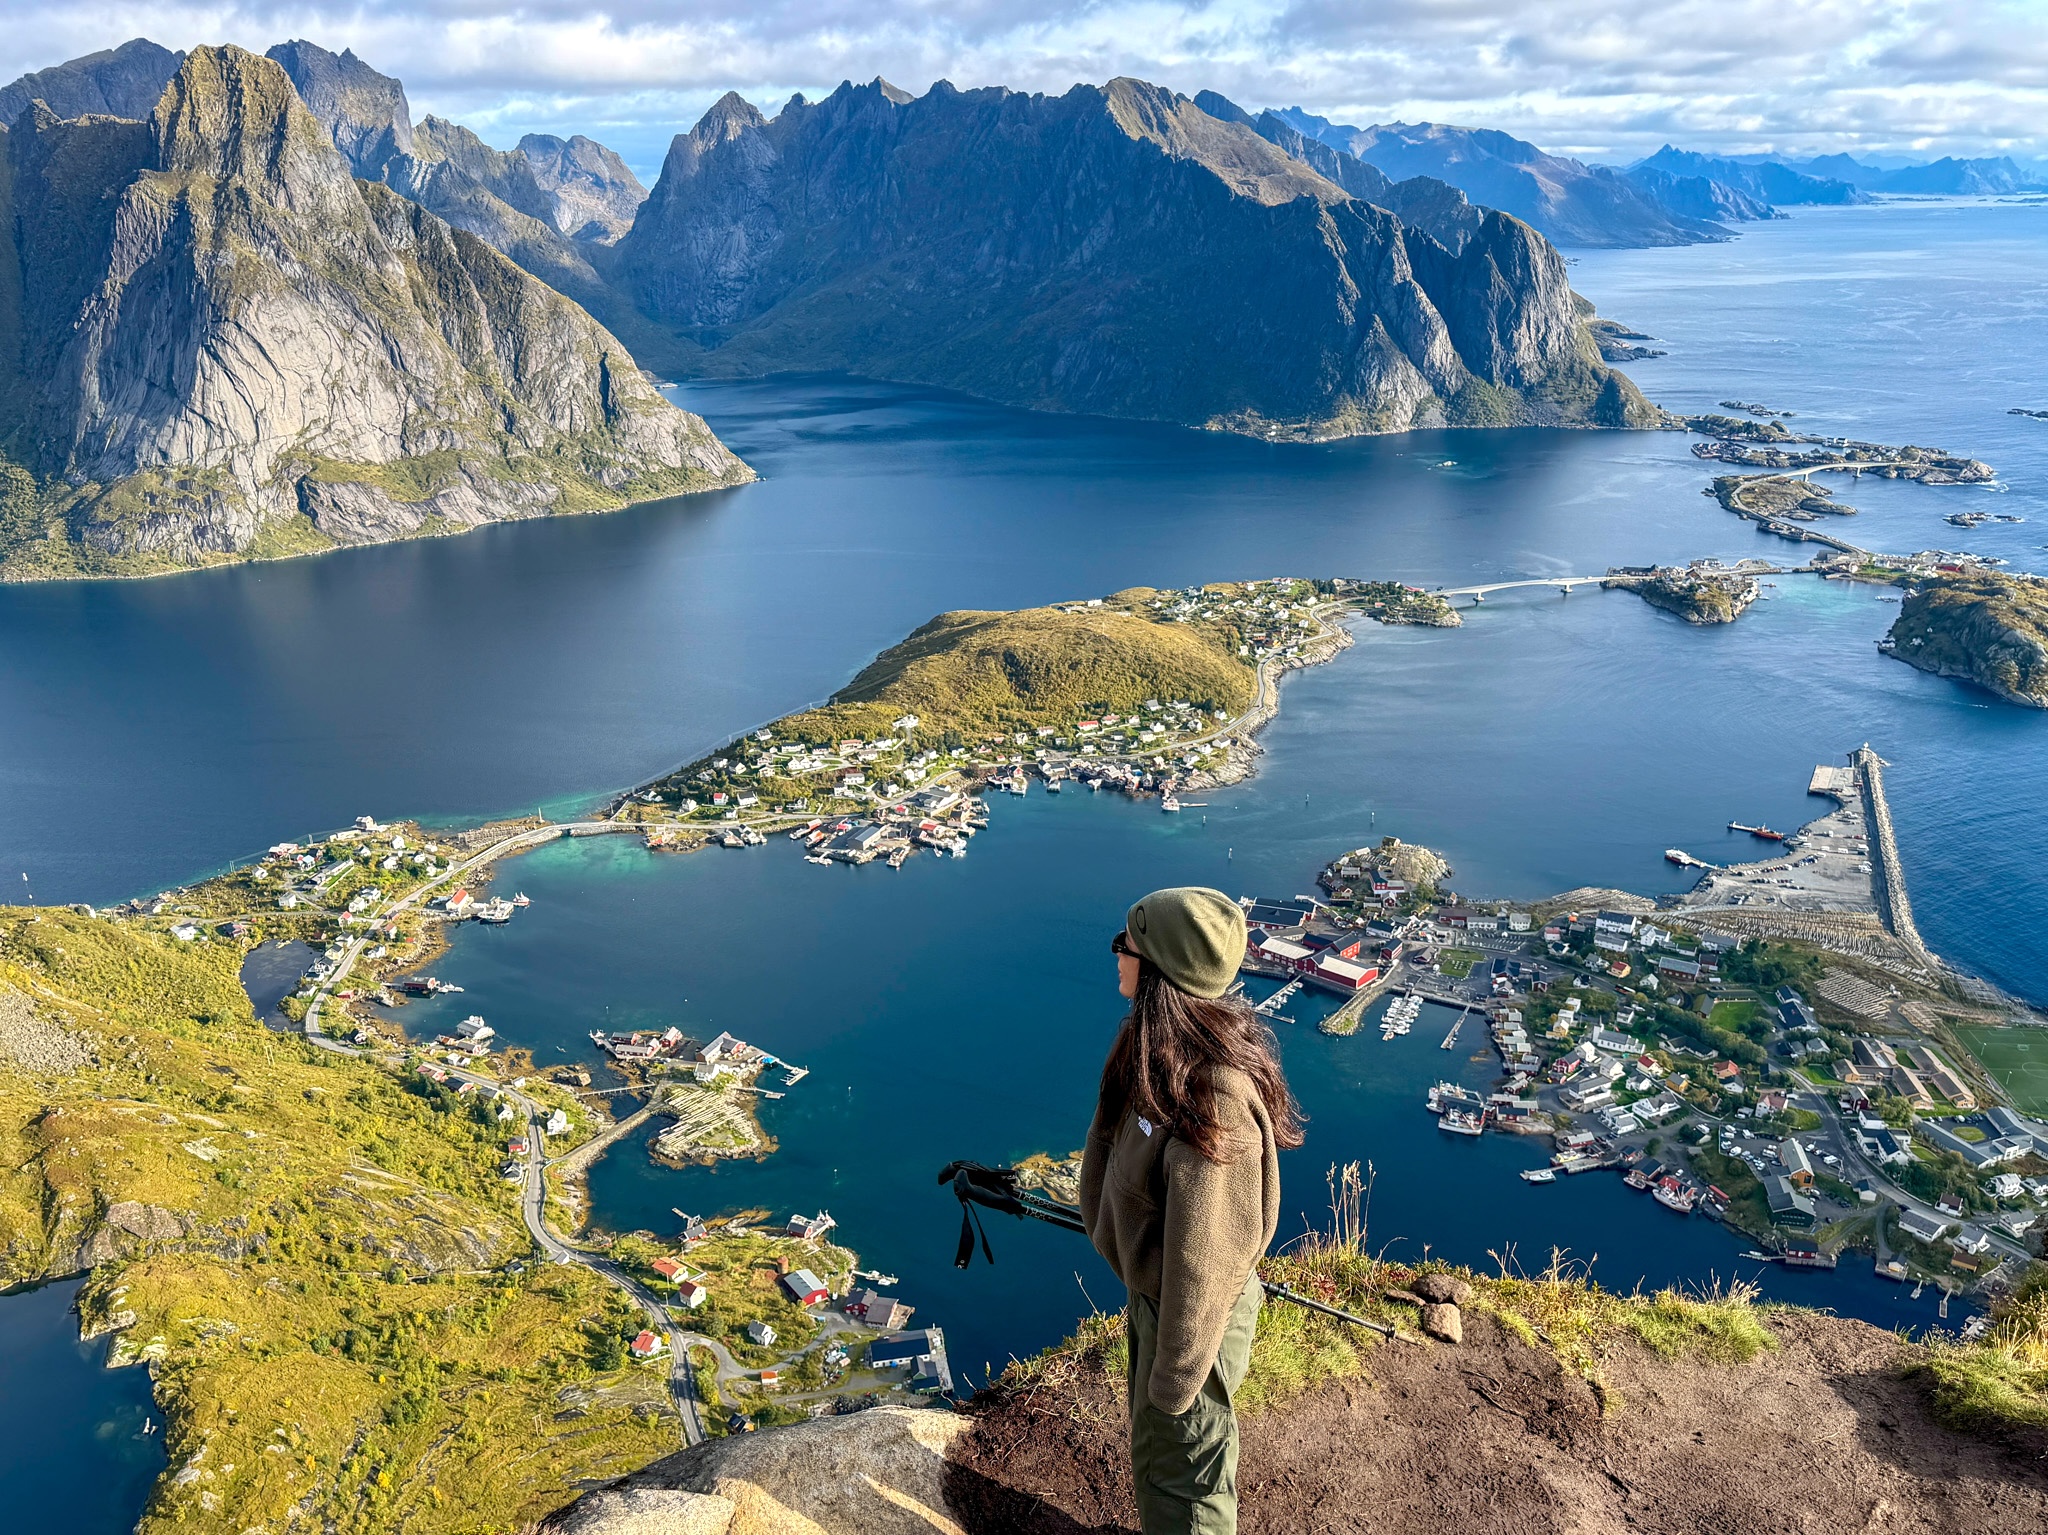
From the top you look straight down on Reine and the small islands around it, linked by bridges toward Hamnøy. Behind the village, the fjord runs inland between steep granite peaks, with Olstind, the pointed one, right in the middle.
I had sun and a few clouds, and I spent 40 minutes up there taking photos. In the morning the light comes from behind you, over the mountain, so the village and the water are fully lit.
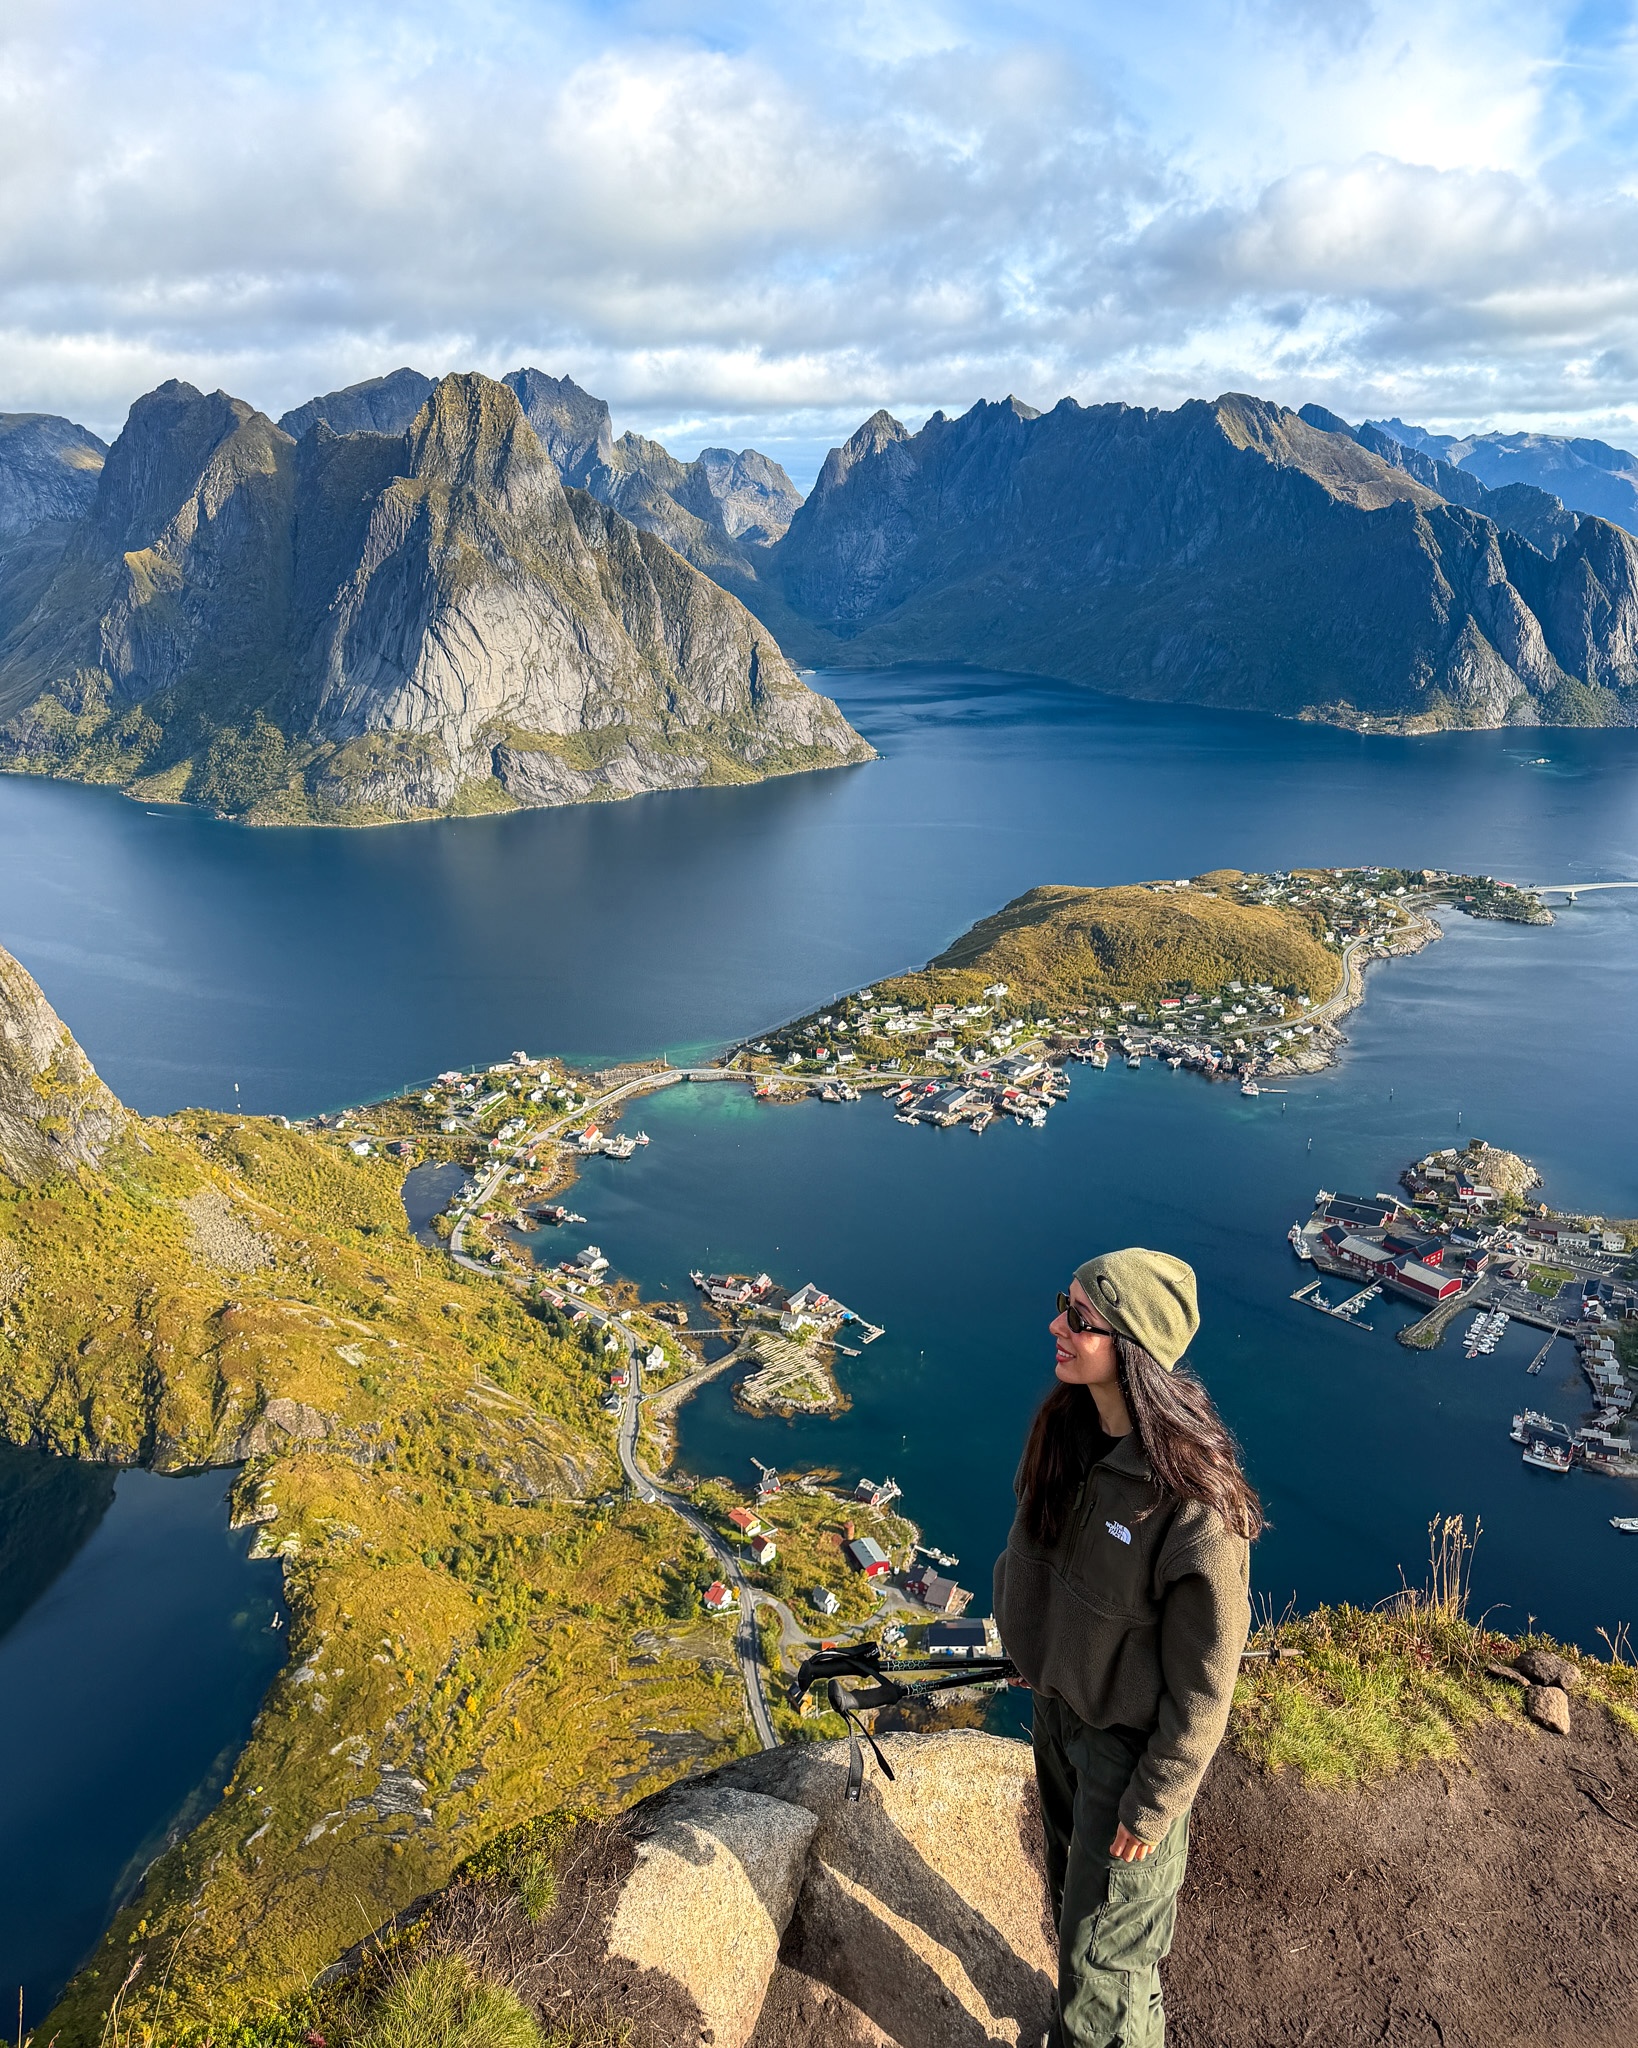
Reinebringen Photo Spot Over Reine
Me at the classic Reinebringen photo spot at the top
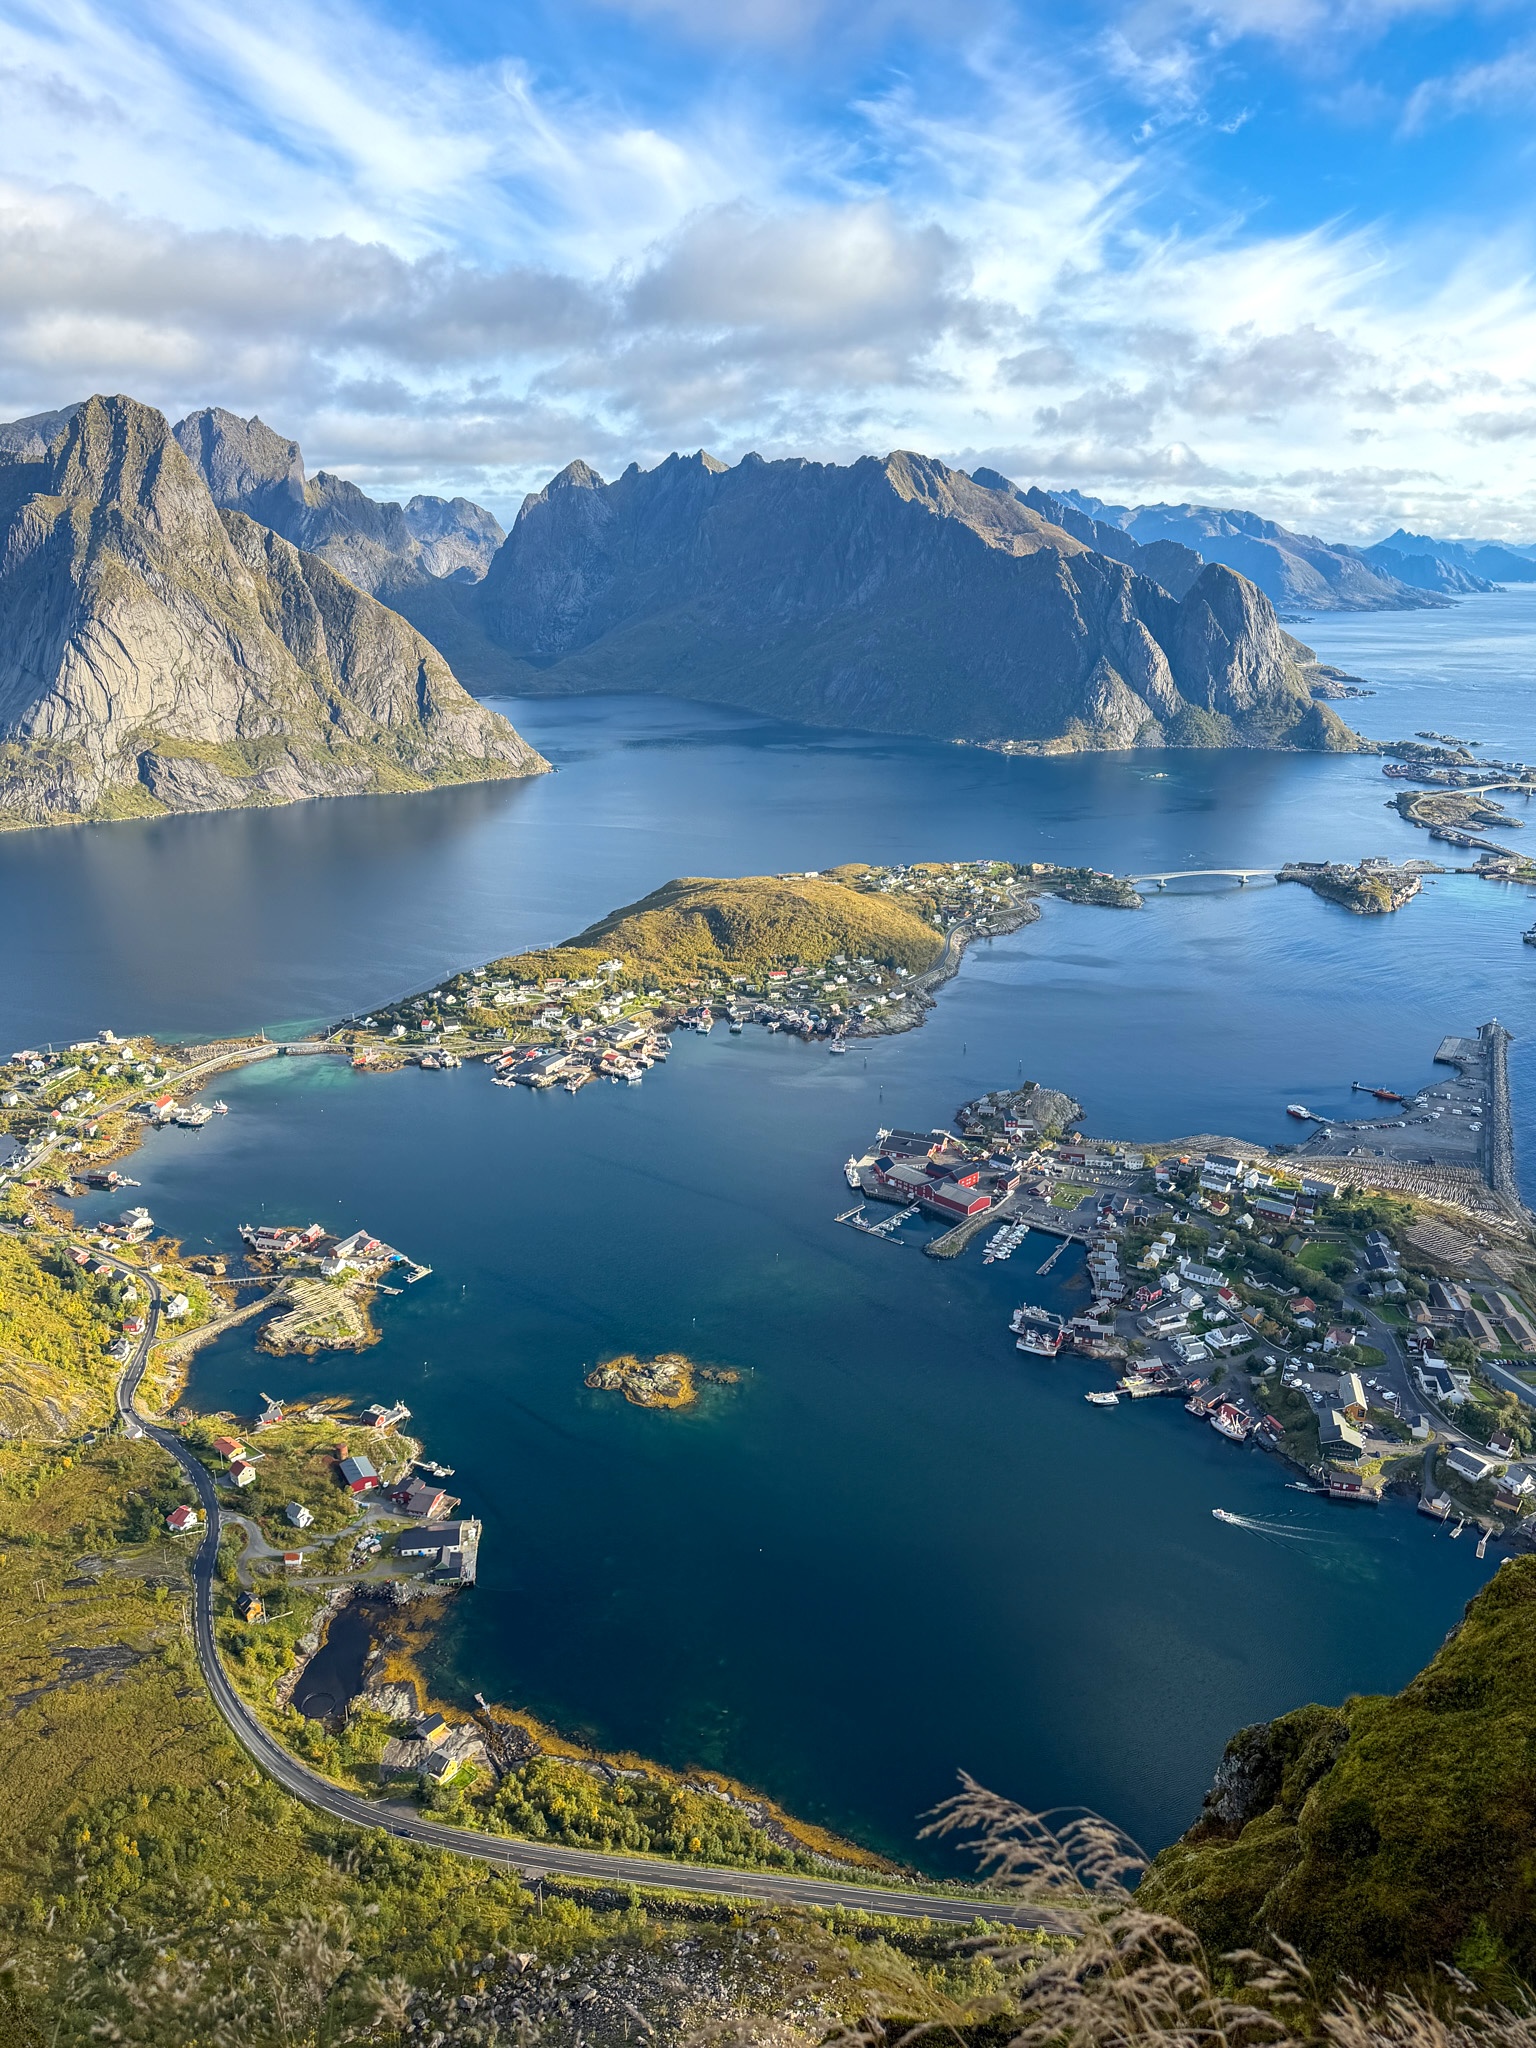
Reine, the fjord and Olstind from the top, vertical
View of Reine and Olstind From Reinebringen
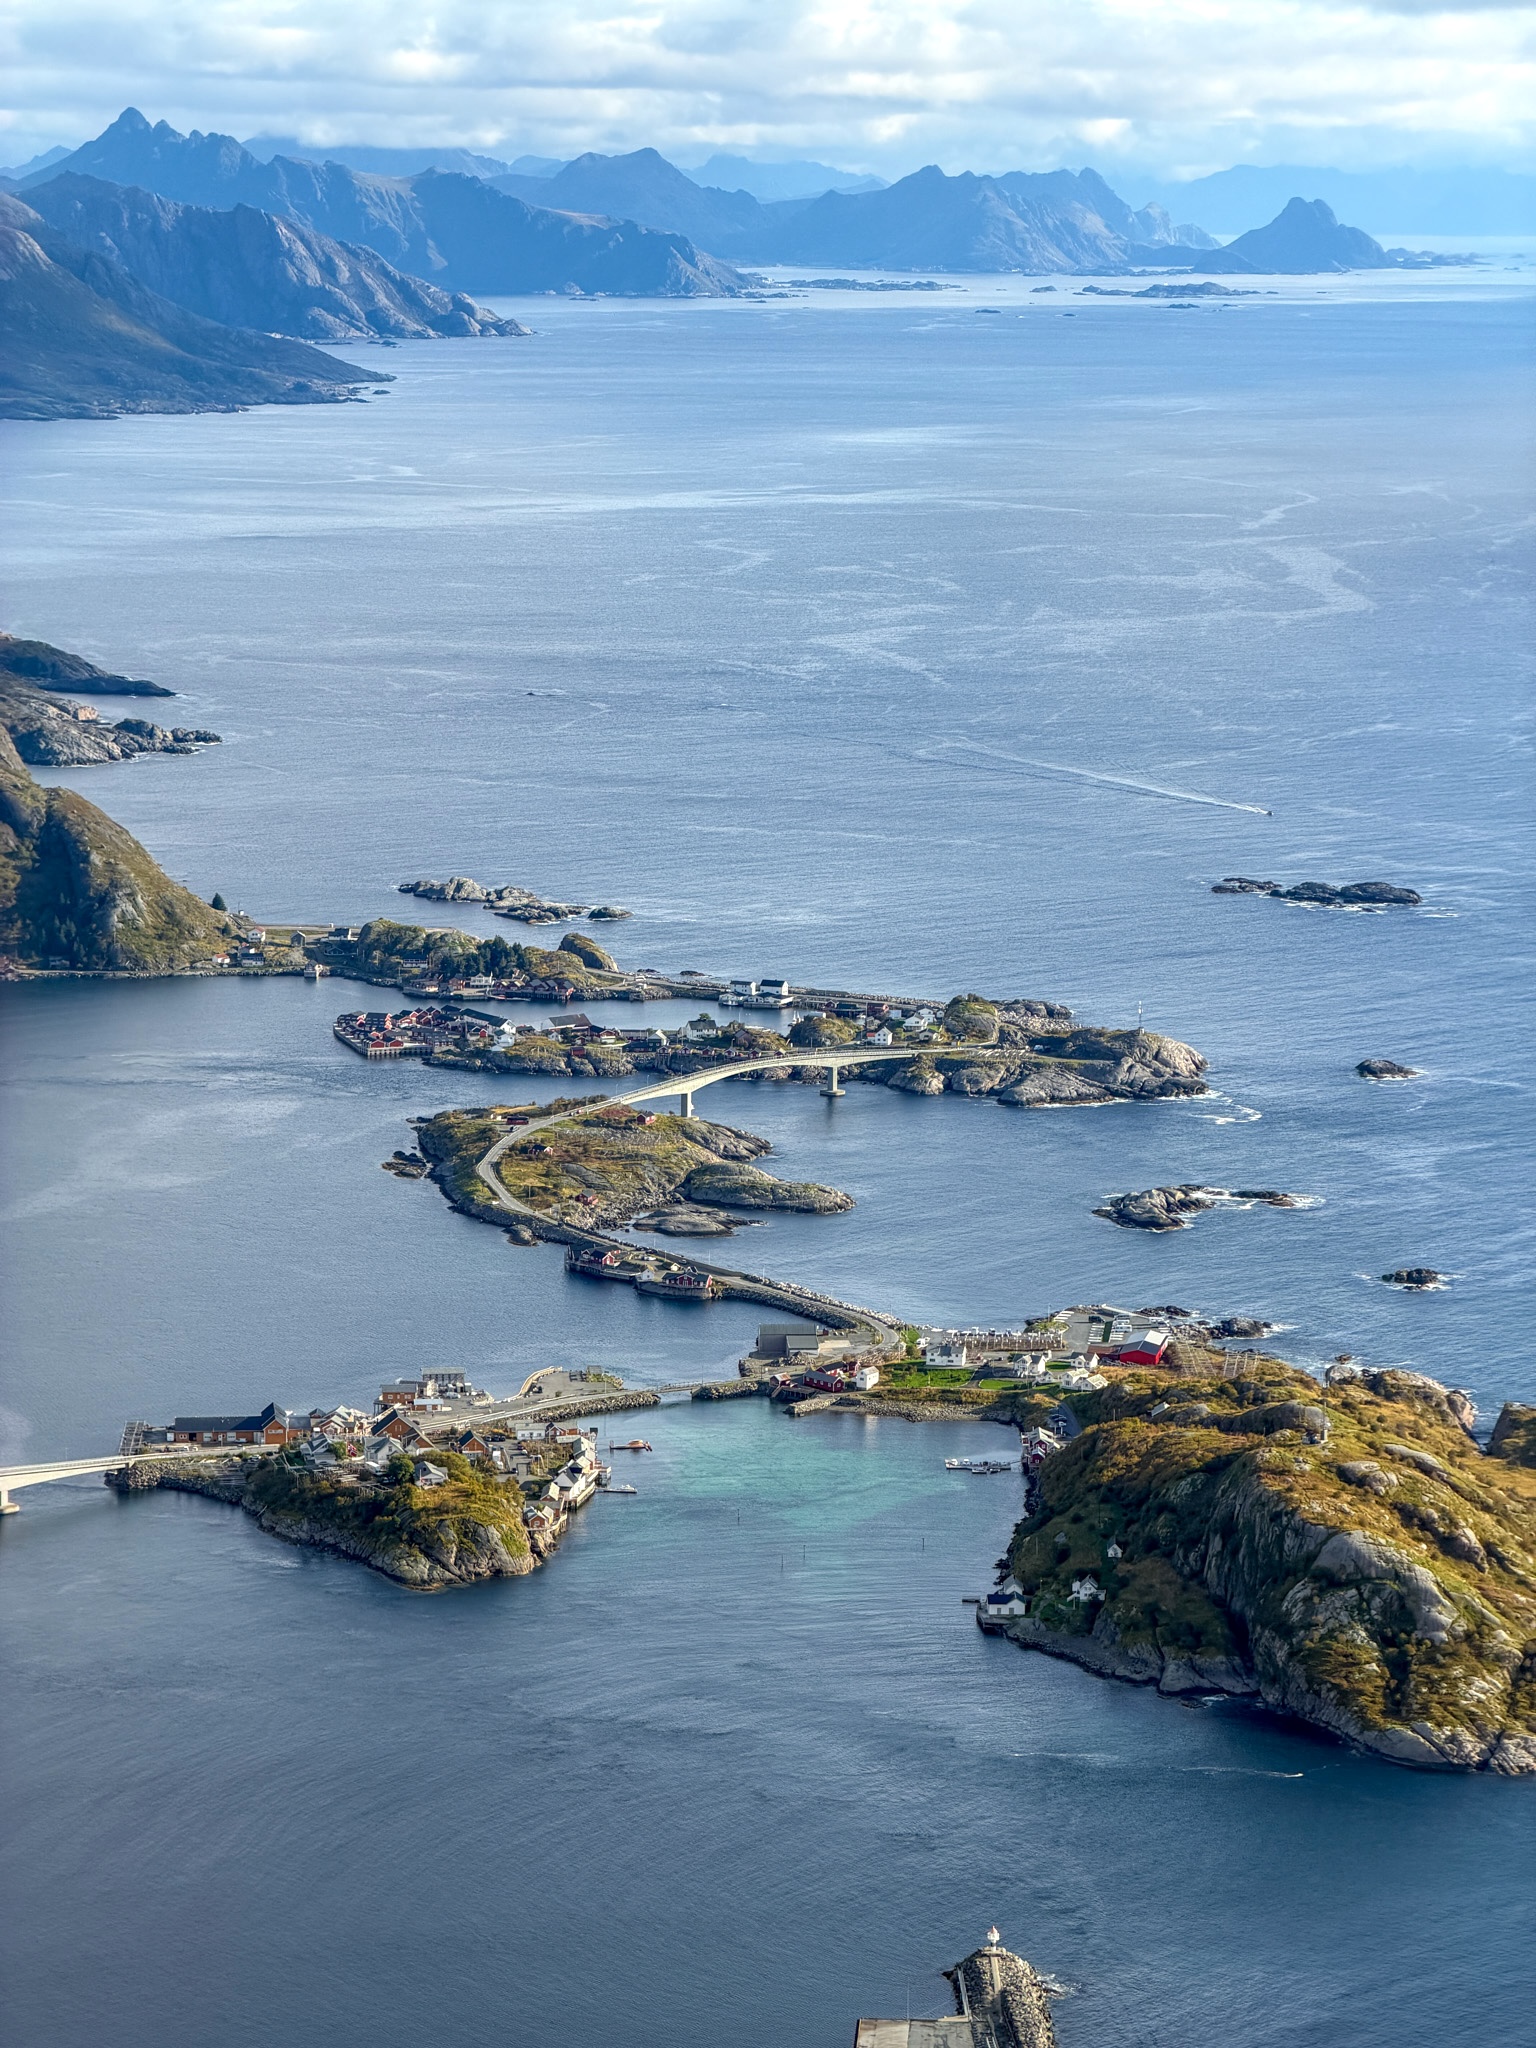
Bridges Toward Hamnøy From Reinebringen
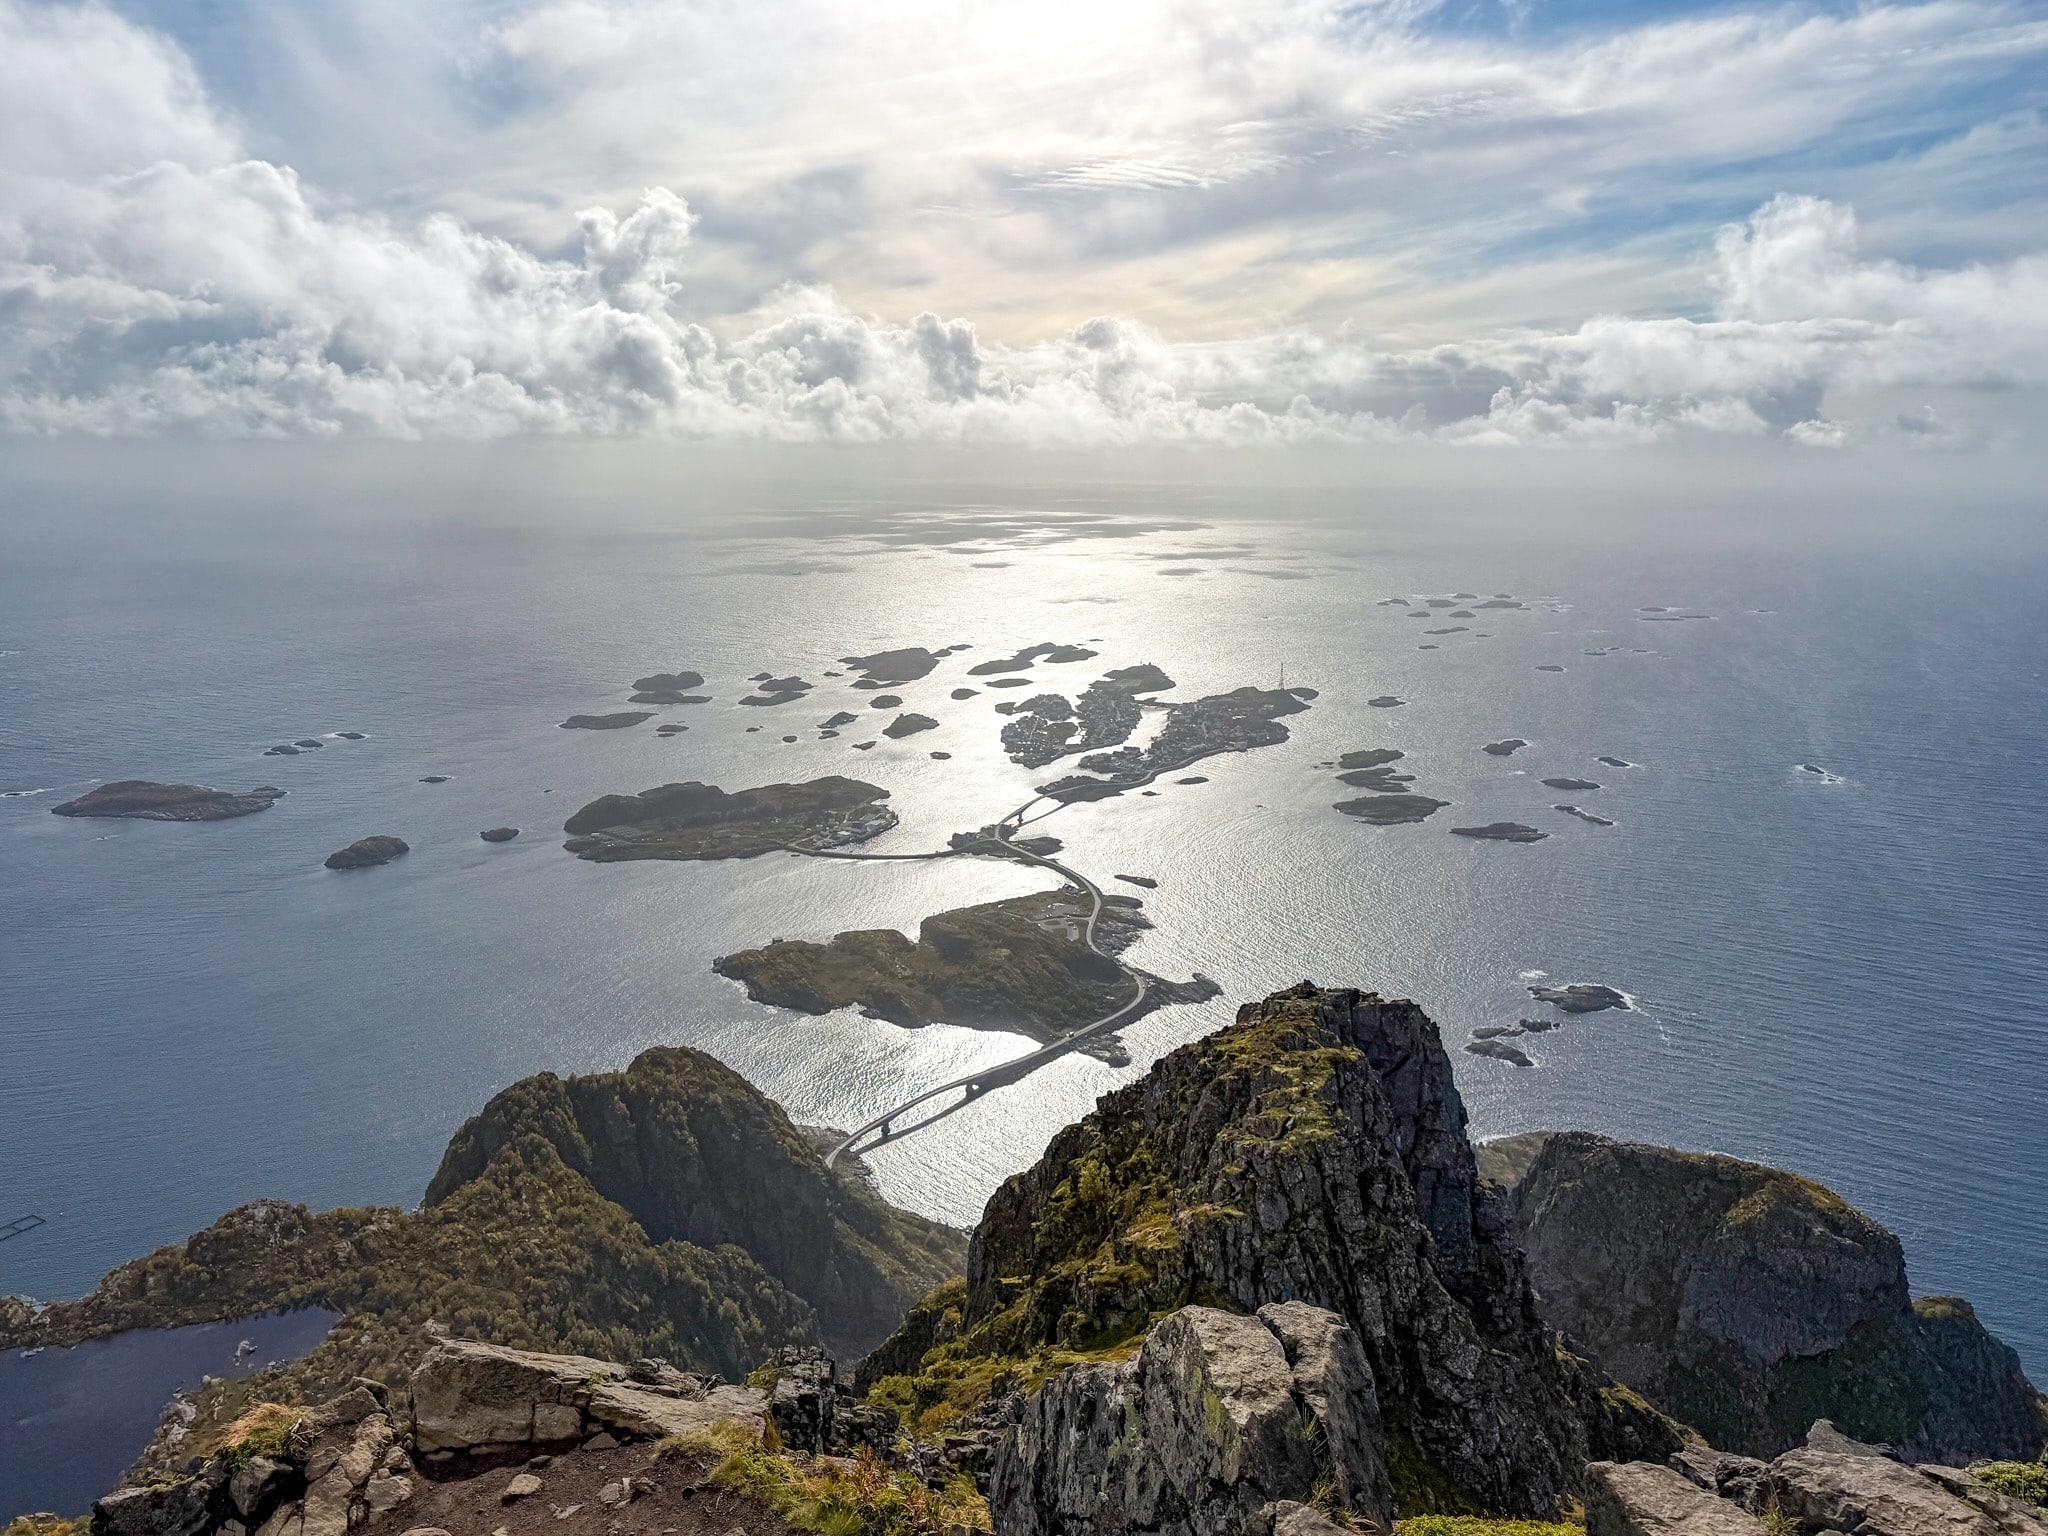
The small islands and bridges toward Hamnøy
Coming Back Down
The official sign warns that the descent is often harder than the climb, and I agree. It’s 1,978 steps of steady pounding on the knees. I used my trekking poles the whole way down, and they made a big difference.
I left the top at 10:00. By then the stairs were full. Every time someone stopped to rest, a queue formed behind them in both directions. I was back at the bottom at 10:30.

How Hard Is the Reinebringen Hike and How Long Does It Take?
Short answer: technically easy, physically challenging depending on your fitness level. Plan on 2 to 4 hours round trip from the trailhead, like the official sign says, plus about 40 minutes of walking from and back to the parking lot.
How Hard It Really Is
- Technically: easy. Almost everything is stairs, with no scrambling and no route-finding.
- Physically: hard if you don’t hike, easy to moderate if you do. You climb close to 500 m (1,640 ft) in about a kilometer, without any flat sections to recover. The official Reinebringen site puts it plainly: many people are surprised by how strenuous it is, and if you have knee or heart problems, you should think twice.
- Fear of heights: the last dirt section near the top is exposed, and parts of the stairs look straight down the slope. If heights bother you, you’ll probably feel it before the top.
- Kids and dogs: the official sign says it’s not suitable for small children or dogs, and again, I agree.
How Long the Reinebringen Hike Takes
My times, starting from the Kultursenter:
- Parking to trailhead: 20 minutes.
- Stairs to the top: 50 minutes, without stopping.
- Enjoying the view at the top: 40 minutes.
- Back down to the trailhead: 30 minutes, with poles.
- Back to the car: another 20 minutes.
Total: just under 3 hours.
How Reinebringen Compares With My Other Lofoten Hikes
For a hiker, Reinebringen has one of the best effort-to-view ratios in Lofoten. You need less attention than on rocky trails, so you just keep climbing. Here’s how it stacks up against the other hikes I did, with my numbers from parking to parking:
- Reinebringen: technically easy, physically maybe slightly challenging. About 5 km (3.1 mi) and 500 m (1,640 ft), just under 3 hours.
- The Kvalvika Beach and Ryten loop: moderate, long rather than steep. About 9 km (5.6 mi) and 760 m (2,490 ft), a bit over 4 hours. I think it’s slightly more beautiful than Reinebringen, and it takes more effort overall.
- The short climb up Offersøykammen: easy, with one steep, steady climb. About 3.5 km (2.2 mi) and 430 m (1,410 ft), about 2 hours. Similar effort to Reinebringen, with dirt and rock instead of stairs.
- The Mannen hike from Haukland Beach: moderate, with a few exposed spots where I held onto rocks. About 4 km (2.5 mi) and 400 m (1,310 ft) out and back, 2 to 3 hours. The loop via Uttakleiv is 9.6 km (6 mi) and took me 3 hours 45 minutes.
- The Festvågtind hike above Henningsvær: moderate to hard, with boulders, scrambling and a narrow summit. About 3 km (1.9 mi) and 540 m (1,770 ft), 3 hours 30 minutes. Harder than Reinebringen, even though it’s shorter.
Best Time of Day to Hike Reinebringen
Early morning. I started up the stairs at 8:30 on a September weekday. The way up was quiet, but by 10:00 the stairs were packed and people were queuing on the way down. If you can start earlier, do.
The official Reinebringen site gives two windows to avoid the crowds:
- Early morning, like I did.
- Late evening. Between May 28 and July 14, that means the midnight sun, when the sun never sets in Lofoten. I didn’t try this one.
How Busy Reinebringen Gets
The counter on the trail recorded about 110,000 passages by early August 2026. Each hiker passes it twice, so that’s around 55,000 people in roughly three months. Numbers were down from 2024 and 2025, mostly because of a rainy, foggy July. Even in early September, outside peak season, I wasn’t alone for long.
Check the Weather First
The view is the whole point, so pick a clear day. Lofoten weather changes by the hour. I used the Yr app, the Norwegian weather service, which was more accurate than my phone’s default app. In fog you’ll see nothing from the top, and after rain the dirt section near the summit gets slippery.
My Tips for Hiking Reinebringen
- Wear hiking shoes with real grip. The stone slabs are often damp and mossy, especially early in the day. I hiked in hiking boots. Sneakers always slip on wet rock.
- Bring a windproof layer. It was calm in the village and much windier at the top
- Carry water. It’s a short hike, but you may sweat a lot on the stairs, and there’s nowhere to buy anything once you leave Reine.
- Keep your distance from the edge. The famous photo spot is right above a steep drop, and people crowd it.
- Leave the drone and the tent at home. The sign at the trailhead says both are banned.
- Take your trash back down. There are no bins on the trail.
Coffee and Cake in Reine After the Hike
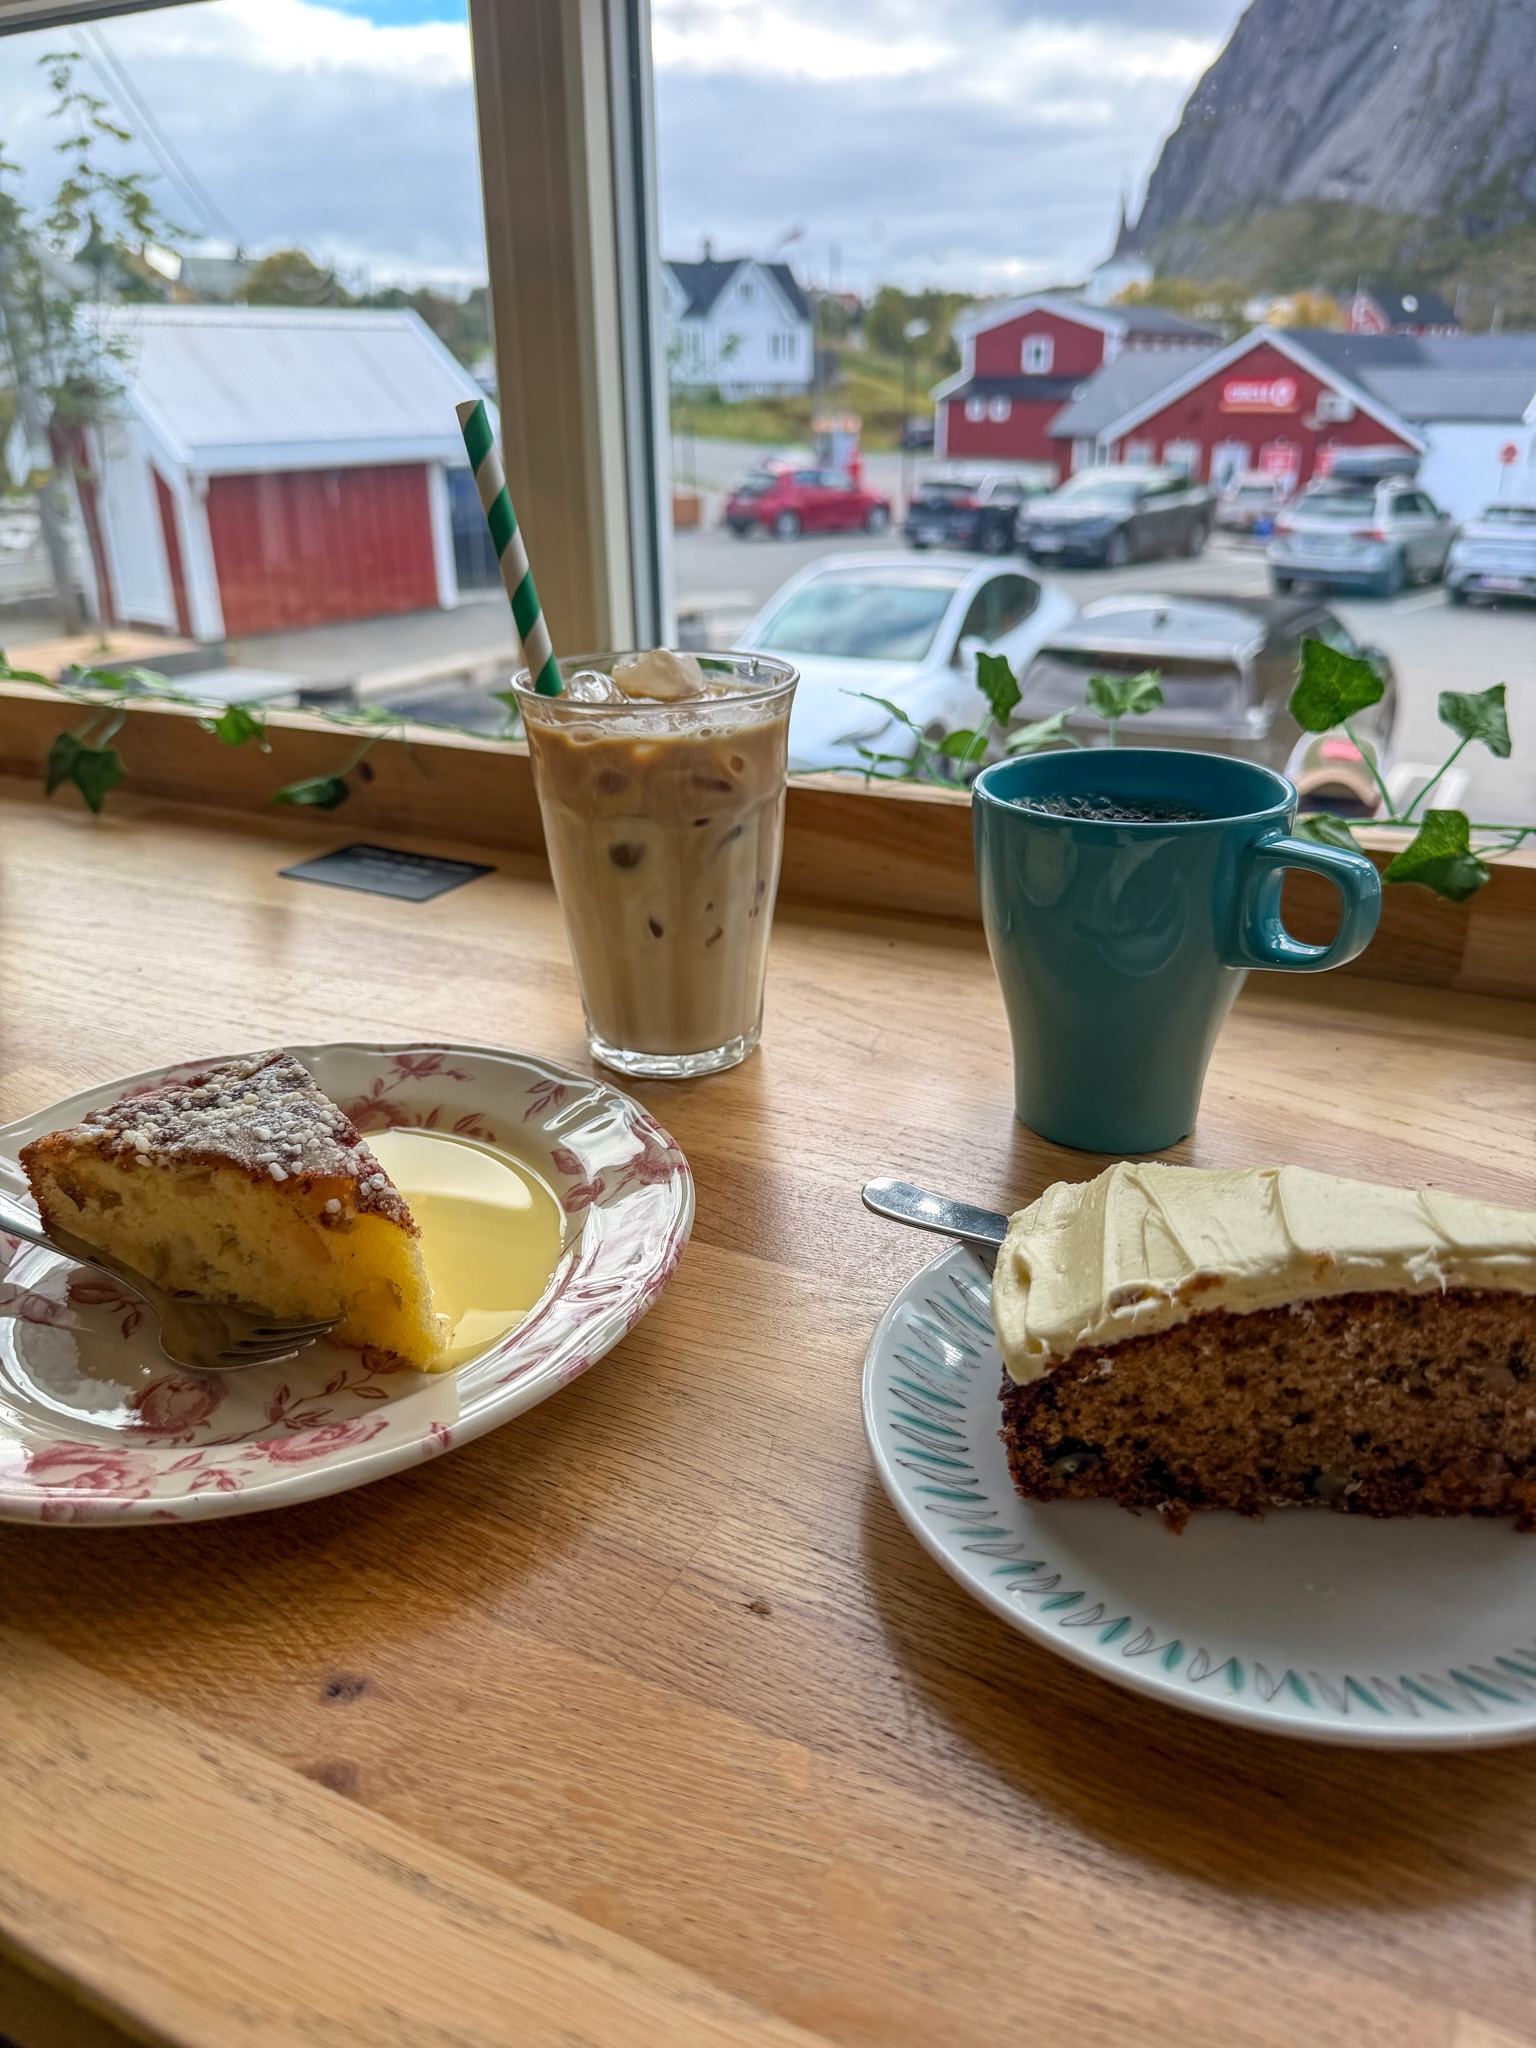
After the hike I walked back into the village and stopped at Café Bringen, right in the center of Reine. I had an iced latte with a slice of carrot cake and a slice of apple and lemon cake, and both were excellent. It’s a good place to sit for a while before driving on, since your car is already parked a few minutes away.
Coffee and Cake at Café Bringen in Reine
Carrot cake, apple and lemon cake and an iced latte at Café Bringen
Center of Reine, Lofoten
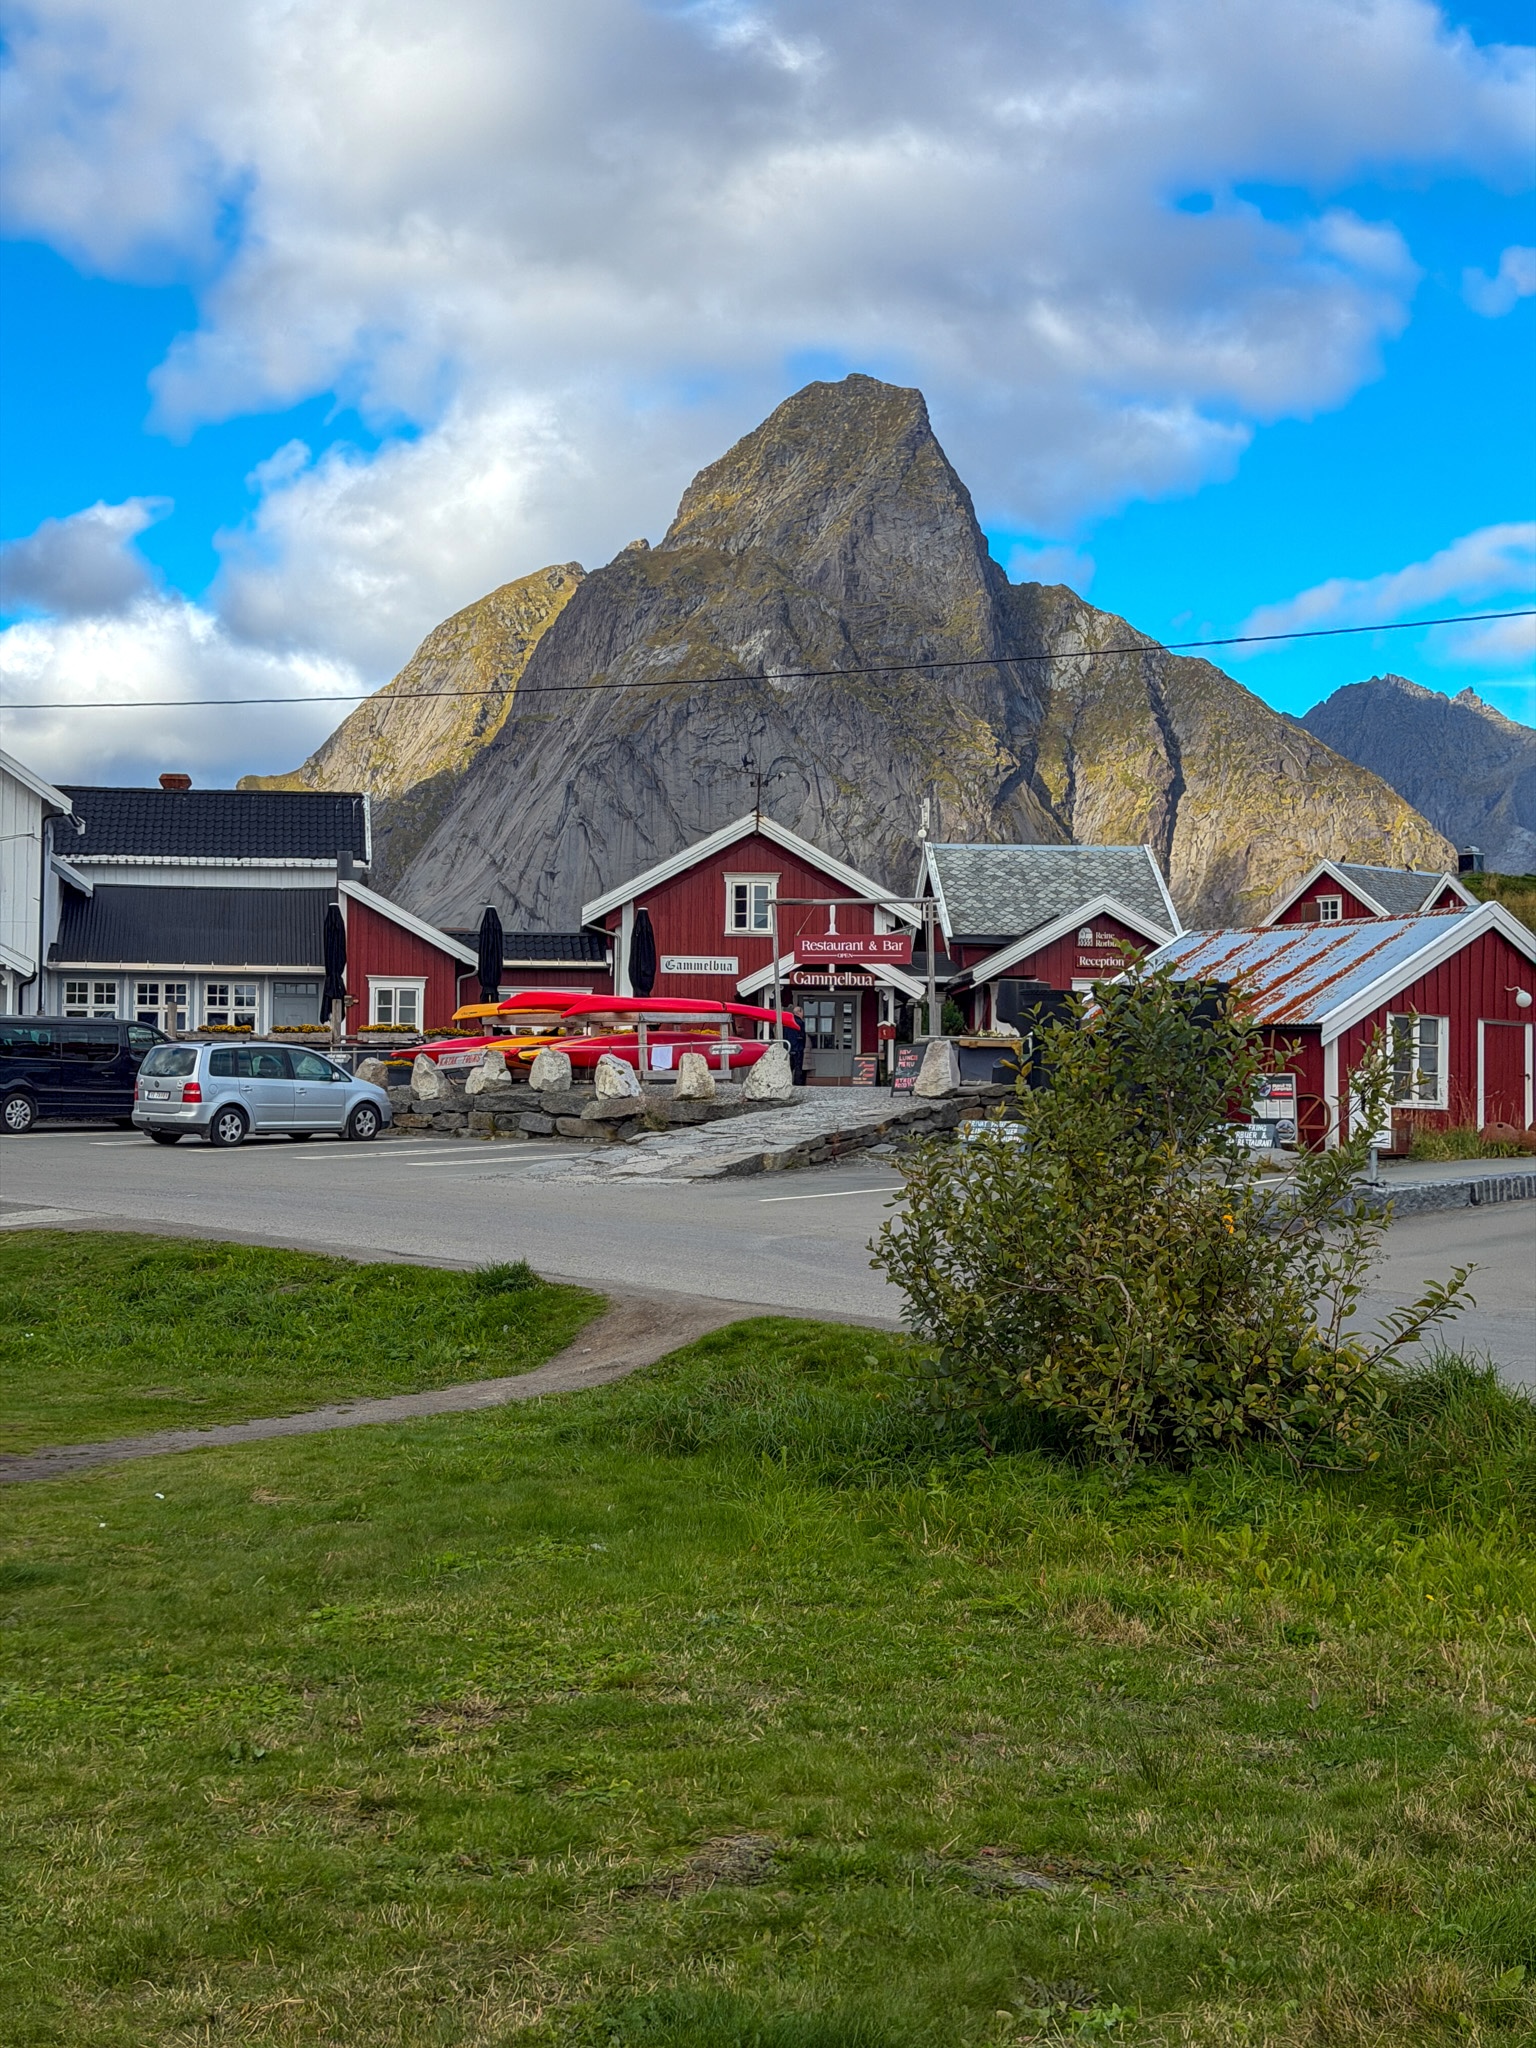
Red buildings and colorful kayaks on the waterfront in the center of Reine, with a mountain behind
Reinebringen Hike FAQ
Is the Reinebringen hike worth it?
Yes, if you’re fit enough for the climb. It’s one of my favorite hikes in Lofoten, and the view over Reine is the one I’d pick if I could only see one viewpoint on the islands. Go early, on a clear day, or you’ll spend it in a queue or in fog.
Do you have to pay to hike Reinebringen?
No. There’s no ticket or entrance fee, since hiking in Norway is free under the right to roam. The only cost is parking, unless you get a spot at Steffenakken.
Do you need a guide for Reinebringen?
No. The stairs go all the way up, there’s nothing to navigate, and in summer there’s a trail host at the bottom. Guided hikes exist, but I don’t think you need one in summer.
What other hikes are near Reinebringen?
The closest one I did is the Kvalvika Beach and Ryten loop, about 30 minutes’ drive from Reine. All the details are in my guide to the Kvalvika and Ryten hike.
Can you see the northern lights near Reinebringen?
Yes, but don’t hike up in the dark to look for them, it's dangerous and not worth it. I watched a strong display from my cabin between Hamnøy and Reine on September 8, and I explained how I tracked it in my guide to the Lofoten northern lights.
Check Out My Other Lofoten Guides
- Where to Stay in Lofoten: Best Areas, Hotels & My Experience
- How to Get to the Lofoten Islands: 4 Easy Routes + My Pick
- Renting a Car in Lofoten: Agencies, Parking & My Driving Tips
- Lofoten Northern Lights: Best Time, Places & Forecasts I Used
- Kvalvika Beach & Ryten Hike: Routes, Parking, Map & My Tips
- Offersøykammen Hike, Lofoten: Parking, Trail Map & My Stats
- Festvågtind Hike, Henningsvær: Difficulty, Map & My Photos
- Mannen Hike From Haukland: Out-and-Back or Loop, Map & Parking
Keep reading: