What it’s really like to hike from Vigo di Fassa to the Vajolet Towers and sleep at Santnerpass Hut, including cable car logistics, the infamous path 542, hut dinner, sunrise, and all the hard bits.
Important update, August 2026: Severe storms triggered a landslide in the Vajolet area in on August 3, 2026, closing the trail between Rifugio Gardeccia and Rifugio Vajolet (path 546) and the access road to Gardeccia.
Hikers are currently being routed via the Alta Via di Fassa (path 550 + 541) instead, a longer and more demanding detour than the route described here. The huts along the way lost water, power and sewer service in the landslide, and while local authorities have been keeping them supplied in the meantime, I'd contact Santnerpass Hut directly to confirm it's open before booking.
This is a very recent, still-developing situation with no live trail status page yet, so call the Val di Fassa tourist office (+39 0462 609500) or send them an email before planning this hike.
I’ll be honest: I slightly underestimated the Vajolet Towers Hike.
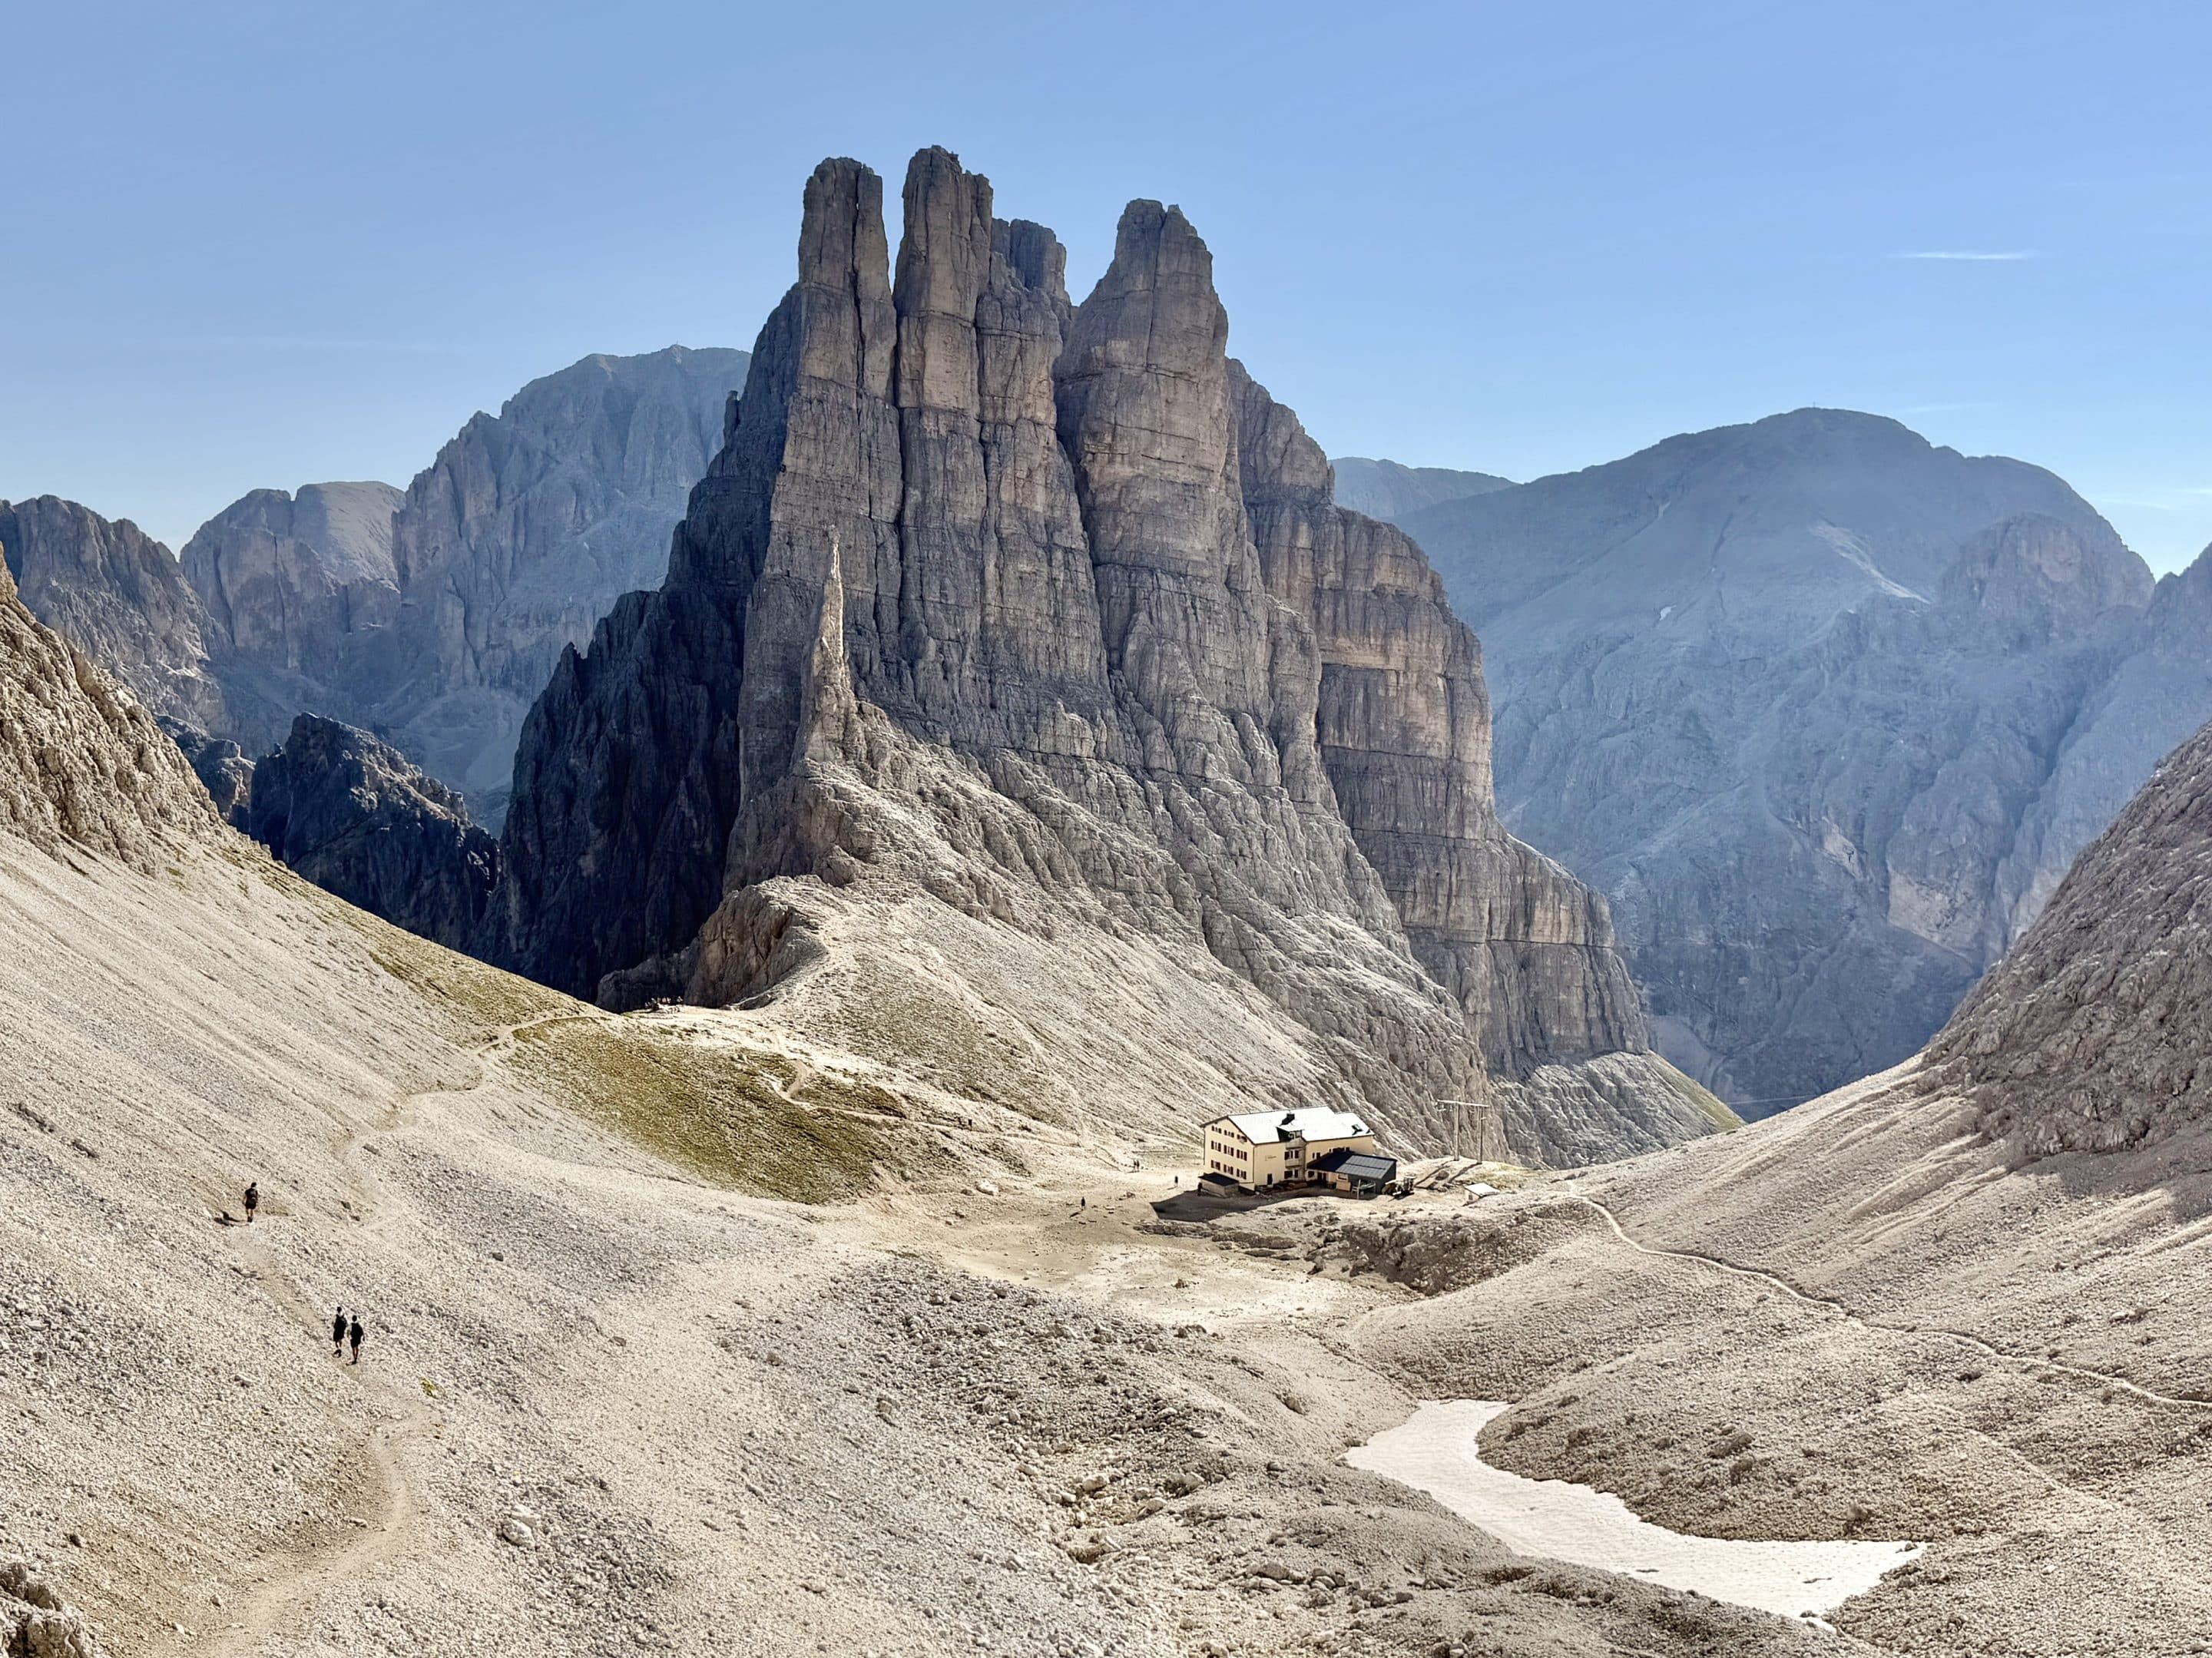
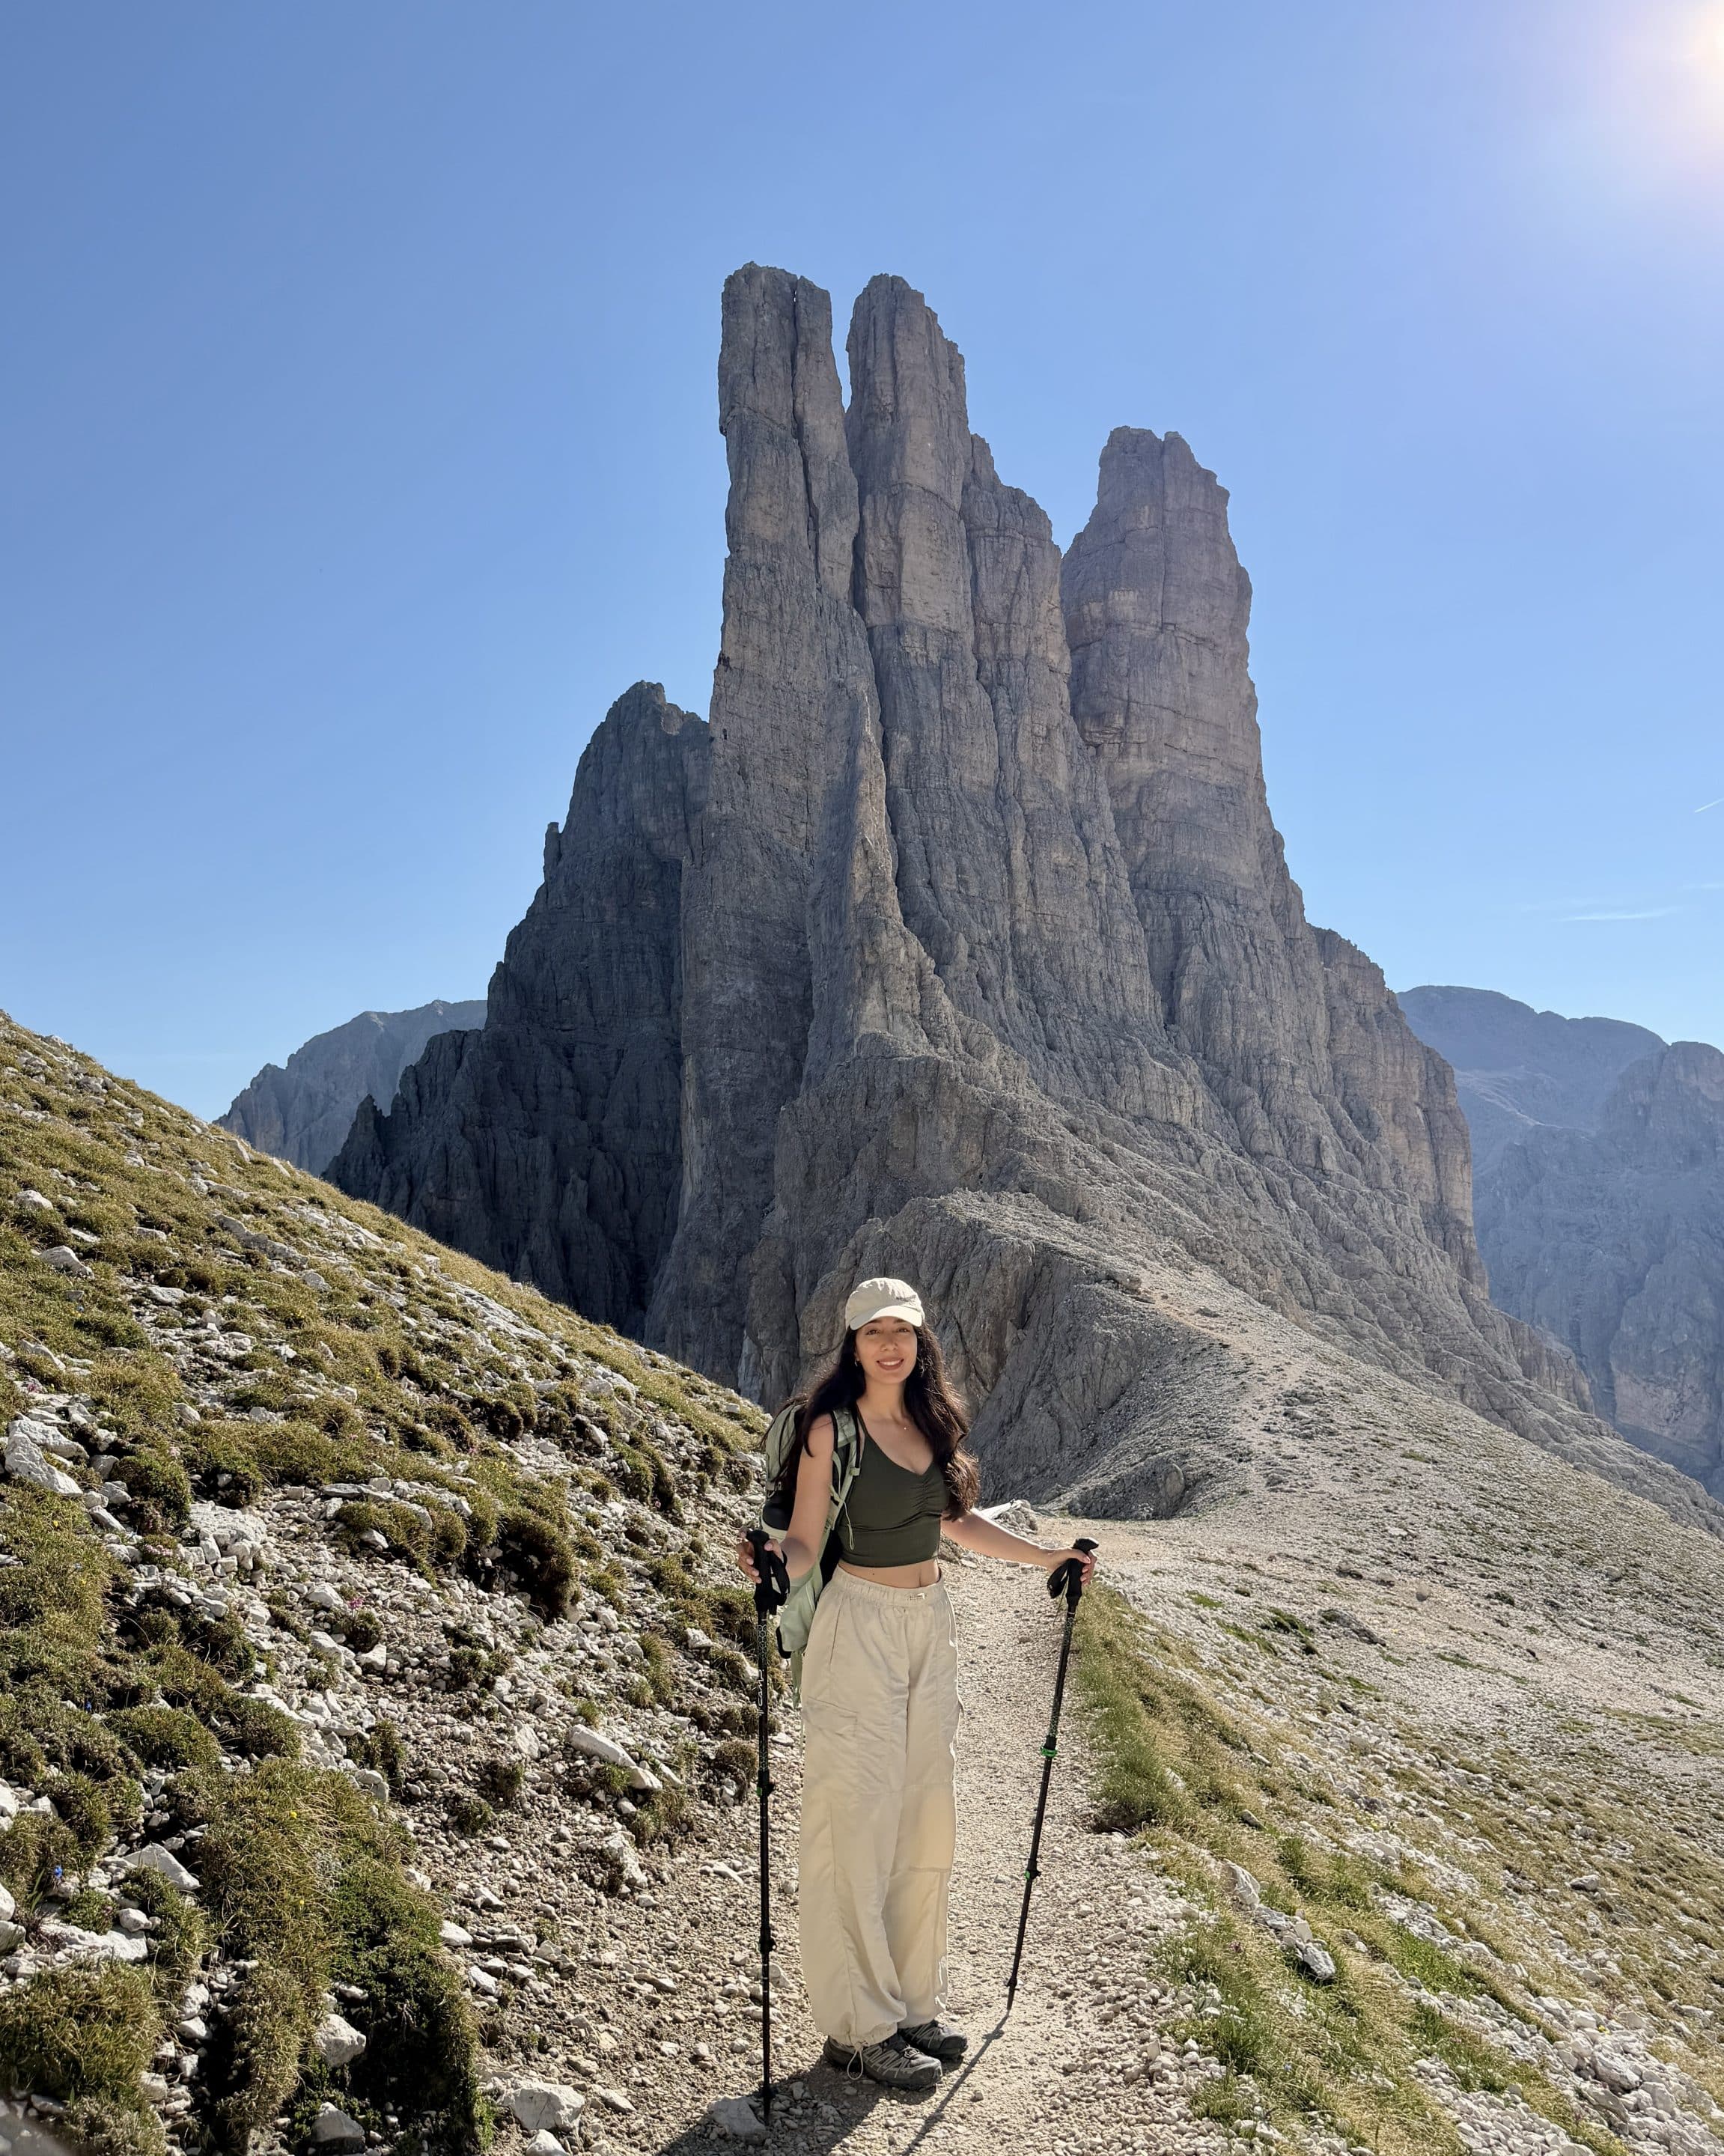
But before I make that sound more dramatic than it needs to be, here’s the basic idea. This hike is in the Catinaccio area of the Dolomites, above a town called Vigo di Fassa, and it takes you up to the Vajolet Towers: those sharp, pale rock spires that look fake until you are standing under them, sweating into your backpack.
I did the route as an overnight hike, staying at Santnerpass Hut, which sits right above the towers. And that was easily the best decision of the trip: the hike itself is beautiful, but the real magic happens after most people leave: sunset, dinner at the hut, a quiet night in the mountains, then sunrise over the towers the next morning.
This guide covers the exact trail I hiked, info on how to get to the starting point, how difficult the route really felt, how to reach Santnerpass Hut, and what sleeping there was actually like.
-
- Read more: 10 Best Hikes in the Dolomites, Italy
Vajolet Towers Hike Route Overview
The Vajolet Towers Hike is fairly easy to understand on a map. The step-by-step route is:
Vigo di Fassa → Ciampedie by cable car → Rifugio Gardeccia → Rifugio Vajolet / Rifugio Paul Preuss → Rifugio Re Alberto → Santnerpass Hut
Then, the same route in the opposite direction.
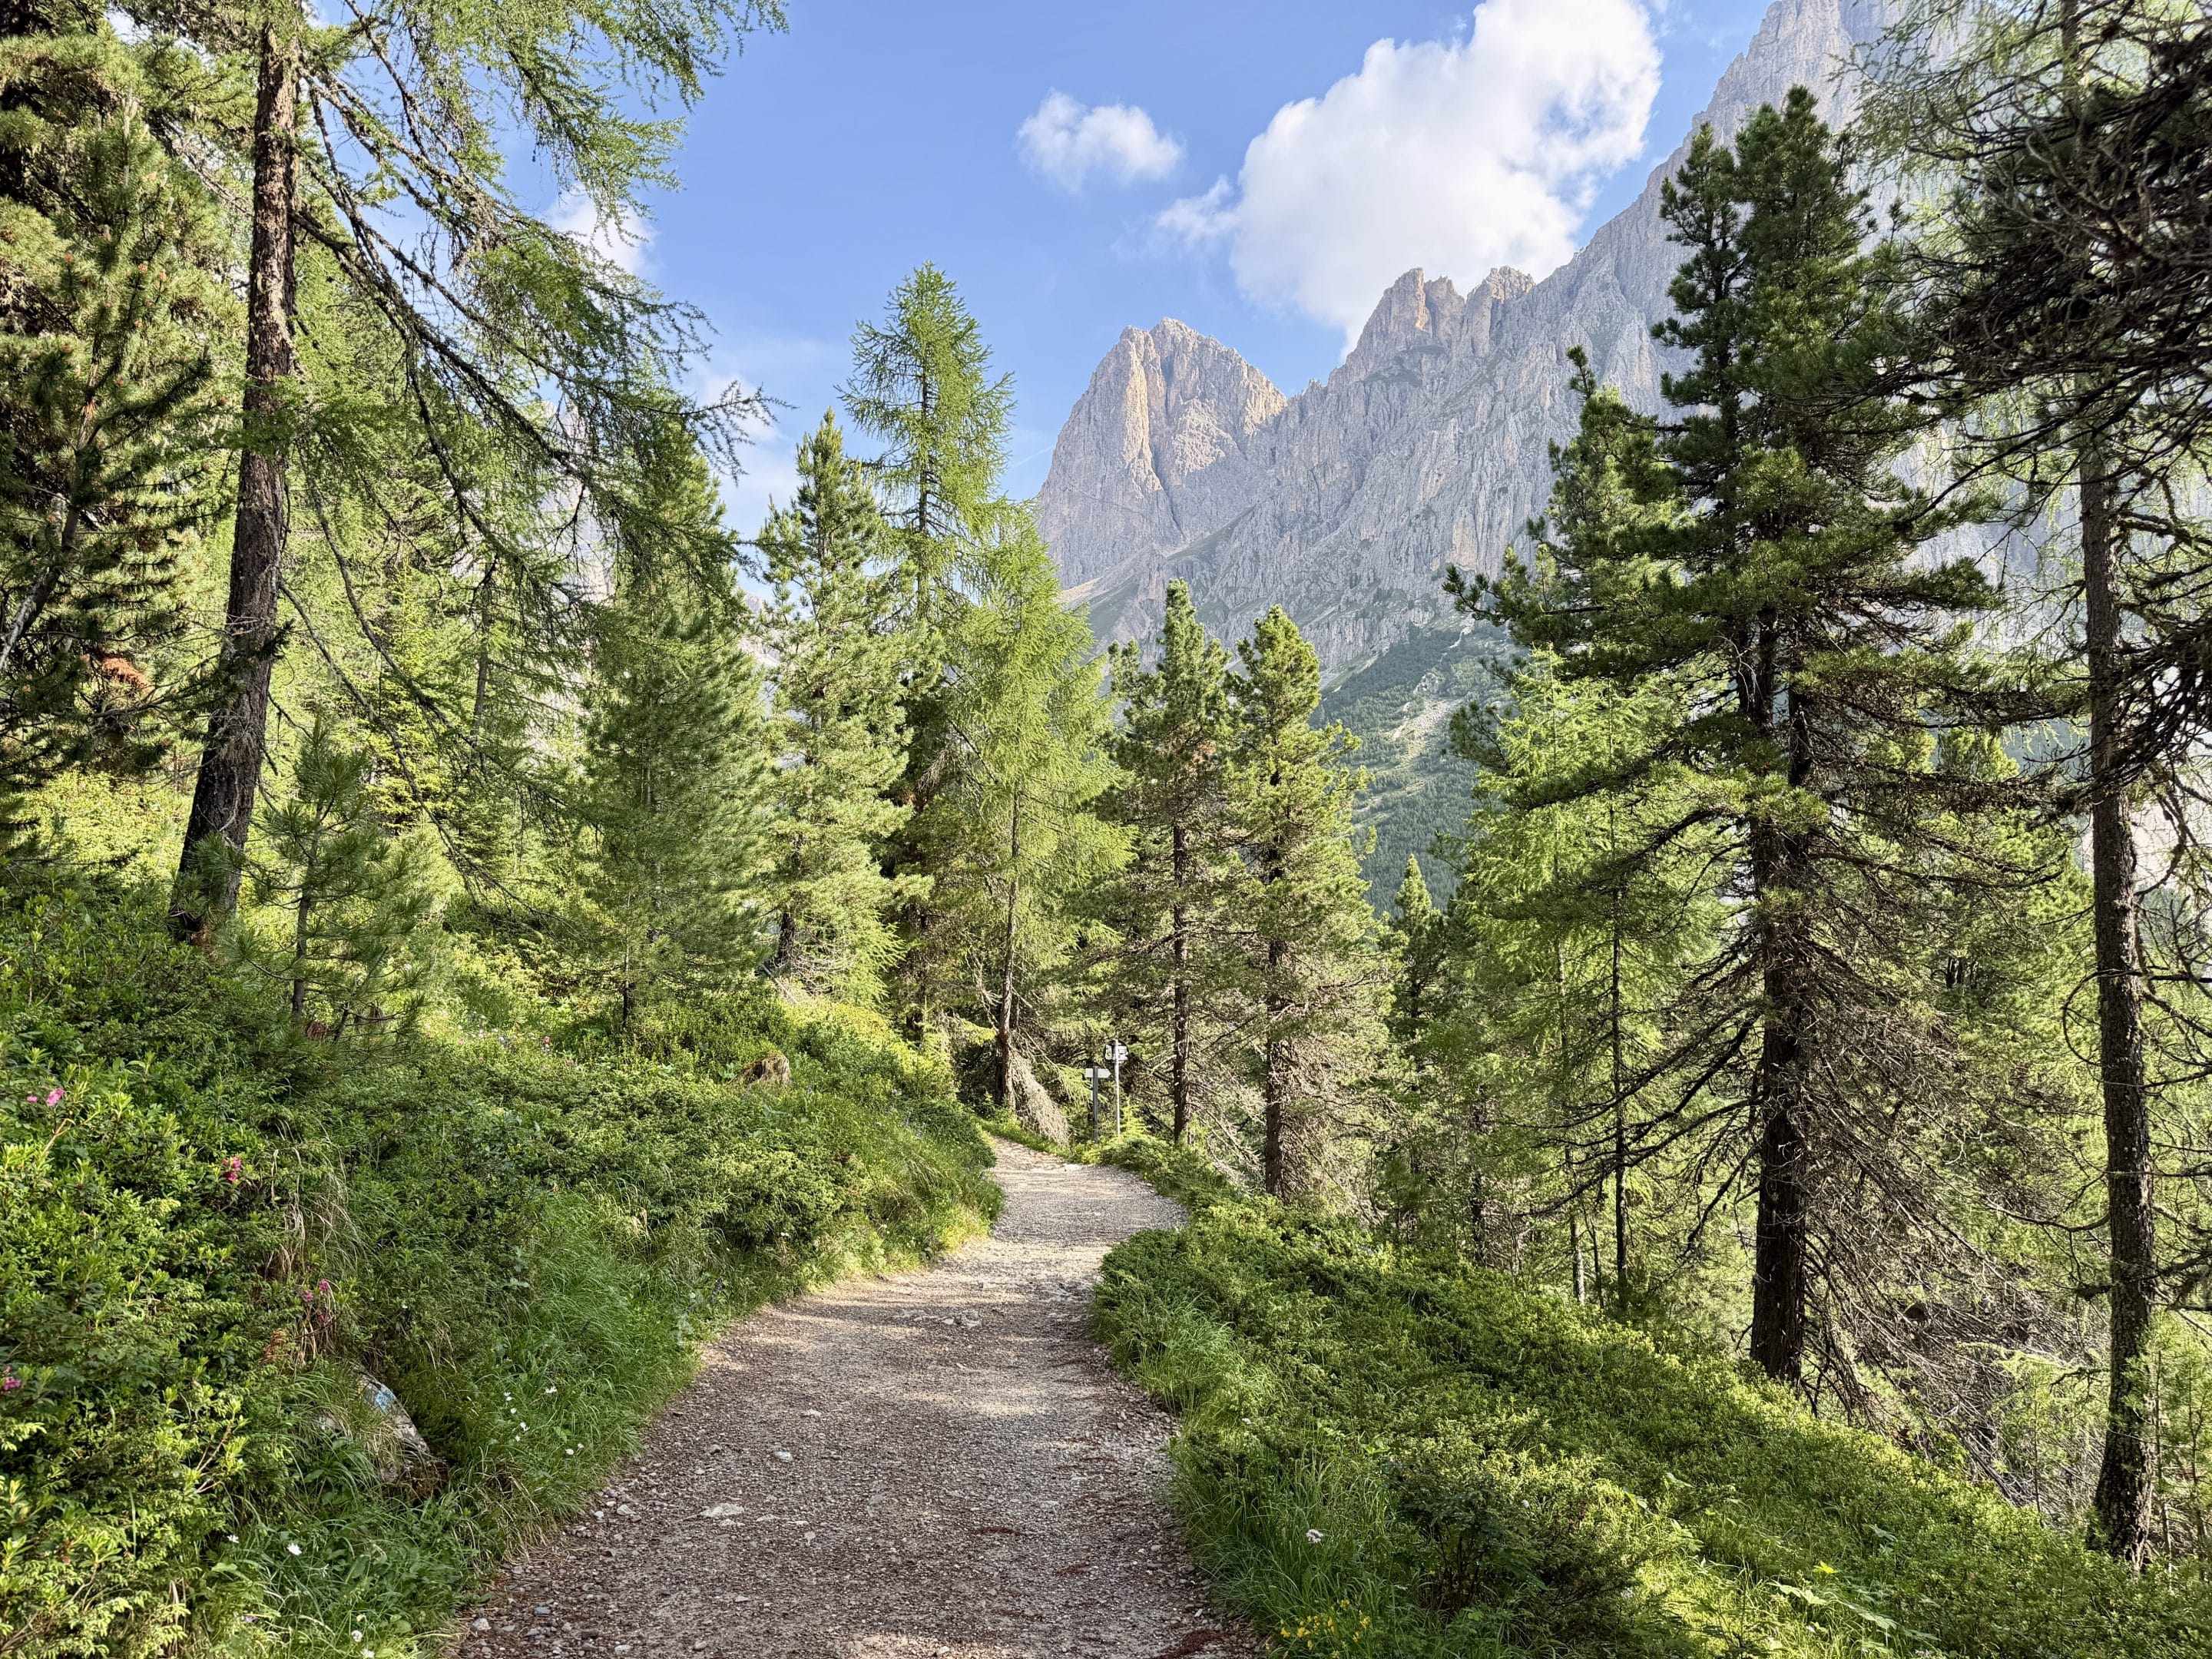
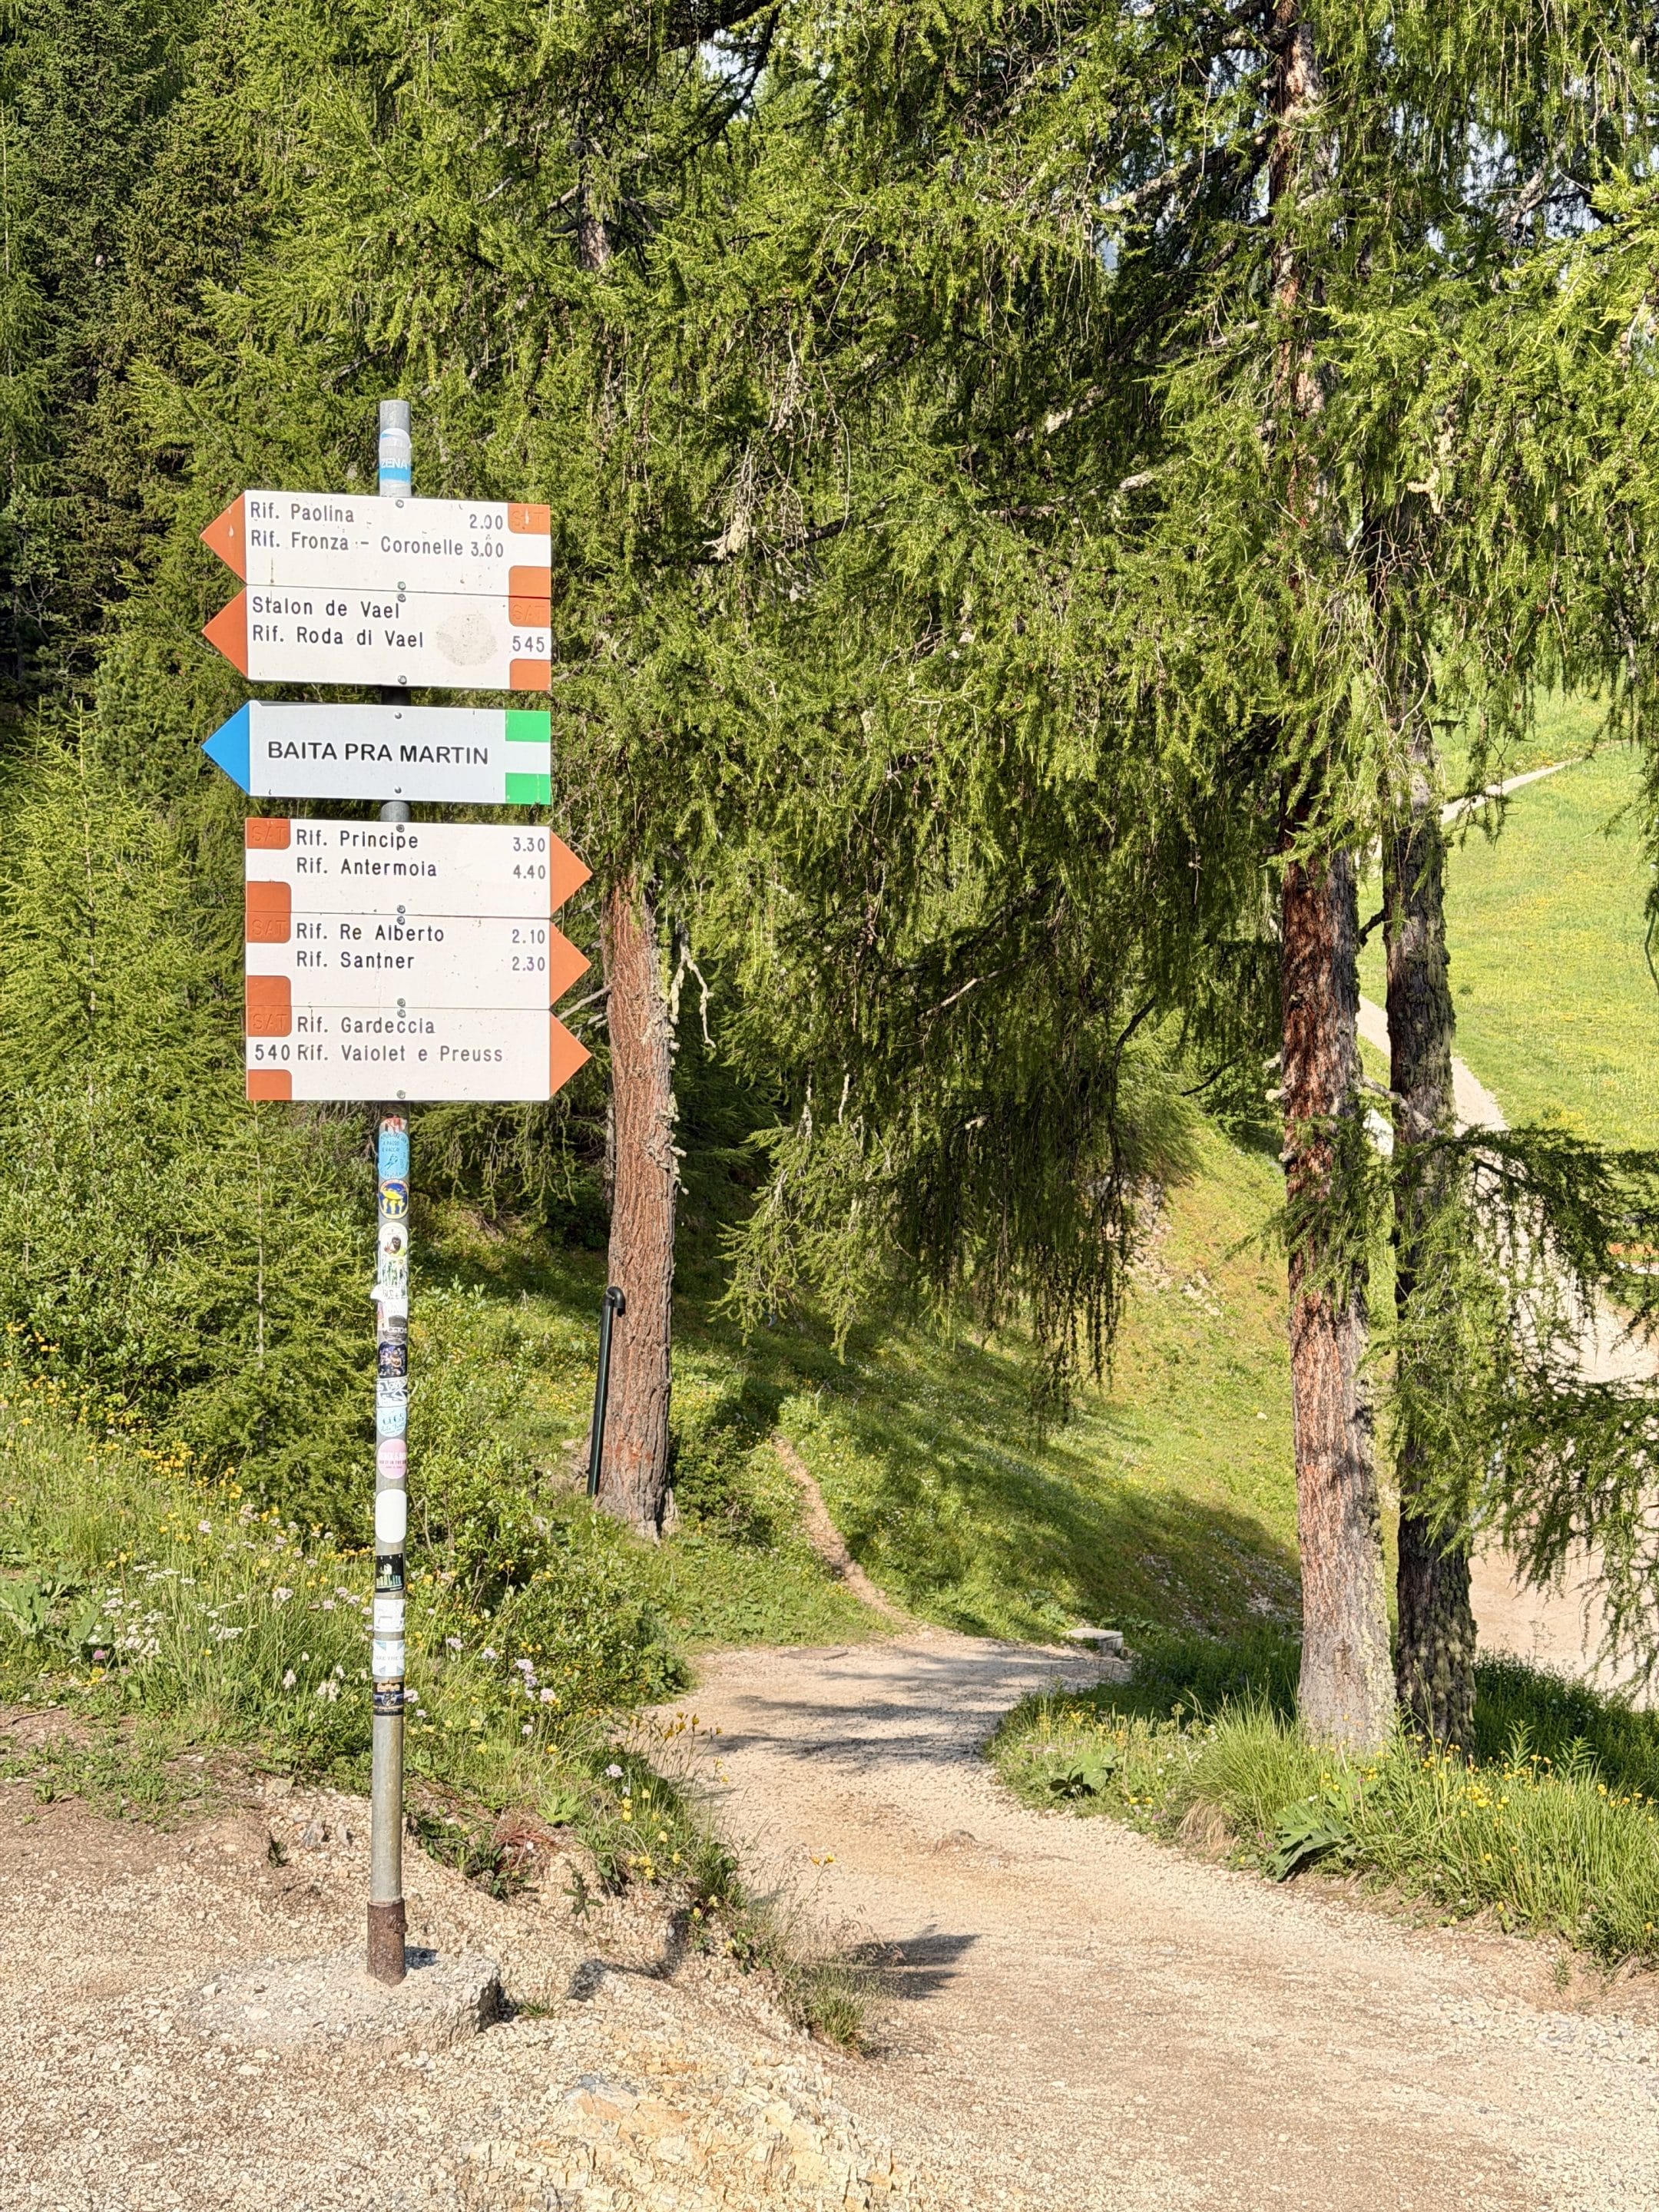
The first section, from Ciampedie to Rifugio Gardeccia, follows path 540 through the woods. This is the most gentle part of the hike.
From Gardeccia to Rifugio Vajolet and Rifugio Paul Preuss, you follow path 546. The trail becomes steeper and more open, but it still feels like a normal and pleasant Dolomites hiking route.
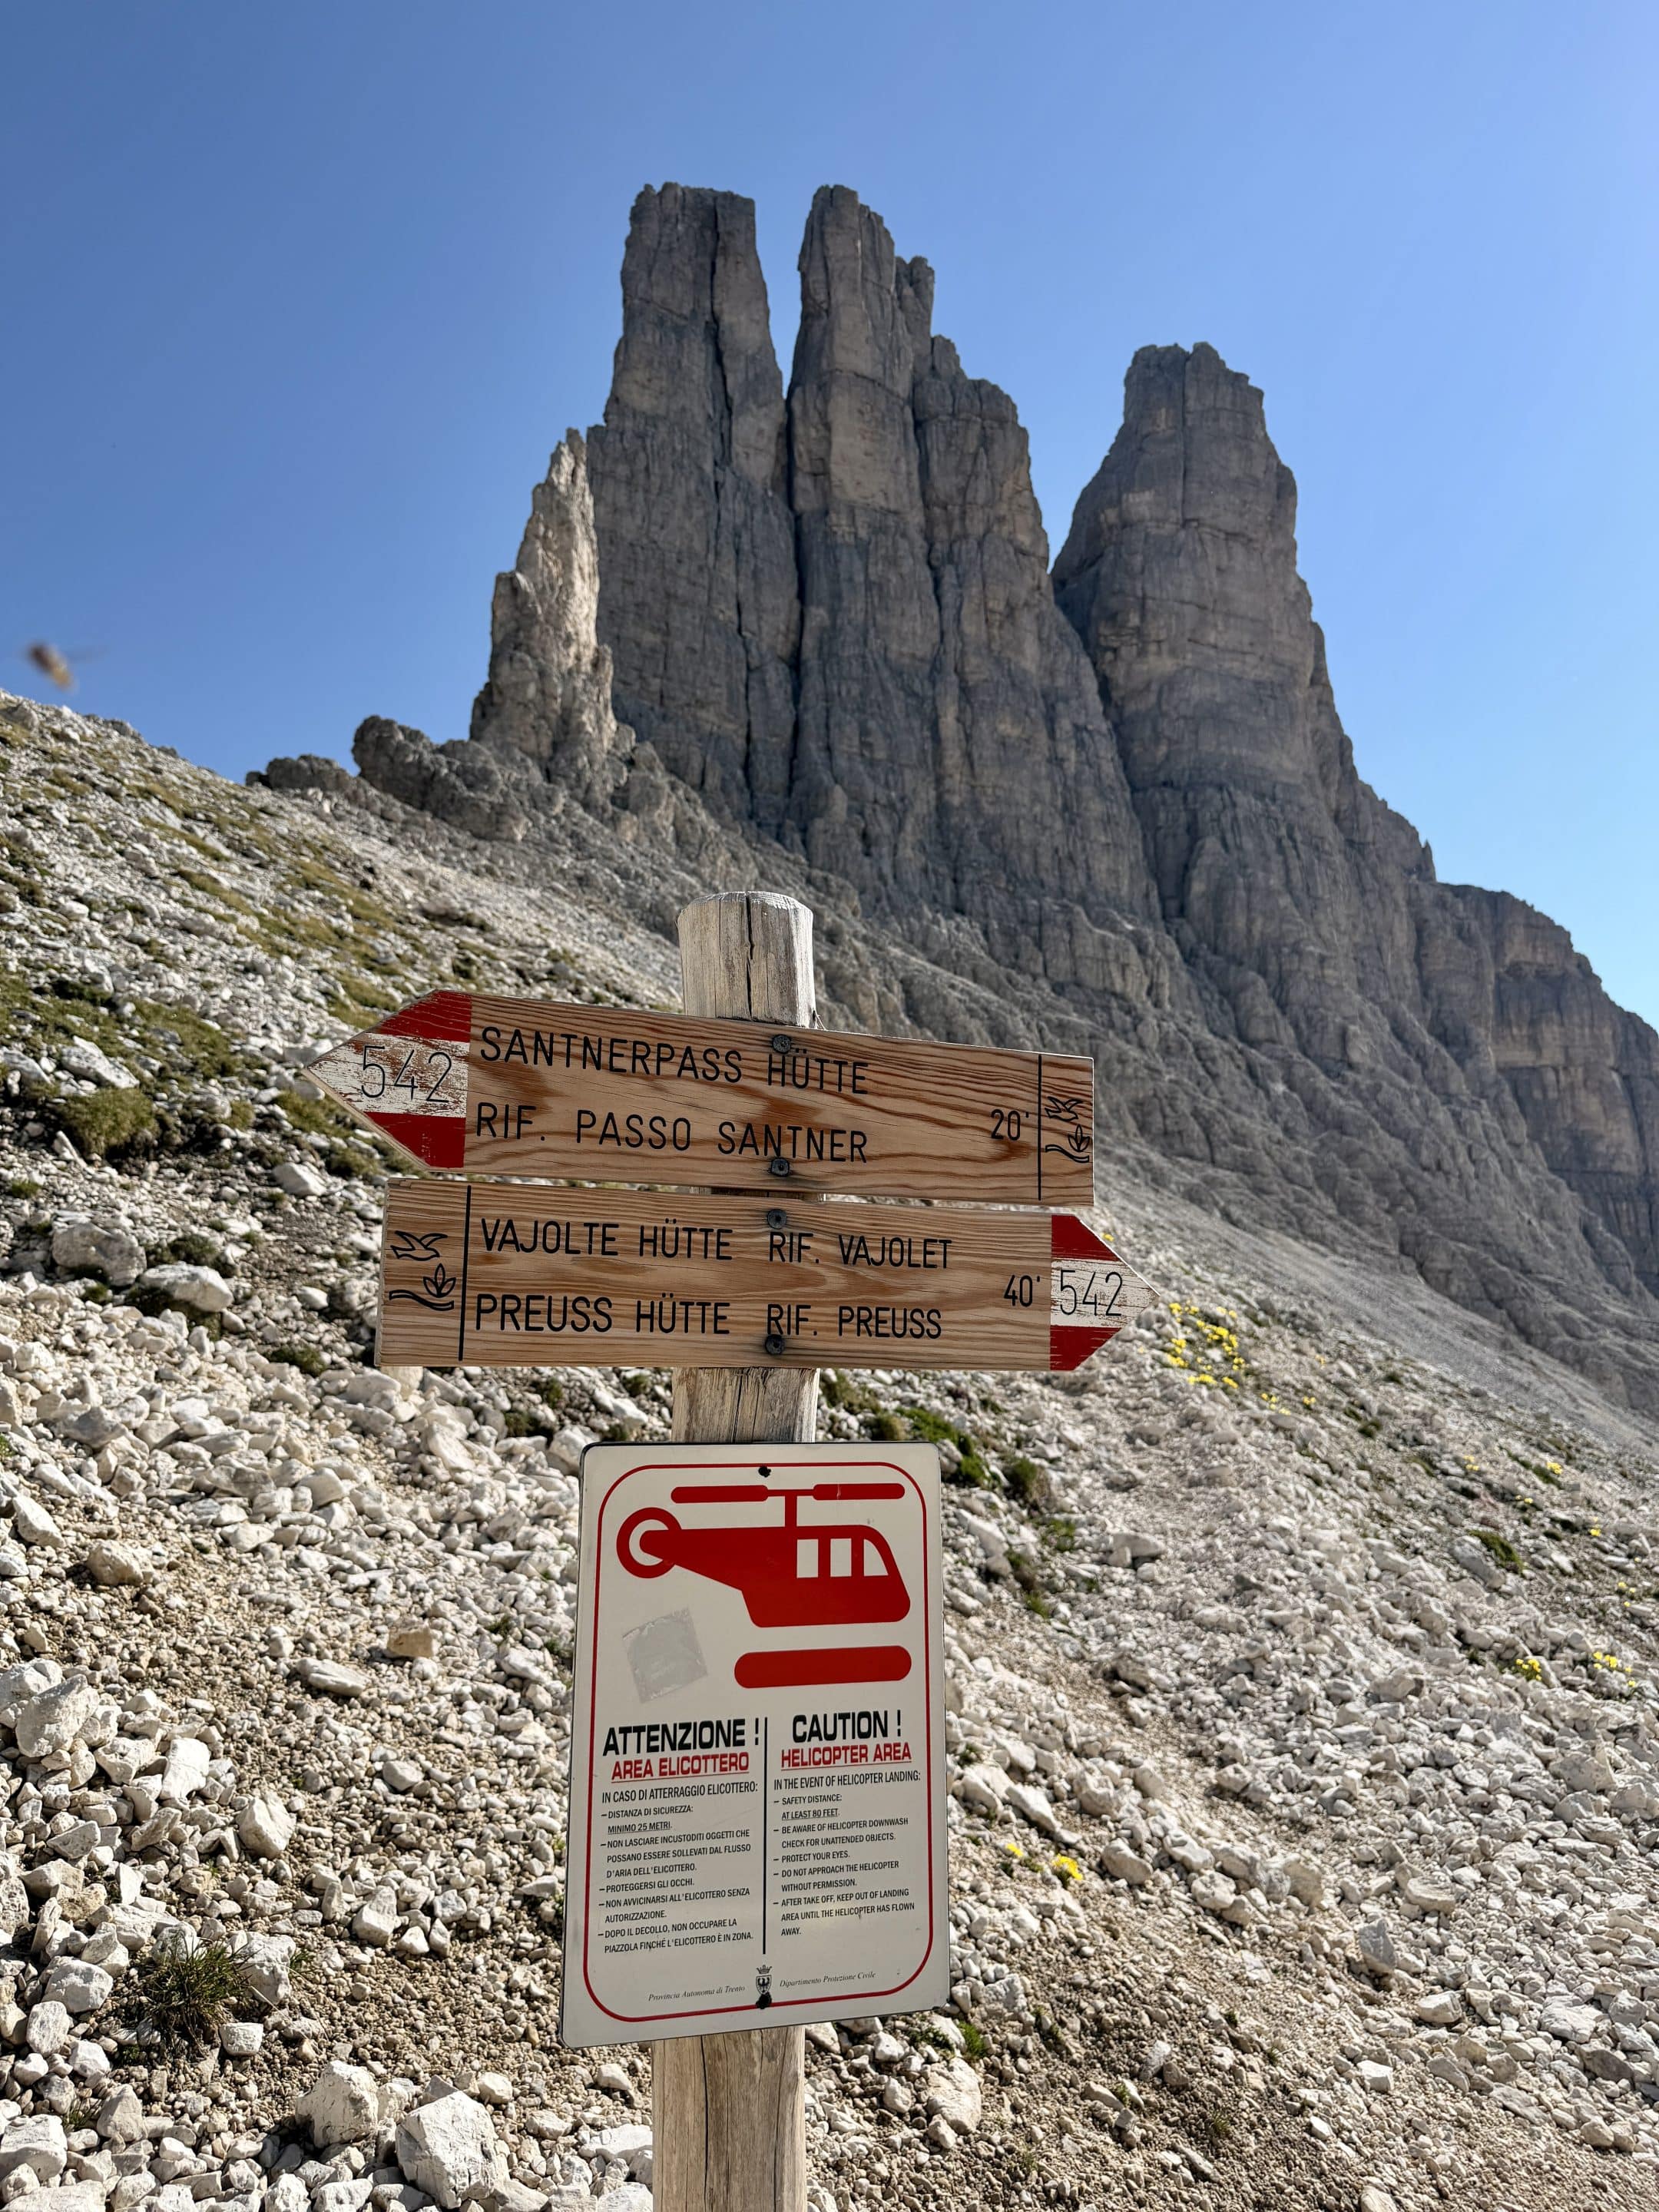
From Rifugio Vajolet to Rifugio Re Alberto, so on path 542, is where the hikes get serious. Instead of continuing straight on the wider-looking trail, you need to turn left almost immediately after Rifugio Vajolet toward a steep rocky wall. It does not look especially inviting. That, unfortunately, is the way. This section is steep, exposed, rocky, and supported in places with fixed aids. If there is one part of the route to research properly before going, it is this one.
Once you reach Rifugio Re Alberto, the mood changes again. The final stretch to Santnerpass Hut is much easier and takes you into one of the best viewpoints in the Catinaccio. At that point, the hard work is mostly behind you, and the majestic Vajolet Towers are right there. This is also where you'll fine the striking Vajolet viewpoint most people look forward to.
I did the hike as an overnight stay at Santnerpass Hut, and I’d recommend it that way if you can get a room or bed. Doing the full route up and down in one day is possible, but for me the climb was demanding enough that splitting it into 2 days made the whole experience much better.
Quick Facts and Numbers
Here’s a summary of the Vajolet Towers Hike route I did, starting from Vigo di Fassa, and arriving up to Santnerpass Hut.
Route type: out and back
Starting point: Vigo di Fassa Cable Car to Ciampedie
Distance: 13,6 km / 8.5 miles round trip
Elevation gain: 868 m / 2,848 ft
Highest point: Santnerpass Hut, around 2726 m / 8,942 ft
Trail GPS Map: I couldn't find the exact route on AllTrails, so here's the map on Wikiloc, which is what most people use in the Dolomites anyway.
Difficulty: difficult
Walking time to Santnerpass Hut: around 3 hours from Ciampedie
Trail numbers: 540, 546, 542
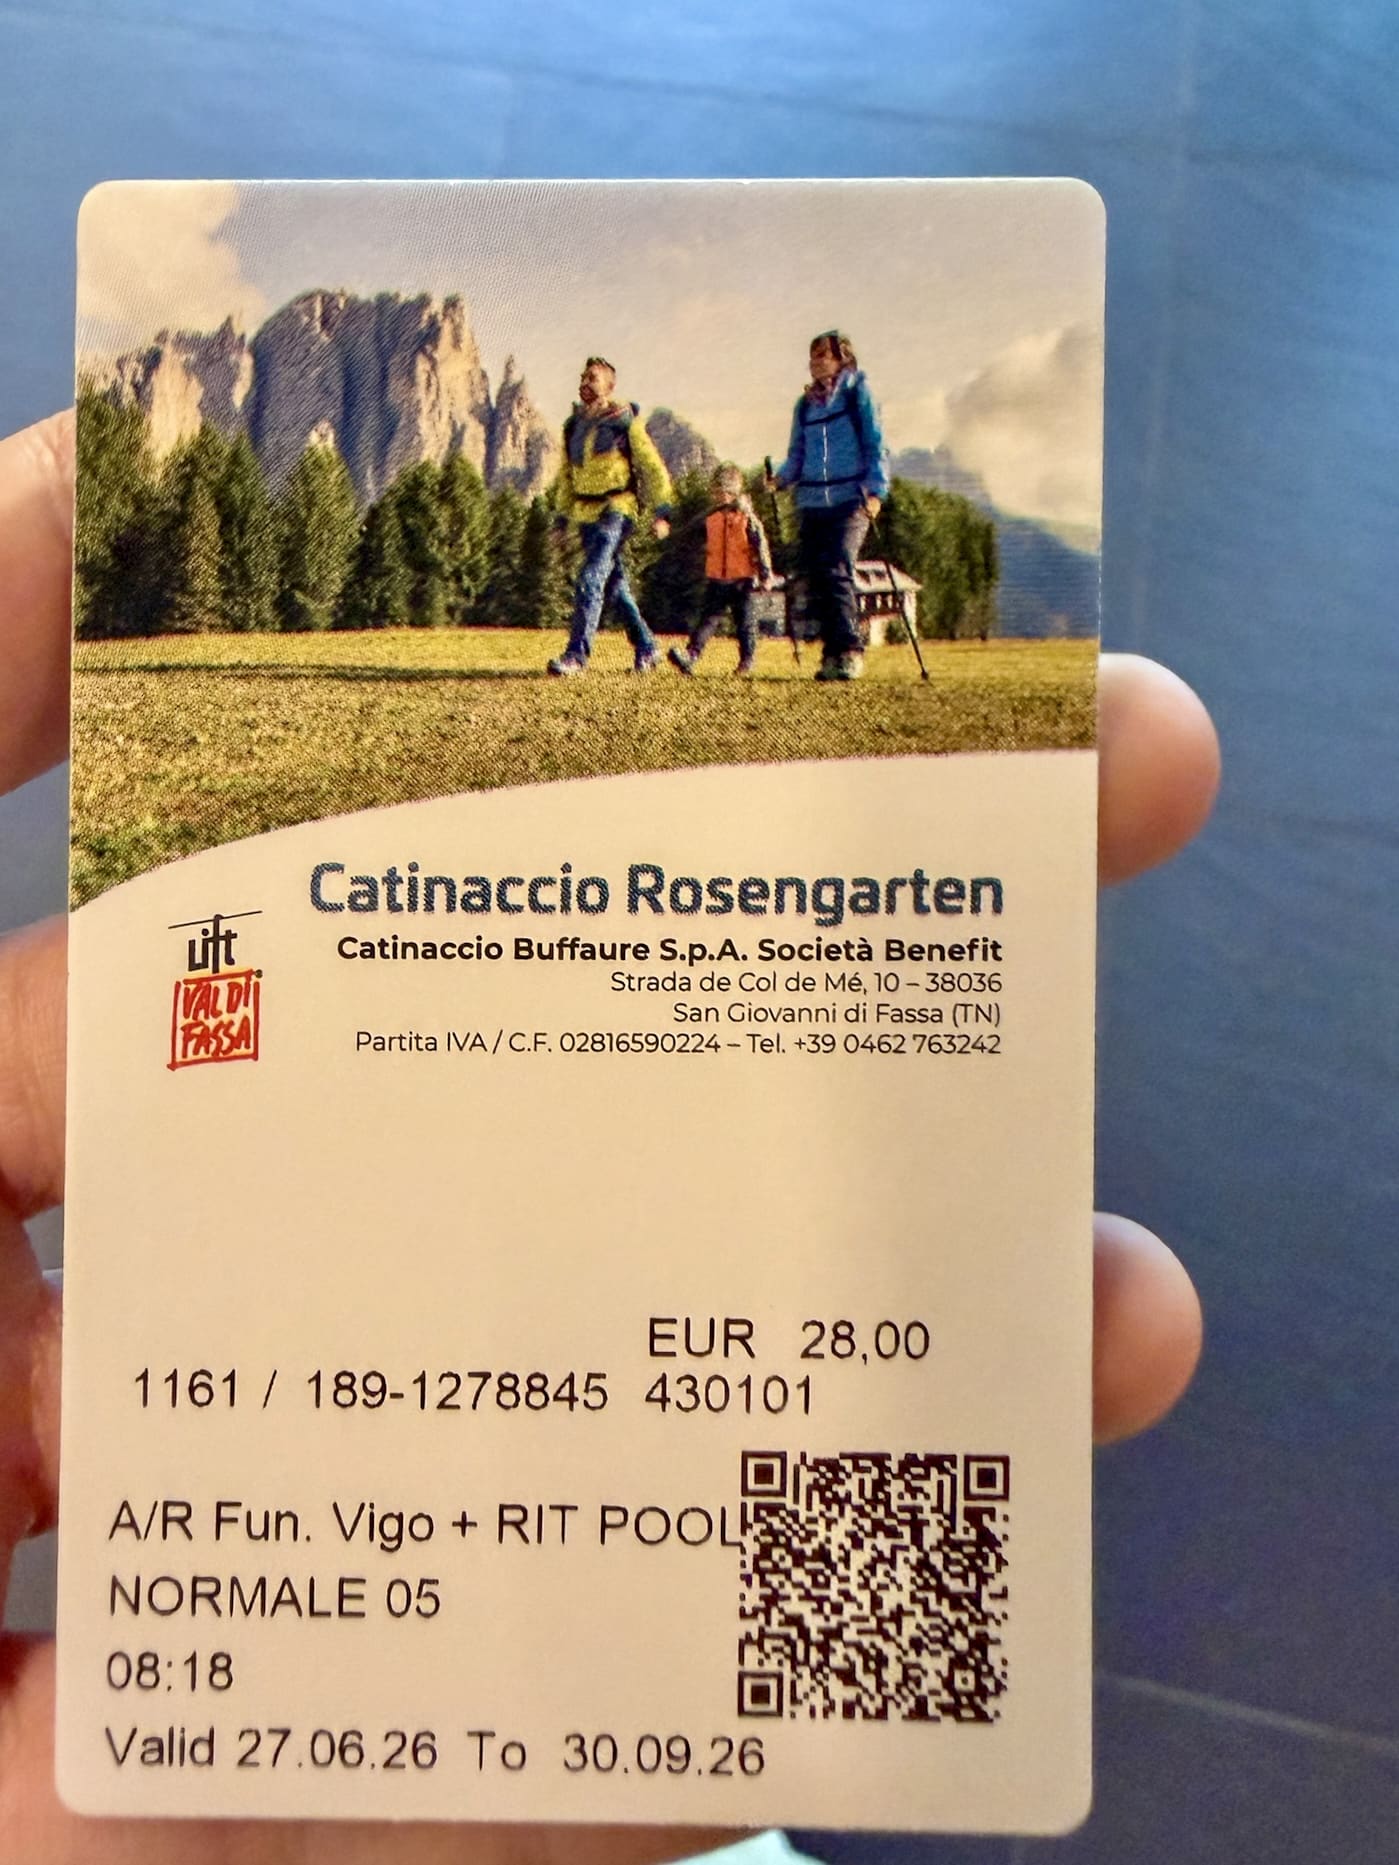
Cable car ticket: €28 return for adults
Not ideal for: people afraid of exposed trails or loose rock or steep assisted sections
How Difficult Is the Vajolet Towers Hike?
The Vajolet Towers Hike is difficult, but not in the same way from start to finish.
The first section, from Ciampedie to Rifugio Gardeccia, is very easy, even ideal for families. It’s a pleasant and almost flat forest path up to Rifugio Gardeccia. The next section, from Gardeccia to Rifugio Vajolet and Rifugio Paul Preuss, is steeper but still easy to moderate.
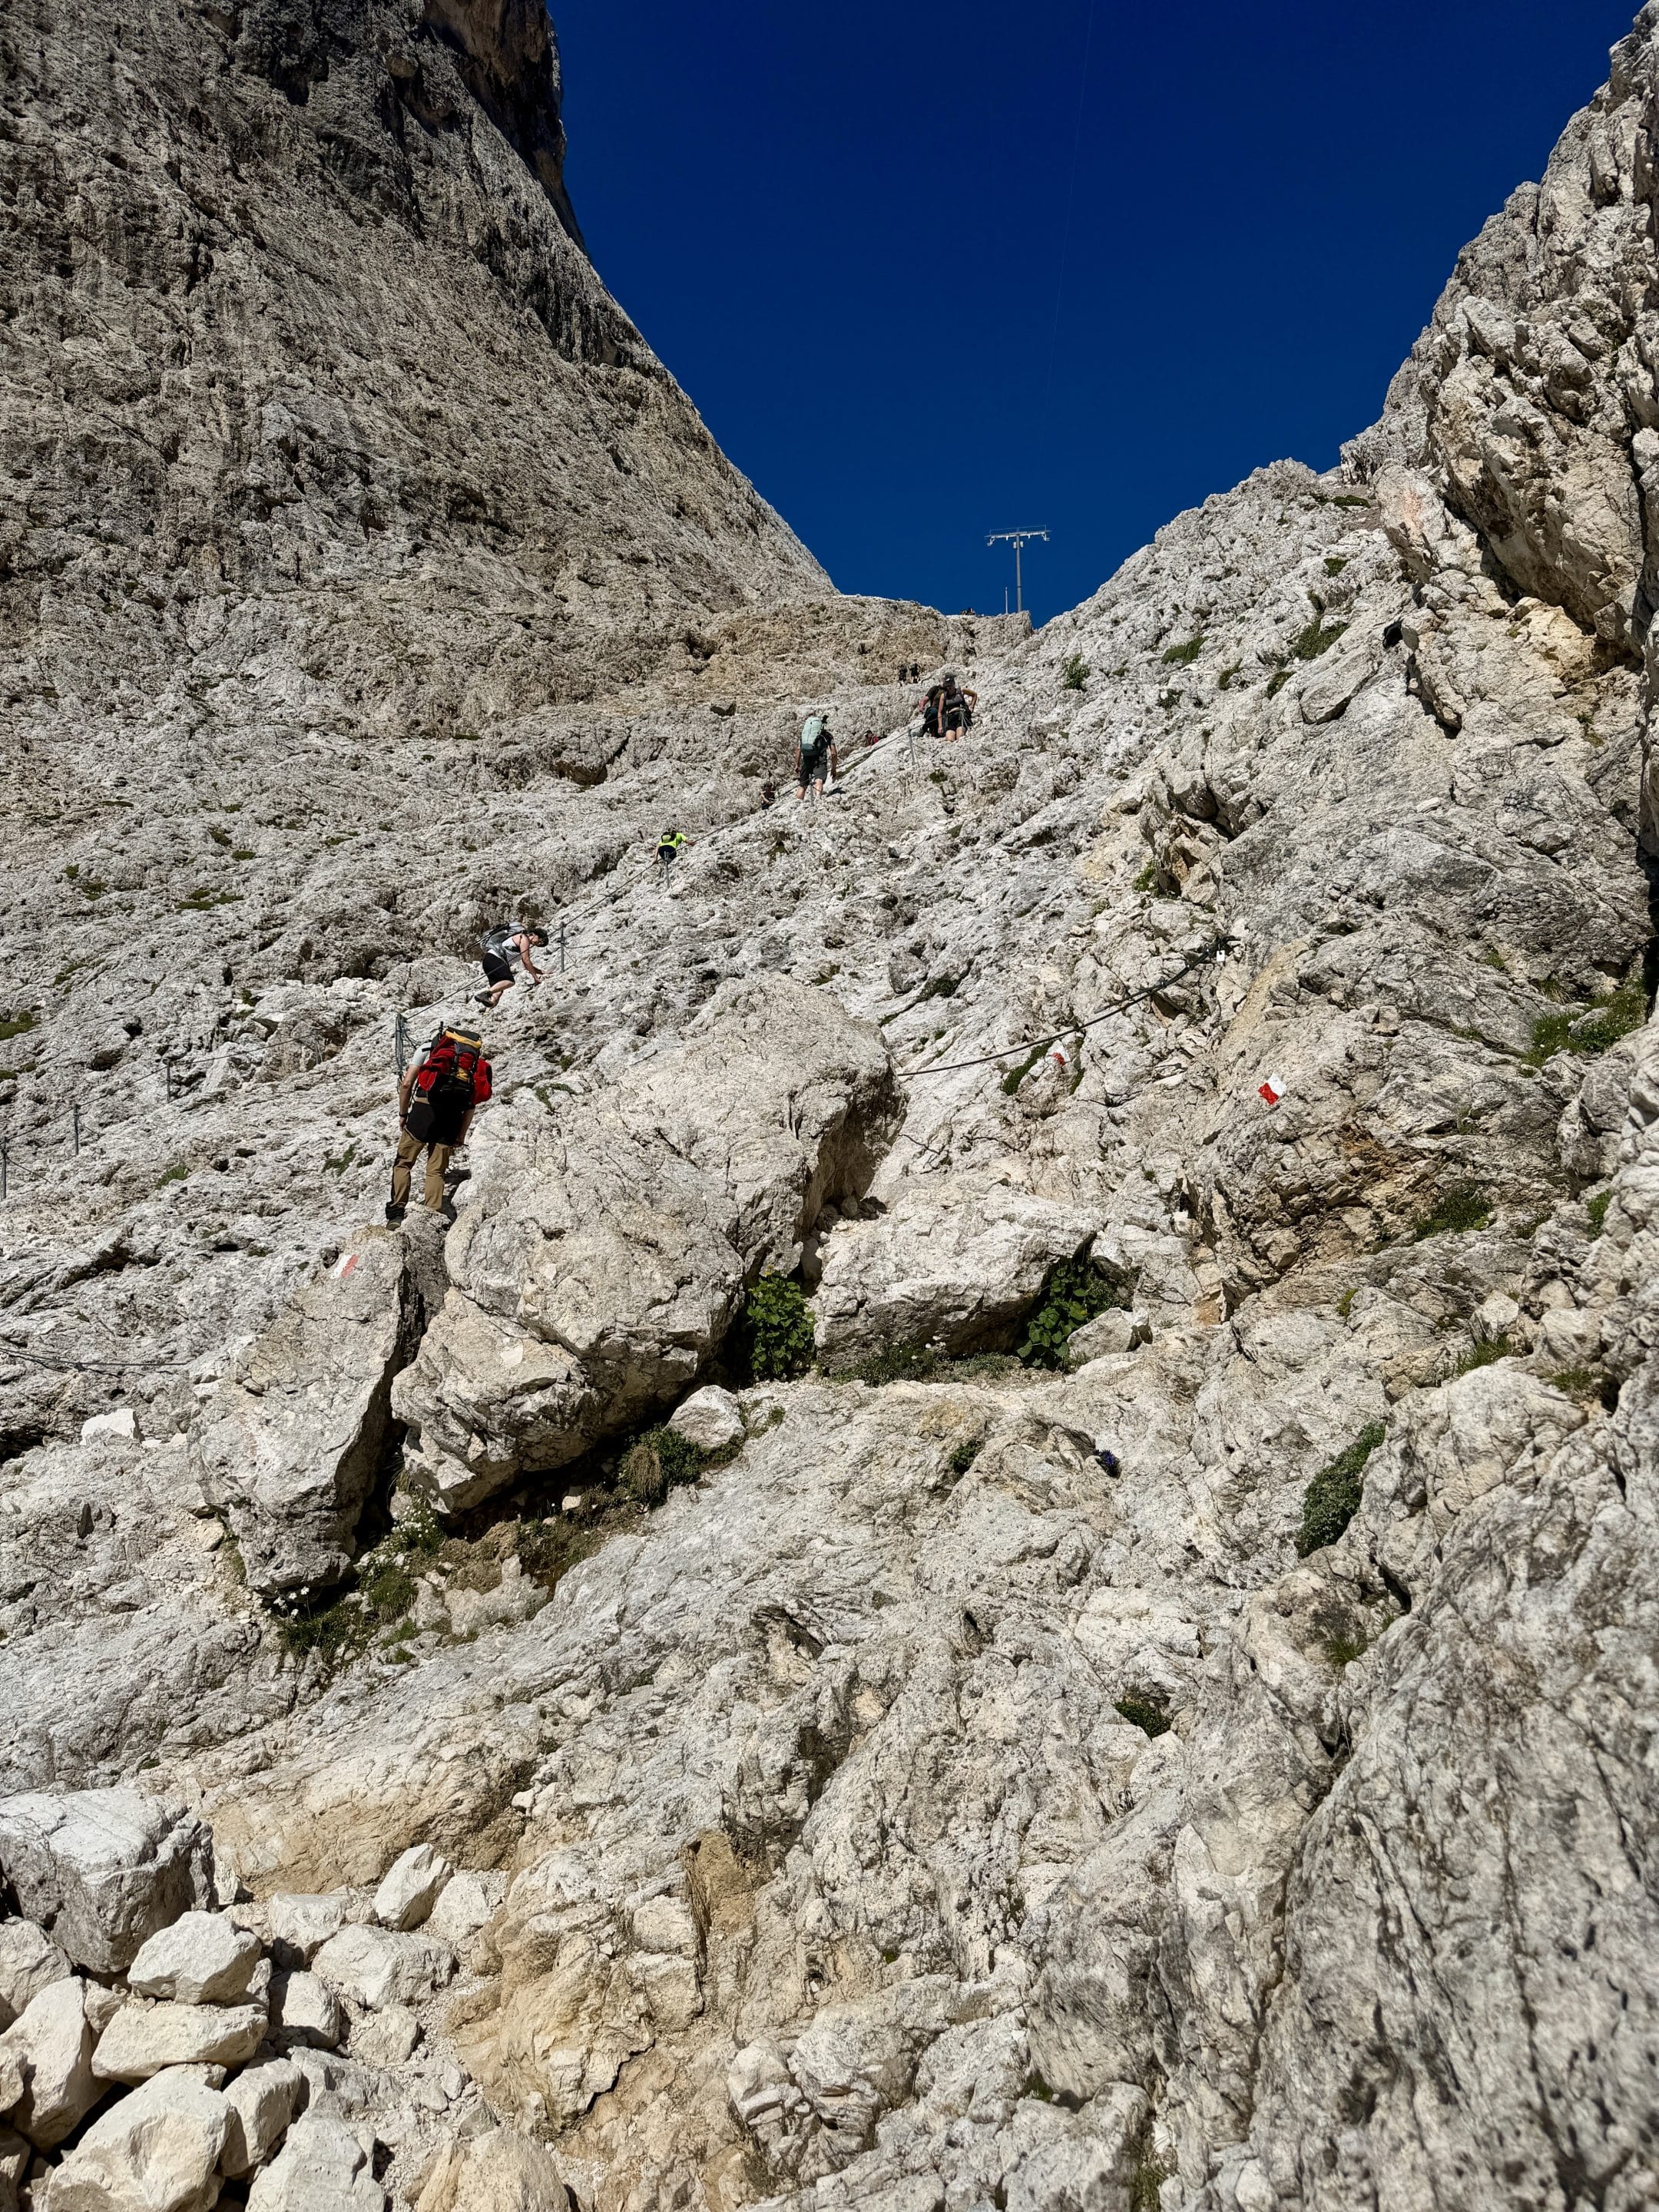
Then comes the section from Rifugio Vajolet to Rifugio Re Alberto on path 542, and that is the part that made this hike difficult for me. It’s a very steep mixed path of rock and gravel, with the harder passages supported by an iron rope. In person, this section felt more exposed and more serious than I expected, as I had to use my hands in most places and concentrate properly. The fixed supports on the rocks help a lot, but they also tell you that this is not a casual tourist path.
I would not recommend the full hike to beginners, anyone afraid of exposure, or anyone wearing bad shoes.
However, if you are a reasonably fit hiker with decent mountain experience, good weather, and proper footwear, the route is absolutely doable.
Note that the only other option to reach Rifugio Re Alberto and Santnerpass is by a via ferrata, so actually path 542 is somehow the easiest option.
How to Get to Vigo di Fassa
The easiest way to do this version of the Vajolet Towers Hike is to start in Vigo di Fassa, in Val di Fassa, and take the cable car to Ciampedie. That saves you a lot of elevation at the beginning and puts you directly on the route toward Gardeccia, Vajolet, Re Alberto and Santnerpass Hut. There’s a similar starting point with a cable car starting from Pera di Fassa, a close-by town, although I don’t have much details on that.
Getting there by car
Driving if your best option in this entire area. Set your GPS to the Vigo di Fassa / Catinaccio cable car station, this is the lift that takes you up to Ciampedie.
I parked in a free parking area right above the cable car station. There was plenty of space, but here’s the annoying detail I only discovered later: overnight parking requires authorization if you’re sleeping in a mountain hut. Since this article is about staying at Santnerpass Hut, and if you’re planning to do the same, make sure to ask the cable car office, or the hut before leaving the car for the night.
Getting there by public transport
Vigo di Fassa does not have a train station. The closest useful rail stations for Val di Fassa is Bolzano, then you continue by bus number into the valley. Specifically, bus 180 connects Bolzano to Vigo di Fassa and the journey is usually around 1 hour 30 minutes.
If you’re not doing this as an overnight hike, I’d be more careful with public transport than usual. You need to reach the cable car early enough, hike to Santnerpass Hut without rushing, and still have energy for the steep section above Rifugio Vajolet in time for the last departure.
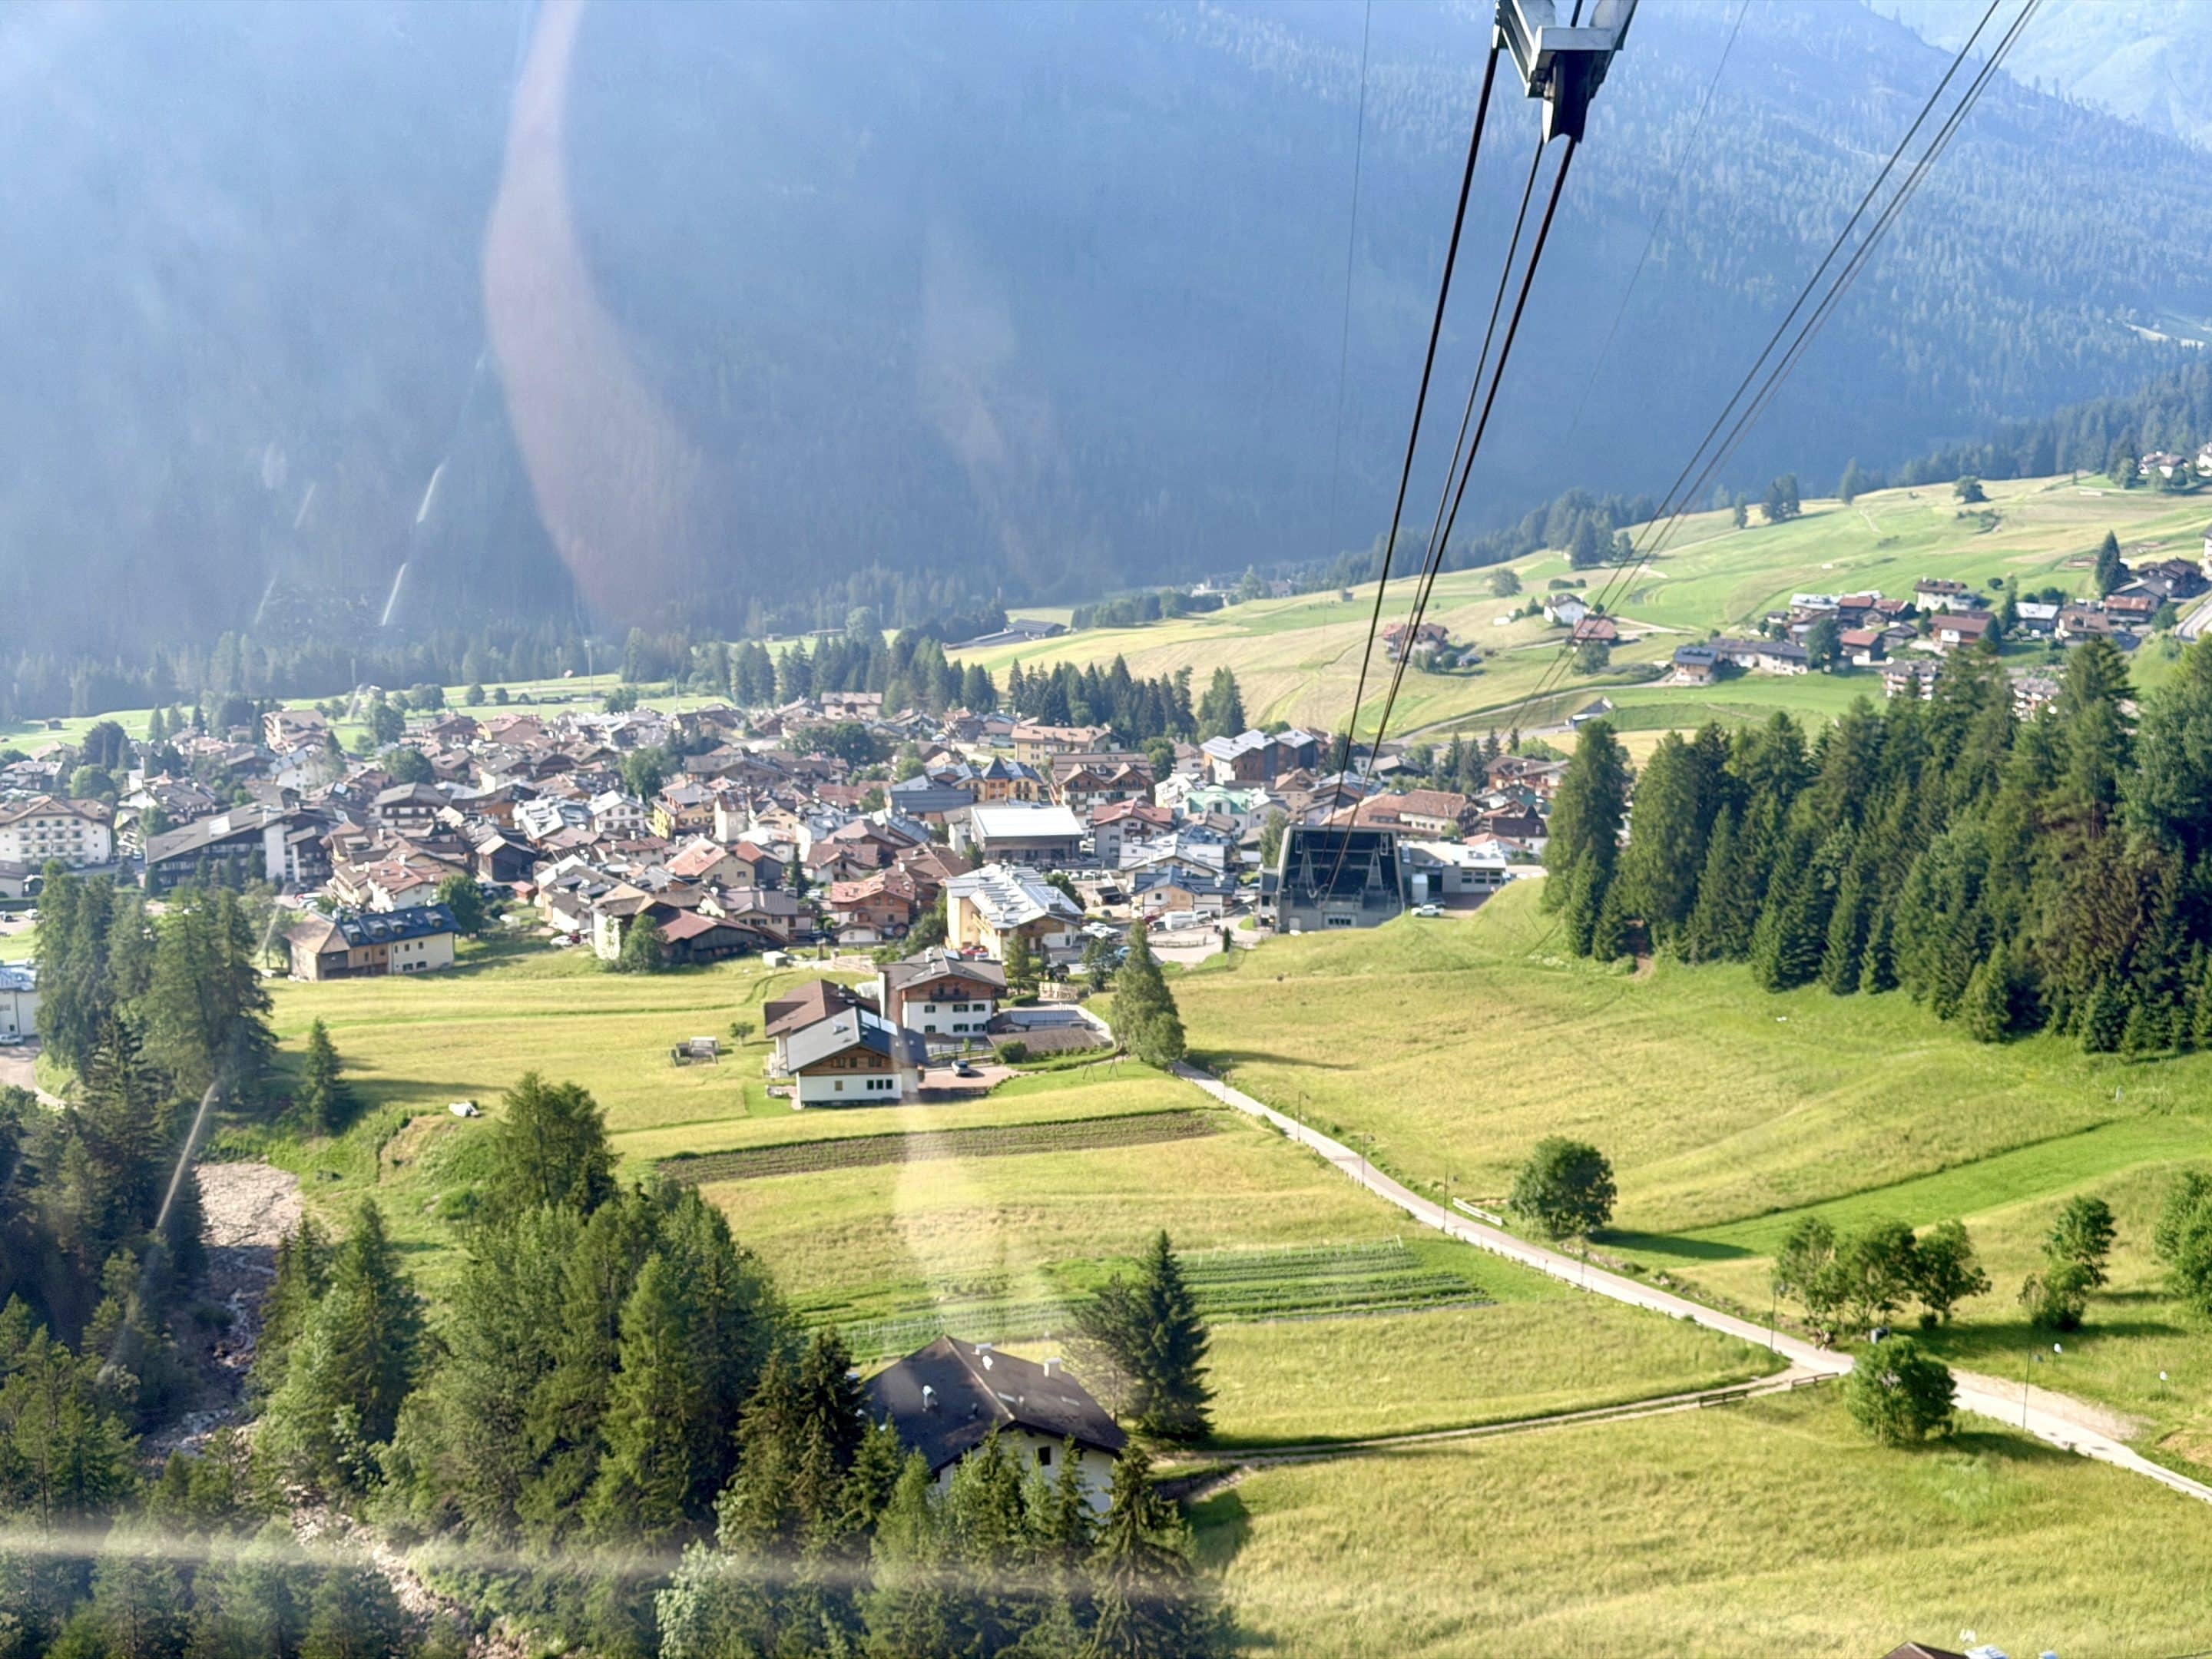
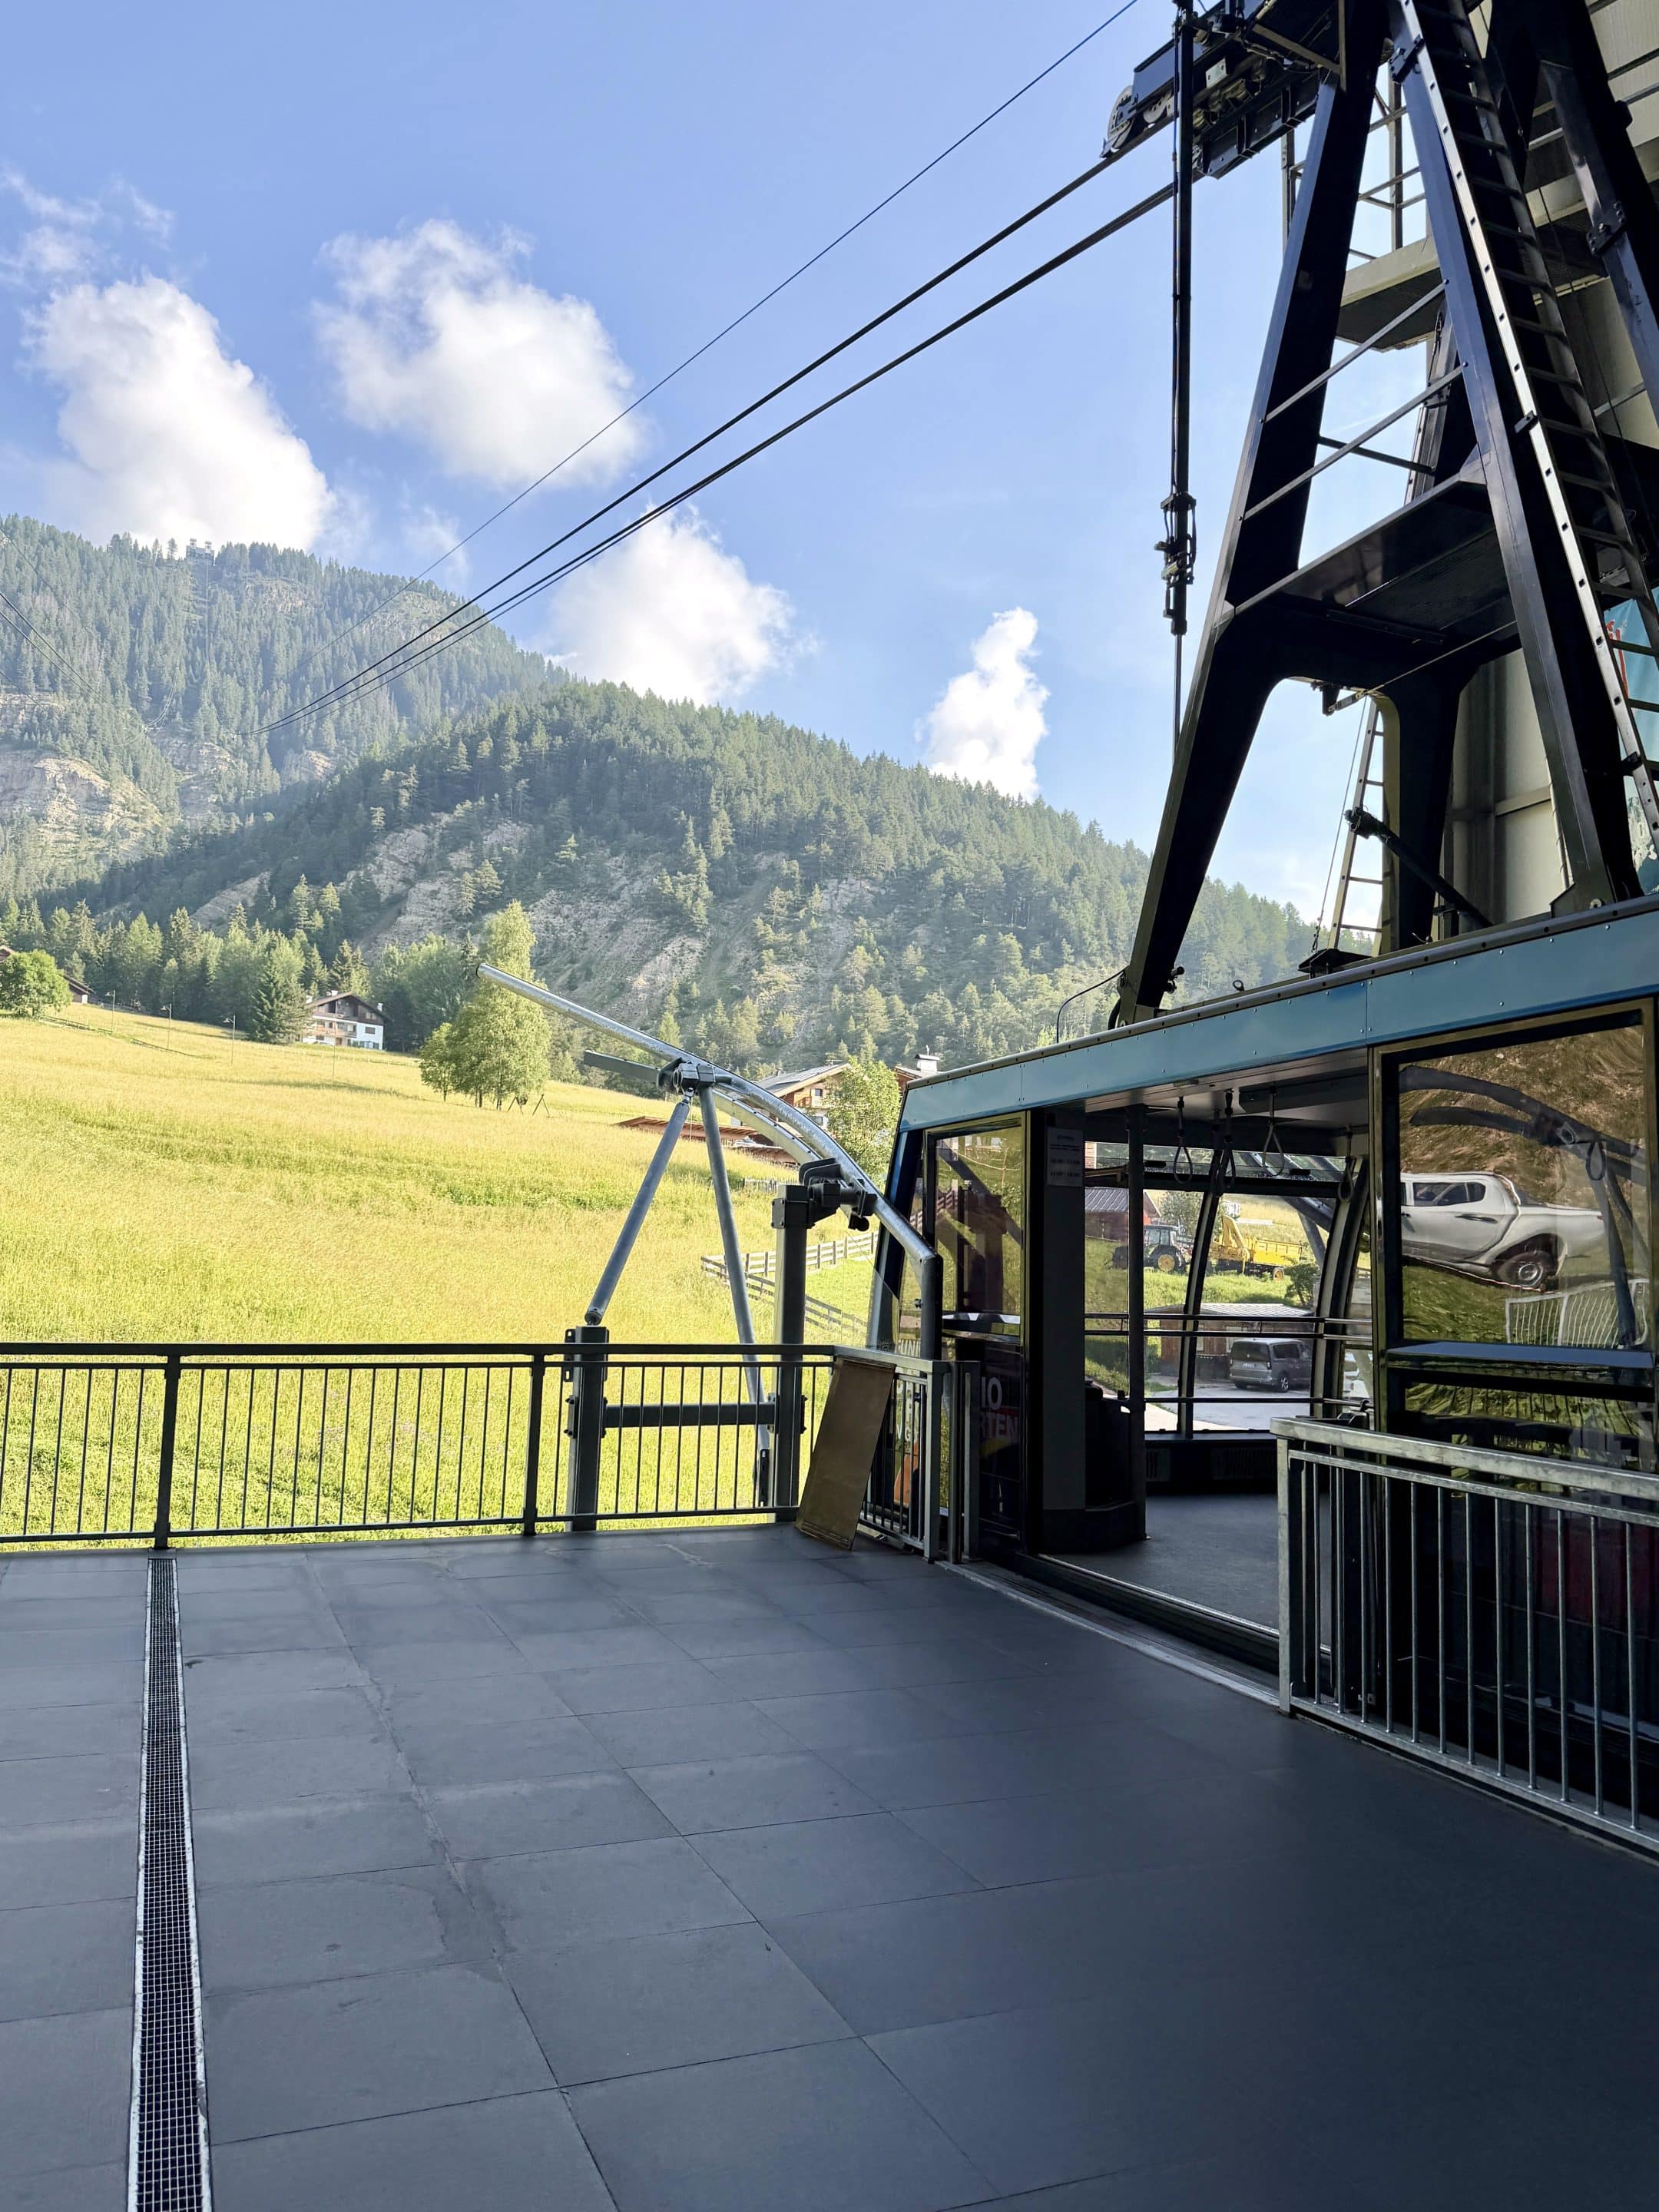
Vigo di Fassa to Ciampedie Cable Car
For this route, the first real step is taking the Vigo di Fassa to Ciampedie cable car.
Current adult prices for the Vigo–Ciampedie cable car are:
One-way up: €16
One-way down: €16
Return ticket: €28
I took the 08:30 cable car and paid €28 for a return ticket. Since I slept at Santnerpass Hut, I used the return ticket the next day after hiking back down to Ciampedie.
The official Val di Fassa lifts page lists the Vigo–Ciampedie cable car as operating in summer 2026 from 30 May to 4 October. Around late June, when I did the hike, the listed operating hours are 08:00–13:00 and 14:00–18:00; in peak summer, from July to August, it runs continuously from 08:00 to 18:30.
Full Trail Walkthrough & Santner Hut Overnight
As a reminder, this is the exact route I took to reach Santnerpass Hut: Vigo di Fassa → Ciampedie → Rifugio Gardeccia → Rifugio Vajolet / Rifugio Paul Preuss → Rifugio Re Alberto → Santnerpass Hut. I did the same route back down the next morning.
Vigo di Fassa to Ciampedie by Cable Car
I started from Vigo di Fassa and took the 08:30 cable car up to Ciampedie.
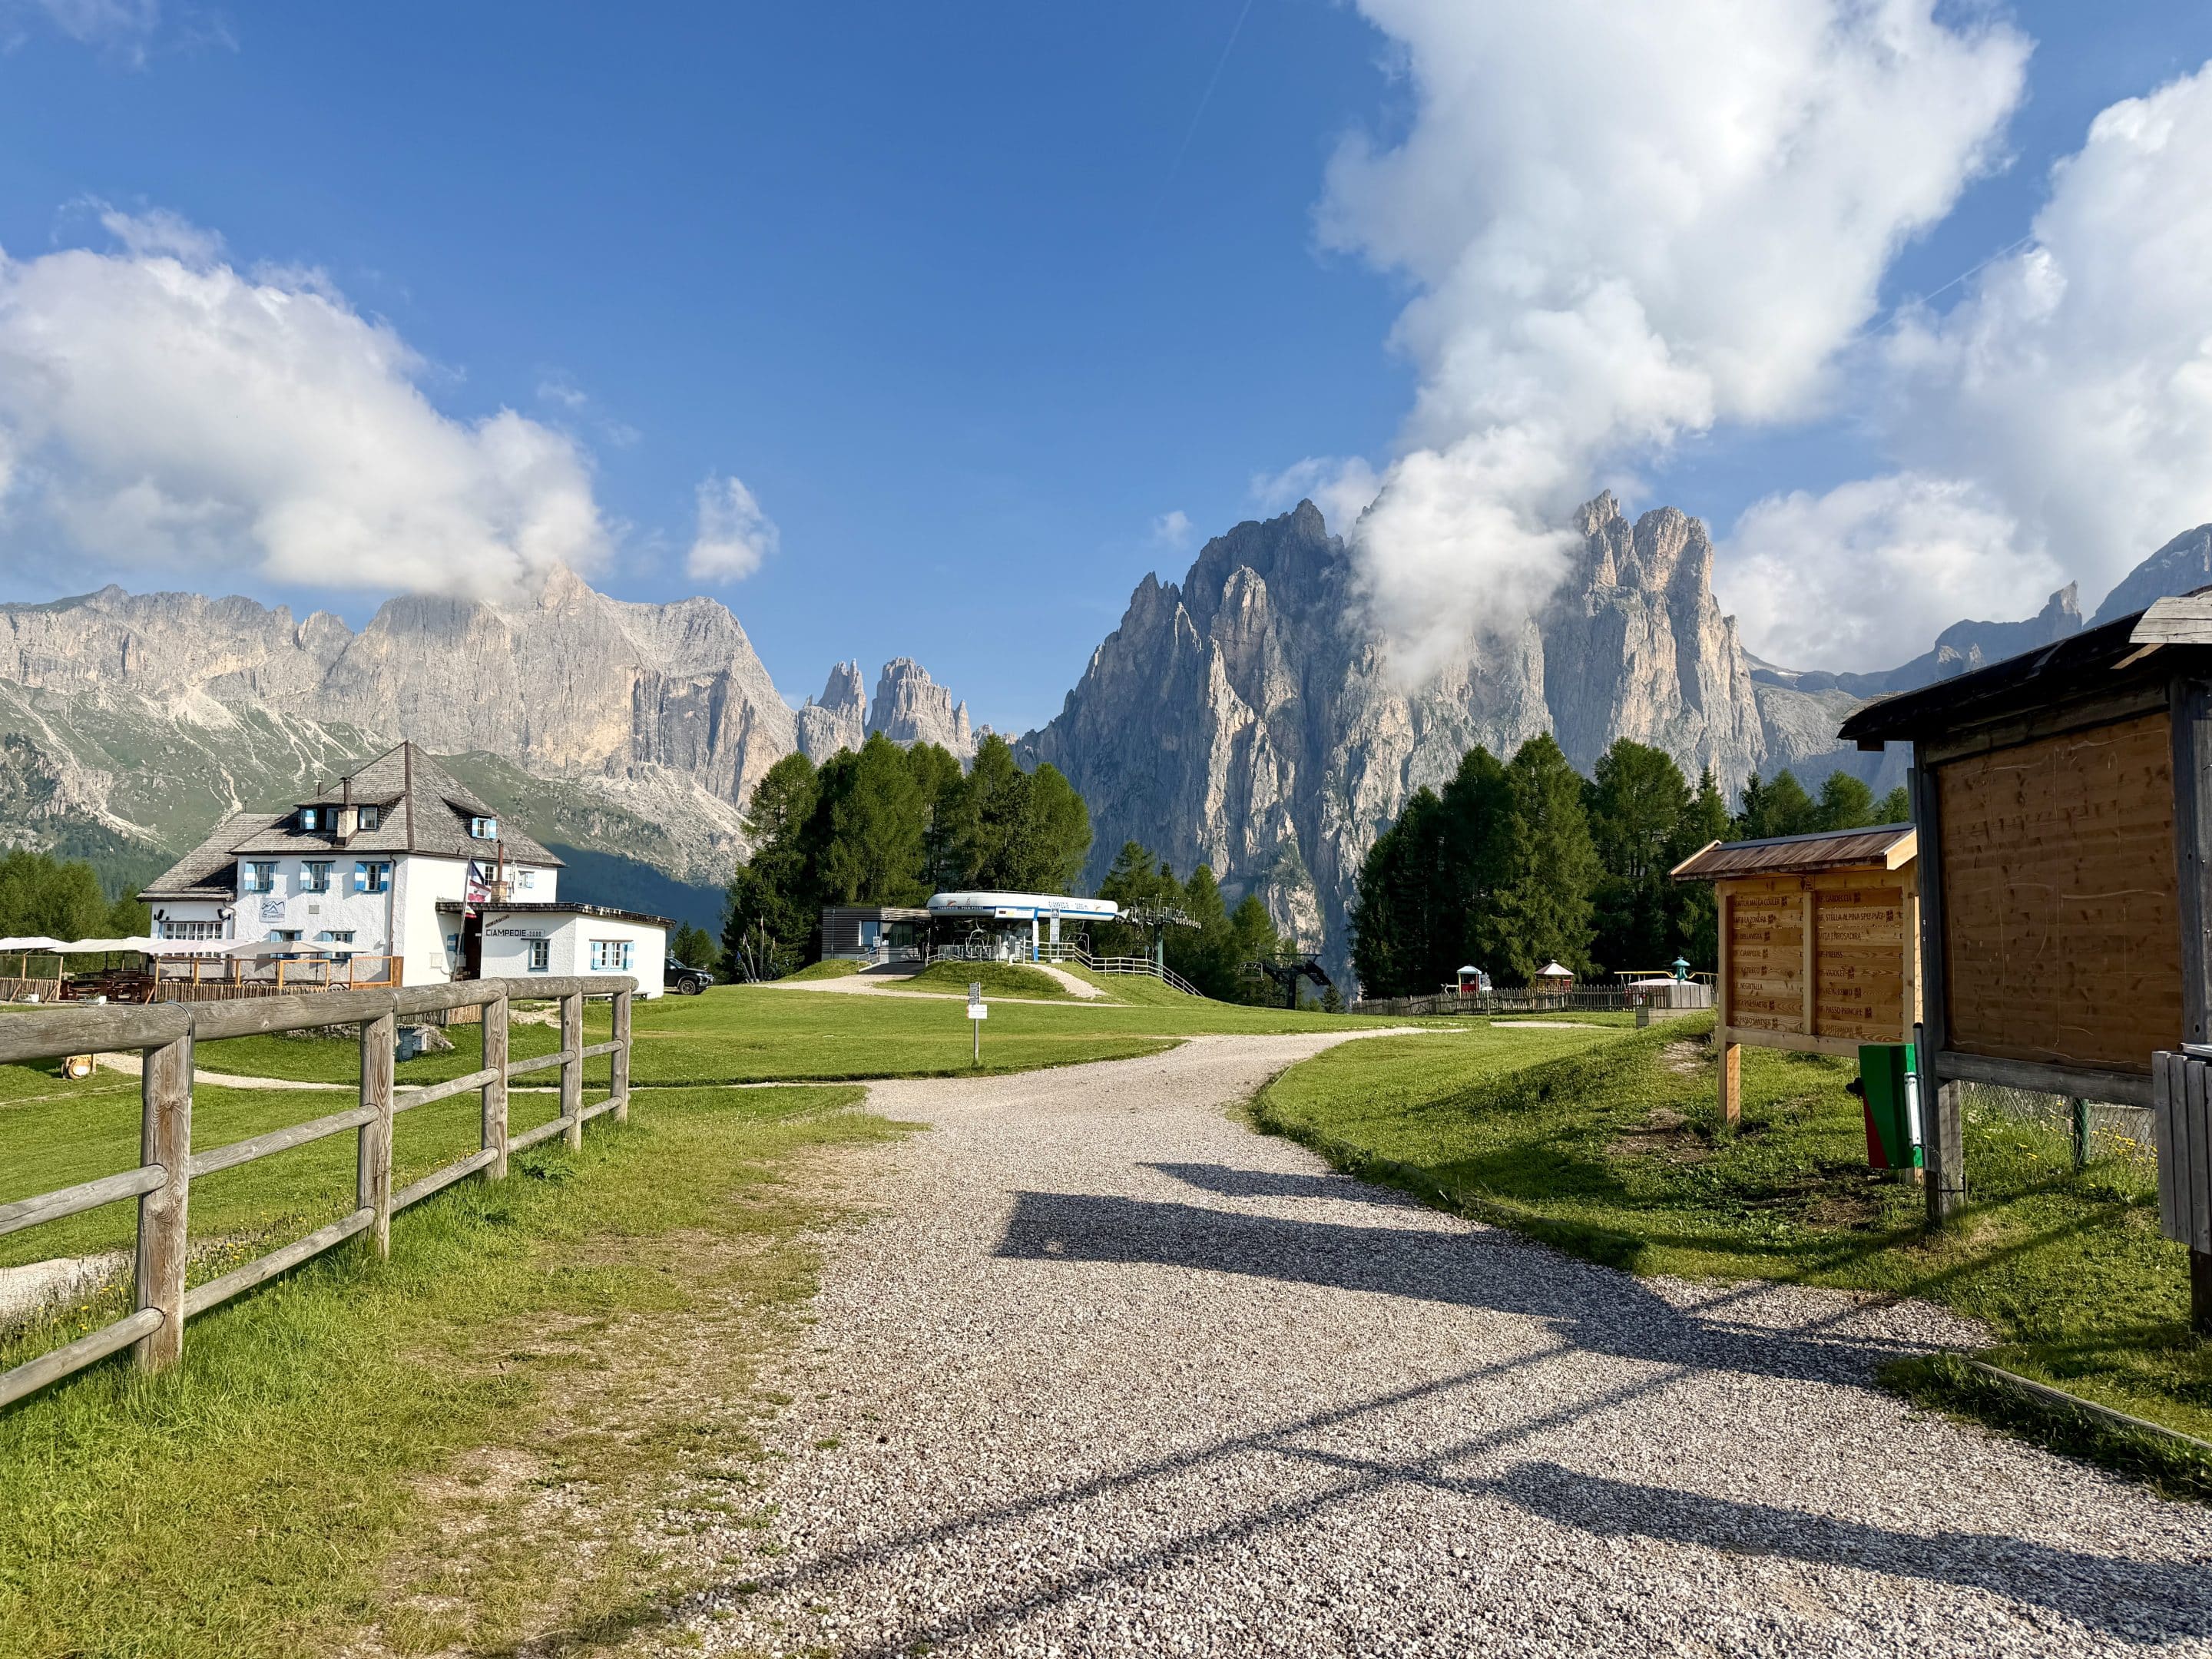
Ciampedie is basically the soft launch of the hike. You arrive above the valley without having to earn all the elevation yourself, which I fully support as a lifestyle choice. From here, the route starts properly on foot.
Ciampedie to Rifugio Gardeccia
From Ciampedie, I followed path 540 toward Rifugio Gardeccia.
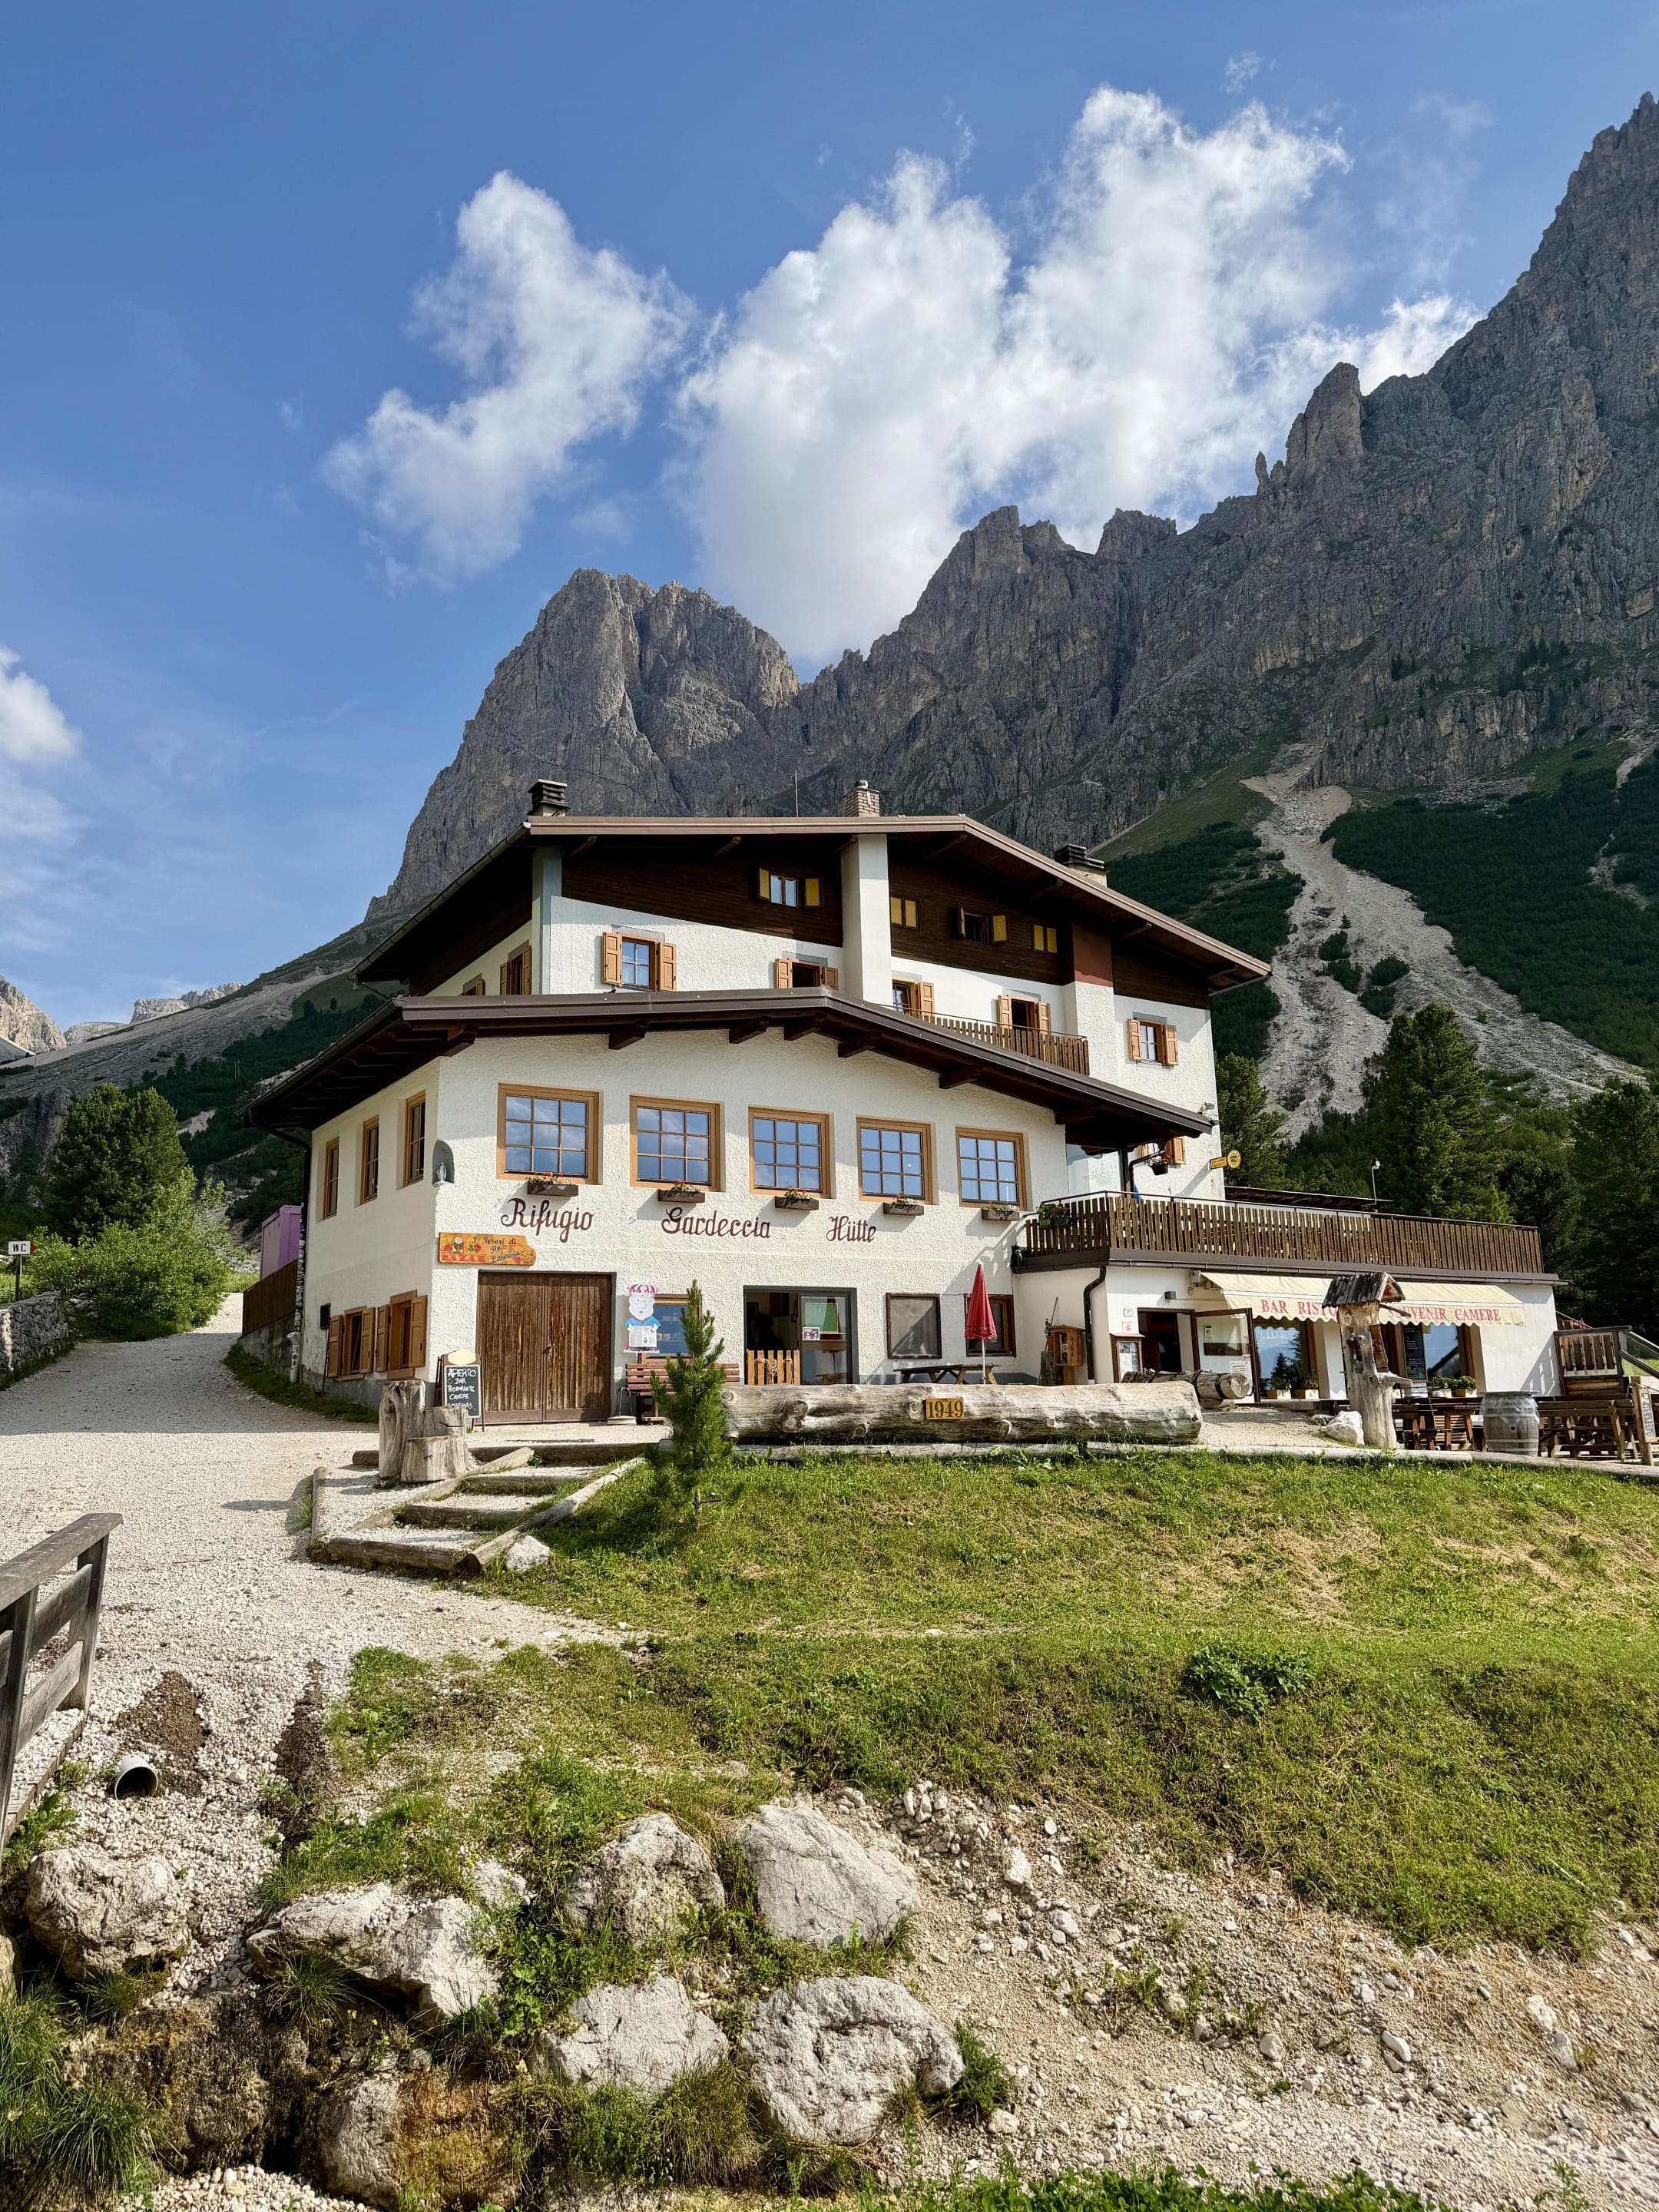
This first section is easy, shaded, and mostly through the woods. The path is clear, pleasant, and not technical at all. I reached Rifugio Gardeccia at 09:15, so it took me around 45 minutes from the top of the cable car.
Rifugio Gardeccia to Rifugio Vajolet & Paul Preuss
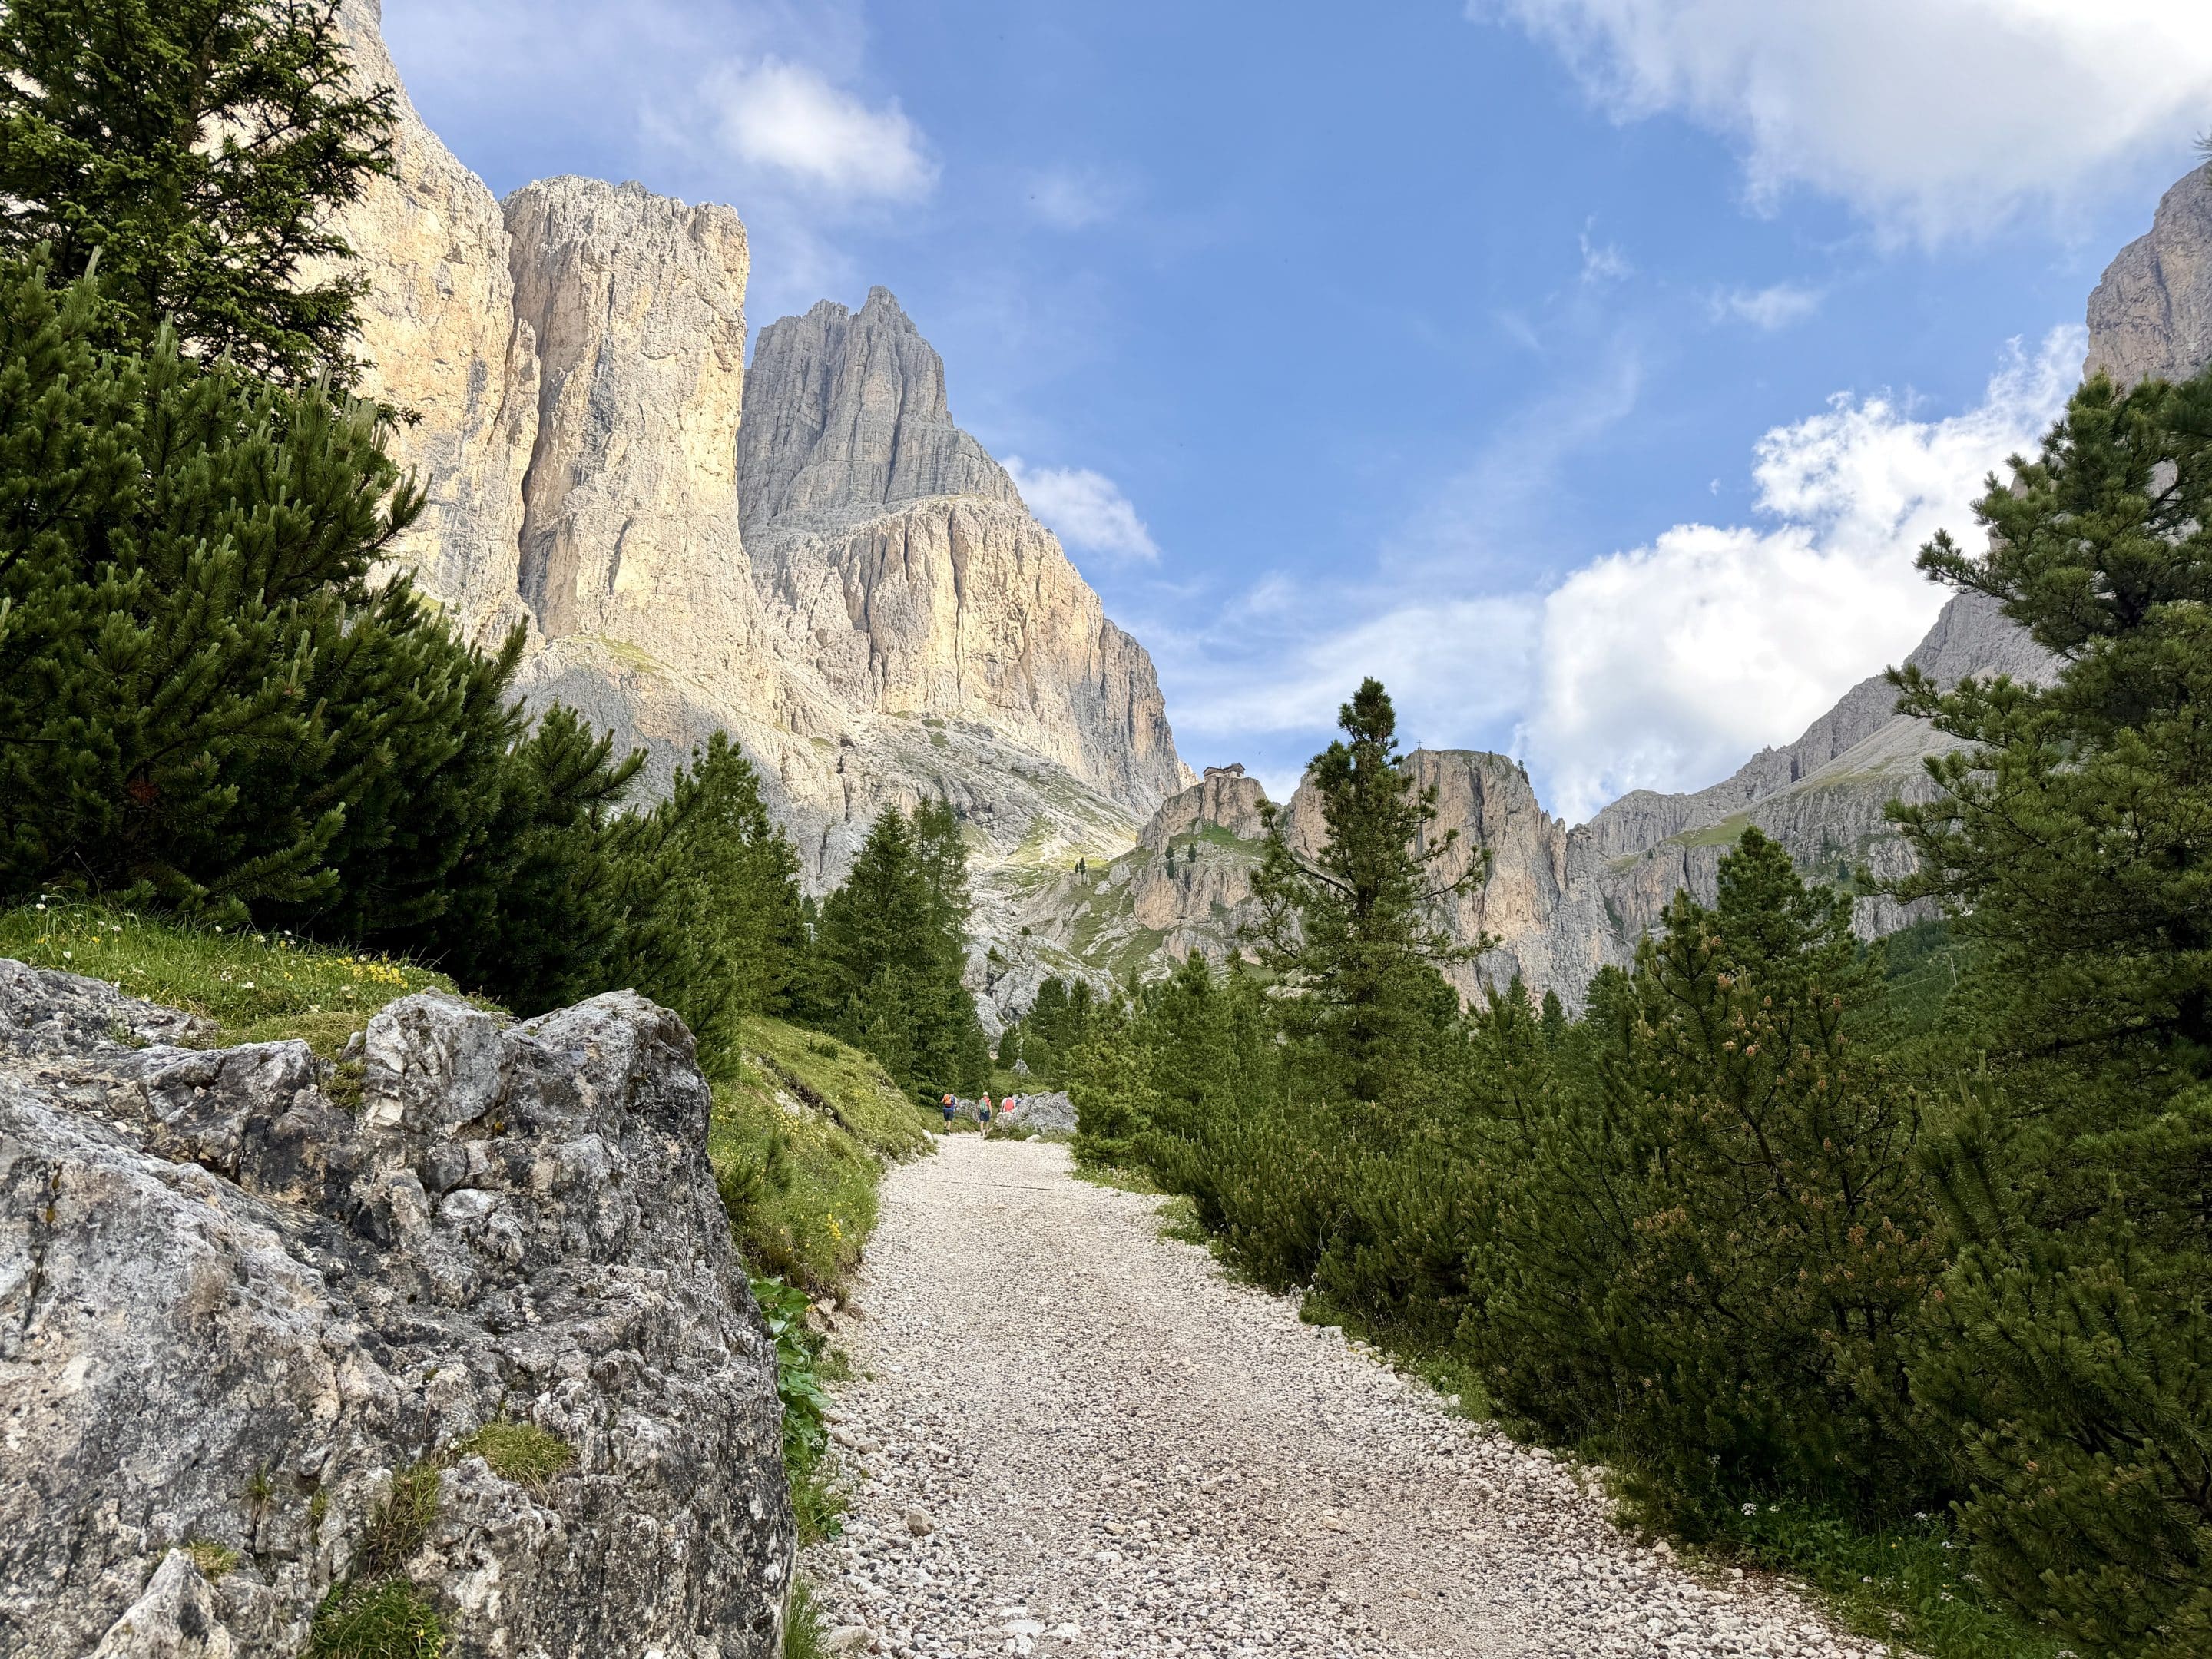
From Gardeccia, the trail continues on path 546 toward Rifugio Vajolet and Rifugio Paul Preuss.
This is where the hike starts feeling slightly more challenging on the legs. The woods open up, the landscape becomes rockier, and the climb gets more serious, though still very manageable.
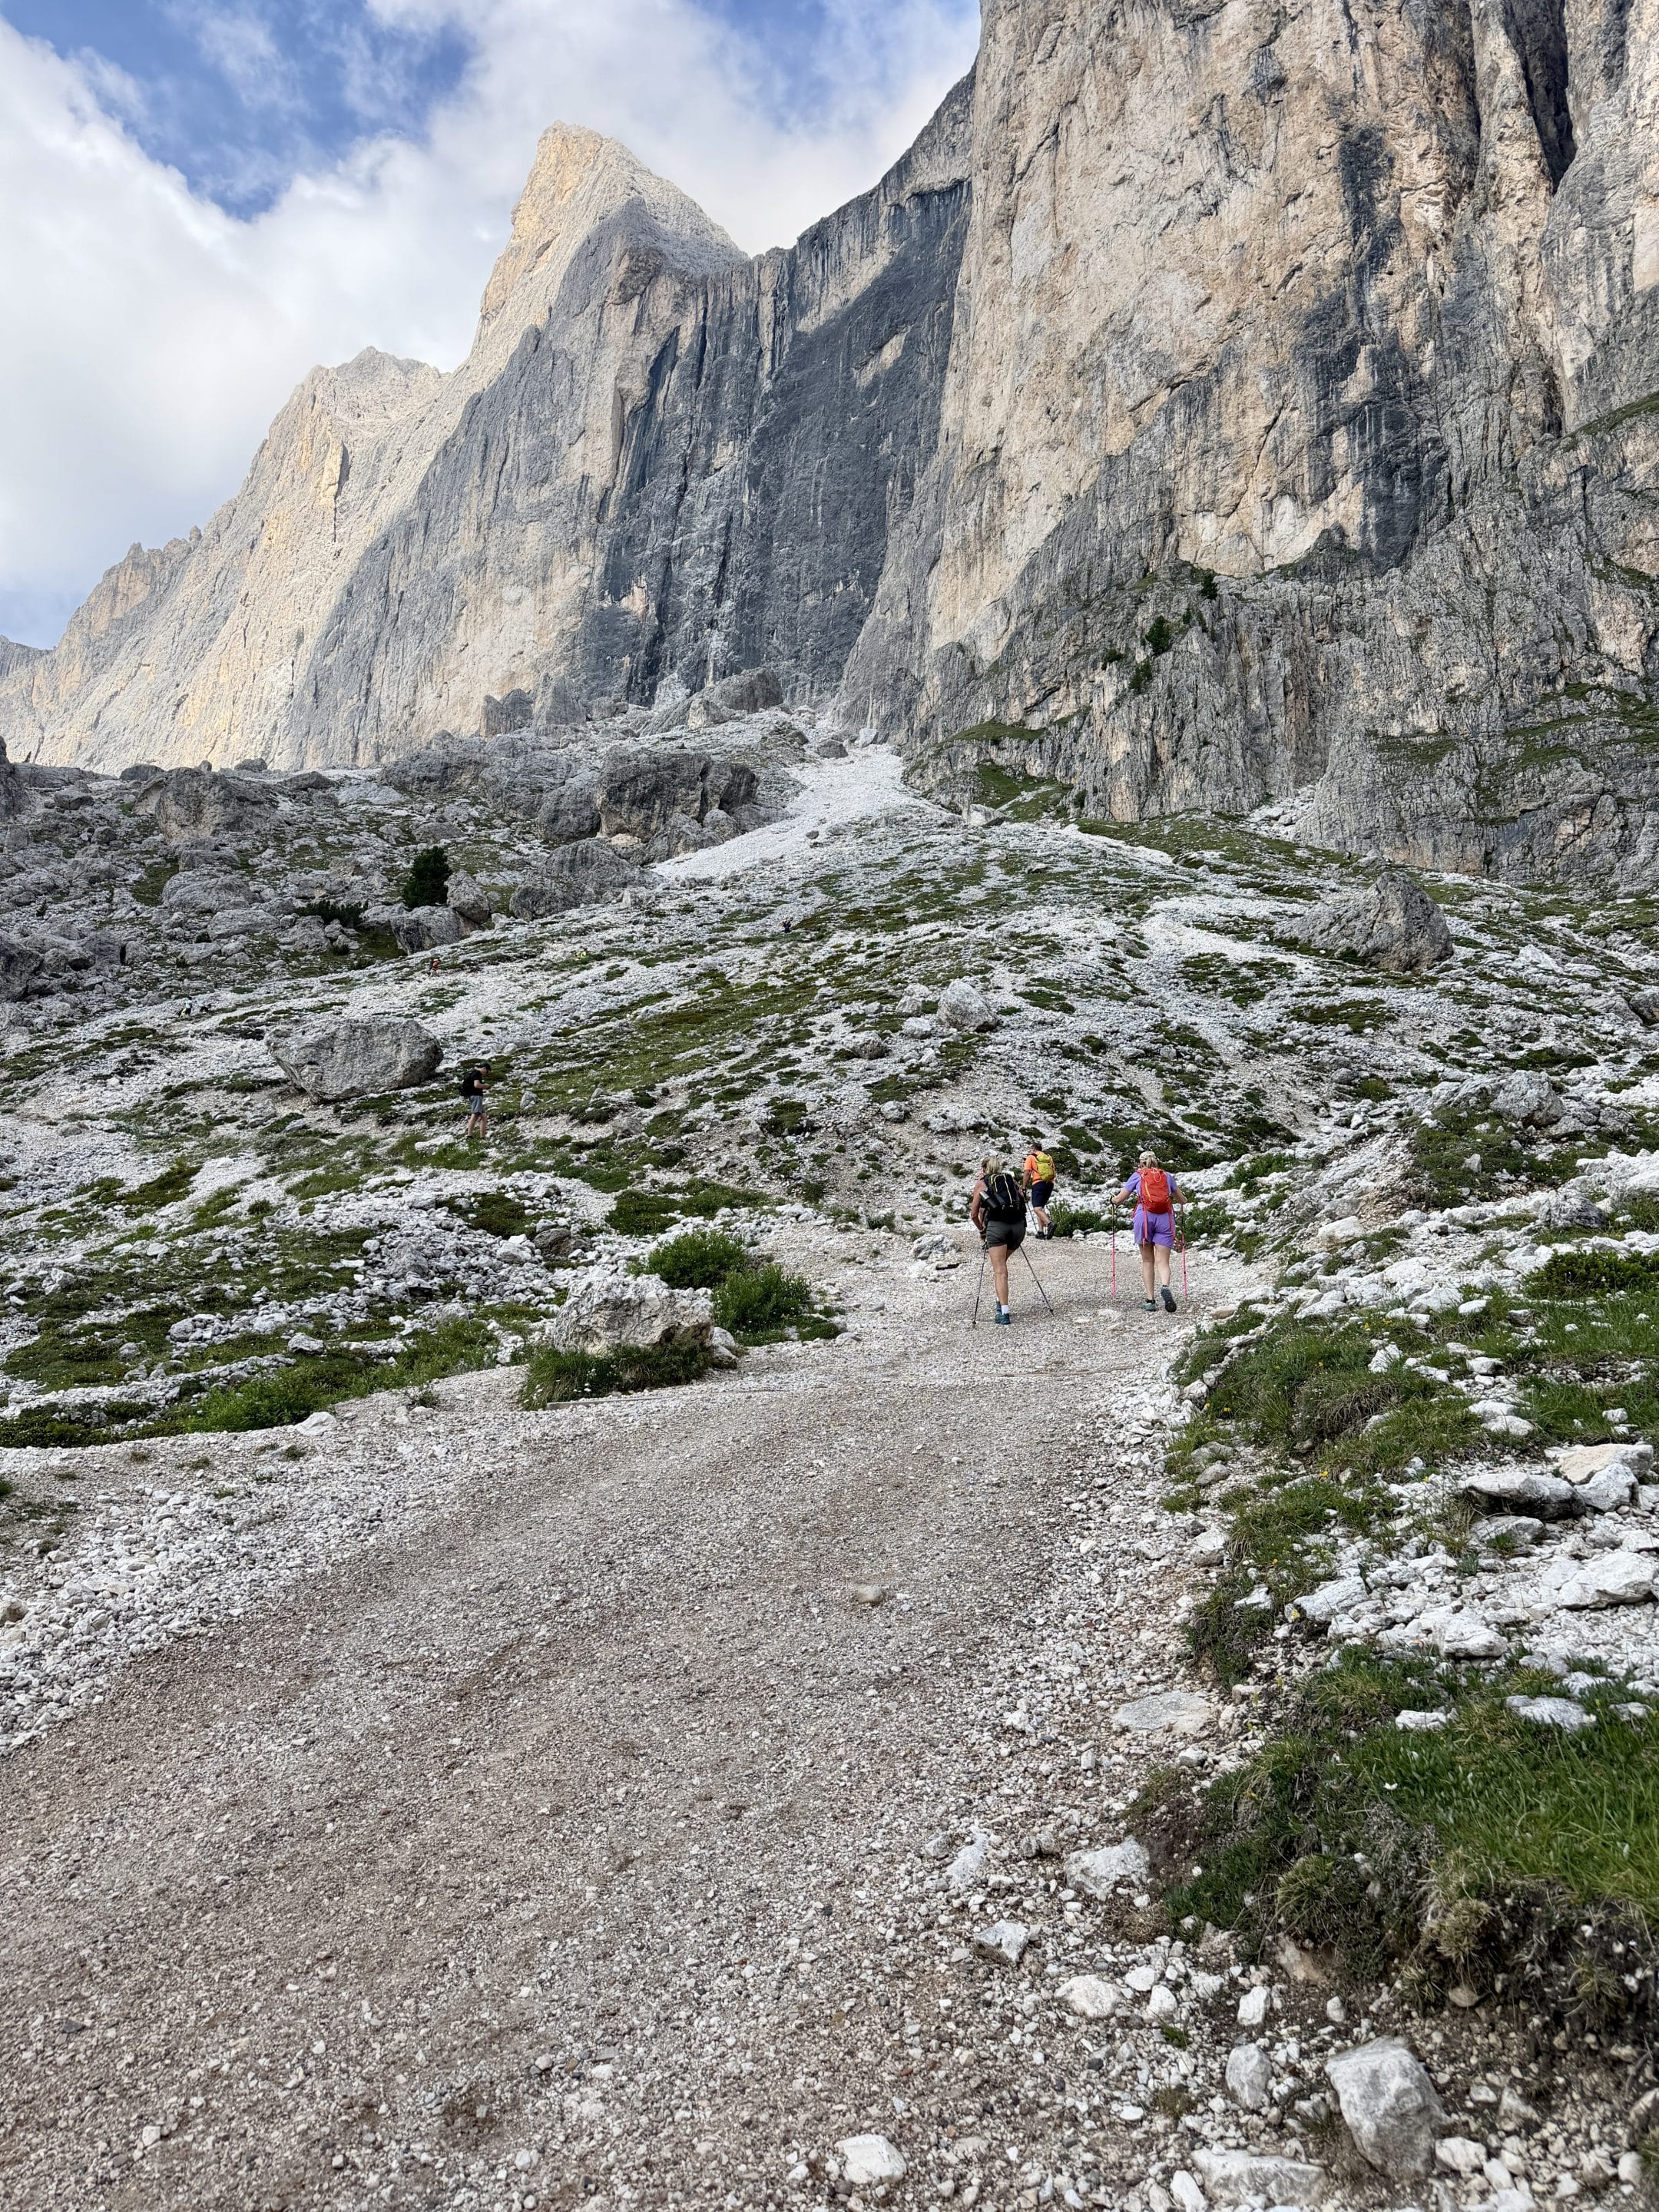
Rifugio Vajolet and Rifugio Paul Preuss are basically facing each other, so you reach them almost at the same time. I arrived there at 10:05, and only passed through. This is also the point where you should slow down for a moment and check the route carefully, because the next turn is the one I found confusing.
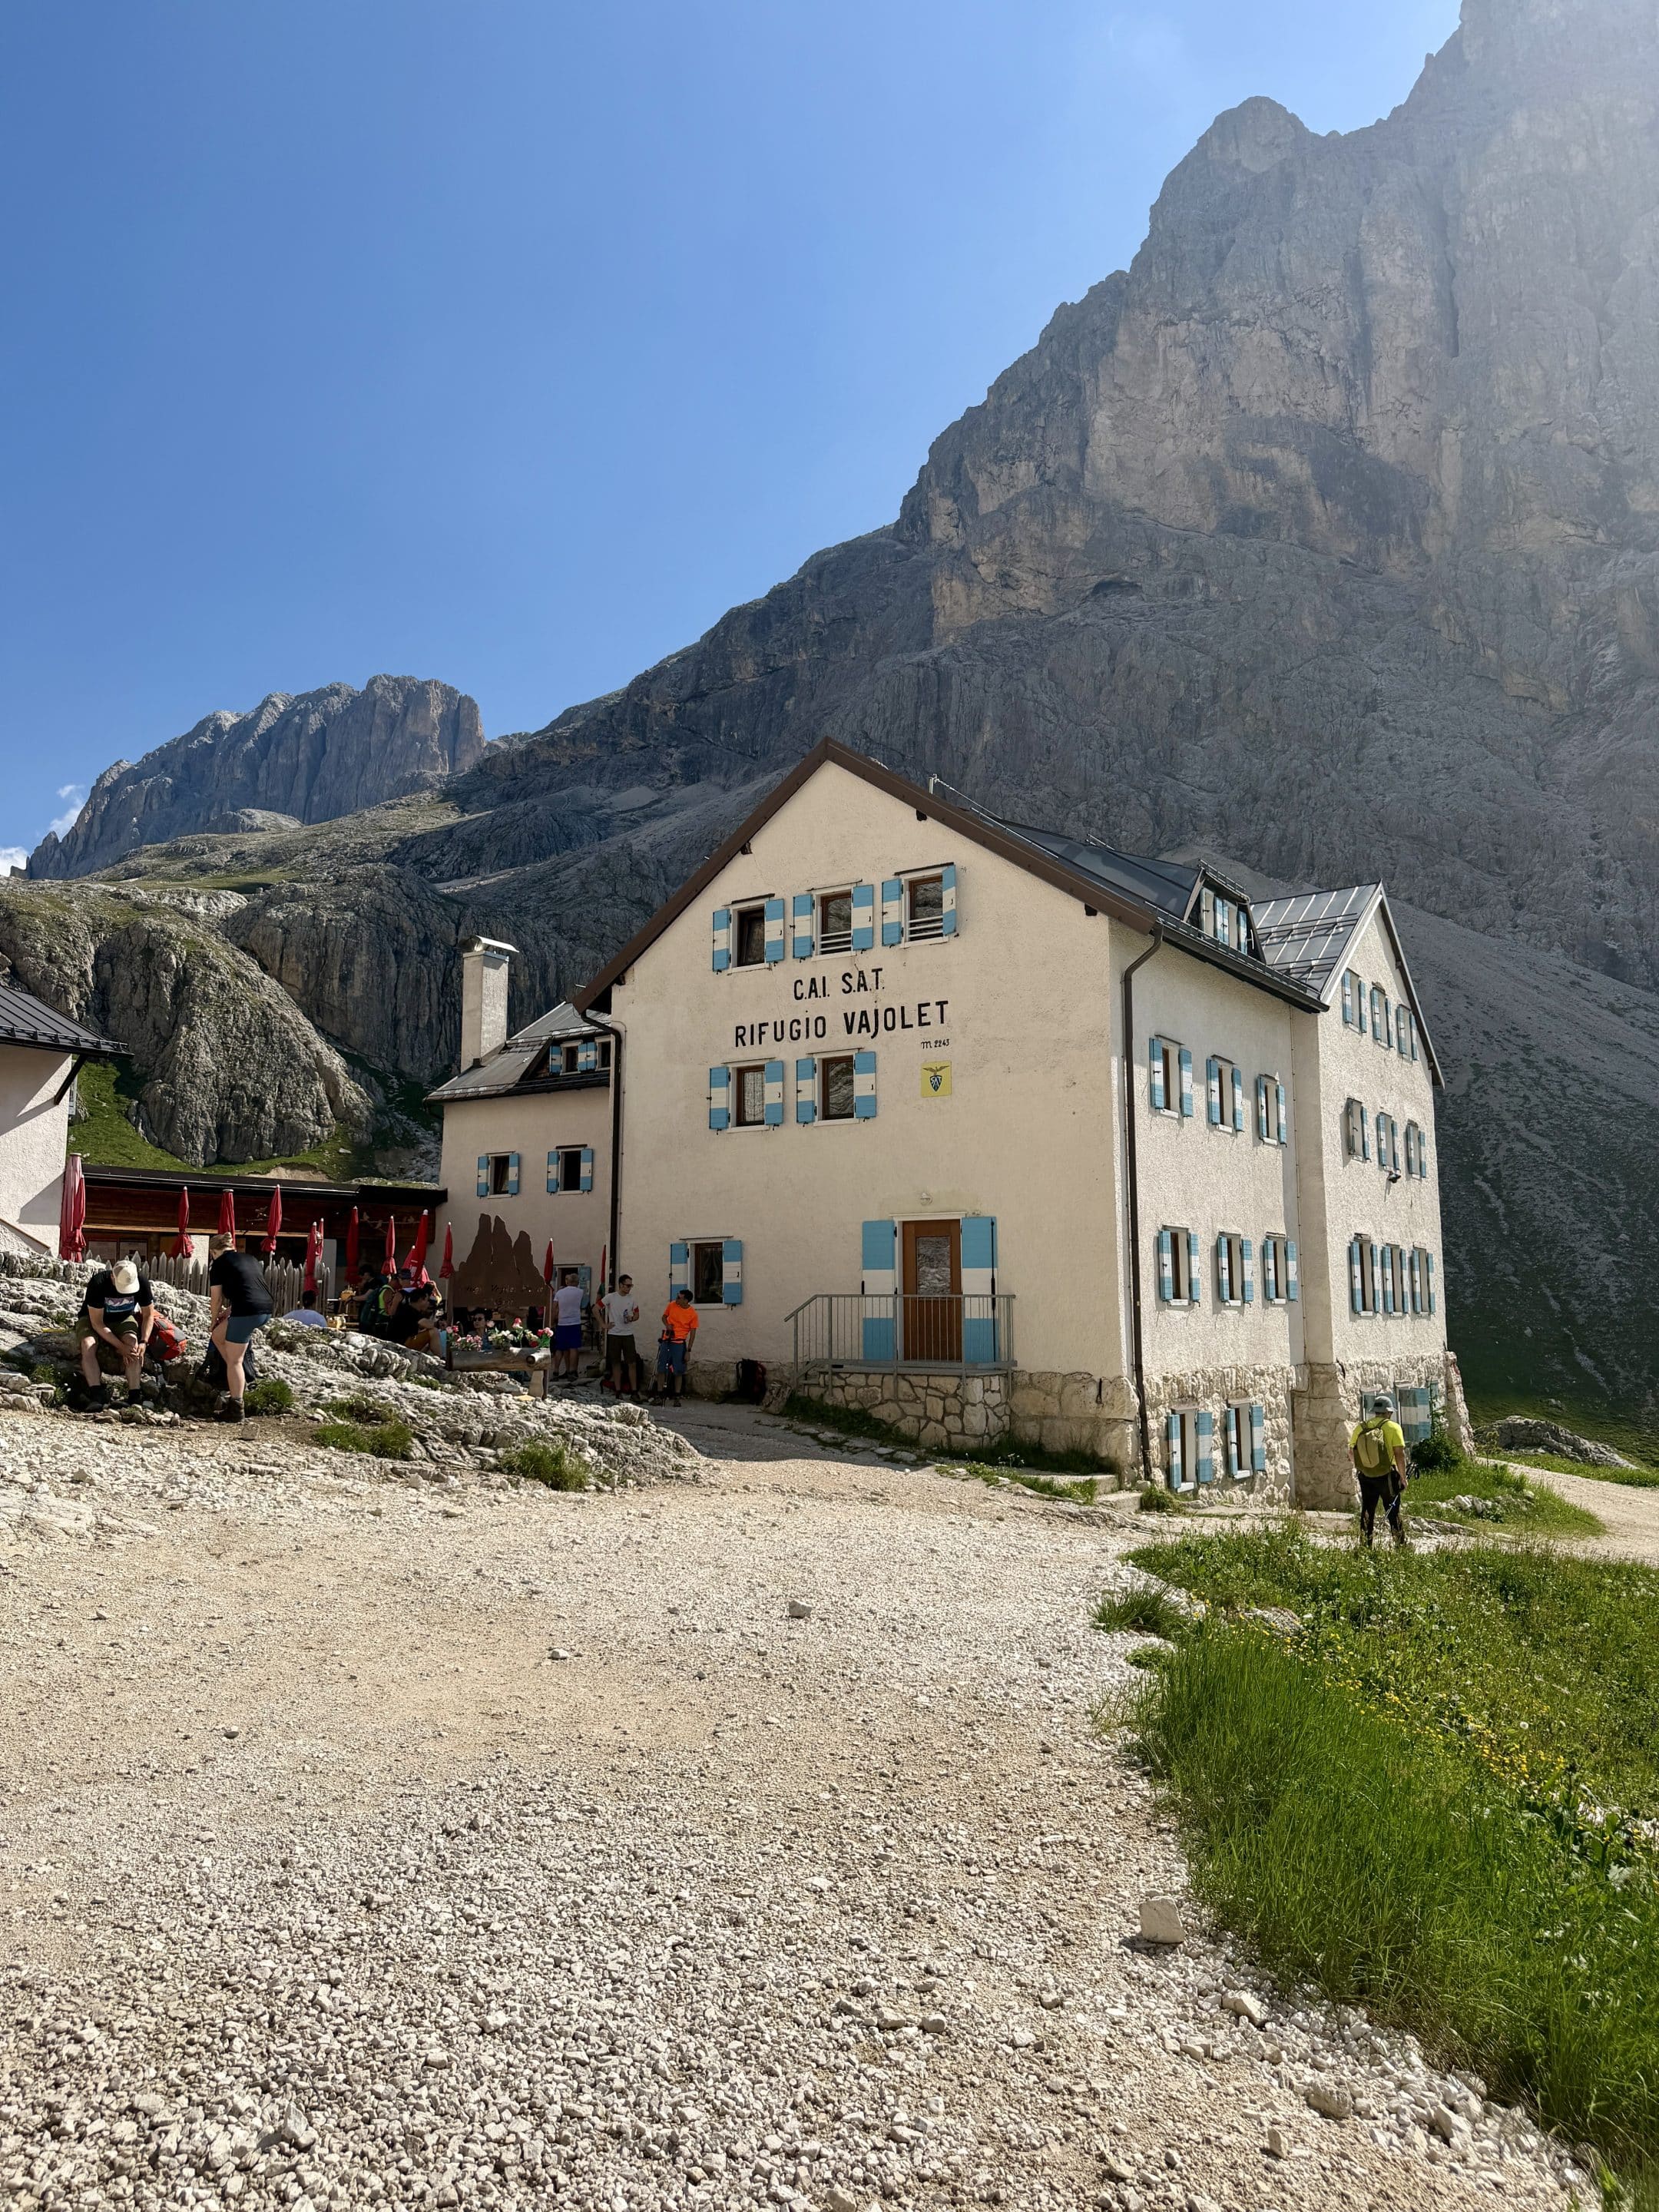
The Turn to Rifugio Re Alberto
After Rifugio Vajolet, do not simply follow the obvious-looking path that continues straight ahead.
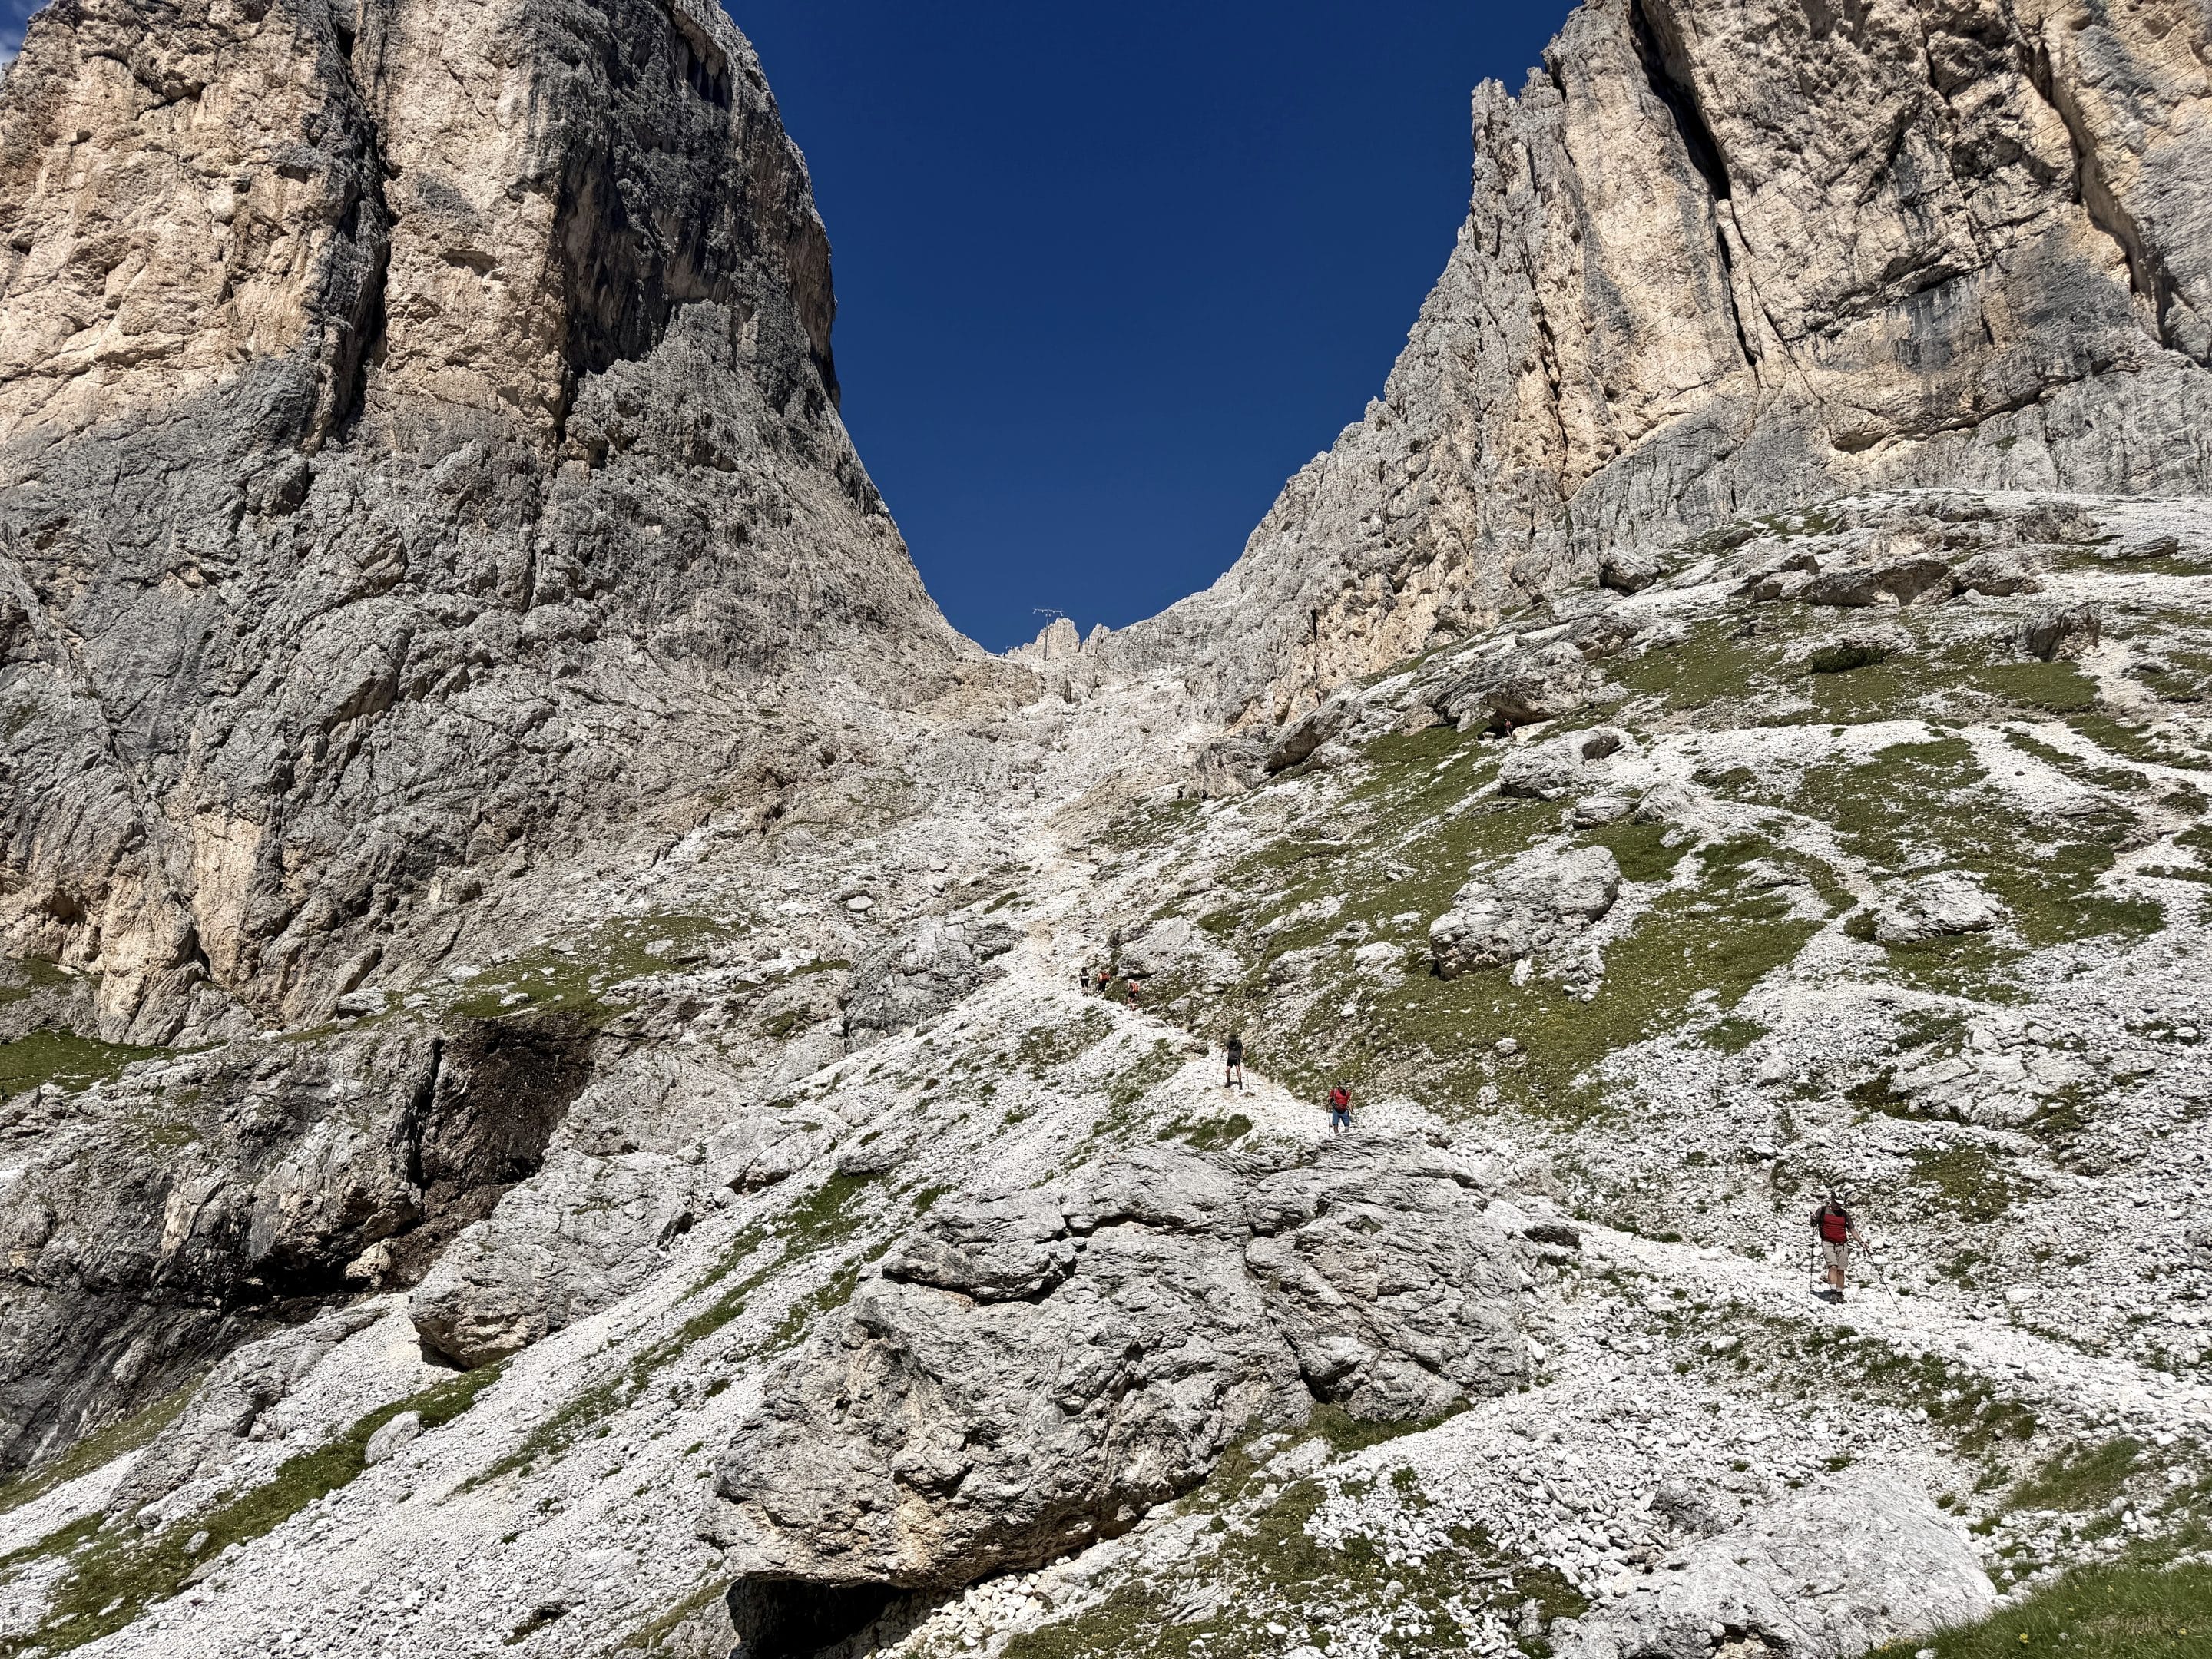
For Rifugio Re Alberto and the Vajolet Towers area, you need to turn left almost immediately, toward what looks like a very steep wall of rock. It does not look like the most reasonable direction.
This is the section where I’d pay the most attention to signs, GPS, and the people around you. There is also a via ferrata route somewhere in this area, but I did not take it, so I cannot explain where it starts. The hiking route I followed was path 542, the steep assisted trail up to Rifugio Re Alberto.
This was by far the hardest part of the Vajolet Towers Hike for me.
Path 542 climbs steeply through rock and gravel, with exposed sections and fixed supports in the harder parts. I had to use my hands in most places, move carefully, and stay focused.
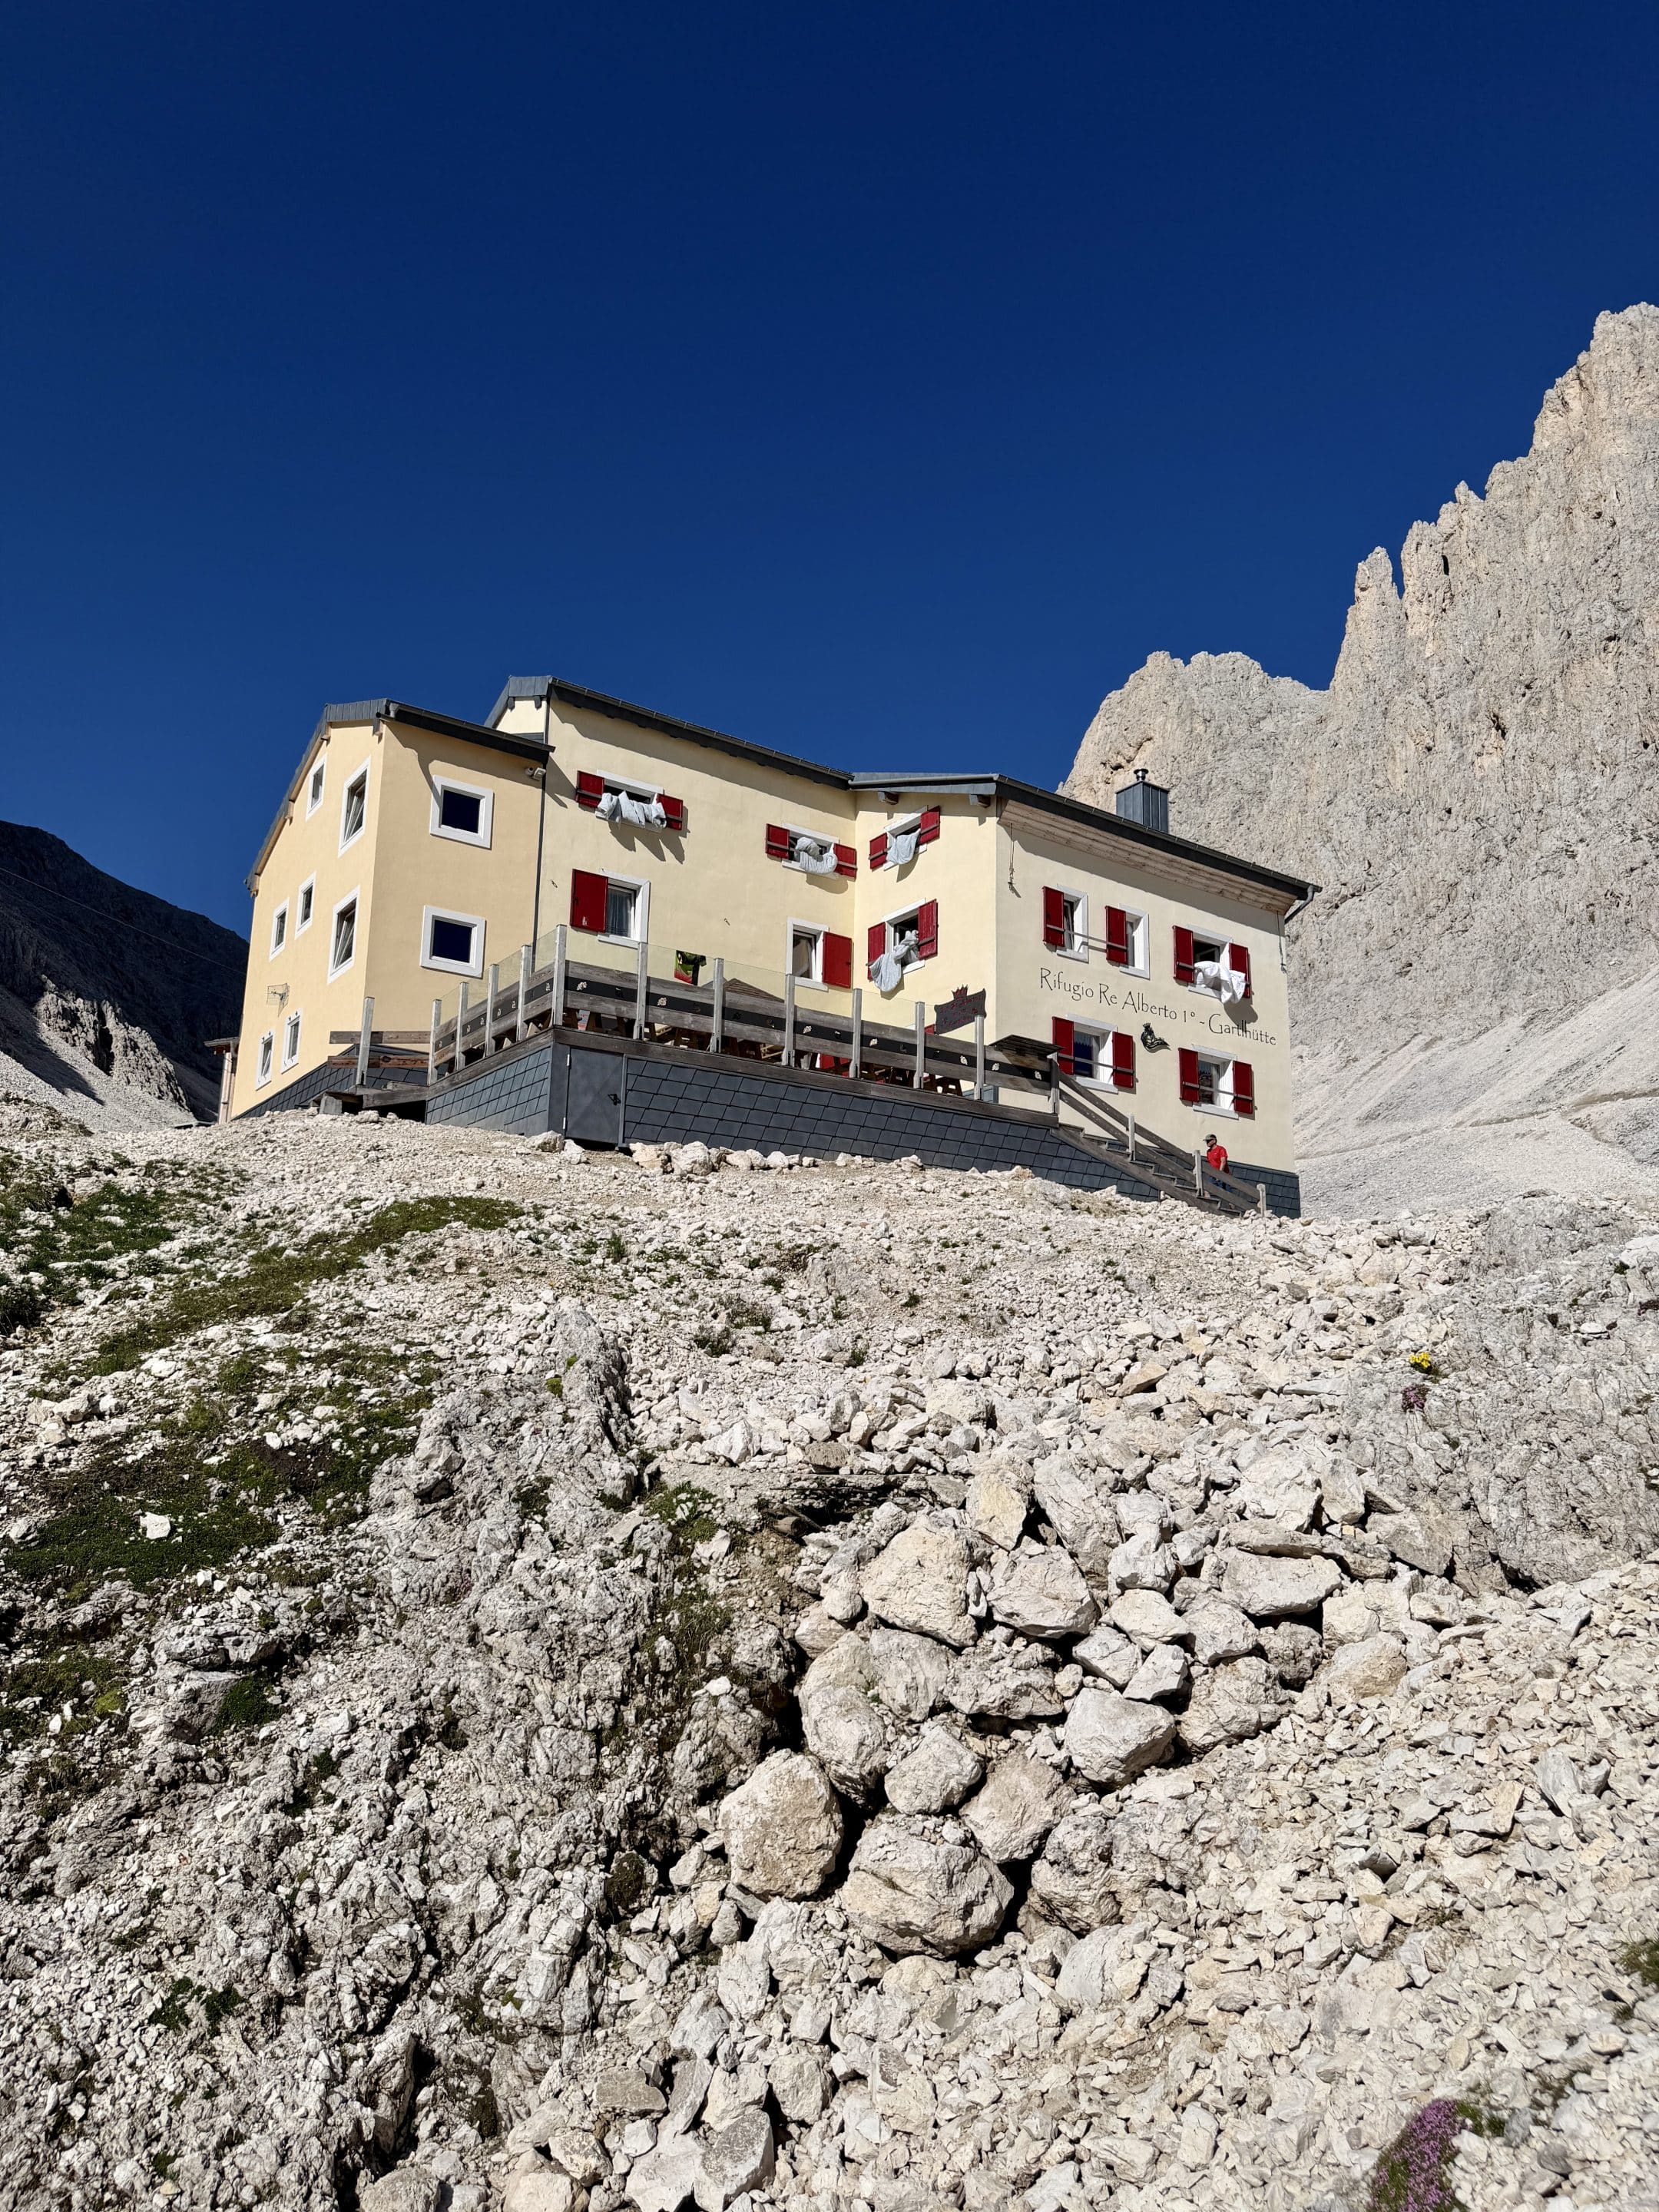
I reached Rifugio Re Alberto at 11:20, so it took me about 1 hour and 15 minutes from Rifugio Vajolet.
Rifugio Re Alberto to Santnerpass Hut
After Rifugio Re Alberto, the route becomes much easier again.
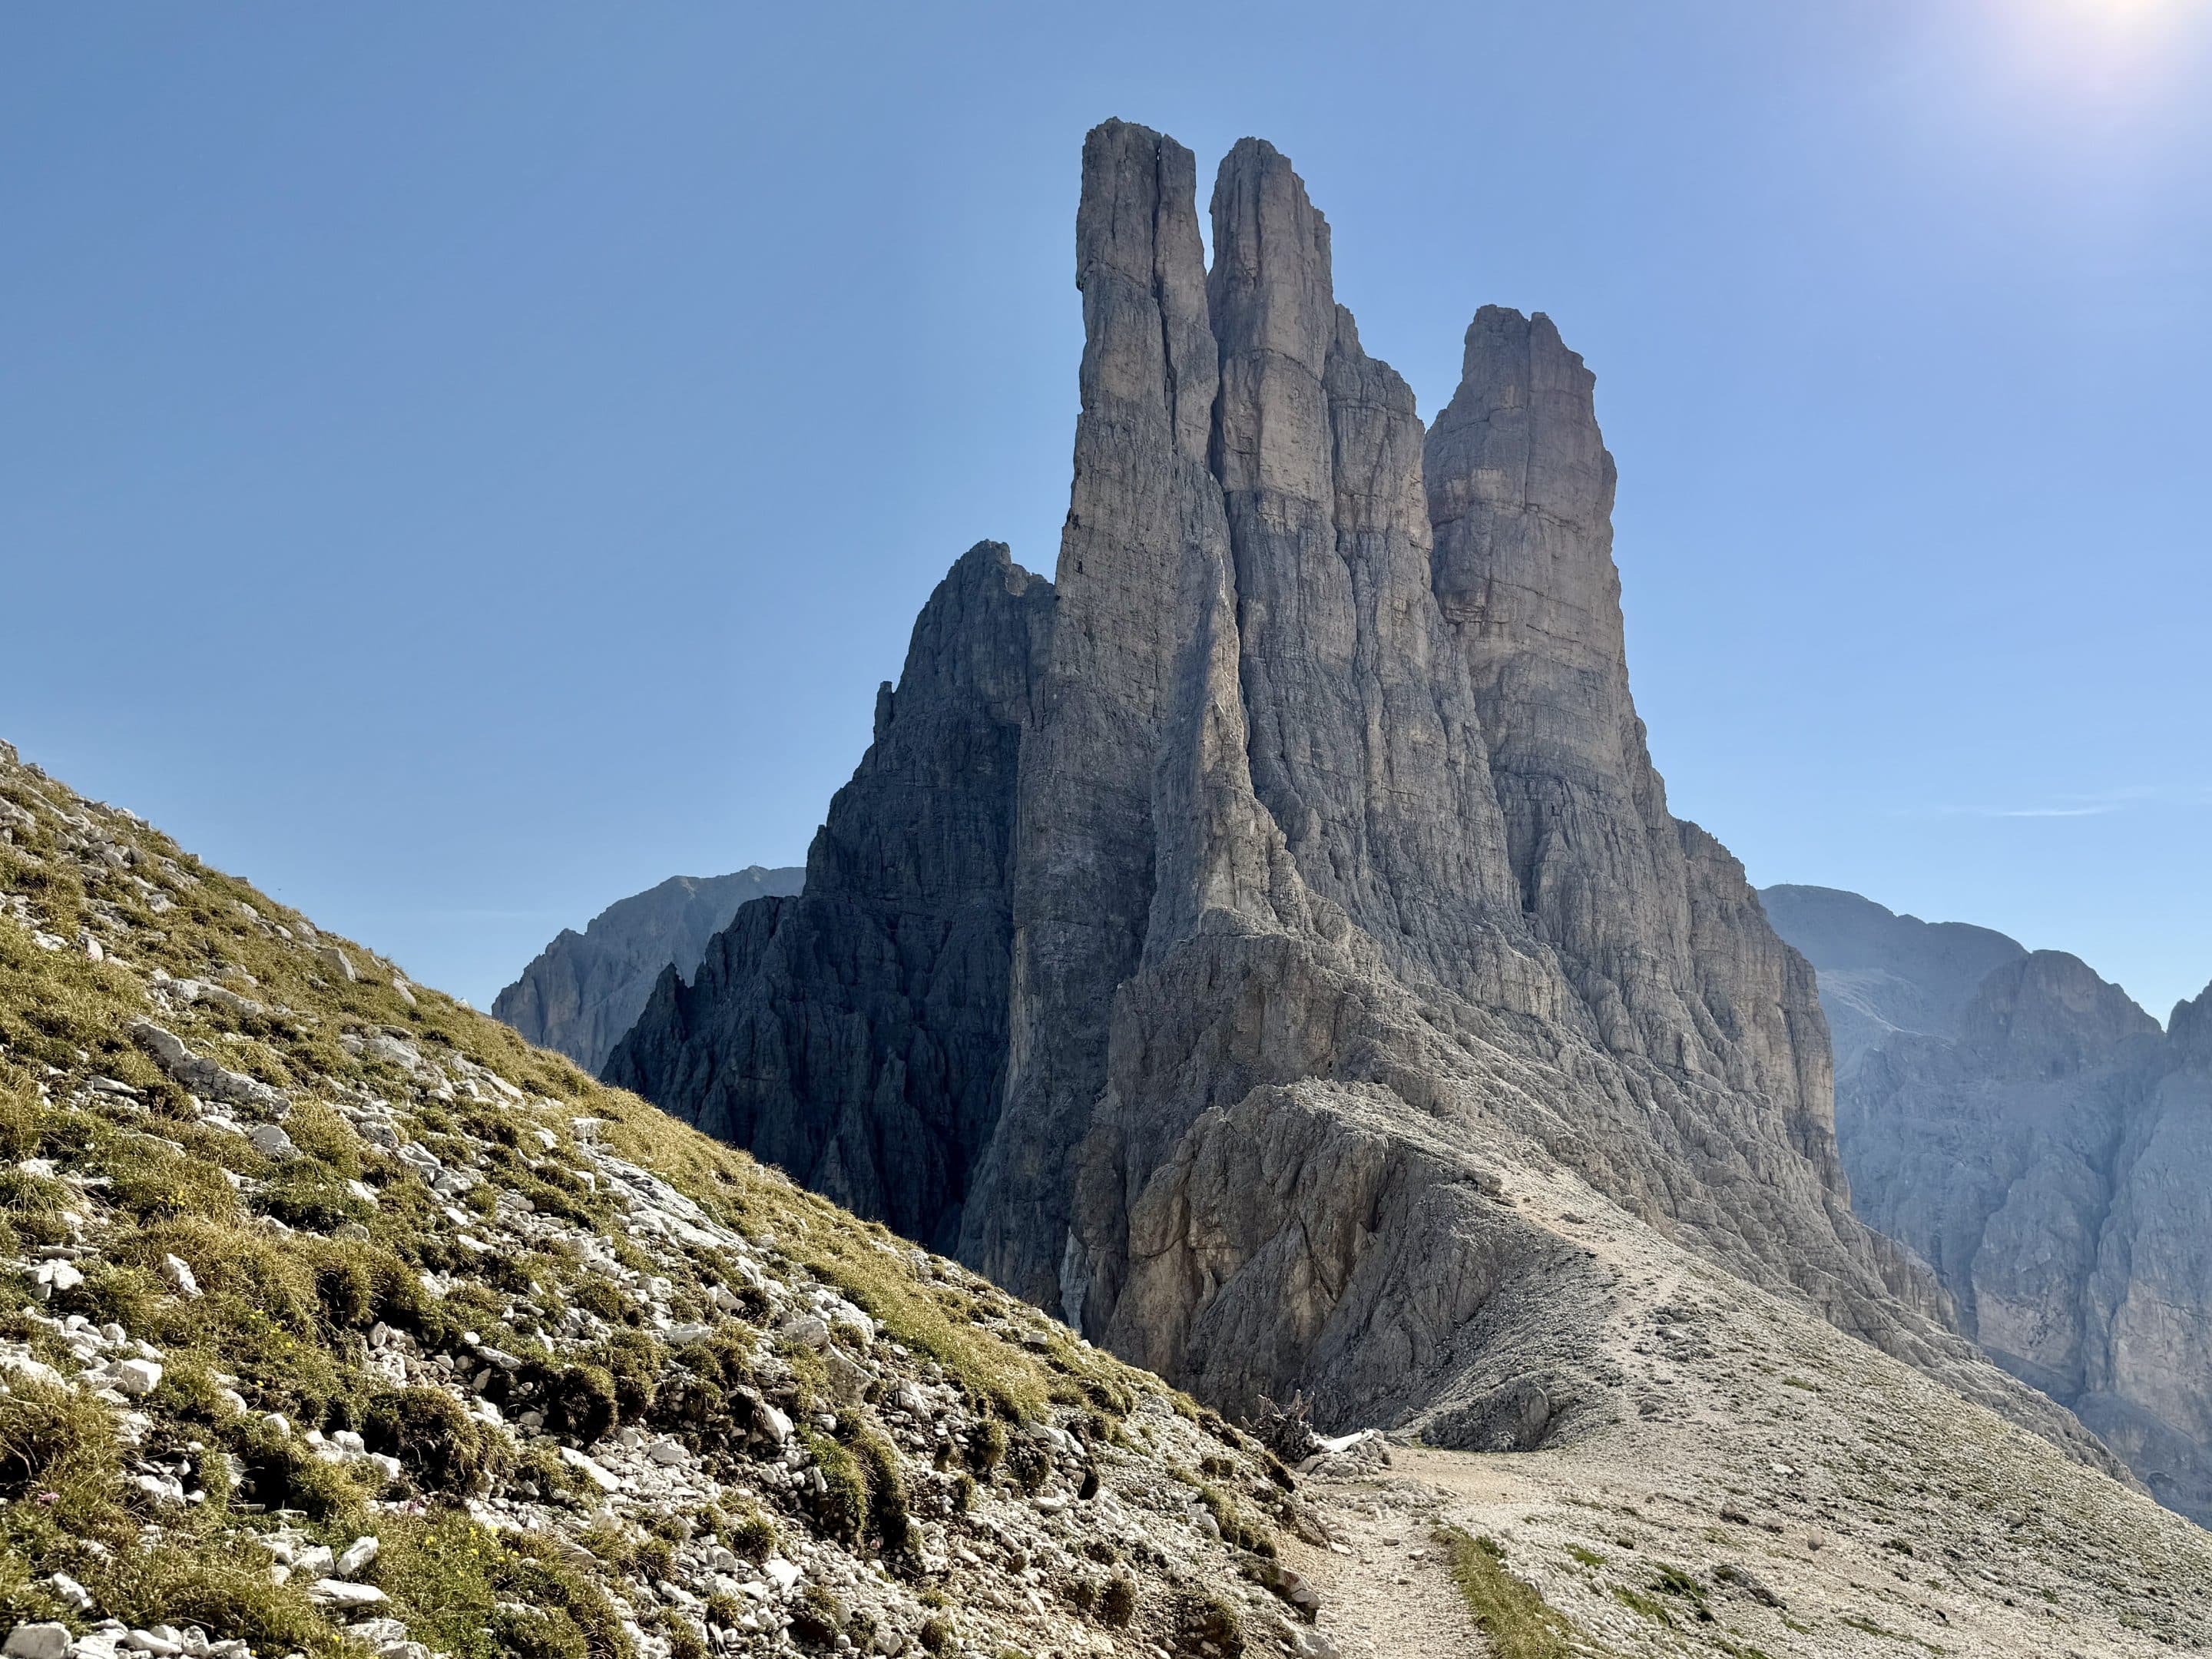
This final section climbs toward Santnerpass Hut, but compared with the wall below Re Alberto, it feels friendly. You are now in the heart of the Vajolet Towers area, surrounded by the pale rock spires that make this hike famous.
I reached Santnerpass Hut at 11:35, about 3 hours after taking the cable car from Vigo di Fassa.
Staying at Santnerpass Hut
Staying at Santnerpass Hut is the reason I’d recommend doing the Vajolet Towers Hike as an overnight route instead of rushing up and down in one day.
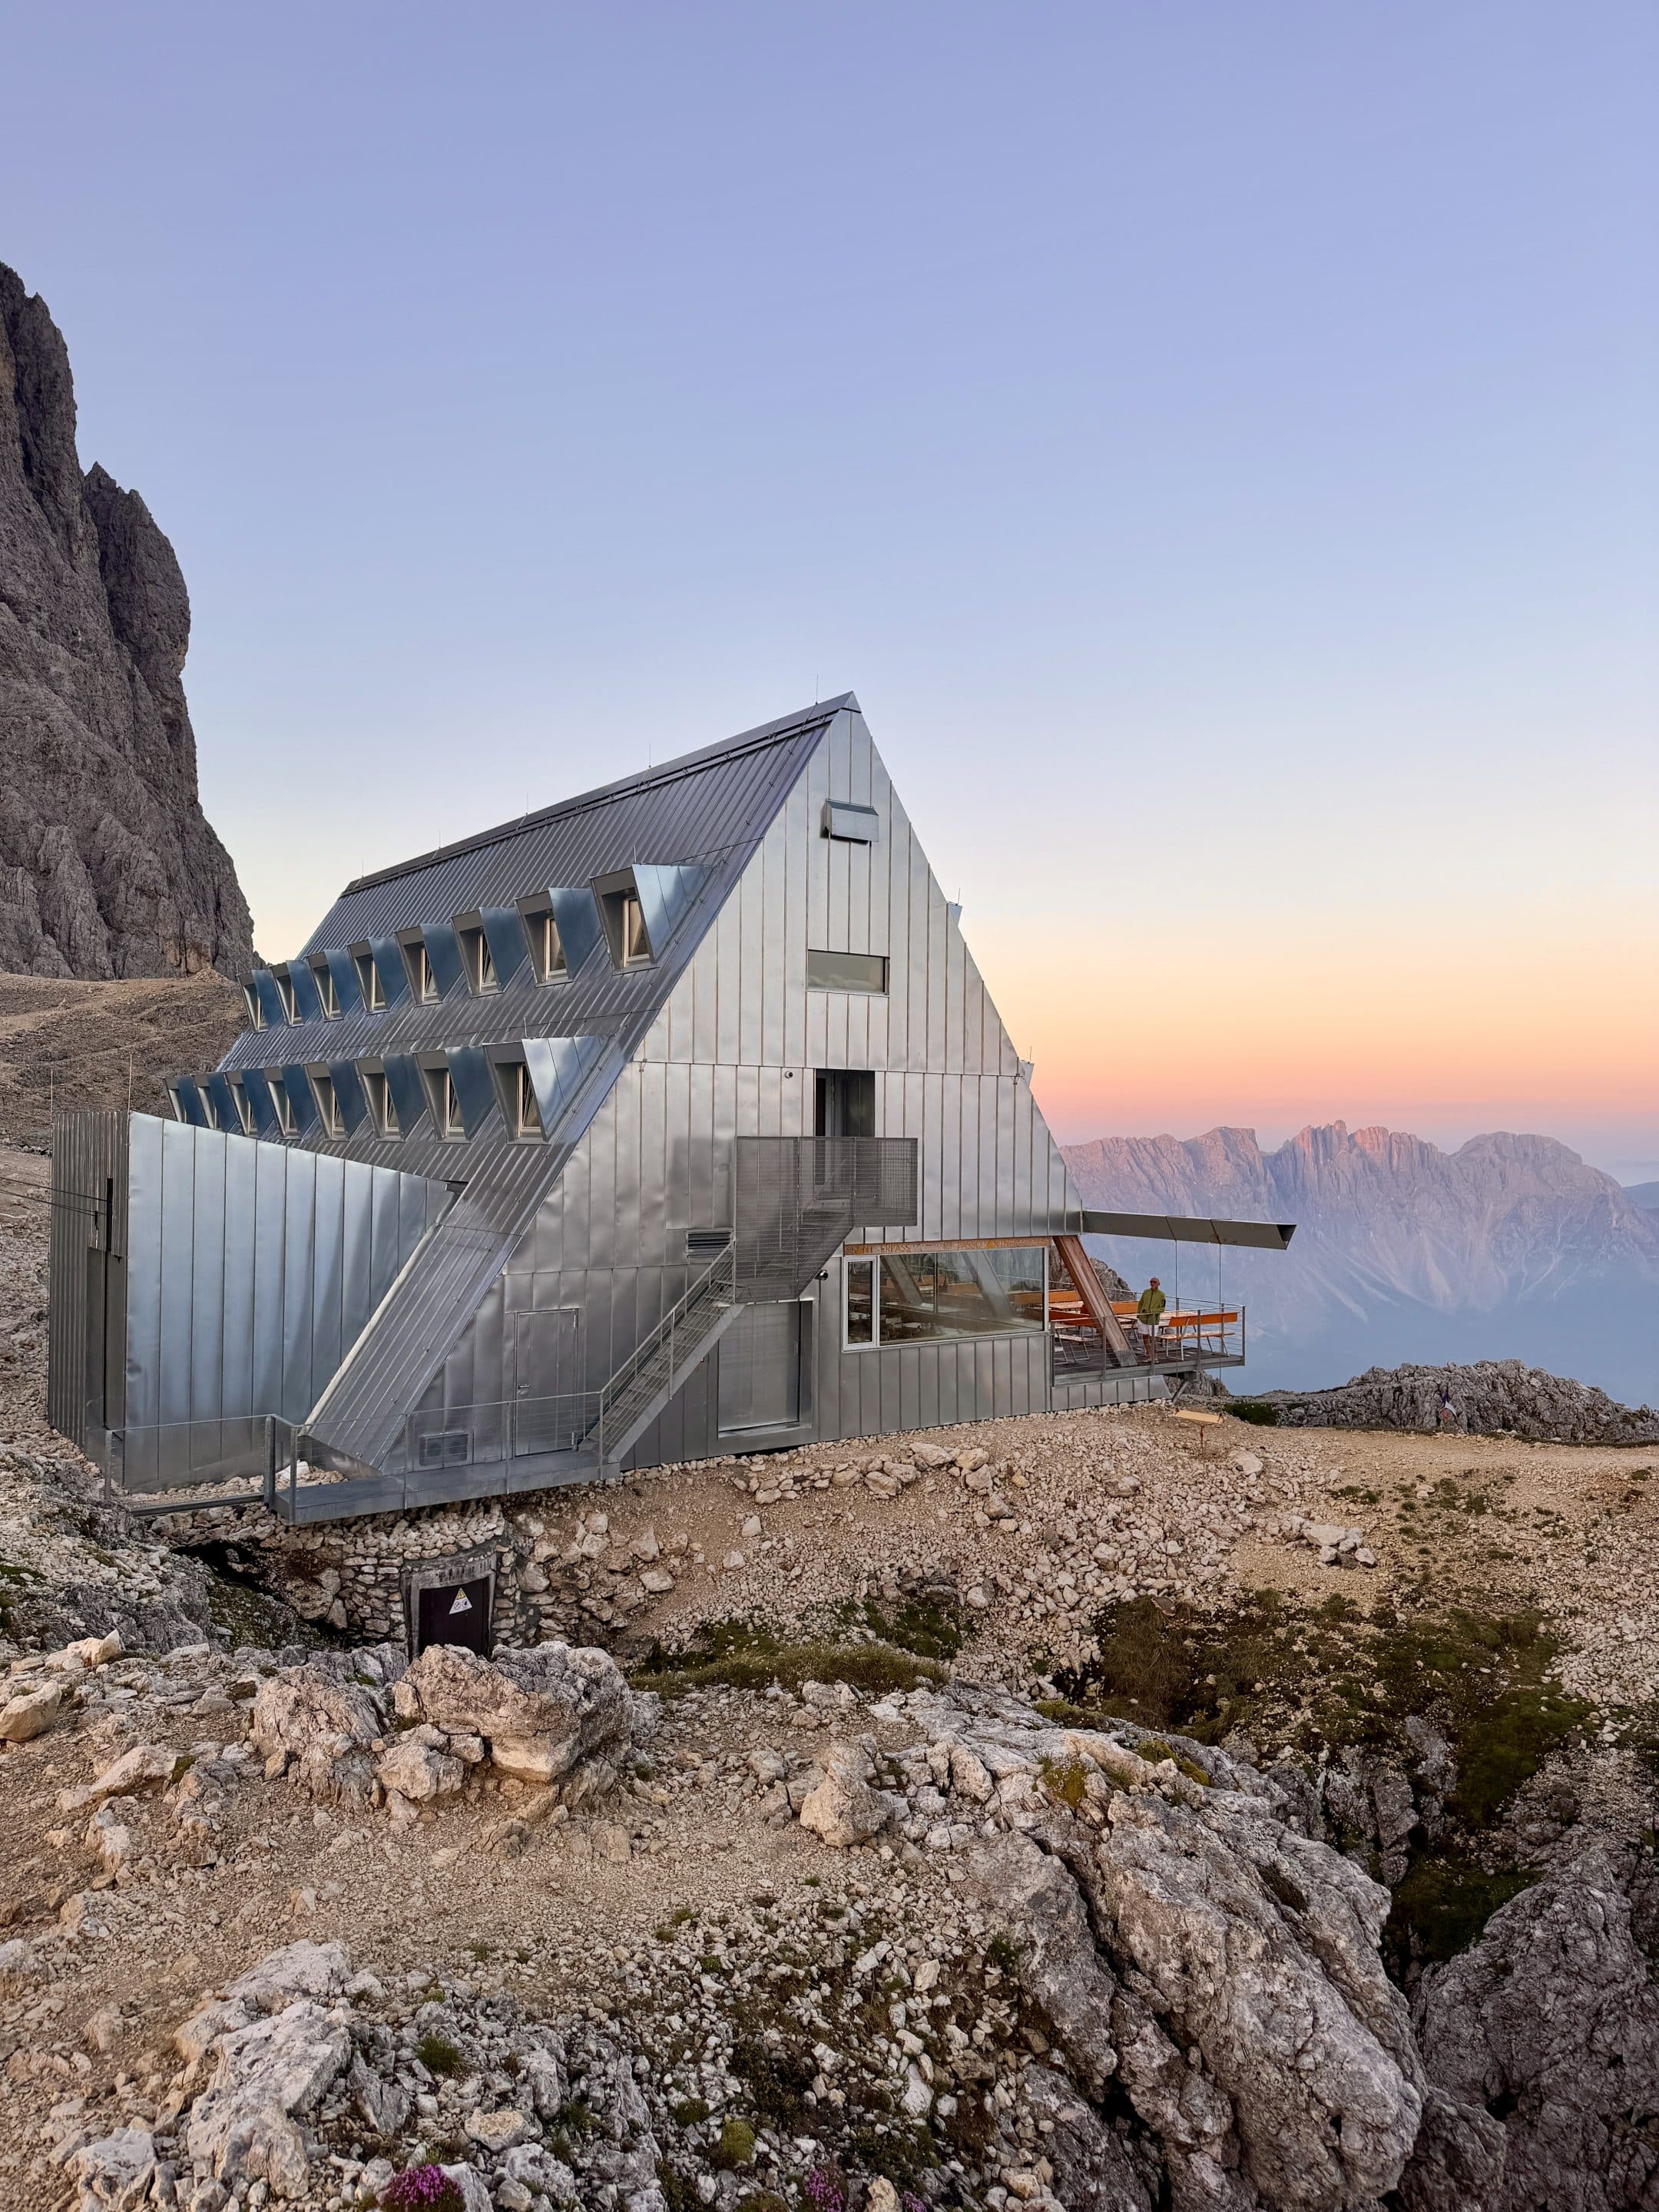
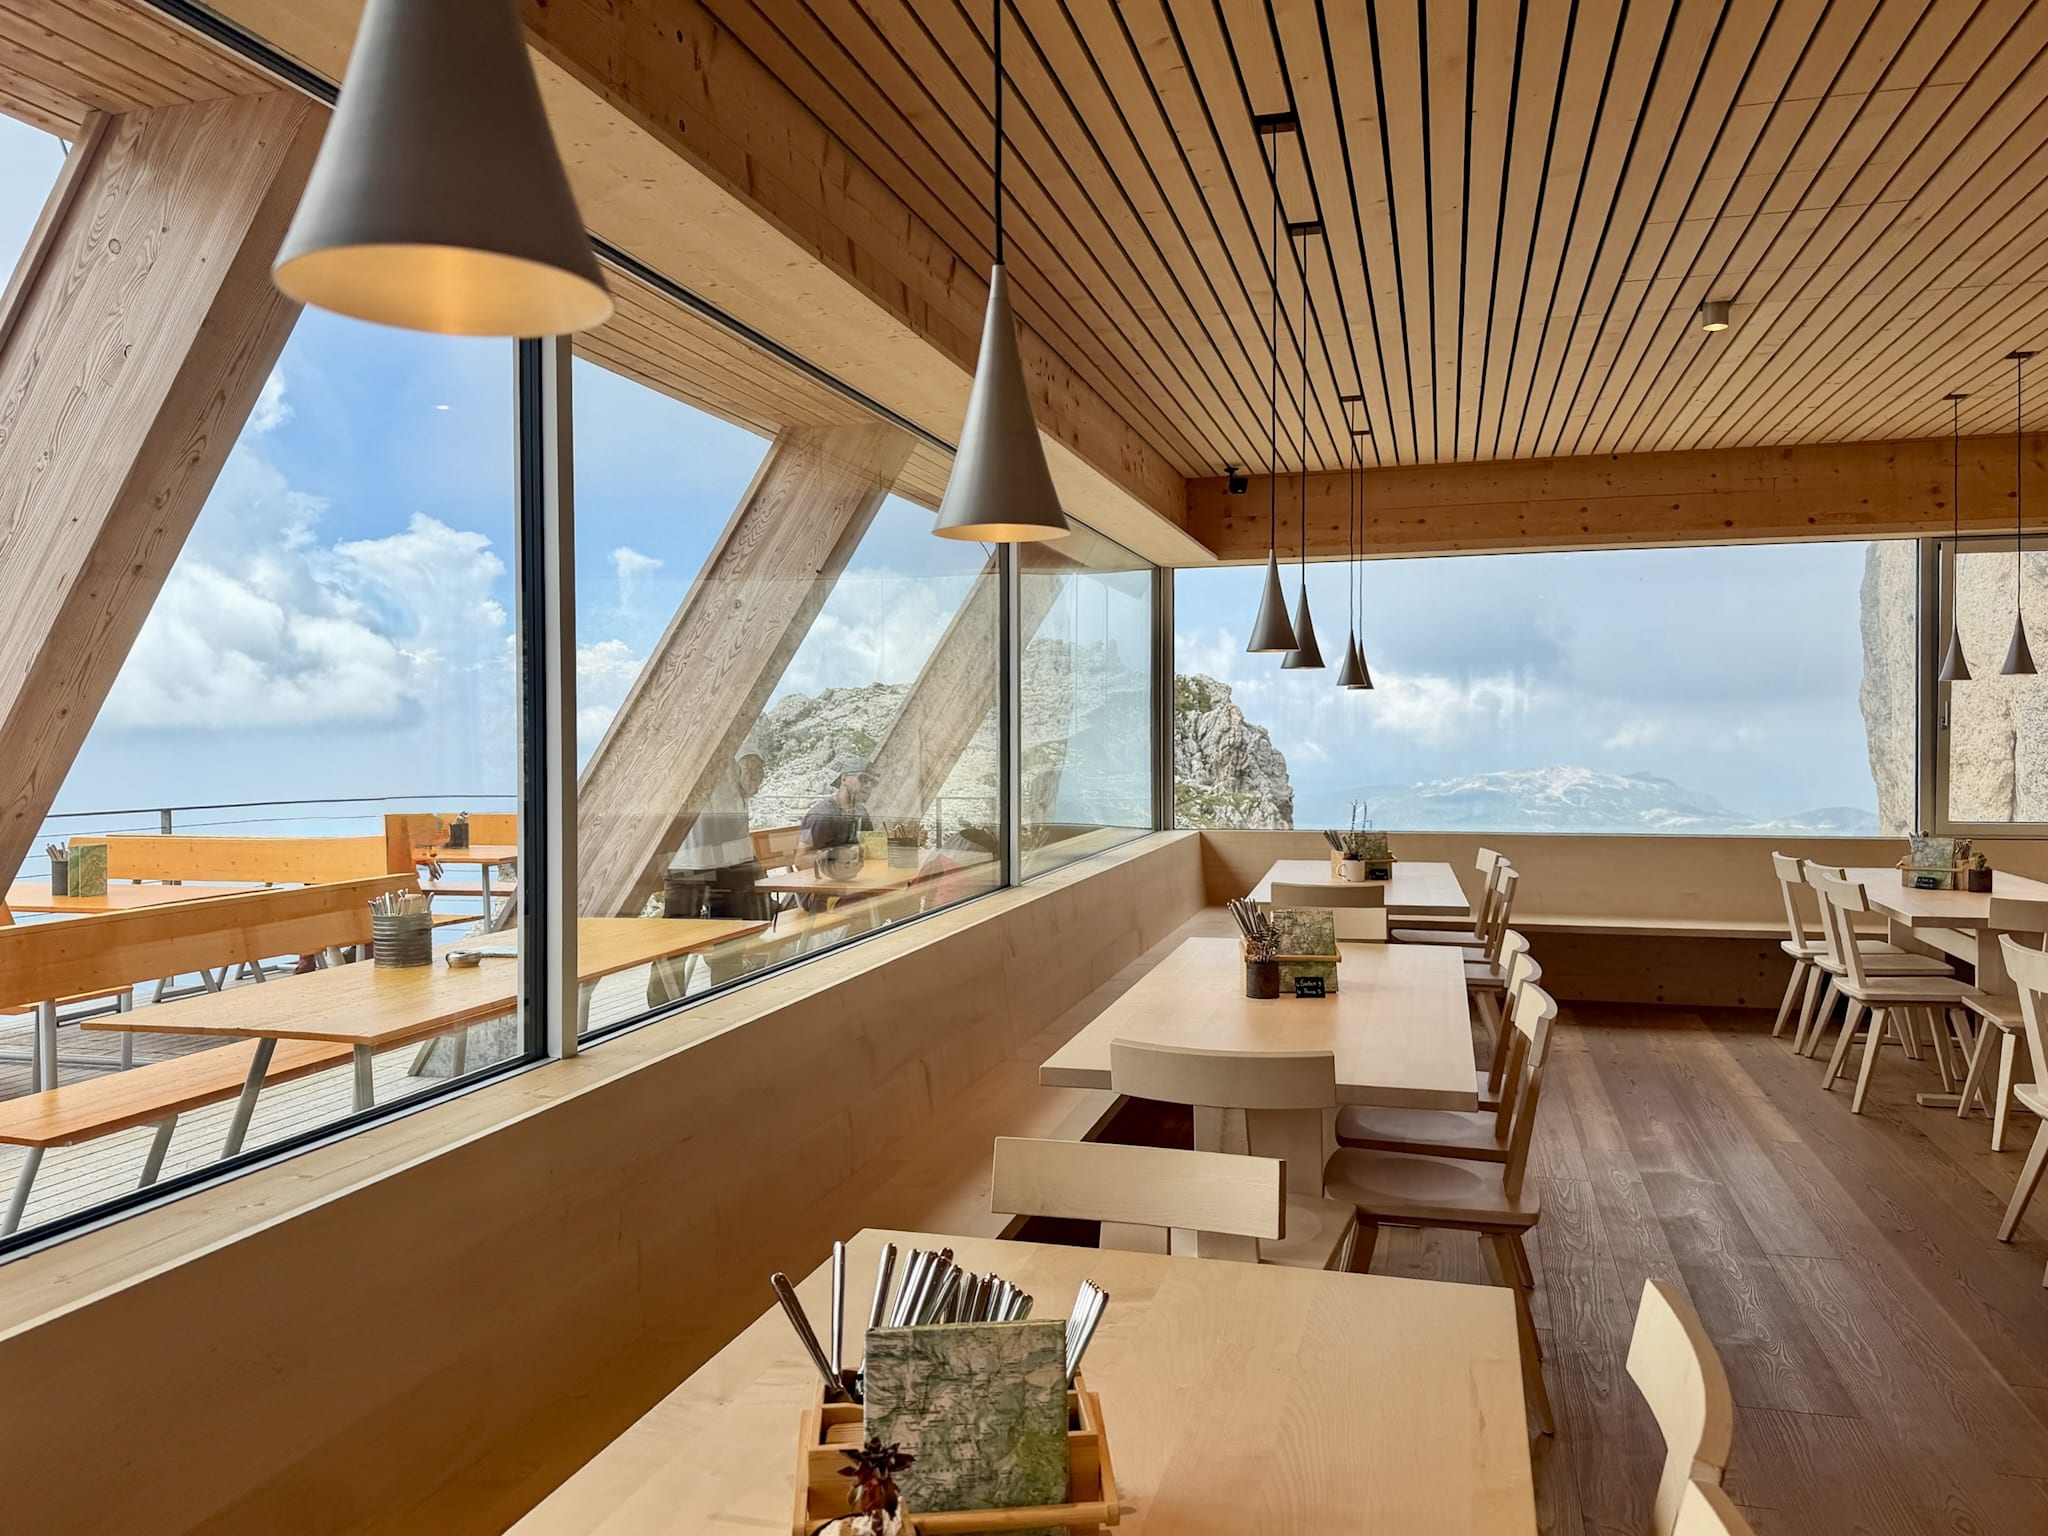
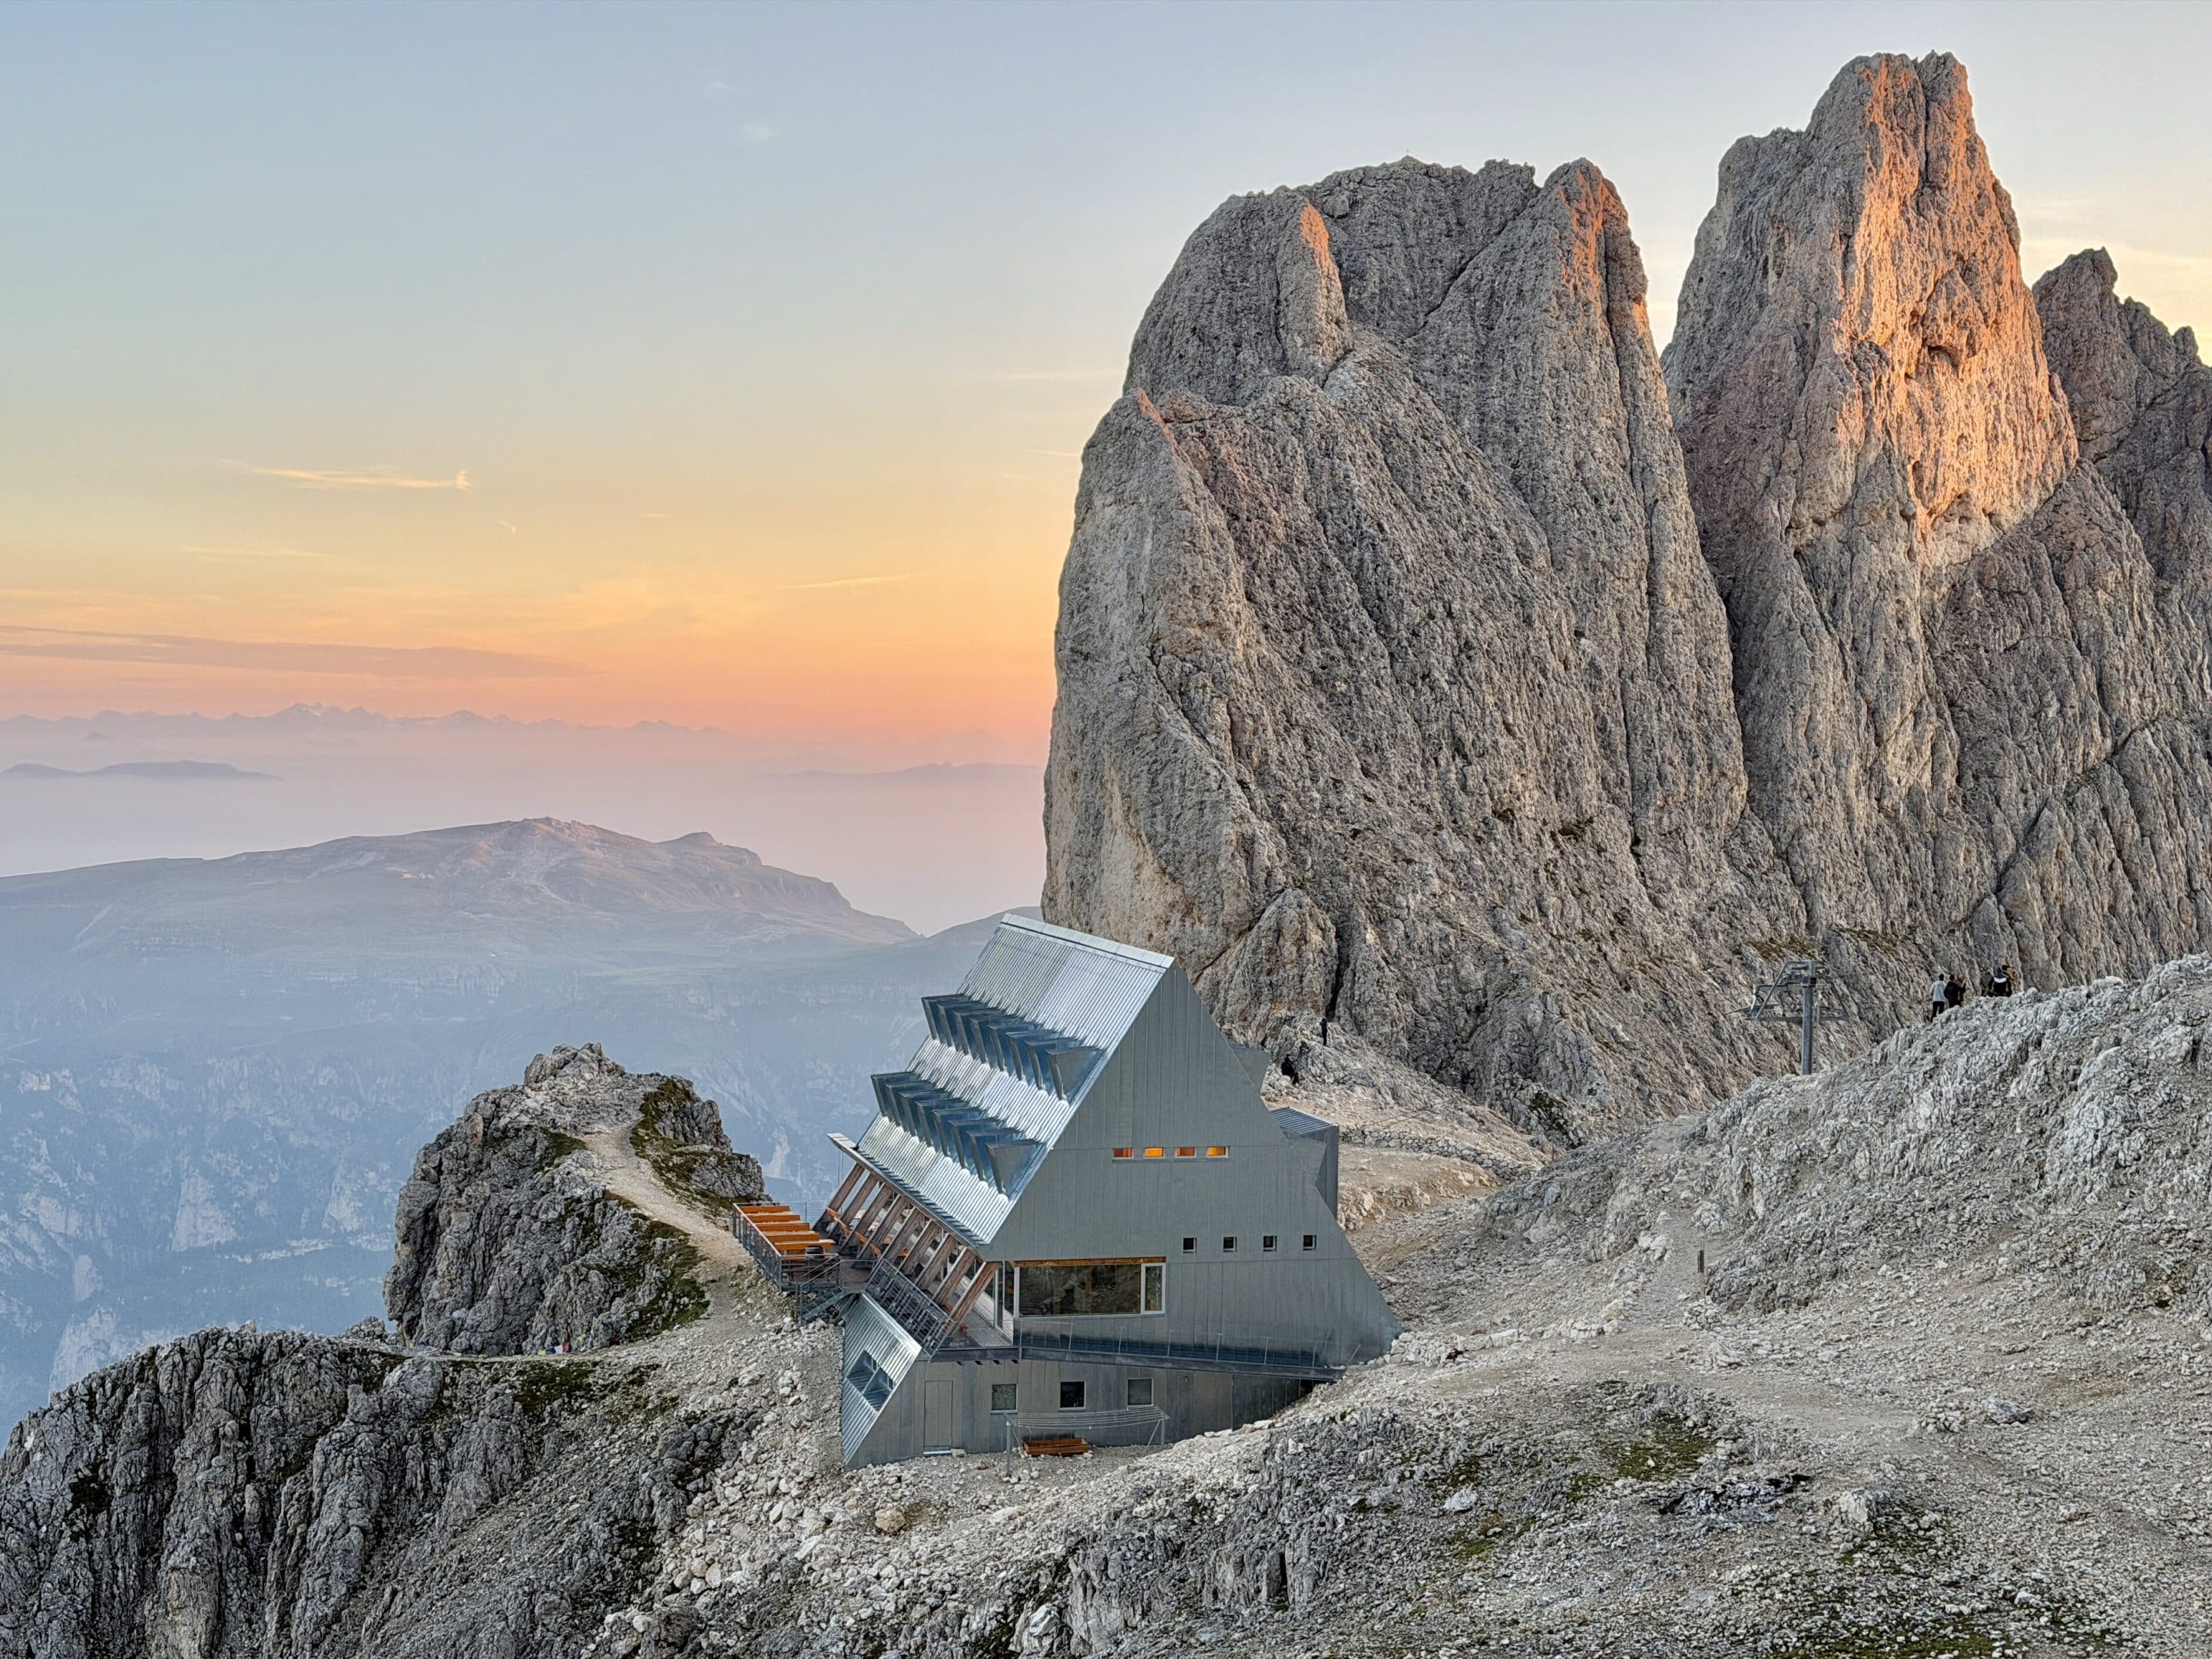
The hut sits above the Vajolet Towers, in one of the best locations in the Catinaccio. During the day, it already feels impressive. But the real point of sleeping there starts later, when the day hikers leave, the light gets softer, and everyone staying at the hut slowly migrates outside for sunset like it’s an unspoken appointment.
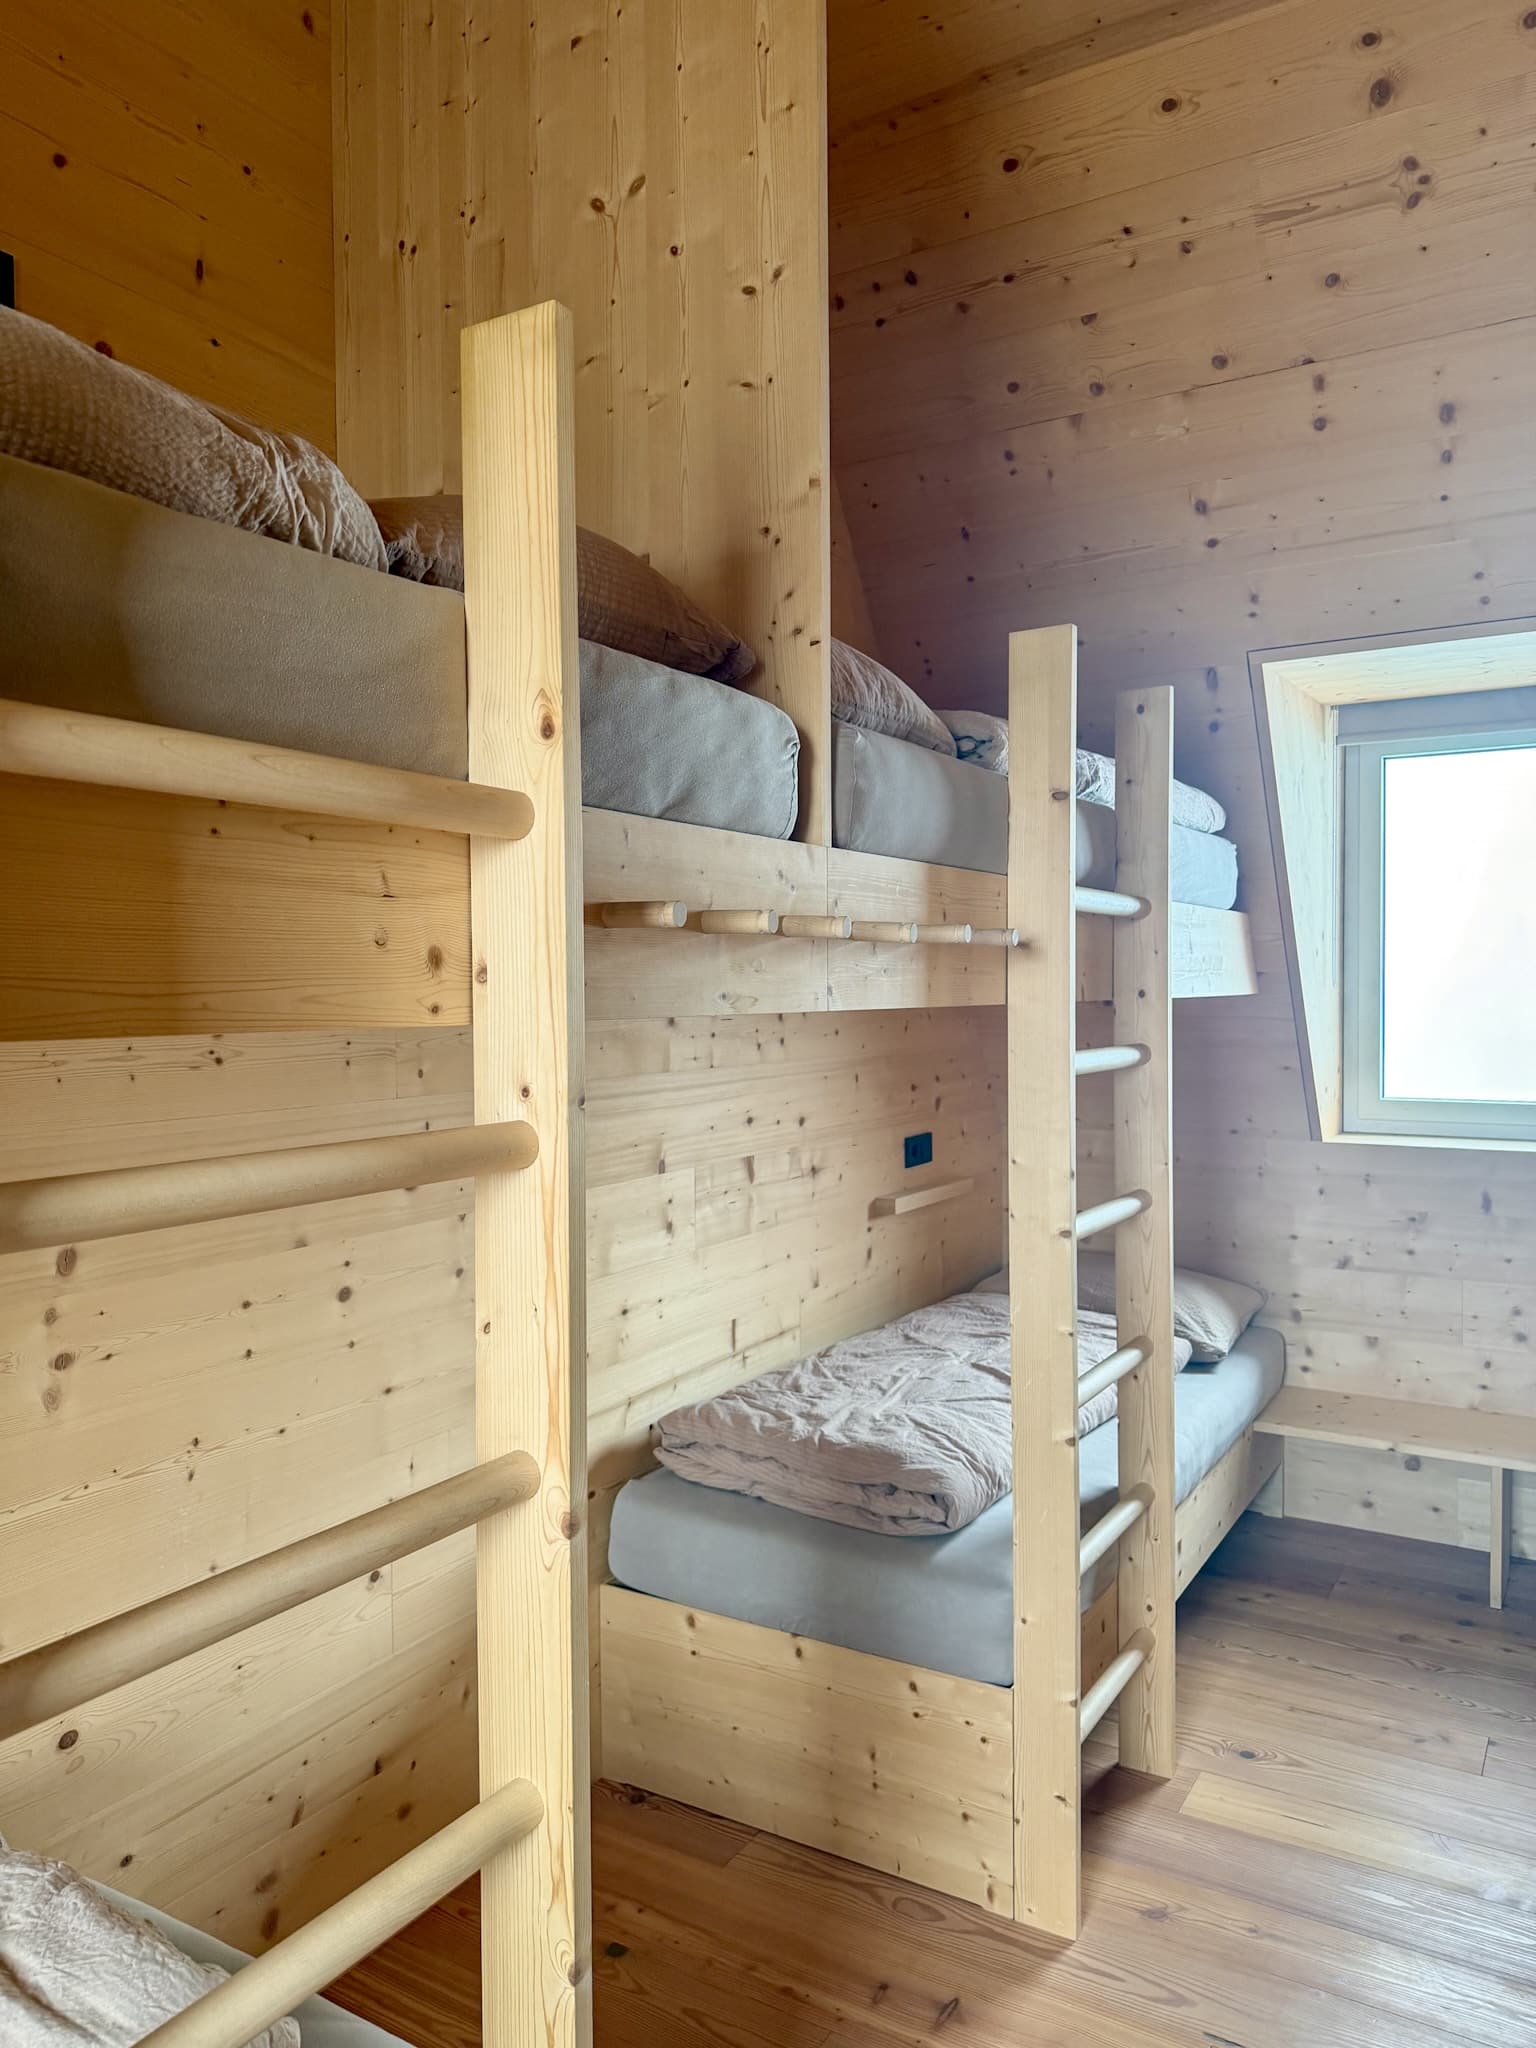
I booked my stay by email, sending first a request directly through the website, where you'll also find prices. They have different room types, including double rooms, but those sell out months in advance. I stayed in a shared room for 5 people, which was honestly nicer than I expected.
The hut felt new and modern. The rooms were spacious, beds were comfortable, and there were enough plugs and storing space for everyone. and there was a separate area to leave hiking shoes, which keeps the sleeping area much cleaner.
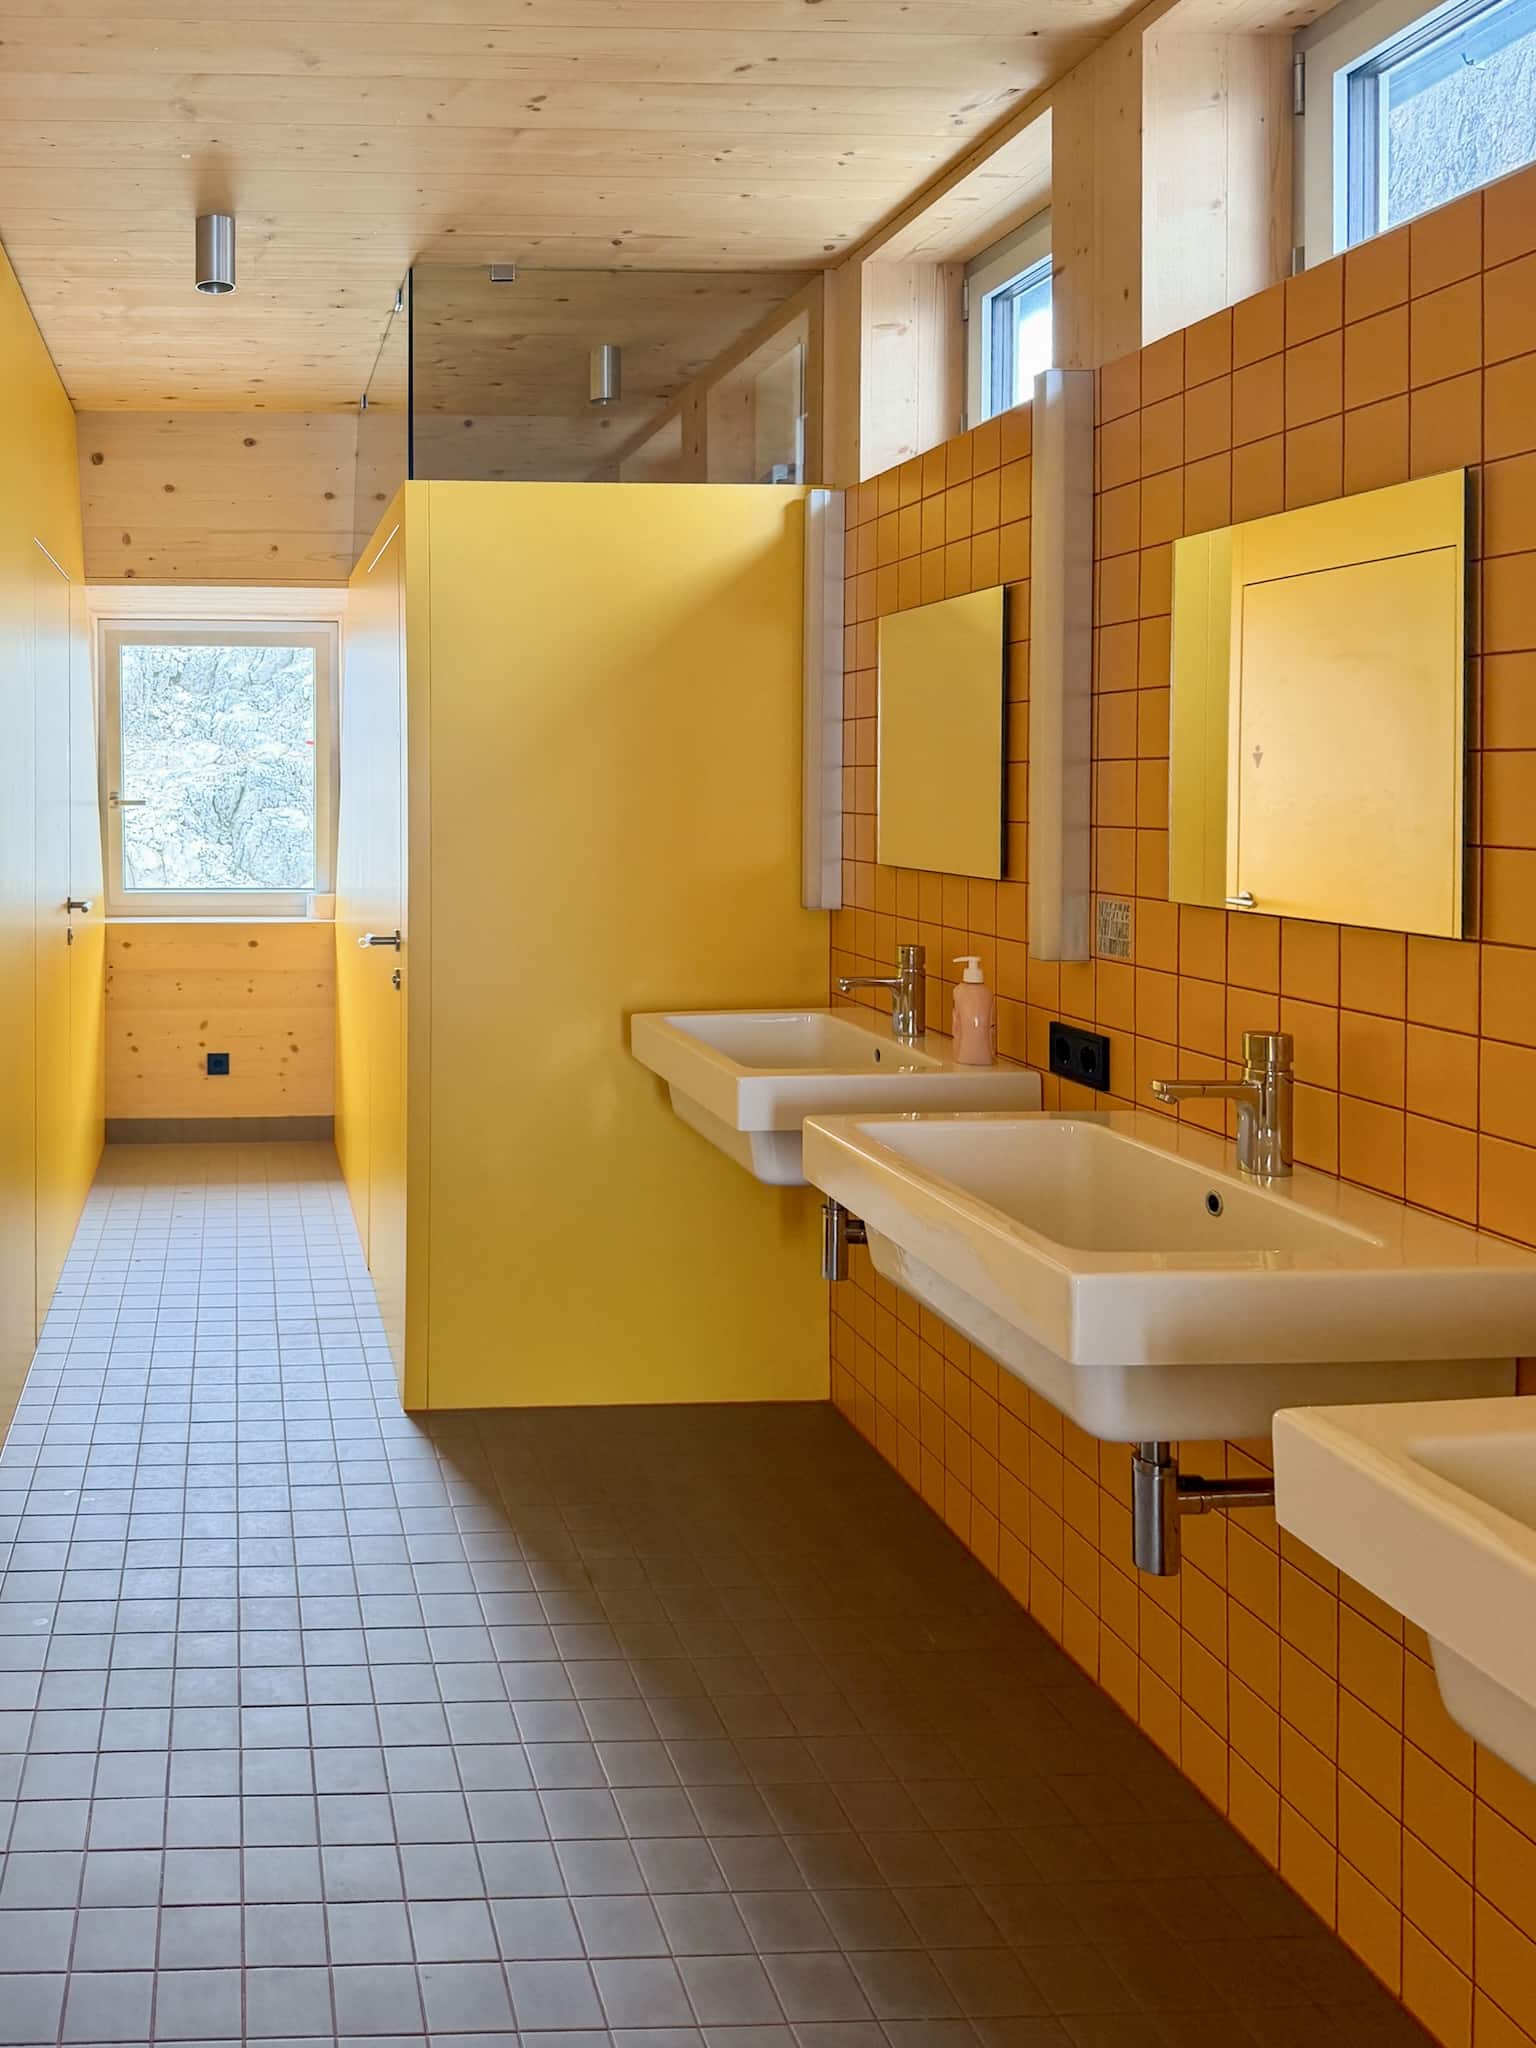
The bathrooms are shared, which is to be expected in all huts. There wasn’t a strong separation between the men’s and women’s areas, and there were not that many bathrooms overall. Still, for a mountain hut at this altitude, everything looked very clean.
The staff were very nice, and the whole place had a good atmosphere. It didn’t feel like one of those old-school huts where you are vaguely afraid to ask for another fork. It felt organized, warm, and surprisingly comfortable after a hard hike.
Also, Santnerpass Hut has an adorable orange cat. This is not essential hiking information, technically. But morally, I think it matters.
Food at Santnerpass Hut: Lunch, Dinner and Breakfast
I arrived at Santnerpass Hut before lunch, which was ideal because it gave me time to stop functioning like a sweaty animal before sitting down to eat.
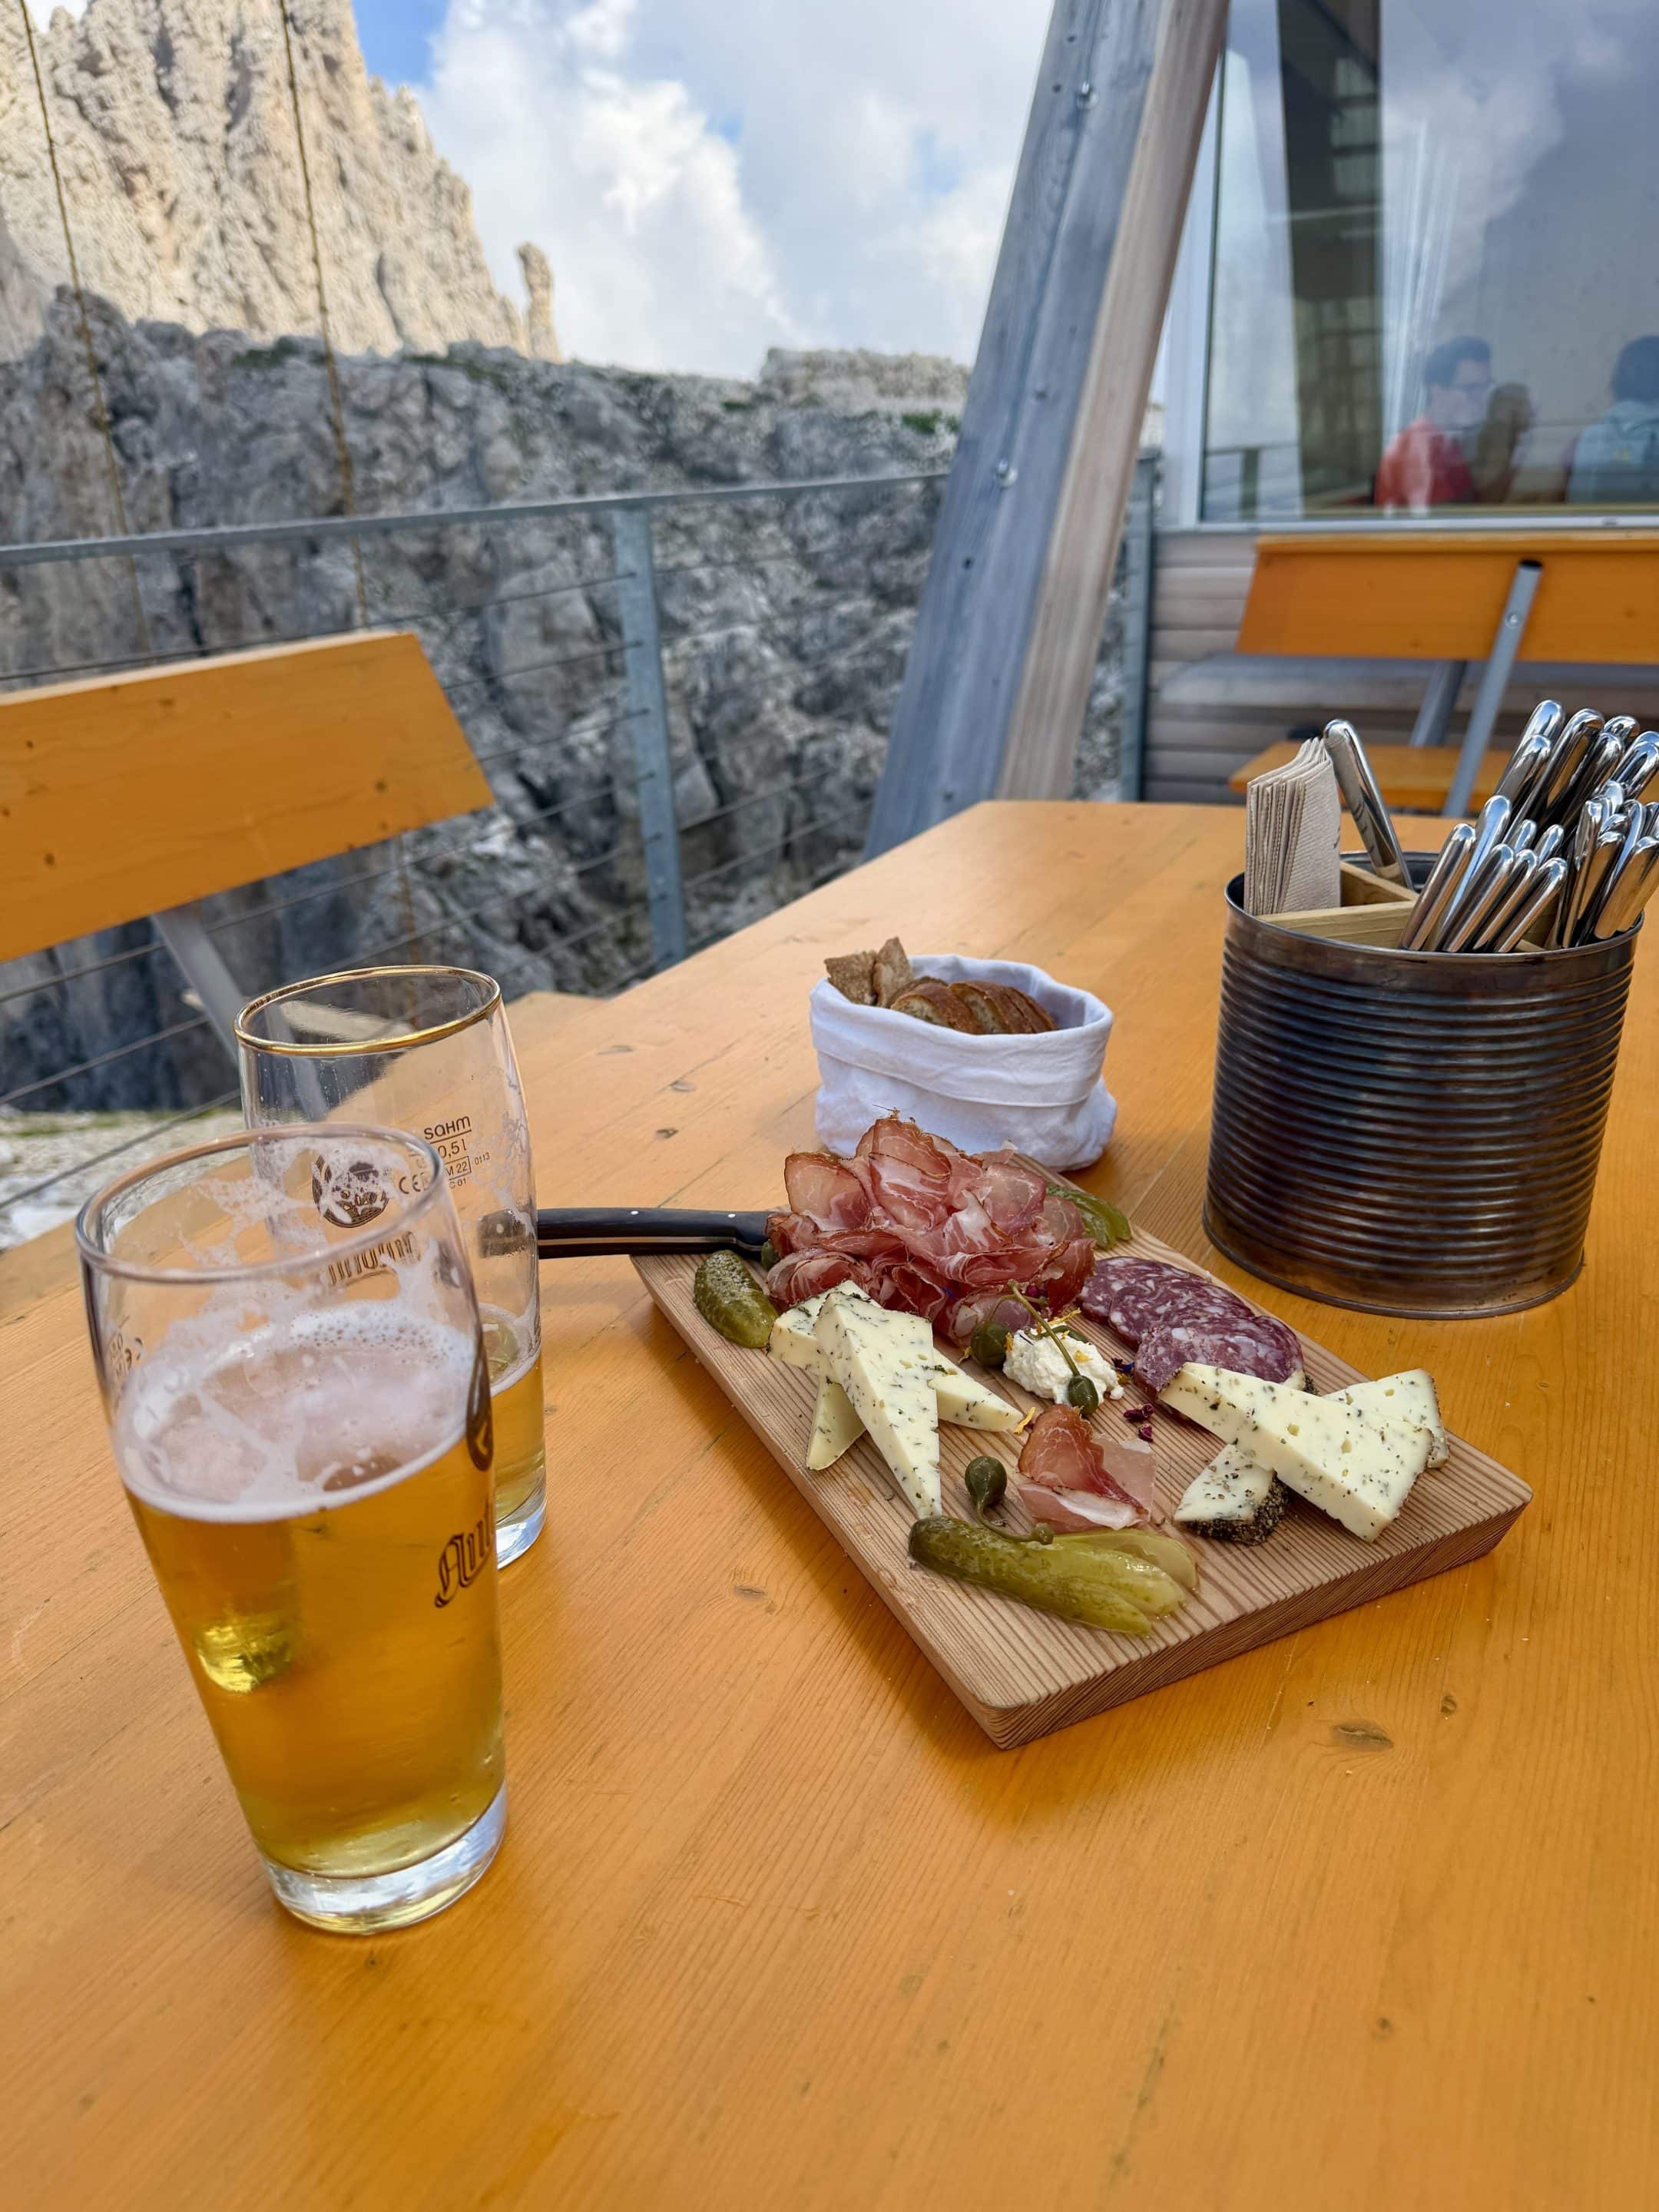
For lunch, I kept it very rifugio: a beer, a board with local speck and cheese, and apple strudel. Ten out of ten.
Dinner was more surprising. Since I stayed overnight, dinner was included as part of the hut stay, and the menu was fixed and vegetarian: couscous, pea soup, canederli, and dessert. It was lighter than I expected for a mountain hut dinner, but honestly it was good. I just personally prefer more traditional hut food after a hike like this, mostly because after path 542 my body was not asking for subtlety.
Breakfast the next morning was excellent and had everything I needed before hiking back down: strong coffee, sweet options, eggs, ham, cheese, toast, and an overall solid setup.

Sunset and Sunrise at Santnerpass
During the day, the hut already has a ridiculous position. But the place becomes completely different later in the afternoon, once most of the day hikers have gone back down.
There was this quiet little ritual at sunset, people just started drifting outside. Obviously you don’t sleep below the Vajolet Towers and then stay inside checking your phone like an unwell person.
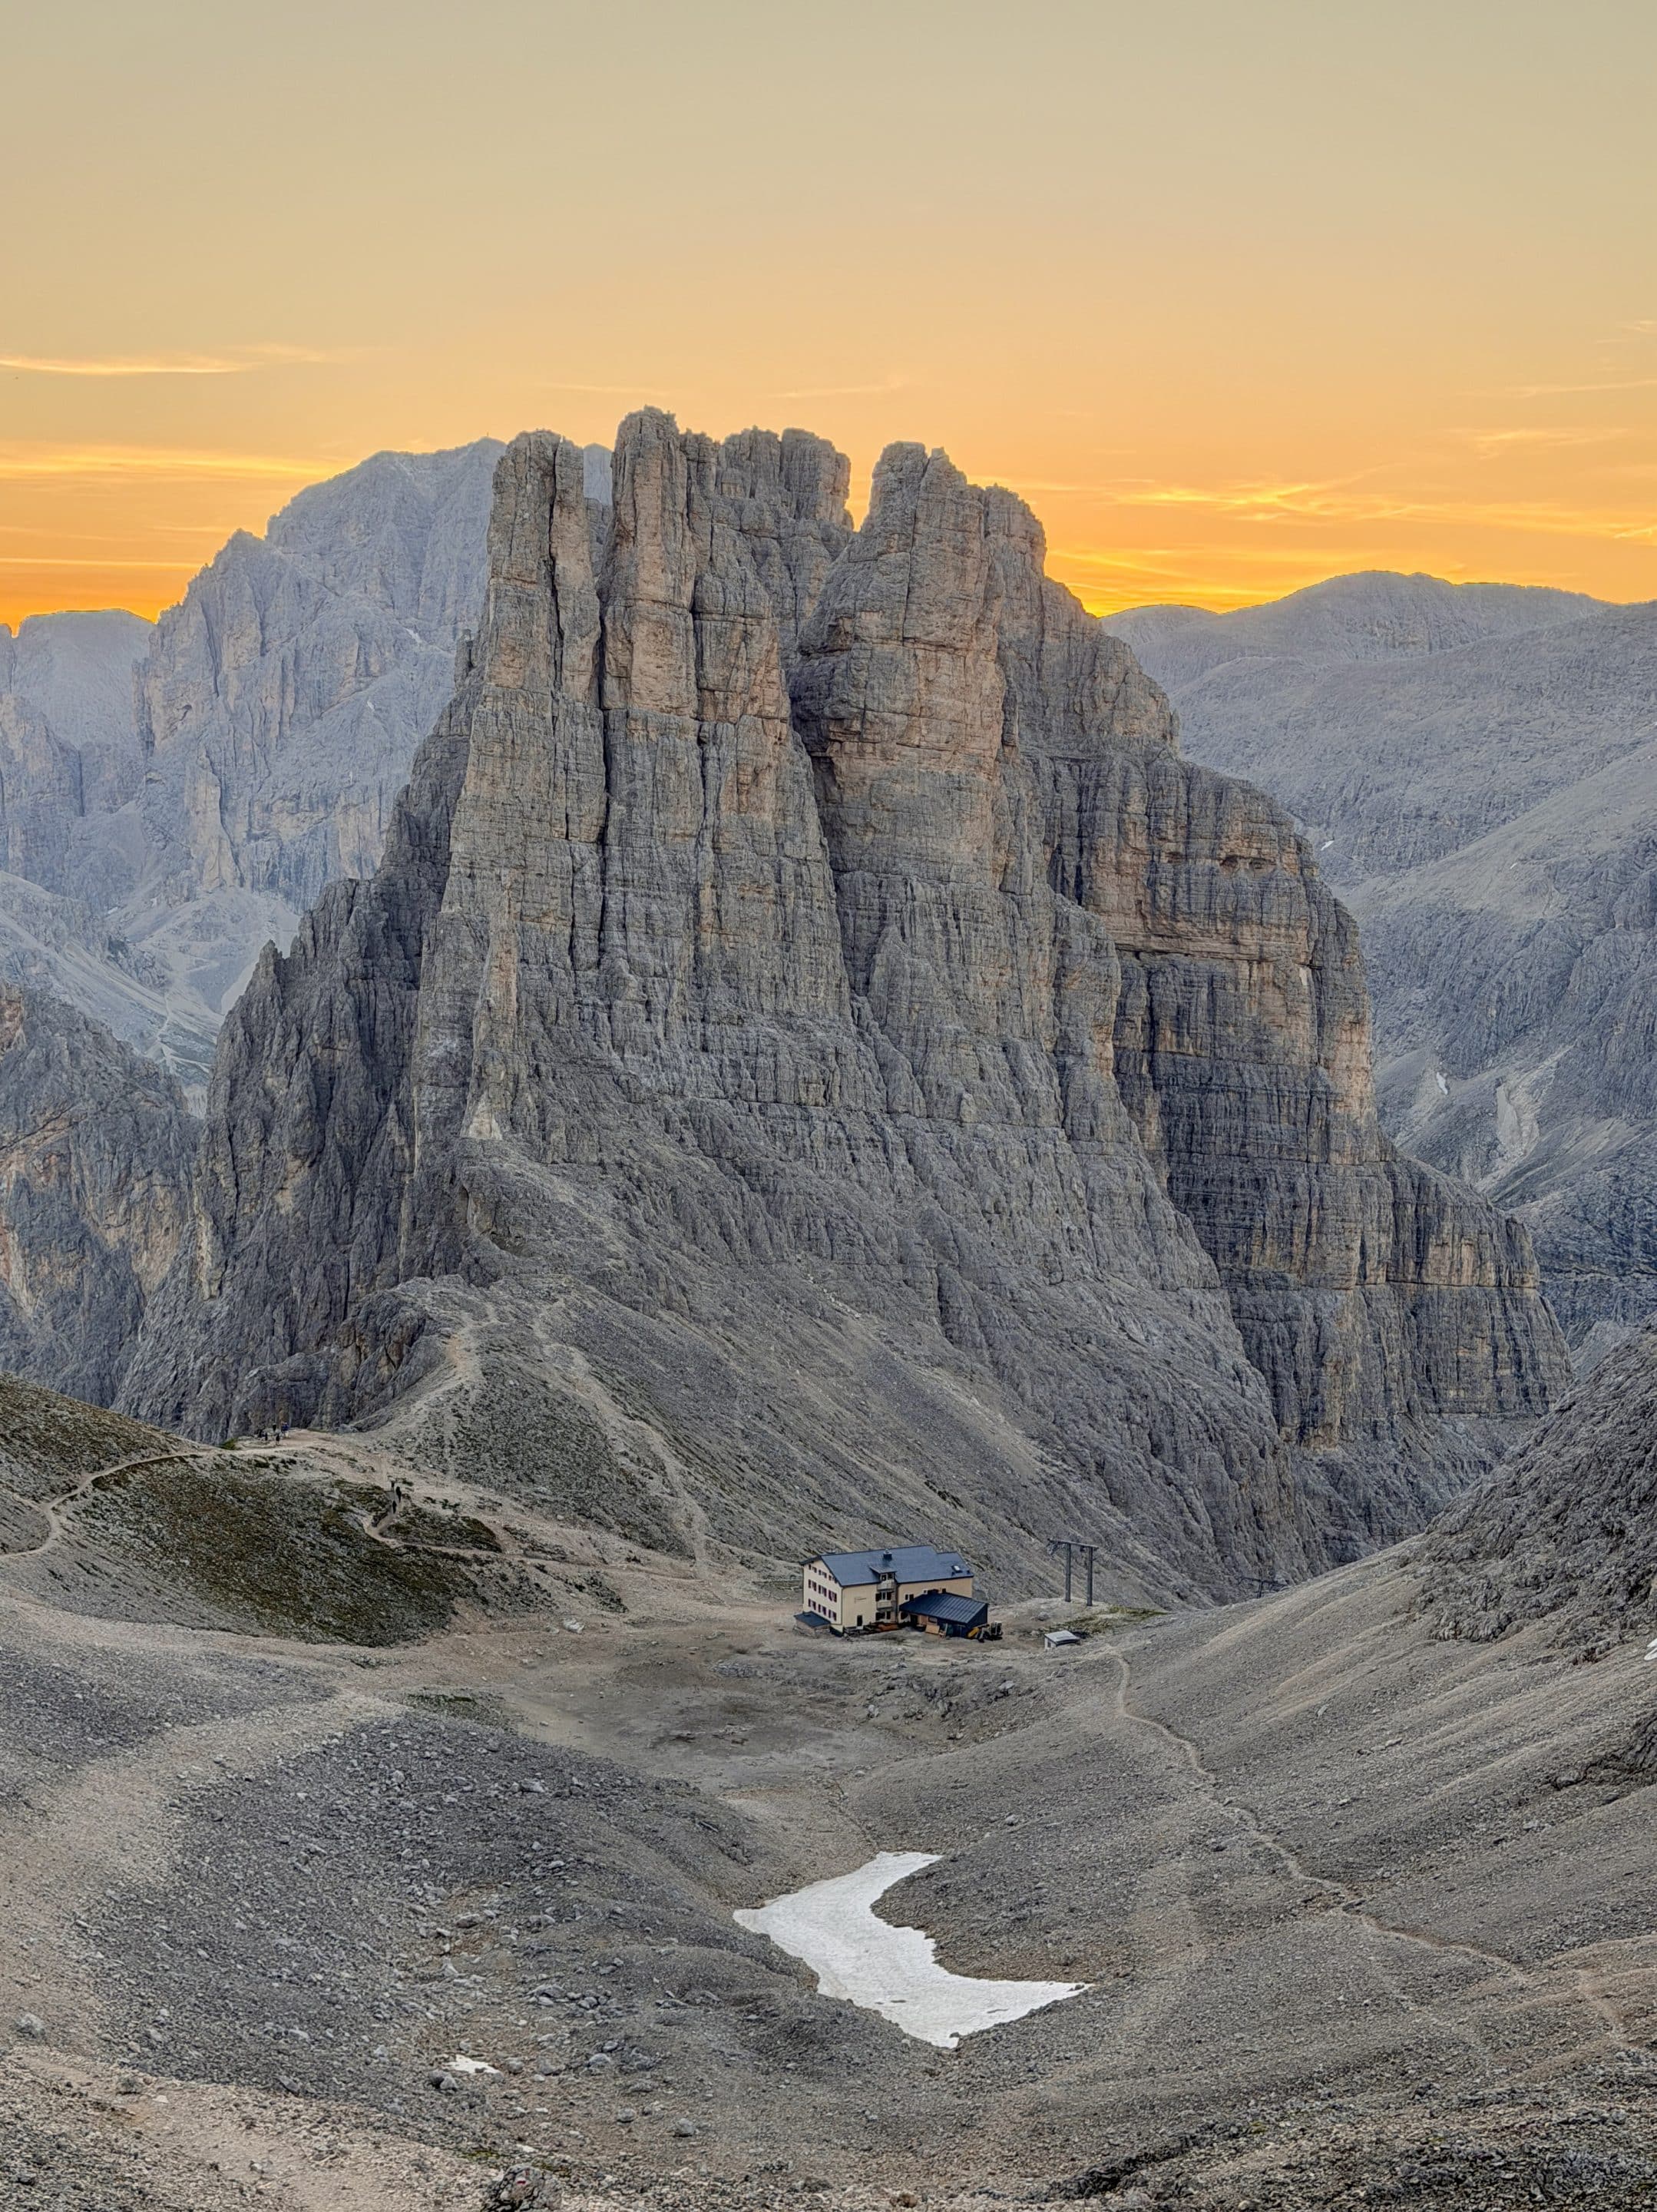
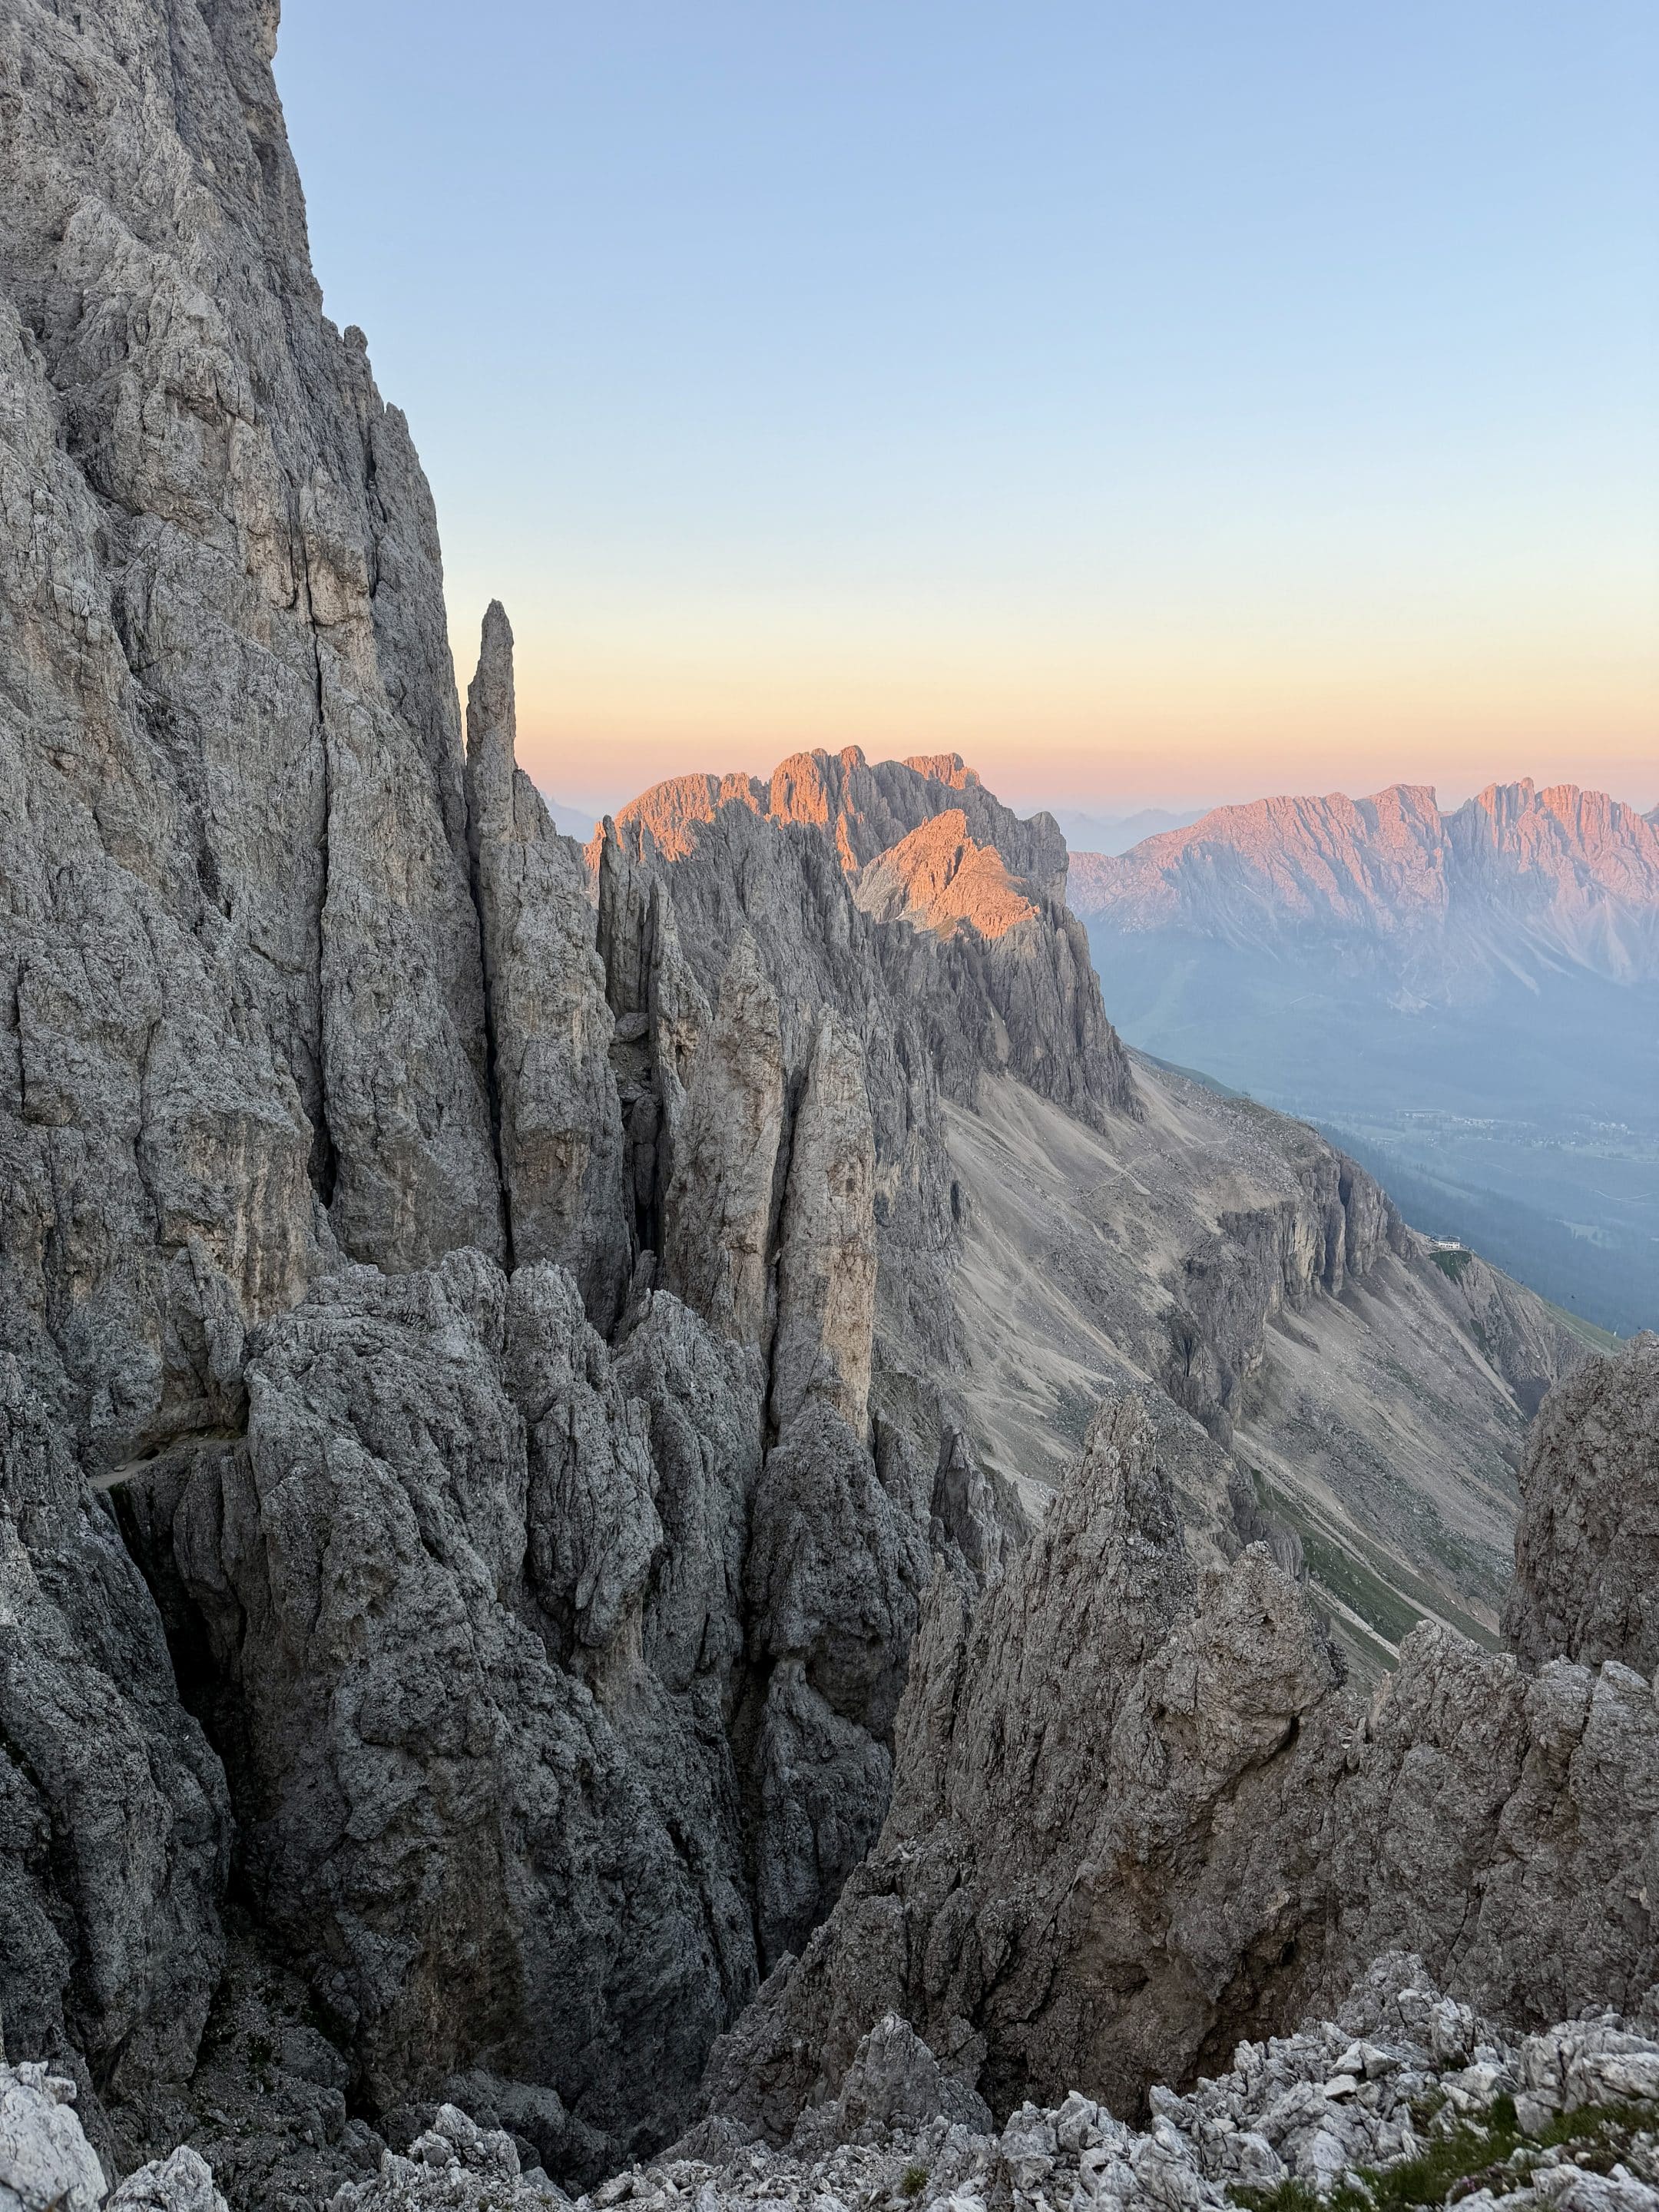
The view from the hut is very convenient, you don’t even need to hike to a viewpoint, you just step outside. The towers catch the evening light, and the rocks shift color.
Sunrise was just as good. Colder, quiet, and much softer. For me, this was the best part of the whole Vajolet Towers Hike. The trail was memorable, the hut was comfortable, the food was nice, but the sunrise was what made the overnight stay feel completely worth it.
Returning the Same Way
The next day, I hiked back down the same route: Santnerpass Hut to Rifugio Re Alberto, down path 542 to Rifugio Vajolet, then back through Gardeccia and Ciampedie.
The descent through the Vajolet-to-Re-Alberto section deserves just as much attention as the climb. Maybe more. Going down exposed rock with loose sections is not the time to start performing confidence for strangers.
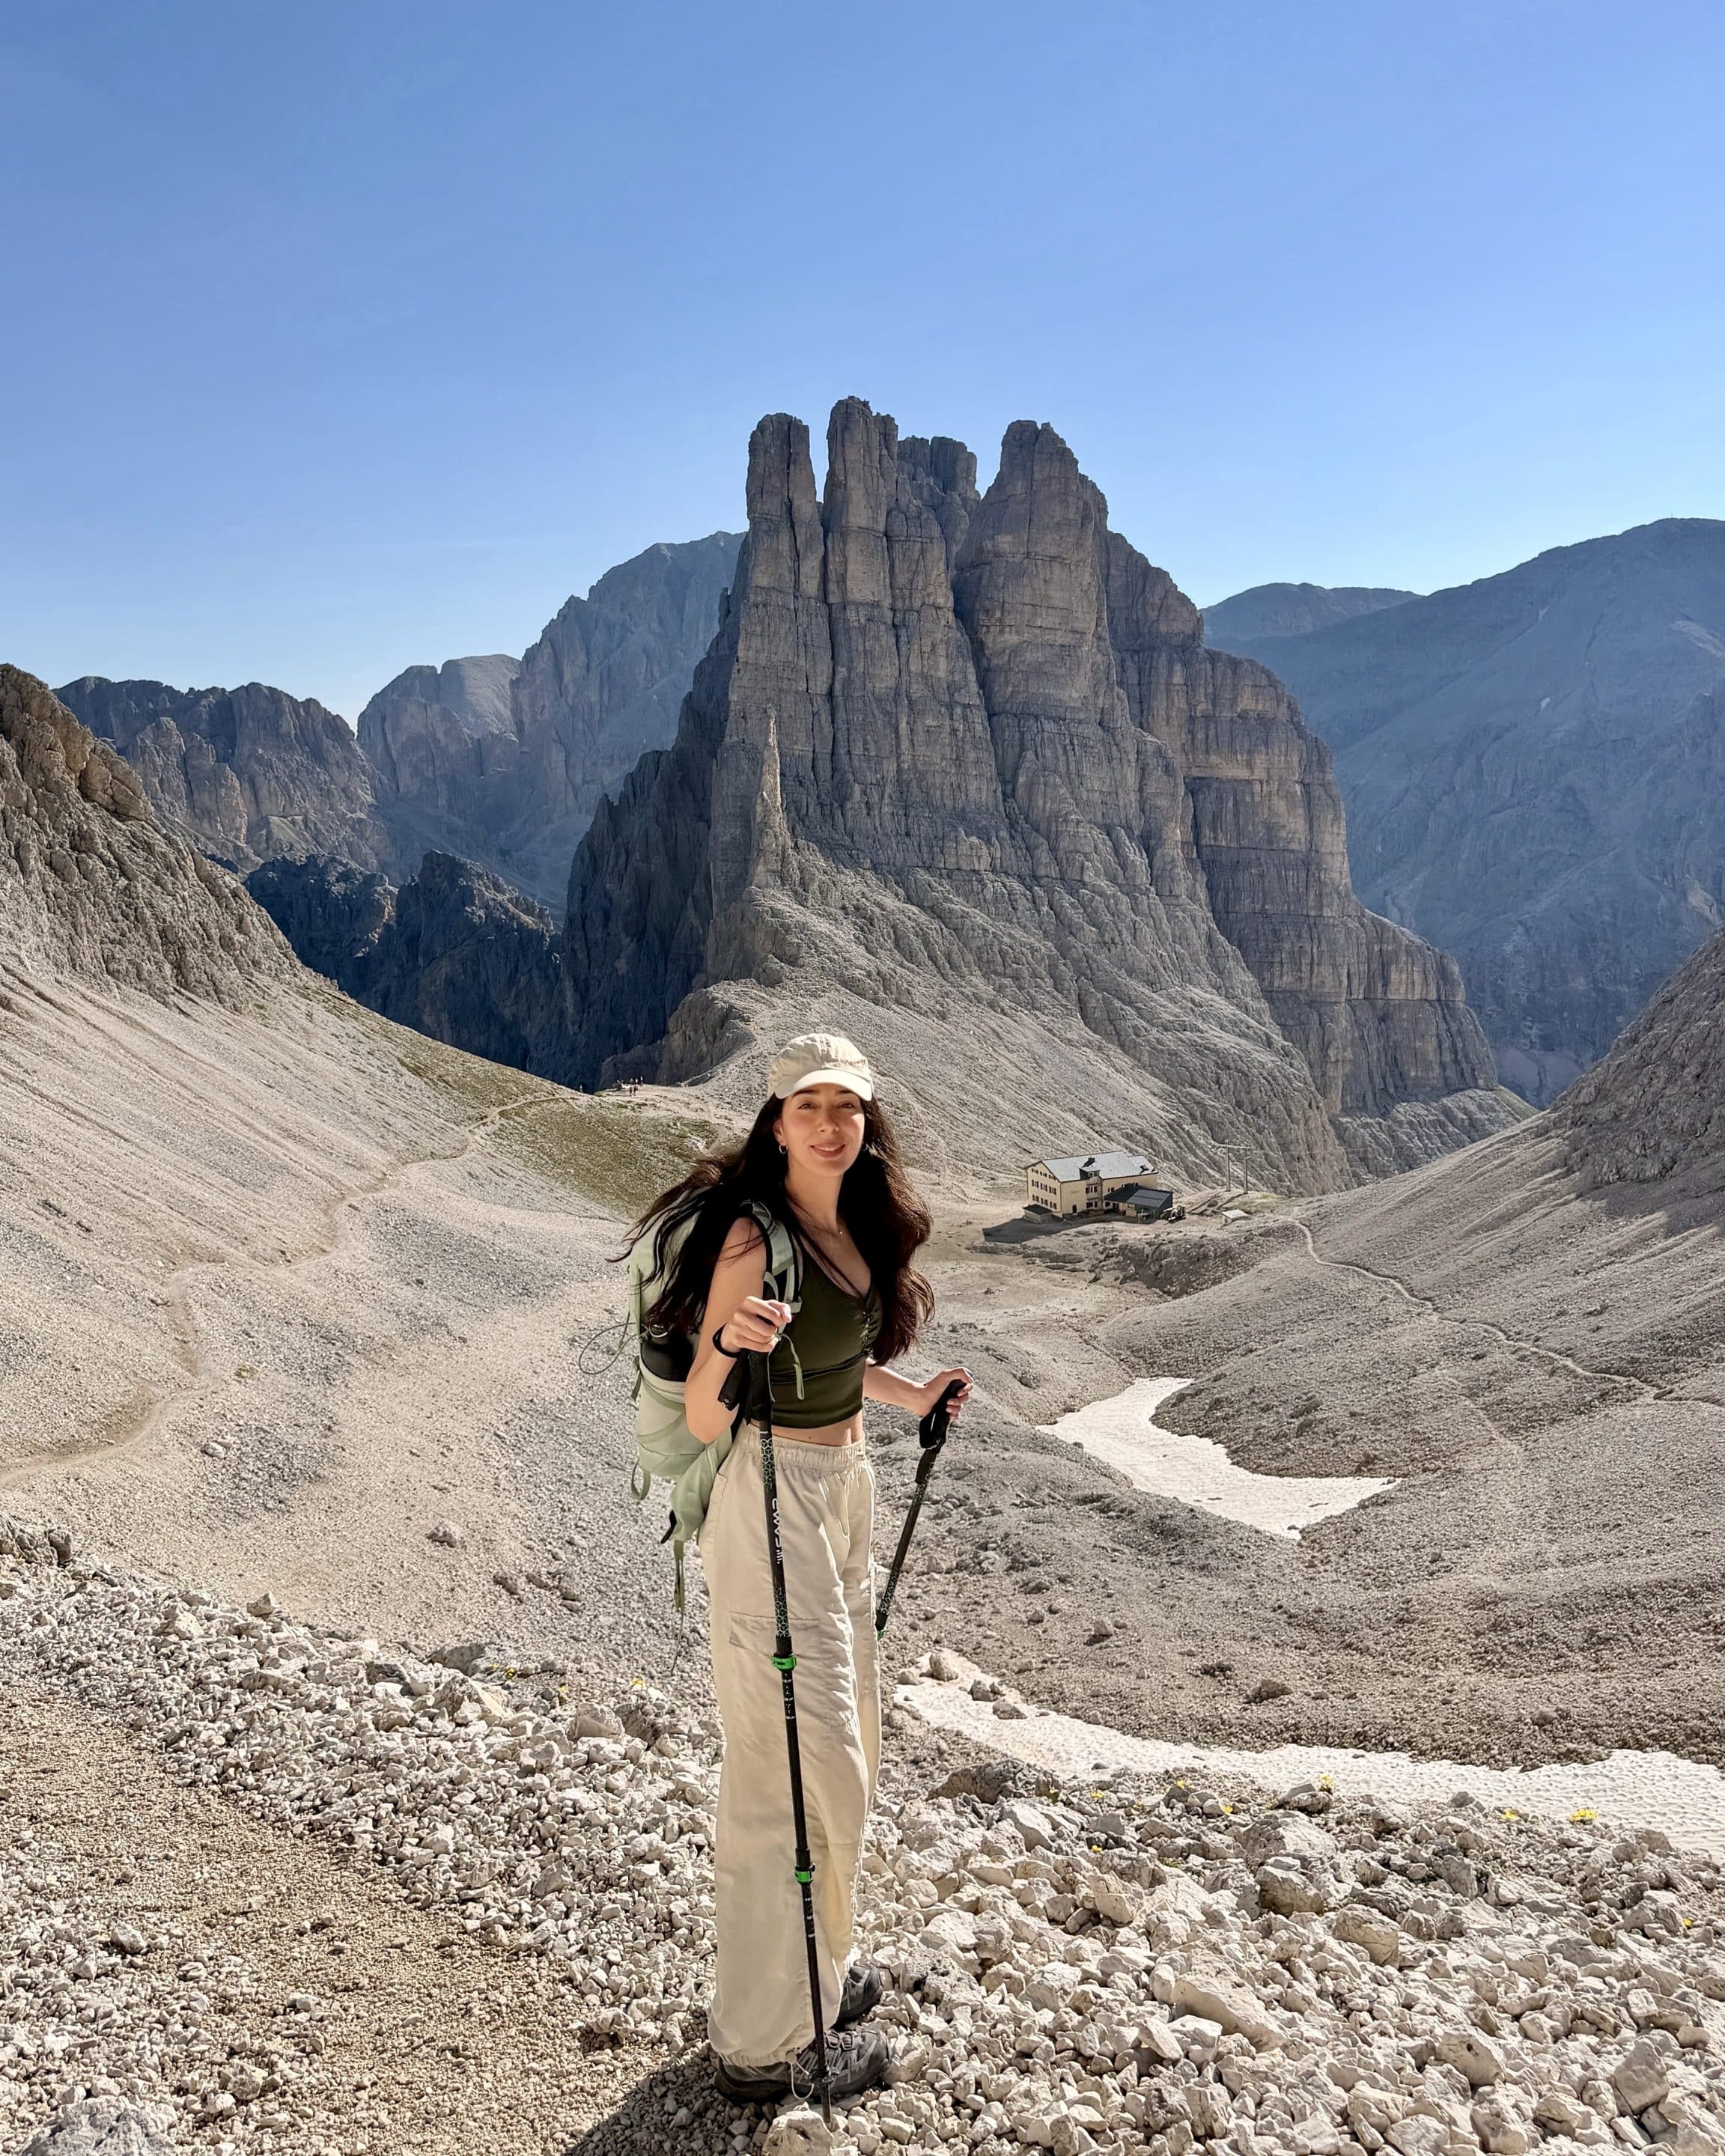
Once you are past Rifugio Vajolet, the rest of the way back feels much more relaxed. You retrace the same route to Ciampedie, then take the cable car back down to Vigo di Fassa.
FAQ About the Vajolet Towers Hike
How far in advance should you book Santnerpass Hut?
Book as early as you can, especially if you want a private room.
I booked by email in February for my stay in June, but the double rooms were already sold out. Shared rooms are easier to get, but I still wouldn’t leave it too late.
What should you bring for the Vajolet Towers Hike?
Bring proper hiking shoes, layers, sun protection, enough water, and snacks.
For the hut stay, bring a sleeping bag liner, basic toiletries, cash or card, and something comfortable to wear inside for dinner. Also bring patience for shared bathrooms and shared rooms. It is still a mountain hut, even if Santnerpass Hut feels much nicer than average.
Is route 542 a via ferrata?
No, route 542 is the hiking path from Rifugio Vajolet to Rifugio Re Alberto. I did not take the via ferrata. That being said, route 542 still has assisted sections and exposed rock. So don’t read “not a via ferrata” as “easy.” It is still the most technical part of this hike.
Can you do this hike in bad weather?
I personally wouldn’t.
The exposed rocky section between Rifugio Vajolet and Rifugio Re Alberto is the main reason. In dry weather, it was difficult but manageable. In rain, fog, or slippery conditions, I would not want to be on that section.
Do you need hiking poles?
I would bring them, especially for the way down.
They are not very useful in the steeper assisted sections where you need your hands, but they help on the longer descent back toward Rifugio Vajolet, Gardeccia, and Ciampedie.
Is the Vajolet Towers Hike good for kids?
Only for teenagers with hiking experience and no fear of exposure.
The route to Gardeccia is easy, and the hike to Rifugio Vajolet is much more manageable. But I would not take small children up the steep section to Rifugio Re Alberto.